My toddler stared at the plate, eyes wide, and asked for the cheese and crackers lunchable three days in a row without being prompted. I caught myself watching her carefully balance a slice of sharp cheddar on a crisp cracker, then bite in with such delight that I had to admit—this simple snack was hitting a sweet spot I hadn’t expected. It wasn’t just that she loved it; it was that moment of pure, fresh joy that made me realize this easy homemade cheese and crackers lunchable was something special. No fuss, no processed mystery ingredients, just the kind of fresh snacking that felt honest and satisfying.
The crunch of the crackers, the creamy saltiness of the cheese, and a tiny hint of tang from the accompanying fruit slices all came together so effortlessly. Honestly, watching her savor that first bite reminded me that sometimes the best recipes are the ones that bring a quiet, genuine happiness right to the table—without a ton of prep or fancy gimmicks. That’s why this lunchable stuck around in my rotation. It’s simple, fresh, and perfect for those moments when you want something wholesome but not complicated.
It’s funny how watching someone else enjoy a recipe can make you see it in a new light. For me, this recipe isn’t just about snacking—it’s about the little, fresh moments of connection, convenience, and yes, a touch of childhood joy. It’s the kind of homemade treat that’s always ready when hunger calls, and it’s easy enough to whip together even on a rushed afternoon. So while it may look modest on the plate, this easy homemade cheese and crackers lunchable has quietly become a favorite around here, and I think you’ll find it just as comforting and fresh as I do.
Why You’ll Love This Recipe
This easy homemade cheese and crackers lunchable is more than just a snack—it’s a quick, satisfying way to enjoy fresh flavors with minimal effort. Having tested this recipe many times (with a few toddler taste-tests thrown in), I can say it holds up beautifully whether for lunch, an afternoon pick-me-up, or a simple party platter. Here’s why it’s a keeper:
- Quick & Easy: Comes together in under 10 minutes, perfect for busy weekdays or last-minute cravings.
- Simple Ingredients: No obscure pantry items needed; most are staples you probably already have on hand.
- Perfect for Fresh Snacking: Light, flavorful, and ideal for kids’ lunches, office snacks, or casual get-togethers.
- Crowd-Pleaser: Gets rave reviews from little ones and adults alike—it’s the kind of snack that quietly disappears fast!
- Unbelievably Delicious: The blend of creamy cheese, crunchy crackers, and fresh accompaniments creates a balanced, satisfying bite.
What makes this recipe stand apart is the attention to texture and freshness. I like to use a combination of cheeses with different flavors and firmness—think a tangy cheddar paired with a smooth Havarti or even a bit of pepper jack for a mild kick. Plus, including fresh fruit or a small handful of nuts adds a natural sweetness or crunch that keeps things interesting. This isn’t just a quick bite; it’s a thoughtfully assembled snack that feels both nourishing and indulgent.
It’s also a recipe that fits right into a busy lifestyle but doesn’t sacrifice taste or quality. Whether you’re packing lunchboxes or needing a fast snack during a hectic day, this homemade cheese and crackers lunchable delivers that fresh, homemade goodness that makes you pause and appreciate the simple things.
What Ingredients You Will Need
This easy homemade cheese and crackers lunchable uses simple, wholesome ingredients that come together effortlessly. The focus is on fresh, crunchy, and creamy elements to keep your snacking satisfying without the fuss.
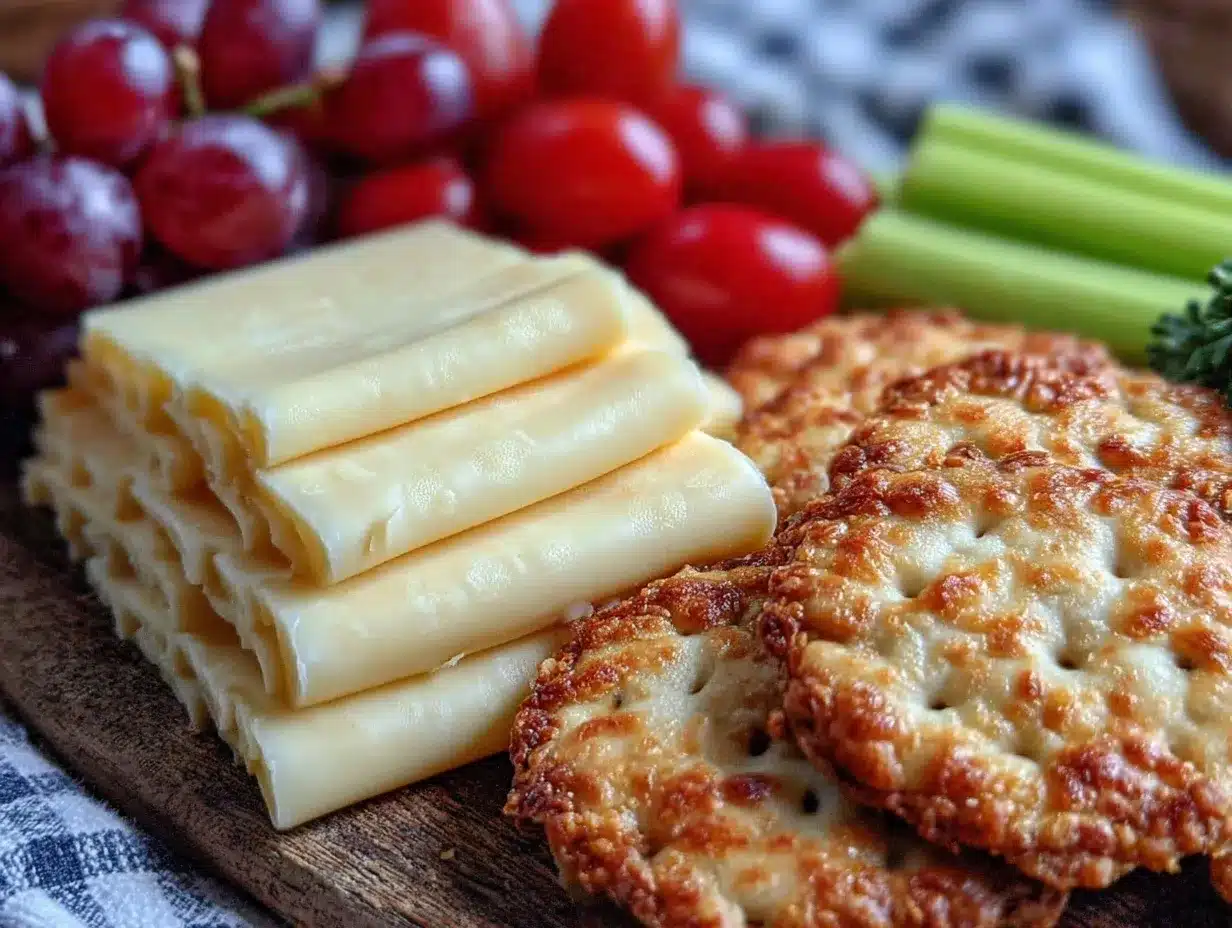
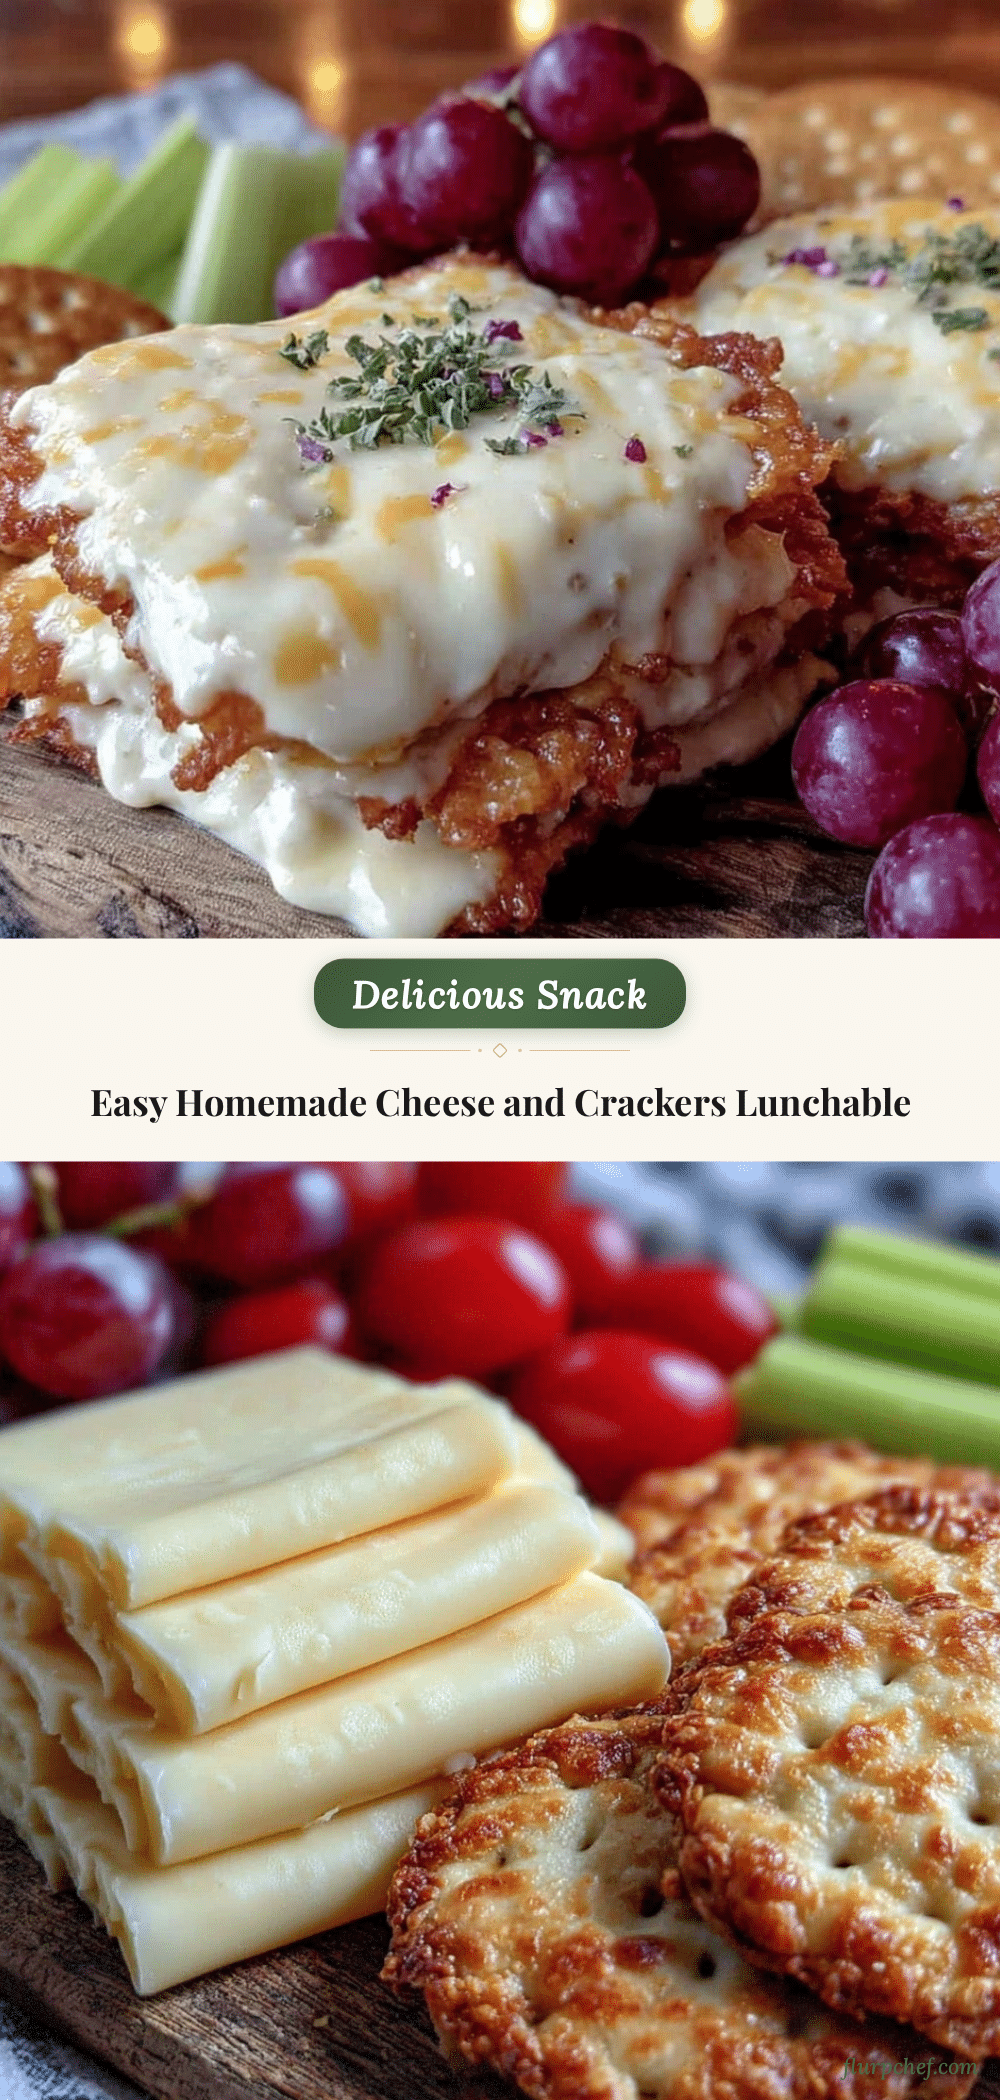
- Cheese: Choose 2-3 varieties such as sharp cheddar (adds bold flavor), creamy Havarti (for smoothness), and pepper jack (for a mild spicy touch). Look for block cheese to slice fresh—it makes all the difference.
- Crackers: Crisp water crackers or multigrain crackers work best for texture and flavor balance. I usually go for a brand like Carr’s or Triscuit, but any sturdy cracker will do.
- Fresh Fruit: Thin apple slices, seedless grapes, or pear wedges add a refreshing contrast. Seasonal choices like crisp autumn apples or summer berries keep things interesting.
- Nuts (optional): A small handful of unsalted almonds or walnuts for crunch and healthy fats. Omit if allergies are a concern.
- Olives or Pickles (optional): For a salty, briny kick that pairs surprisingly well with cheese.
- Honey or Fig Jam (optional): A tiny drizzle or dollop to add a hint of sweetness and complexity.
When selecting your cheese, I recommend buying from a trusted local deli or brand for the best flavor and freshness. Block cheese slices better than pre-packaged, and you get to control thickness. For crackers, avoid those that crumble easily—they need to hold up under the cheese and toppings.
Feel free to swap in dairy-free cheese alternatives or gluten-free crackers if needed. For example, almond flour crackers make a great gluten-free option, and there are some surprisingly good plant-based cheeses these days for those avoiding dairy. The fruit and nut combos can also be adapted based on what’s fresh or what your family prefers.
Equipment Needed
- Sharp Knife: Essential for slicing cheese and fruit thinly and evenly. A good-quality chef’s knife or a paring knife works well.
- Cutting Board: A sturdy, clean surface for prepping your ingredients. I prefer wood or bamboo for ease of cleaning and durability.
- Serving Tray or Lunchbox: Something that keeps your lunchable organized and visually appealing. Bento boxes are perfect but any shallow container works.
- Small Bowls or Ramekins: Handy for portioning jams, olives, or nuts separately so flavors don’t mix unpredictably.
If you don’t have a fancy lunchbox, no worries—small reusable containers or even parchment paper wraps can keep everything neat and fresh. I learned early on that good prep tools make the process smoother but don’t have to be expensive; a decent knife and cutting board are the real essentials.
Preparation Method
- Slice the Cheese: Cut your chosen cheeses into about ¼-inch (6 mm) thick slices. Aim for uniform pieces so they sit nicely on crackers without overpowering. This step takes about 5 minutes.
- Prepare the Fruit: Wash and thinly slice apples or pears, or rinse grapes. If using apples, toss slices briefly in lemon water to prevent browning—just 1 tablespoon lemon juice in 1 cup water is enough. This keeps the fruit fresh and vibrant. Allow about 5 minutes.
- Arrange Crackers: Lay out crackers on your serving tray or lunchbox in neat rows, leaving some space for cheese and fruit.
- Add Cheese to Crackers: Place one slice of cheese on each cracker. If you’re mixing cheeses, alternate types for variety. This visually appealing step takes around 5 minutes.
- Portion Fruit and Nuts: Place fruit slices or grapes in a separate section or small bowl to keep textures crisp. Add a small handful of nuts or olives if using. Keeps nuts separate to maintain crunch. This takes about 3 minutes.
- Optional Sweet Touch: Add a small ramekin of honey or fig jam on the side for dipping or spreading. This adds a lovely flavor contrast but is totally optional.
- Pack and Store: If making ahead, cover your lunchable tightly with plastic wrap or a lid and refrigerate. Consume within 24 hours for best freshness.
Quick tip: When slicing cheese, chill it first for cleaner cuts. Also, if your crackers come in large squares, break them in half or quarters for bite-sized snacks—this makes it easier and more fun to eat.
Cooking Tips & Techniques
Even though this cheese and crackers lunchable is no-cook, some handy techniques can make your snack game shine. Here’s what I’ve learned from my many attempts:
- Cheese Selection: Using a mix of textures and flavors keeps things exciting. Too soft, and the cheese slides off; too hard, and it’s tough to bite. Aim for semi-firm varieties that slice cleanly.
- Keep Fruit Fresh: Prevent browning on apples or pears by tossing slices in lemon water immediately. This little step keeps your lunchable looking fresh and appetizing.
- Don’t Overload Crackers: Overstacking can cause crackers to break or get soggy. One slice of cheese and a small topping is just right.
- Watch Storage Time: Homemade lunchables are best fresh. If prepping ahead, store components separately when possible to keep crispness intact.
- Timing: For busy days, prep everything the night before except crackers, then assemble just before eating to avoid sogginess.
One time, I skipped the lemon water step and the apple slices browned almost immediately, which made the whole lunchable look a bit sad. Lesson learned! Also, I find that a little bit of honey or jam on the side adds a surprising pop of flavor that really ties everything together.
Variations & Adaptations
One of the best parts about this easy homemade cheese and crackers lunchable is how adaptable it is. Here are some ideas to tweak it for your own taste or dietary needs:
- Gluten-Free: Swap regular crackers for gluten-free varieties or crisp veggie chips to keep it safe and crunchy.
- Vegan/Dairy-Free: Use plant-based cheeses and pair with gluten-free crackers and fresh fruit. Nutritional yeast sprinkled on crackers can add a cheesy flavor boost.
- Seasonal Fruit Swaps: In summer, swap apples for fresh berries or peach slices for a juicy twist.
- Spicy Kick: Add a slice of pepper jack cheese or serve with a side of pickled jalapeños to bring some heat.
- Protein Boost: Include a few slices of cured meats like prosciutto or salami for a heartier lunchable. I’ve done this on lazy weekends, pairing it alongside my one pan lemon garlic shrimp and asparagus dinner for a complete spread.
Personally, I love adding a little fig jam and walnuts for a gourmet touch when serving adults. It feels fancy but is so easy to put together. If you want to keep it kid-friendly, just stick with classic cheddar and apple slices—never fails.
Serving & Storage Suggestions
This easy homemade cheese and crackers lunchable is best served fresh or within a few hours of assembling. Here’s how to keep it tasting great:
- Serving Temperature: Bring the cheese to room temperature before serving for the best flavor—about 15 minutes out of the fridge.
- Presentation: Arrange neatly on a small platter or in a lunchbox with separate compartments for fruit and nuts. A visually appealing layout makes snacking more fun.
- Storage: If prepping ahead, store cheese and fruit separately in airtight containers in the refrigerator. Crackers are best kept in a sealed bag at room temperature to stay crisp.
- Reheating: Not necessary here, but letting cheese sit out a bit before eating helps flavors bloom without any actual heating.
- Flavor Development: Fresh fruit and cheese don’t need long resting times; the flavors are best enjoyed shortly after assembling.
For longer trips or packed lunches, consider packing components separately to avoid soggy crackers. I once packed a lunchable for a picnic and learned that crackers can get a bit soft if layered under juicy fruit—lesson saved for next time!
Nutritional Information & Benefits
This homemade cheese and crackers lunchable is a balanced snack that offers a nice mix of protein, healthy fats, and fiber. Here’s a rough estimate per serving (1 lunchable):
| Nutrient | Amount |
|---|---|
| Calories | 300-350 kcal |
| Protein | 12-15g |
| Fat | 18-22g |
| Carbohydrates | 20-25g |
| Fiber | 3-5g |
Cheese provides quality protein and calcium, supporting bone health, while nuts contribute heart-healthy fats. Fresh fruit adds natural sweetness along with fiber and vitamins. This snack can fit well into low-carb or gluten-free diets with easy swaps. Just watch for nut allergies if serving to kids or guests.
I appreciate this recipe because it offers a wholesome, real-food alternative to processed snack packs but without complicated prep or ingredients. It’s an easy way to nourish yourself or your loved ones with fresh, tasty bites.
Conclusion
This easy homemade cheese and crackers lunchable has quietly become a staple for fresh snacking in my home. Its simplicity and flexibility make it a go-to when I want something tasty, wholesome, and fuss-free. Whether you’re packing lunches, hosting a casual get-together, or just craving a quick bite, this recipe delivers on all fronts.
Feel free to customize it with your favorite cheeses, crackers, and seasonal fruits to make it your own. I love how it balances fresh flavors and textures with minimal effort, making it perfect for any time of day.
Give it a try and see how a few simple ingredients can bring fresh joy to your snacking routine. And if you’re curious about other easy yet impressive dishes, you might enjoy my crispy bacon wrapped jalapeño poppers or my quick one pan Fourth of July snacks that also bring a crowd-pleasing vibe to the table.
Thanks for stopping by—here’s to fresh, simple snacking that makes you smile.
FAQs
What types of cheese work best for this lunchable?
Semi-firm cheeses like cheddar, Havarti, and pepper jack slice well and offer a good balance of flavor and texture.
Can I make this lunchable ahead of time?
Yes, but store cheese and fruit separately and add crackers just before eating to keep everything fresh and crisp.
What are good cracker alternatives?
Gluten-free crackers, plain rice cakes, or crisp veggie chips can work well depending on dietary needs.
Is this recipe suitable for kids?
Absolutely! It’s a great fresh snack for kids, just watch for nut allergies and serve fruit cut into safe sizes.
How can I add more protein to the lunchable?
Including slices of deli meats, hard-boiled eggs, or a small handful of nuts can boost protein content easily.
Pin This Recipe!
Easy Homemade Cheese and Crackers Lunchable Perfect for Fresh Snacking

A simple, fresh, and wholesome snack combining a variety of cheeses, crisp crackers, and fresh fruit, perfect for quick lunches or snacks with minimal prep.
- Prep Time: 10 minutes
- Cook Time: 0 minutes
- Total Time: 10 minutes
- Yield: 1 lunchable (1 serving) 1x
- Category: Snack
- Cuisine: American
Ingredients
- 2–3 varieties of cheese such as sharp cheddar, creamy Havarti, and pepper jack (block cheese for slicing)
- Crisp water crackers or multigrain crackers (e.g., Carr’s or Triscuit)
- Fresh fruit such as thin apple slices, seedless grapes, or pear wedges
- Optional: small handful of unsalted almonds or walnuts
- Optional: olives or pickles
- Optional: honey or fig jam
Instructions
- Slice the chosen cheeses into about 1/4-inch thick slices.
- Wash and thinly slice apples or pears, or rinse grapes. Toss apple slices briefly in lemon water (1 tablespoon lemon juice in 1 cup water) to prevent browning.
- Arrange crackers neatly on a serving tray or lunchbox.
- Place one slice of cheese on each cracker, alternating cheese types if using multiple varieties.
- Portion fruit slices or grapes in a separate section or small bowl. Add nuts or olives if using, keeping them separate to maintain crunch.
- Optionally, add a small ramekin of honey or fig jam on the side for dipping or spreading.
- If making ahead, cover tightly with plastic wrap or a lid and refrigerate. Consume within 24 hours for best freshness.
Notes
Chill cheese before slicing for cleaner cuts. Toss apple slices in lemon water to prevent browning. Avoid overloading crackers to prevent breaking or sogginess. Store cheese and fruit separately if prepping ahead and add crackers just before eating to keep crispness.
Nutrition
- Serving Size: 1 lunchable (include
- Calories: 300350
- Sugar: 58
- Sodium: 300400
- Fat: 1822
- Saturated Fat: 810
- Carbohydrates: 2025
- Fiber: 35
- Protein: 1215
Keywords: cheese and crackers, homemade lunchable, fresh snack, easy snack, kid-friendly snack, quick lunch, cheese platter, healthy snack


