For a while, I just accepted that quick pickles wouldn’t ever taste quite right — you know, that fresh, snappy crunch and the tangy zip you get from those slow-fermented jars. I’d tried a few recipes that promised “fast” and “fresh,” but the pickles ended up soggy or bland, more like cucumbers swimming in salty water than the satisfying snack I craved. Sometimes late at night, I’d reach for something tangy and crisp, but all I found were the usual store-bought options, which felt lifeless and overly vinegary.
One humid afternoon last summer, I was chopping cucumbers for a simple salad but kept thinking about how much better they’d be if they had a little punch. Out of curiosity, I tossed some sliced cukes into a jar with a quick brine of vinegar, garlic, and dill, then shoved it into the fridge just to see what would happen. Honestly, I didn’t expect much — but three days later, I popped open that jar, and the smell alone was enough to make me pause. Bright, fresh, with that unmistakable pickle tang but none of the heaviness I’d feared.
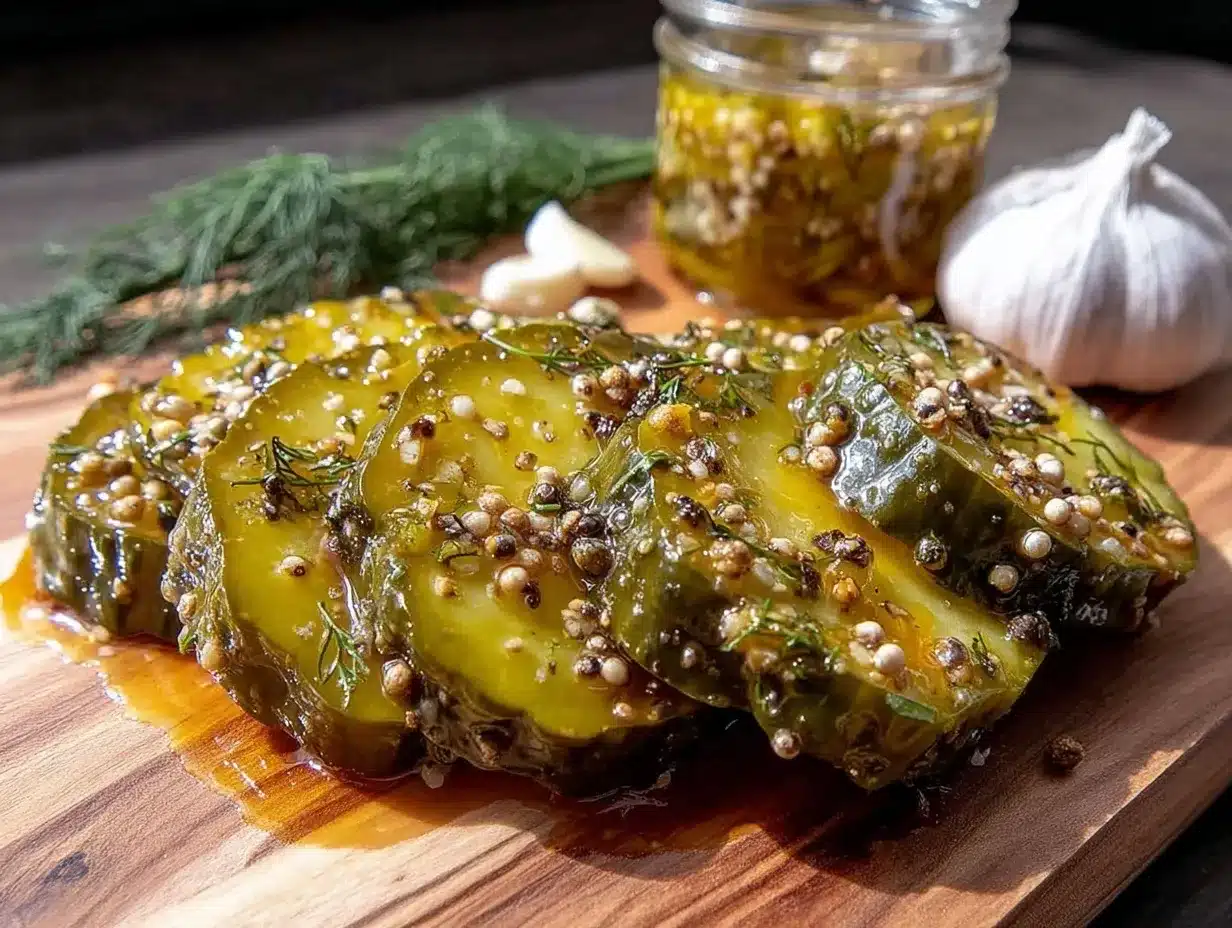
That little discovery stuck with me. It wasn’t fancy, and it didn’t require hours or special equipment. Just a few simple ingredients and a bit of patience in the fridge yielded pickles that were crisp, flavorful, and perfect for quick snacking. Since then, I’ve made these quick crisp refrigerator dill pickles my go-to whenever I want a fresh, crunchy bite that feels homemade but doesn’t take all day. It’s a quiet little win for simple, real food that fits right into busy days.
What’s nice is that these pickles never get tired or boring. They hold their crunch, keep their tang, and remind me that sometimes the best things are the ones you stumble upon without fuss. If you’re someone who’s been waiting for quick pickles that actually deliver that fresh snacking satisfaction, this recipe might be the one you hold onto, too.
Why You’ll Love This Recipe
Honestly, quick crisp refrigerator dill pickles are a small joy that fits right into my kitchen routine. After a few trials and tweaks, I landed on a version that hits all the right notes—flavor, crunch, and ease. Here’s why this recipe stays on repeat in my fridge:
- Quick & Easy: These pickles come together in under 10 minutes and develop their signature crispness in just a few days, making them perfect for last-minute snacking urges.
- Simple Ingredients: Nothing exotic here—fresh cucumbers, garlic, dill, vinegar, and a few spices. You probably have these in your kitchen already.
- Perfect for Fresh Snacking: These aren’t your typical soggy pickles. The texture is satisfyingly crunchy, and the flavor is just right—not too sour or salty.
- Crowd-Pleaser: I’ve brought these along to casual get-togethers, and they always get a nod from kids and adults alike. They’re great alongside a sandwich or a plate of crispy garlic herb chicken.
- Unbelievably Delicious: The balance of fresh dill and garlic with crisp cucumbers makes for a snack that’s both refreshing and satisfying—kind of like a cool breeze on a warm day.
What sets this recipe apart? It’s the little adjustments that matter. For instance, I slice the cucumbers thin enough to soak up the brine quickly but thick enough to keep that perfect snap. Also, adding a pinch of sugar softens the edge of the vinegar while keeping everything vibrant. And yes—the garlic isn’t just for flavor; it adds a subtle warmth that lifts the whole mix. This recipe isn’t just another dill pickle; it’s the kind that makes you reach for the jar again and again.
What Ingredients You Will Need
This recipe uses simple, wholesome ingredients to deliver bold flavor and satisfying texture without the fuss. Most are pantry staples or fresh produce you can find year-round. Here’s the breakdown:
- Cucumbers: 4-5 medium Kirby or Persian cucumbers, thinly sliced (these varieties hold their crunch best)
- Fresh dill: 3-4 sprigs (or 1 tablespoon dried dill if fresh isn’t available)
- Garlic cloves: 3-4, smashed (adds depth and a mild spicy kick)
- White vinegar: 1 cup (240 ml) – I prefer Heinz for a clean flavor
- Water: 1 cup (240 ml), to balance acidity
- Kosher salt: 1 tablespoon (use Diamond Crystal for best brine clarity)
- Granulated sugar: 1 teaspoon (softens the vinegar’s sharpness)
- Black peppercorns: 1 teaspoon (whole, for a subtle peppery note)
- Red pepper flakes: 1/2 teaspoon (optional, for a gentle heat)
- Optional mustard seeds: 1 teaspoon (adds a little zing and complexity)
If you’re feeling adventurous, you can swap the white vinegar for apple cider vinegar for a fruitier tang, or add a few slices of fresh jalapeño for extra kick. I once tried using lemon slices with the dill—turned out surprisingly fresh and aromatic. These swaps keep the base recipe flexible and fun.
Equipment Needed
- Glass jar or container with a tight-fitting lid: A quart-sized (1-liter) mason jar works perfectly for this recipe. Glass keeps flavors pure and won’t react with the vinegar.
- Sharp knife or mandoline slicer: For even cucumber slices. A mandoline speeds things up but be careful—those blades are sharp!
- Measuring cups and spoons: Precision matters here, especially with salt and vinegar to get the balance right.
- Mixing bowl: To combine the brine ingredients before pouring over cucumbers.
- Optional: A clean kitchen towel or paper towels to pat cucumbers dry before pickling—this helps keep them crisp.
I’ve tried plastic containers, but glass jars definitely keep the pickles tasting fresher longer. Plus, they look nicer on the fridge shelf. If budget is a concern, you can reuse clean commercial pickle jars, just make sure they seal well.
Preparation Method
- Prepare the cucumbers: Rinse the cucumbers well and slice them about 1/8 to 1/4 inch (3 to 6 mm) thick. I like mine a bit thicker for snacking, but thinner slices soak up more brine. Pat dry with a towel to remove excess moisture. (Prep time: 5 minutes)
- Make the brine: In a mixing bowl, combine 1 cup (240 ml) white vinegar, 1 cup (240 ml) water, 1 tablespoon kosher salt, and 1 teaspoon sugar. Stir until salt and sugar dissolve completely. (Prep time: 3 minutes)
- Fill the jar: Place the sliced cucumbers, garlic cloves, dill sprigs, black peppercorns, red pepper flakes, and optional mustard seeds into the jar. Pack them gently but not too tight—you want the brine to circulate well. (Prep time: 4 minutes)
- Pour the brine: Pour the brine mixture over the cucumbers, making sure they’re fully submerged. Use a clean utensil to press down the cucumbers if needed. Seal the jar tightly. (Prep time: 2 minutes)
- Refrigerate: Place the jar in the refrigerator. Let the pickles sit for at least 48 hours before tasting, though 3-4 days is ideal for full flavor and crispness. (Rest time: 2-4 days)
- Check and enjoy: After a couple of days, give a taste test. The cucumbers should be crisp, tangy, and well seasoned. Once ready, they’ll keep for up to 2 weeks refrigerated. (Serving time: immediate)
Quick tip: If your cucumbers start to soften too much, it might be from not drying them well before pickling or not enough salt in the brine. Next time, try patting them a bit drier or adding an extra pinch of salt.
Cooking Tips & Techniques
Let’s be honest—making quick pickles can be a bit of trial and error if you’re new to it. Here’s what I’ve learned from the many jars I’ve made:
- Use fresh, firm cucumbers: Kirby or Persian cucumbers work best because they hold their crunch. Avoid ones that are soft or too large with too many seeds.
- Slice thickness matters: Too thin and they get mushy; too thick and they don’t absorb enough brine. Around 1/8 to 1/4 inch is that sweet spot.
- Salt quality influences outcome: Kosher salt dissolves well and doesn’t have additives that cloud the brine.
- Don’t skip the sugar: Just a little balances the vinegar’s sharpness and rounds out the flavor.
- Keep cucumbers submerged: Any exposed slices can turn soft or moldy. I sometimes place a small glass weight or a clean folded paper towel on top to keep things under the brine.
- Patience pays off: Letting them sit for at least two days is key. The flavor develops, and the cucumbers snap back into crispness.
- Experiment carefully with spices: Garlic and dill are classics, but peppercorns and mustard seeds add that little something special. Just don’t overdo it or the pickles get too spicy or bitter.
One time, I rushed the process and ate the pickles after just one day. The flavor was okay, but the crispness wasn’t there. Lesson learned: good things come to those who wait (at least a couple days in this case).
Variations & Adaptations
Quick crisp refrigerator dill pickles are pretty versatile. Here are some ways to change things up depending on what you have or crave:
- Spicy Kick: Add sliced jalapeños or increase red pepper flakes for a fiery snack.
- Garlic-Free: Omit garlic and add fresh herbs like tarragon or basil for a different flavor profile.
- Low-Sodium Version: Use less salt and increase the vinegar slightly to keep the tang without overwhelming sodium.
- Sweet & Sour: Double the sugar and add a cinnamon stick or clove for a pickled cucumber that’s almost dessert-like.
- Different Vinegars: Apple cider vinegar or rice vinegar can replace white vinegar to create subtler or fruitier pickles.
Personally, I once tried mixing in some thinly sliced carrots and ended up with a colorful, crunchy medley perfect for snacking alongside a batch of firecracker chicken skewers. It was a hit and added a nice sweet crunch to the dill pickle tang.
Serving & Storage Suggestions
These quick crisp refrigerator dill pickles are best served cold straight from the jar, perfect for snacking anytime you want something refreshing and crunchy. They pair especially well with sandwiches, burgers, or even as a crunchy contrast to creamy dishes like potato salad or coleslaw.
Store the pickles tightly sealed in the fridge. They’ll keep their crunch and flavor for up to two weeks, but honestly, they rarely last that long in my kitchen. Reheating isn’t necessary since these pickles are meant to be enjoyed fresh and cold.
If you’re packing lunchboxes, a small jar of these pickles adds a fresh punch. Over time, the flavors deepen a bit, so if you like a stronger vinegar tang, wait a few more days before eating.
Nutritional Information & Benefits
These pickles are low in calories (about 10-15 calories per serving), making them a guilt-free snack. The cucumbers provide hydration and a bit of fiber, while the vinegar is known to support digestion. Garlic adds trace antioxidants and antimicrobial properties, and dill contains vitamins A and C.
This recipe is naturally gluten-free, low-carb, and vegan. Just watch out for added sugars if you’re managing blood sugar, but with only a teaspoon in the whole batch, it’s quite minimal.
From a personal wellness point of view, having a jar of these pickles in the fridge encourages me to reach for something fresh and crunchy instead of less healthy snacks. They’re a refreshing way to satisfy cravings and sneak in a bit of gut-friendly vinegar.
Conclusion
Quick crisp refrigerator dill pickles are a simple pleasure that took me a while to find but now feel like an easy staple. Their fresh crunch and balanced tang make snacking satisfying without much effort. Plus, they adapt nicely to whatever flavors or heat levels you prefer, so you can make them truly your own.
Whether you’re looking for a quick way to brighten a sandwich, want a crunchy snack to beat the afternoon slump, or need a colorful addition to your next dinner, this recipe fits the bill. I love how this pickle recipe feels both familiar and fresh—like a little homemade moment in a busy day.
If you try them, I’d love to hear what variations you come up with or how you like to serve them. Sharing those little twists makes the whole process more fun and personal.
Frequently Asked Questions
How long do quick refrigerator dill pickles last?
They keep well for up to two weeks in the refrigerator when stored in a sealed glass jar.
Can I use regular cucumbers instead of Kirby cucumbers?
You can, but regular slicing cucumbers tend to be less crisp and have larger seeds. Kirby cucumbers usually give the best crunch.
Do I need to boil the brine for this recipe?
Nope. Since these are quick refrigerator pickles, the brine is mixed cold and poured over the cucumbers. Just make sure the salt and sugar dissolve completely.
Can I add other vegetables to the pickles?
Definitely—carrots, green beans, or even cauliflower florets work well and add variety.
How can I keep my pickles extra crunchy?
Pat cucumbers dry before pickling, use fresh firm cucumbers, and keep the slices fully submerged in brine. Adding a grape leaf or a clean weight on top can help maintain crunch too.
Pin This Recipe!
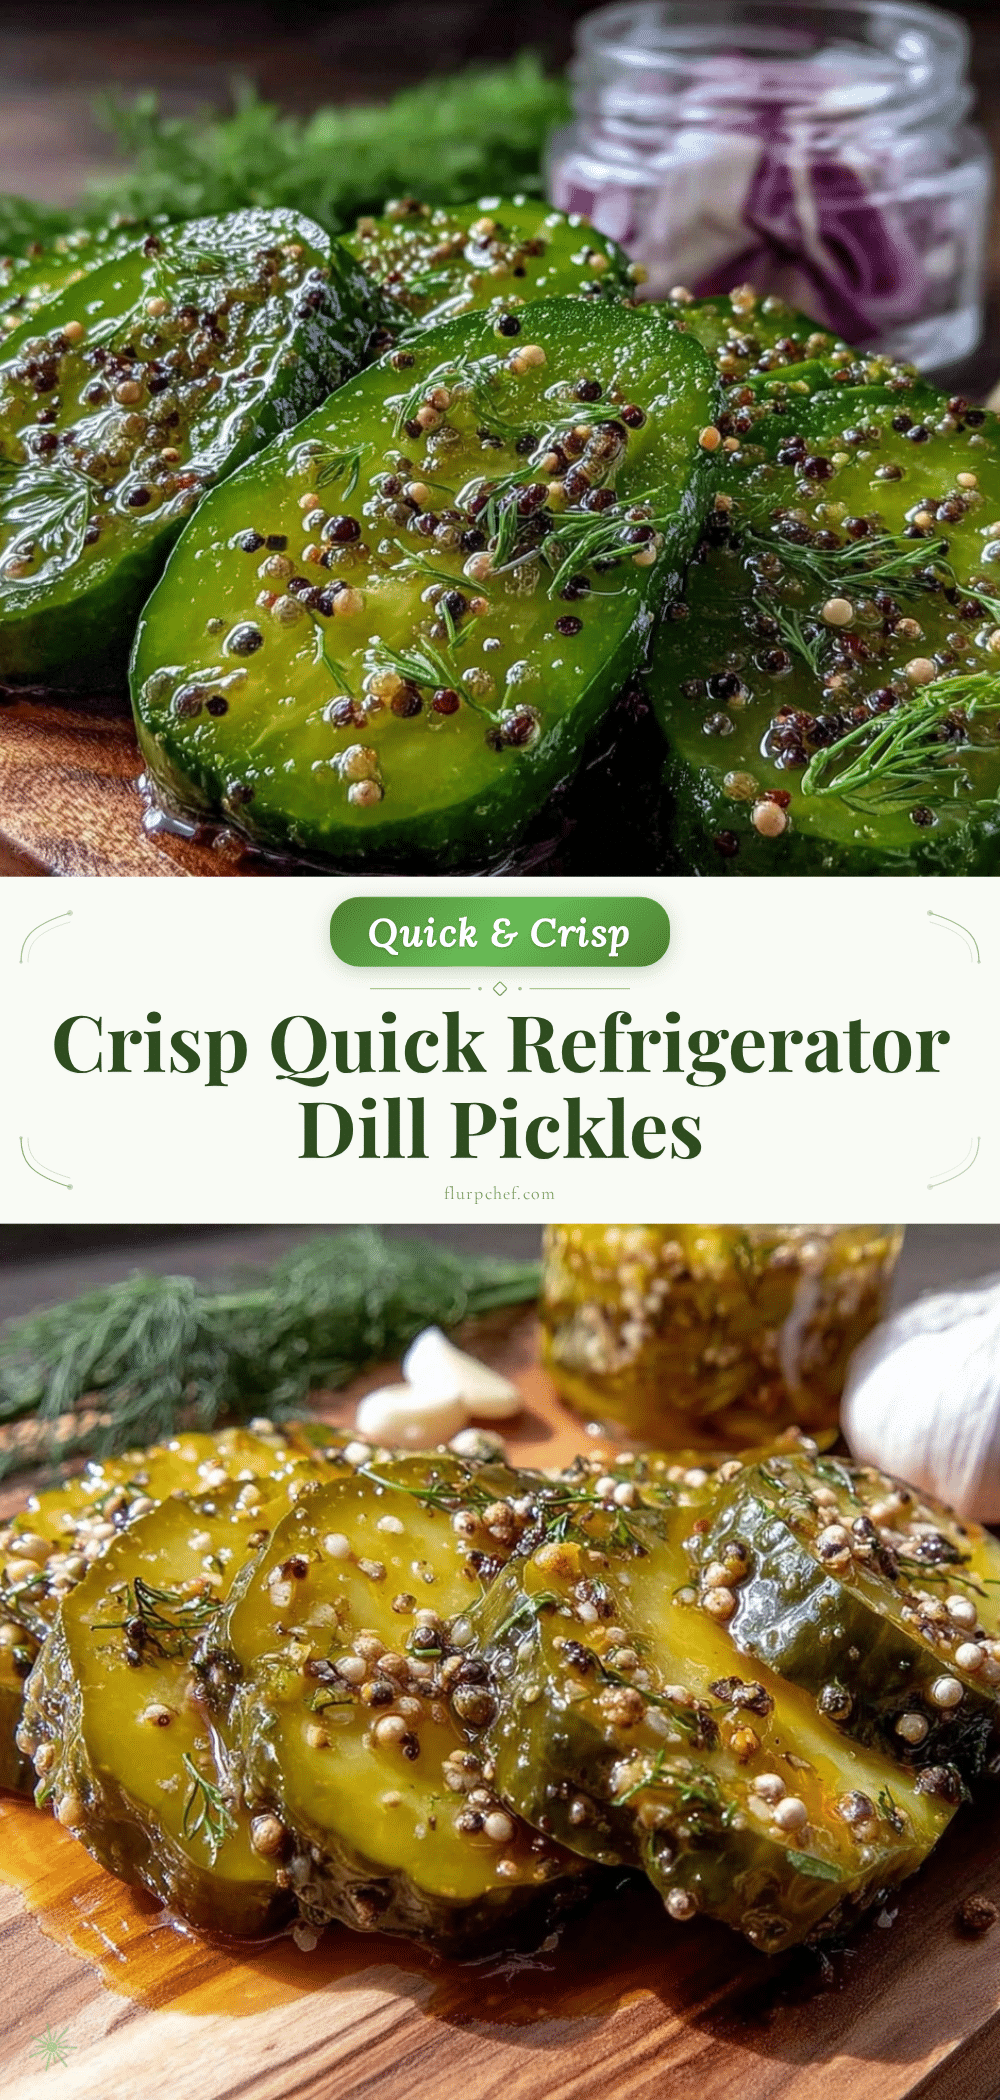
Quick Crisp Refrigerator Dill Pickles

A simple and quick recipe for fresh, crunchy dill pickles that develop their signature crispness in just a few days in the refrigerator. Perfect for easy snacking with balanced tang and flavor.
- Prep Time: 10 minutes
- Cook Time: 0 minutes
- Total Time: 2-4 days (including refrigeration time)
- Yield: About 1 quart (4 servings) 1x
- Category: Snack
- Cuisine: American
Ingredients
- 4–5 medium Kirby or Persian cucumbers, thinly sliced (about 1/8 to 1/4 inch thick)
- 3–4 sprigs fresh dill (or 1 tablespoon dried dill)
- 3–4 garlic cloves, smashed
- 1 cup (240 ml) white vinegar
- 1 cup (240 ml) water
- 1 tablespoon kosher salt
- 1 teaspoon granulated sugar
- 1 teaspoon black peppercorns (whole)
- 1/2 teaspoon red pepper flakes (optional)
- 1 teaspoon mustard seeds (optional)
Instructions
- Rinse the cucumbers well and slice them about 1/8 to 1/4 inch thick. Pat dry with a towel to remove excess moisture.
- In a mixing bowl, combine white vinegar, water, kosher salt, and sugar. Stir until salt and sugar dissolve completely.
- Place the sliced cucumbers, garlic cloves, dill sprigs, black peppercorns, red pepper flakes, and optional mustard seeds into a quart-sized glass jar.
- Pour the brine mixture over the cucumbers, making sure they’re fully submerged. Use a clean utensil to press down the cucumbers if needed. Seal the jar tightly.
- Place the jar in the refrigerator and let the pickles sit for at least 48 hours before tasting; 3-4 days is ideal for full flavor and crispness.
- After a couple of days, taste the pickles. Once ready, keep refrigerated and consume within two weeks.
Notes
Pat cucumbers dry before pickling to keep them crisp. Keep cucumber slices fully submerged in brine to prevent softening or mold. Let pickles sit at least 2 days for best flavor and crunch. Use fresh, firm Kirby or Persian cucumbers for optimal texture. Adjust spices and vinegar type to taste. Store pickles refrigerated and consume within two weeks.
Nutrition
- Serving Size: Approximately 1/4 cu
- Calories: 12
- Sugar: 1
- Sodium: 600
- Carbohydrates: 3
- Fiber: 1
Keywords: quick pickles, refrigerator pickles, dill pickles, easy pickles, crunchy pickles, fresh pickles, snack, homemade pickles


