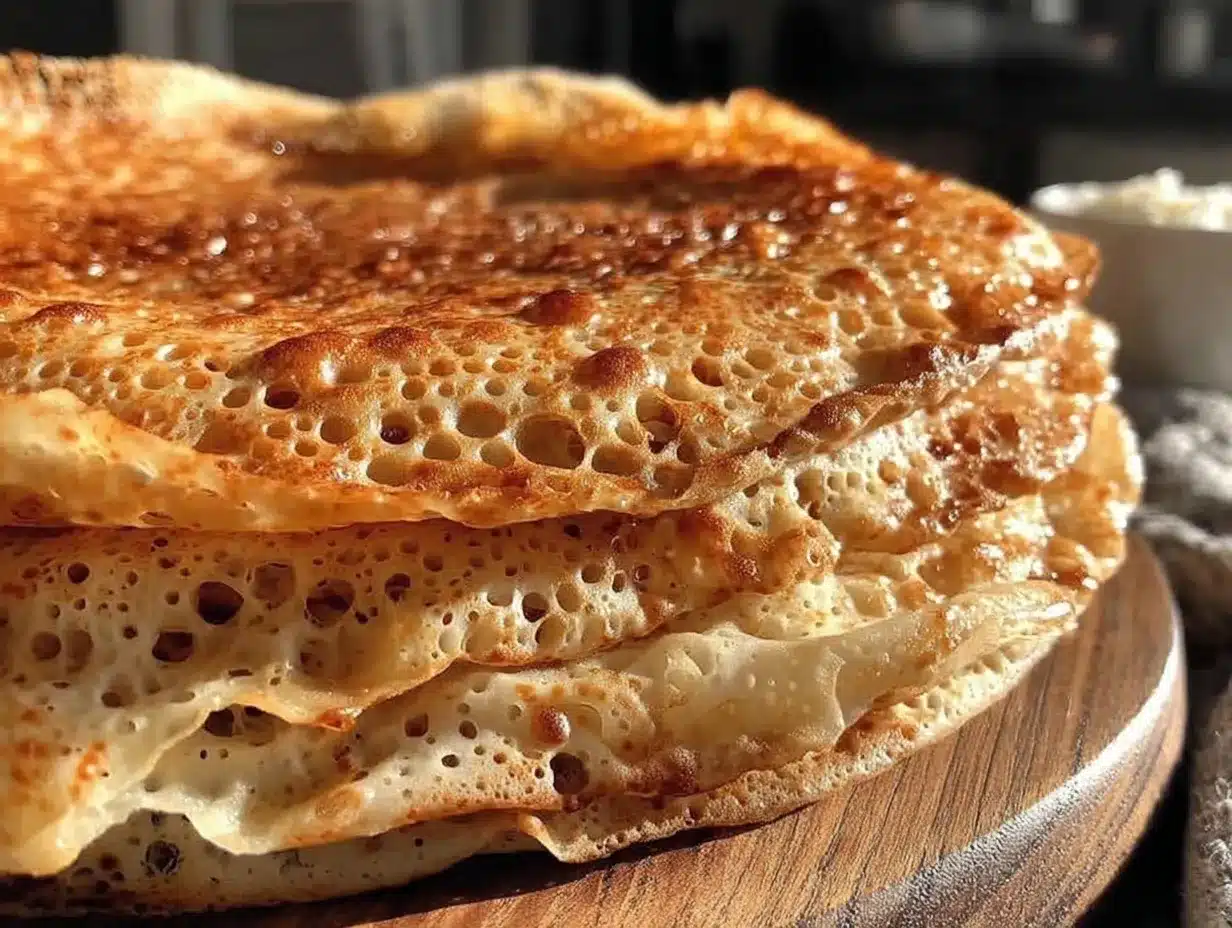
Let me tell you, the aroma of fermenting teff flour mingling with the warmth of a hot griddle is enough to transport you straight to an Ethiopian kitchen. The first time I made this tender Ethiopian injera bread, I was instantly hooked—the kind of moment where you pause, take a deep breath, and just smile because you know you’re onto something truly special. Years ago, when I was knee-high to a grasshopper, my grandma used to bring home fresh injera from the market, and that slightly sour, spongy texture stuck with me ever since.
Honestly, stumbling upon this recipe felt like rediscovering a treasured family secret. My attempts at recreating that authentic soft tangy flavor on a rainy weekend led to this dangerously easy homemade injera. My family couldn’t stop sneaking them off the cooling rack (and I can’t really blame them). It’s perfect for potlucks, a sweet treat for your kids (paired with some honey or stews), or just to brighten up your Pinterest cookie board with something a little different.
After testing this recipe multiple times—in the name of research, of course—it’s become a staple for family gatherings and gifting. This injera feels like a warm hug wrapped in a soft, spongy bread that you’re going to want to bookmark and make again and again.
Why You’ll Love This Recipe
I’ve spent countless afternoons perfecting this tender Ethiopian injera bread recipe, and here’s why it stands out from the rest:
- Quick & Easy: Comes together in just a few simple steps, with most of the time spent letting the batter ferment naturally.
- Simple Ingredients: Uses pantry staples like teff flour and water—you probably already have everything on hand.
- Perfect for Any Occasion: Whether you’re hosting a cozy dinner or want to wow guests with authentic Ethiopian cuisine, this bread fits perfectly.
- Crowd-Pleaser: Kids and adults alike rave about the soft, spongy texture paired with its mild tang.
- Unbelievably Delicious: The gentle sourness cuts through rich stews and dips, making every bite a comforting delight.
What makes this injera recipe different? The secret lies in the balanced fermentation time and the precise batter consistency—no guesswork! Plus, I’ve tweaked the method to achieve a tender crumb every time, avoiding that tough, rubbery texture you sometimes get elsewhere. It’s comfort food reimagined—simple, authentic, and soul-soothing.
What Ingredients You Will Need
This recipe uses simple, wholesome ingredients to deliver bold flavor and satisfying texture without the fuss. Here’s what you’ll need:
- Teff flour (2 cups / 250g): The star of the show. Look for finely ground, whole-grain teff flour for best results.
- All-purpose flour (1/2 cup / 60g): Adds a bit of gluten to help with structure; you can swap with gluten-free flour for a gluten-free injera.
- Water (3 cups / 720ml): Lukewarm is best to encourage fermentation.
- Salt (1 tsp): Enhances flavor without overpowering the tang.
- Baking powder (optional, 1 tsp): Sometimes added just before cooking to help with lift and tenderness, depending on how long you ferment your batter.
If you want to experiment, you can substitute part of the teff flour with barley or sorghum flour, which are traditional in some regional variations. For best flavor, I recommend Bob’s Red Mill teff flour—it’s consistent and fresh. And if you’re in a pinch, white teff flour works, but it has a milder flavor and lighter color.
Equipment Needed
- Large mixing bowl: For fermenting the batter comfortably.
- Whisk or wooden spoon: To mix the batter smoothly.
- Non-stick skillet or traditional mitad griddle (12-inch / 30cm): The key to that signature injera texture. A non-stick skillet works well if you don’t have a mitad.
- Lid or large plate: To cover the injera while cooking, helping steam the top and keep it soft.
- Measuring cups and spoons: For precise ingredient amounts.
If you’re serious about making injera often, investing in a mitad griddle is worth it—it distributes heat evenly and creates the authentic bubbles that make injera so special. Otherwise, a good non-stick pan will do just fine. Keep your skillet well-seasoned and clean to avoid sticking, which can be a pain when you’re cooking delicate batter.
Preparation Method
- Mix the batter: In a large bowl, combine 2 cups (250g) teff flour and 1/2 cup (60g) all-purpose flour. Gradually whisk in 3 cups (720ml) lukewarm water until smooth with no lumps. The batter should be thin—almost like a crepe batter.
- Ferment the batter: Cover the bowl loosely with a kitchen towel or plastic wrap and leave it at room temperature for 2-3 days. You’ll know it’s ready when bubbles appear on the surface and it smells pleasantly sour (like mild yogurt). This step is key for the soft tangy flavor.
- Add salt and optional baking powder: Stir in 1 teaspoon salt. If your batter has fermented for more than 48 hours, add 1 teaspoon baking powder just before cooking to help with fluffiness.
- Heat your skillet: Preheat a non-stick skillet or mitad griddle over medium heat for about 5 minutes. It should be hot but not smoking.
- Cook the injera: Pour about 1/2 cup (120ml) of batter into the skillet, starting from the outside and spiraling inward to form a 10-inch (25cm) circle. Quickly cover with a lid or large plate to trap steam. Cook for 2-3 minutes until holes form on the surface and the edges lift. Do not flip; injera cooks on one side only.
- Remove and cool: Carefully lift the injera with a spatula and place on a clean dish towel or plate. Let it cool slightly—it will remain soft and pliable.
- Repeat: Continue with the remaining batter, reheating the skillet if needed. Adjust heat as necessary to avoid burning.
Pro tip: If the batter is too thick after fermentation, thin it with a little water. If it’s too thin, add a tablespoon of flour. The batter consistency makes or breaks your injera’s texture!
Cooking Tips & Techniques
Making injera might seem tricky at first, but a few little tips can make all the difference. First, patience with fermentation pays off. Letting the batter develop that soft tangy flavor naturally is where the magic happens. Don’t rush it!
When cooking, maintain medium heat—it’s tempting to crank it up, but too hot and your injera will burn on the bottom before it cooks through. Using a lid traps steam, which helps cook the top and keeps the bread soft.
If you notice your injera is tearing or sticking, your pan might be too dry or not hot enough. Try lightly oiling the pan with a paper towel dipped in neutral oil, but don’t overdo it—that can change the flavor and texture.
One mistake I made early on was flipping the injera—let’s face it, I thought it was like a pancake! But injera cooks on just one side, so resist the urge. The holes that form on top are a sign that it’s cooked perfectly and ready to come off the pan.
Variations & Adaptations
If you want to put your own spin on this tender Ethiopian injera bread recipe, here are some directions to try:
- Gluten-free: Use 100% teff flour or substitute the all-purpose flour with a gluten-free blend. The texture will be slightly different but still delicious.
- Quick ferment: If you’re short on time, add a teaspoon of yeast to the batter and let it ferment for 8-12 hours at a warm spot. The tang will be milder but the texture remains tender.
- Flavored injera: Mix in a tablespoon of cracked fenugreek seeds or a pinch of smoked paprika for a subtle twist that pairs beautifully with Ethiopian stews.
I once tried swapping half the teff with sorghum flour and added a touch of honey—my family loved the slightly sweeter, earthier flavor. Feel free to experiment a bit; injera is forgiving and versatile!
Serving & Storage Suggestions
Serve injera warm or at room temperature, ideally right after cooking to enjoy its soft, spongy texture. It pairs beautifully with traditional Ethiopian dishes like doro wat (spicy chicken stew) or misir wat (lentil stew), but honestly, it’s great with anything saucy you want to scoop up.
If you have leftovers, wrap them tightly in plastic wrap or store in an airtight container in the refrigerator for up to 3 days. To reheat, steam gently over a pot of boiling water or warm briefly in a skillet covered with a lid to keep it soft—microwaving can make injera rubbery.
Flavors often mellow and deepen when stored overnight, so sometimes I purposely make injera a day ahead for that perfect balance of tang and tenderness.
Nutritional Information & Benefits
A typical serving of this tender Ethiopian injera bread (about one large piece, 100g) contains approximately 150 calories, 1.5g fat, 30g carbohydrates, and 4g protein. It’s naturally low in fat and free from added sugars.
Teff flour is a nutritional powerhouse, rich in fiber, iron, and calcium. It’s also gluten-free, making injera suitable for many dietary needs. The natural fermentation process boosts digestibility and adds probiotics, contributing to gut health.
From a wellness perspective, this injera recipe offers a nourishing alternative to typical breads and wraps, combining tradition with wholesome ingredients.
Conclusion
There you have it—a tender Ethiopian injera bread recipe that’s easy to make at home, packed with that soft tangy flavor you crave. Whether you’re new to Ethiopian cooking or a seasoned fan, this recipe offers a simple way to bring authentic taste to your table.
Don’t be shy to tweak the fermentation times or try different flours to suit your preferences. For me, injera isn’t just bread—it’s a connection to culture, family, and shared meals full of warmth.
Give this recipe a go, share your adventures, and let me know how it turns out. You’re going to love adding this soft, spongy delight to your cooking repertoire!
FAQs About Tender Ethiopian Injera Bread
How long should I ferment injera batter?
Typically, 2-3 days at room temperature is ideal to develop the signature tangy flavor. Warmer climates may ferment faster; cooler ones might take longer.
Can I make injera without teff flour?
Teff is traditional, but you can substitute with sorghum or barley flours. Using 100% all-purpose flour won’t yield the authentic taste or texture.
Why does my injera turn out rubbery sometimes?
Usually due to overcooking or flipping the bread. Injera cooks on one side only, and the pan should be hot but not too hot.
Can I freeze injera?
Yes! Wrap individual pieces in plastic wrap and store in a freezer-safe bag for up to a month. Thaw at room temperature and steam gently before serving.
What dishes go best with injera?
Traditional Ethiopian stews like doro wat, misir wat, and kitfo are classic companions, but injera also works well with hummus, dips, or even as a unique wrap for grilled veggies or meats.
Pin This Recipe!
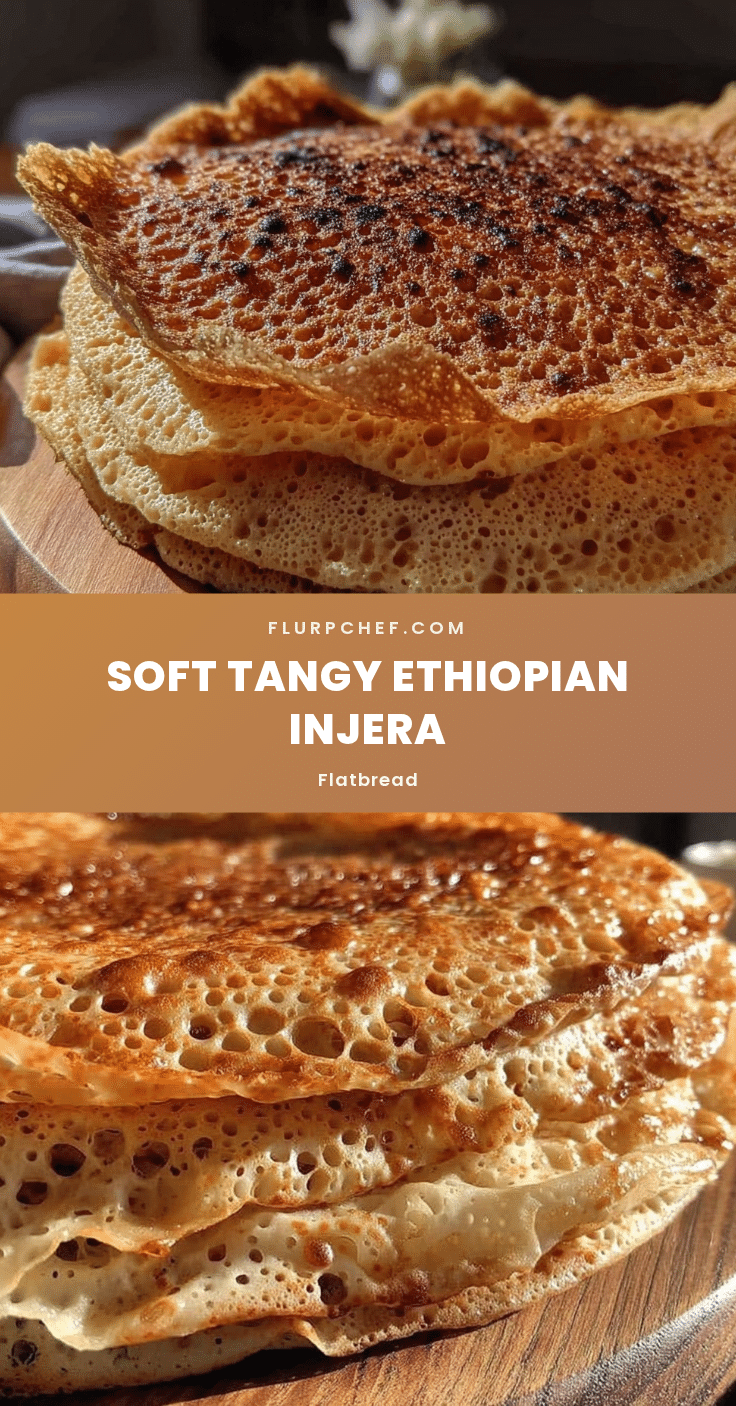
Tender Ethiopian Injera Bread Recipe Easy Homemade Soft Tangy Flavor

A tender, soft, and spongy Ethiopian injera bread with a mild tangy flavor, made easily at home using simple ingredients and natural fermentation.
- Prep Time: 10 minutes
- Cook Time: 2-3 minutes per injera, total about 30 minutes depending on batch size
- Total Time: 2-3 days fermentation plus about 40 minutes active time
- Yield: 8-10 large injera (about 8-10 servings) 1x
- Category: Bread
- Cuisine: Ethiopian
Ingredients
- 2 cups (250g) teff flour
- 1/2 cup (60g) all-purpose flour (can substitute with gluten-free flour for gluten-free injera)
- 3 cups (720ml) lukewarm water
- 1 teaspoon salt
- 1 teaspoon baking powder (optional, added just before cooking if batter ferments more than 48 hours)
Instructions
- In a large bowl, combine 2 cups (250g) teff flour and 1/2 cup (60g) all-purpose flour.
- Gradually whisk in 3 cups (720ml) lukewarm water until smooth with no lumps. The batter should be thin, like crepe batter.
- Cover the bowl loosely with a kitchen towel or plastic wrap and leave it at room temperature for 2-3 days until bubbles appear and it smells pleasantly sour.
- Stir in 1 teaspoon salt. If batter has fermented for more than 48 hours, add 1 teaspoon baking powder just before cooking.
- Preheat a non-stick skillet or mitad griddle over medium heat for about 5 minutes until hot but not smoking.
- Pour about 1/2 cup (120ml) of batter into the skillet, spiraling inward to form a 10-inch (25cm) circle.
- Quickly cover with a lid or large plate to trap steam and cook for 2-3 minutes until holes form on the surface and edges lift. Do not flip.
- Carefully lift the injera with a spatula and place on a clean dish towel or plate to cool slightly.
- Repeat with remaining batter, reheating skillet as needed and adjusting heat to avoid burning.
Notes
If batter is too thick after fermentation, thin with a little water; if too thin, add a tablespoon of flour. Do not flip injera while cooking. Use medium heat and cover with a lid to trap steam for soft texture. For gluten-free injera, use 100% teff flour or gluten-free flour blend. Injera can be frozen wrapped tightly and reheated by steaming.
Nutrition
- Serving Size: One large piece (abo
- Calories: 150
- Sodium: 300
- Fat: 1.5
- Saturated Fat: 0.2
- Carbohydrates: 30
- Fiber: 3
- Protein: 4
Keywords: injera, Ethiopian bread, teff flour, fermented bread, gluten-free bread, traditional Ethiopian recipe, soft tangy bread


