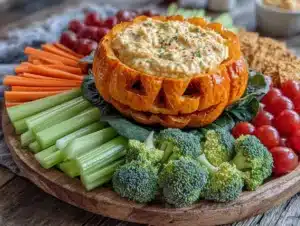
It was 11:47 PM on a random Wednesday in late September, and I was wide awake with a very specific craving. Not for a snack, mind you, but for a party trick. My annual Halloween gathering was in two days, and I still hadn’t figured out my centerpiece. I didn’t have a fancy platter or a themed serving board, but I had a bag of baby carrots, a block of cream cheese softening on the counter, and the sudden, slightly unhinged idea that a vegetable tray could look like a pumpkin patch. Honestly, I was too tired to overthink it, which is probably the only reason it worked.
You know that feeling when you’re running on fumes and your brain just connects dots it never would during daylight hours? That was this. I grabbed a round pizza pan from the back of the cabinet, spread that cream cheese like I was frosting a cake, and started arranging the veggies. I mean, I was just placing them, but in my head, I was building a landscape. The broccoli became bushes, the cauliflower turned into fluffy clouds, and the baby carrots? They were the pumpkins. It looked ridiculous and brilliant all at once.
I snapped a quick photo at 12:15 AM, sent it to my sister with the caption “I’ve lost it,” and went to sleep. The next morning, she called me asking for the recipe. Not a joke. She wanted to know how I made a veggie tray look like a tiny farm. That’s when I knew this weird, late-night impulse had legs. It’s become my go-to for every Halloween party since, and let me tell you, it steals the table every single time.
Why You’ll Love This Recipe
This isn’t just another veggie tray. It’s a conversation starter, a crowd-pleaser, and a stress-saver all rolled into one. I’ve tested this at five different parties now, and it never fails to get a reaction. People actually stop mid-conversation to point at it. That’s the kind of energy we want at a gathering, right?
- Quick & Easy : Comes together in under 20 minutes, which is a lifesaver when you’re juggling a dozen other party prep tasks. I’ve made this while simultaneously monitoring a pot of chili and answering the door for early guests.
- Simple Ingredients : No fancy grocery trips needed. You likely already have most of these veggies in your fridge. The cream cheese base is a pantry staple for most of us.
- Perfect for Halloween Parties : Great for potlucks, festive get-togethers, or even a spooky movie night. It fits the theme without requiring a costume.
- Crowd-Pleaser : Always gets rave reviews from both kids and adults. I’ve watched picky eaters reach for broccoli they normally ignore just because it’s part of the “scenery.”
- Unbelievably Adorable : The visual impact is next-level. It looks like a miniature farm scene, and people genuinely get excited about it.
What makes this different from every other veggie tray out there is the presentation. It’s not just arranged on a plate—it’s a landscape. The cream cheese acts as the “dirt,” and the veggies become the trees, pumpkins, and clouds. It’s the kind of dish that makes you smile before you even take a bite. Perfect for impressing guests without any stress, or turning a simple snack into something memorable. Honestly, it’s comfort food for the eyes.
What Ingredients You Will Need
This recipe uses simple, wholesome ingredients to deliver a stunning visual and satisfying crunch. Most of these are everyday staples, which is part of the magic. You don’t need to hunt down specialty items to make something that looks impressive.
- For the “Pumpkin Patch” Base
- 8 oz cream cheese, softened to room temperature (I prefer Philadelphia for its smooth texture)
- 1 packet ranch seasoning mix (Hidden Valley is my go-to, but any brand works)
- 2 tablespoons milk (whole or 2% works best; add more for a thinner dip)
- For the Veggie “Pumpkins”
- 1 bag (16 oz) baby carrots (look for the smaller, rounder ones for the best pumpkin shape)
- Fresh chives or green onion tops, cut into 1-inch pieces (these become the pumpkin stems)
- For the Veggie “Landscape”
- 1 head broccoli, cut into small florets (these become the bushes and trees)
- 1 head cauliflower, cut into small florets (these become the fluffy clouds)
- 1 red bell pepper, cut into thin strips (these become the fence or scarecrow details)
- 1 yellow bell pepper, cut into small triangles (optional, for sun or stars)
- Cherry tomatoes (optional, for extra color or “apples” on the trees)
- For the “Dirt” and Decoration
- Round pizza pan or large serving platter (12-14 inches in diameter)
- Pretzel sticks (for fence posts or scarecrow arms)
- Black olives, sliced (for scarecrow eyes or buttons)
Ingredient selection tip: For the best “pumpkin” shape, look for baby carrots that are naturally rounder and shorter. Some brands sell “petite” or “baby cut” carrots that are perfect for this. If your carrots are long and skinny, you can trim them down with a knife. Also, make sure your cream cheese is truly at room temperature—cold cream cheese will tear up your dip base and won’t spread smoothly.
Substitution guidance: Use dairy-free cream cheese and a dairy-free ranch seasoning for a vegan version. Greek yogurt can replace the cream cheese for a lighter dip, though it won’t be as thick. Feel free to swap in any veggies you have on hand—celery sticks become fence posts, and sugar snap peas can become leaves.
Equipment Needed
The beauty of this recipe is that it doesn’t require any specialized equipment. You probably have everything you need already sitting in your kitchen cabinets. I’ve made this with a cheap pizza pan from the dollar store and it looked just as good as the one on my fancy stoneware platter.
- Large round serving platter or pizza pan (12-14 inches)
- Small mixing bowl for the dip
- Hand mixer or sturdy whisk (a fork works in a pinch, but your arm will get tired)
- Spatula for spreading the cream cheese mixture
- Cutting board and sharp knife
- Small paring knife for carving carrot details (optional)
- Paper towels for drying veggies (wet veggies won’t stick to the dip)
Budget-friendly options: A disposable aluminum pizza pan works perfectly and costs about a dollar. You can also use a rectangular baking sheet if you don’t have a round platter—just adjust the arrangement to fit the shape. I’ve even used a large cutting board in a pinch, covered with parchment paper for easy cleanup.
Preparation Method
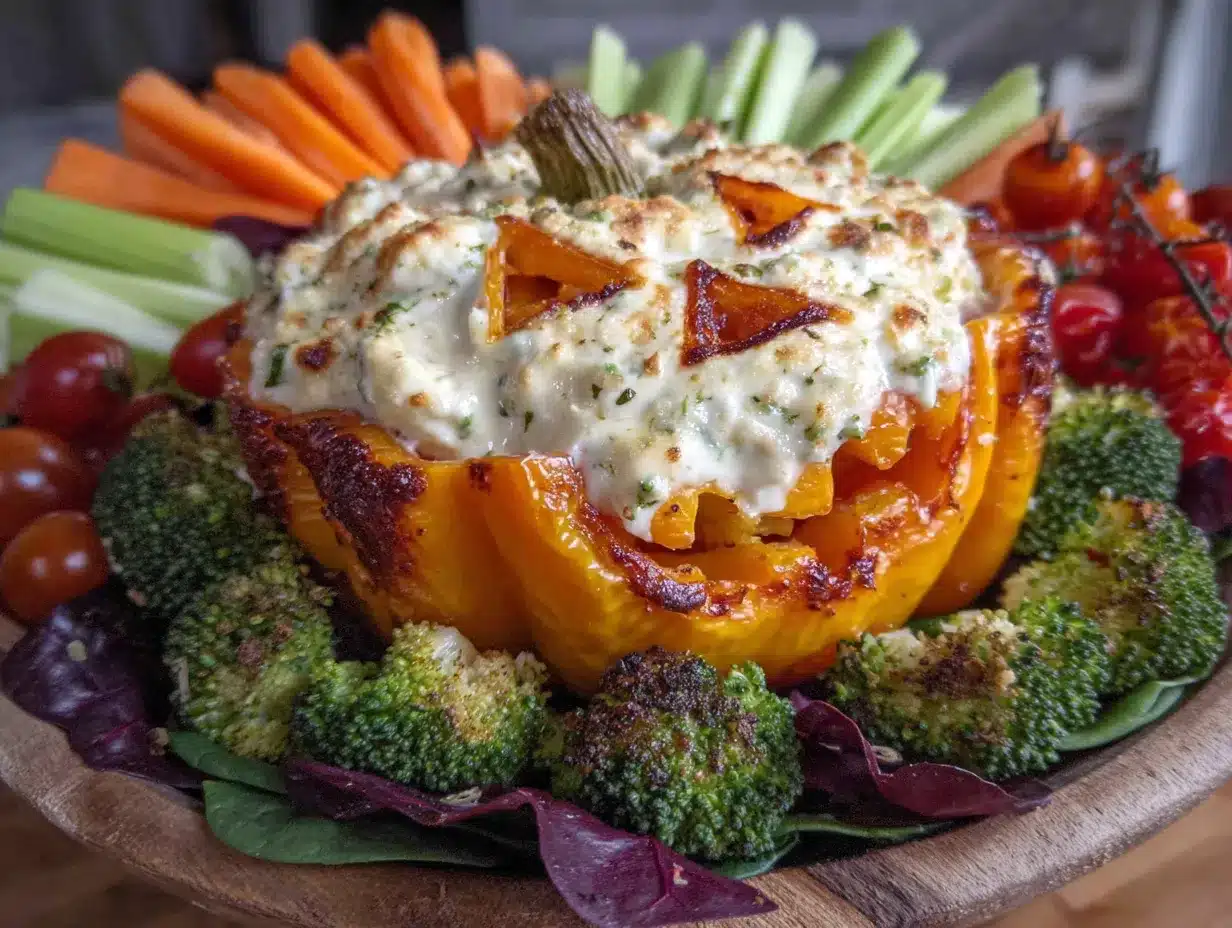
- Make the dip base : In a small mixing bowl, combine the softened cream cheese, ranch seasoning mix, and milk. Beat with a hand mixer on medium speed until smooth and fluffy, about 2 minutes. Scrape down the sides of the bowl halfway through. The mixture should be spreadable but not runny—if it’s too thick, add another tablespoon of milk.
- Prepare your canvas : Take your round pizza pan or platter and use a spatula to spread the cream cheese mixture evenly across the entire surface. Leave about a 1-inch border around the edge so it doesn’t drip off. The layer should be about 1/4 inch thick—thick enough to hold the veggies but thin enough to look like “dirt.” This is your pumpkin patch soil.
- Create the pumpkins : Take your baby carrots and pat them dry with a paper towel. Using a small paring knife, make a tiny slit in the top of each carrot. Insert a 1-inch piece of fresh chive or green onion top into the slit to create a stem. You want about half the chive sticking out. For a more realistic look, you can also carve tiny lines into the sides of the carrots with the tip of your knife to mimic pumpkin ridges. Place these “pumpkins” in clusters around the platter, pressing them gently into the cream cheese base so they stand upright.
- Build the landscape : Start arranging your veggies around the pumpkins. Place the broccoli florets in small groups to look like bushes or trees. I like to put a few taller ones in the back and shorter ones in the front for depth. Arrange the cauliflower florets in a loose grouping near the top of the platter to look like fluffy clouds. You can even overlap a few to create a sense of sky.
- Add the details : Use the red bell pepper strips to create a fence along one edge of the platter. Press the strips vertically into the cream cheese, leaving small gaps between them. Place a pretzel stick horizontally across the pepper strips to look like a fence rail. For a scarecrow, use a larger broccoli floret as the body, a cherry tomato as the head, and sliced black olives for the eyes and buttons. Use pretzel sticks for the arms.
- Fill in the gaps : Use any remaining veggies to fill in empty spots. Yellow bell pepper triangles can become stars or sun shapes. Cherry tomatoes can become “apples” on the broccoli trees. The goal is to make the entire platter look like a tiny, edible landscape with no bare spots.
- Chill and set : Once everything is arranged, place the platter in the refrigerator for at least 30 minutes before serving. This allows the cream cheese base to firm up and helps the veggies stay in place. If you’re prepping for a party, you can make this up to 4 hours ahead of time—just cover it loosely with plastic wrap.
A note from my personal experience: The first time I made this, I arranged everything too densely and the veggies started toppling over. Leave a little breathing room between the larger pieces. Also, make sure your veggies are bone-dry before placing them. Wet veggies will slide right off the cream cheese and turn your beautiful pumpkin patch into a muddy mess.
Cooking Tips & Techniques
I’ve learned a few things the hard way so you don’t have to. Here are my best tips for making this look like a professional centerpiece rather than a toddler’s art project.
Dry your veggies thoroughly. This is the number one mistake people make. After washing your broccoli and cauliflower, lay them out on a clean kitchen towel or paper towels and let them air dry for at least 15 minutes. Any moisture will cause the cream cheese to become slippery, and your carefully placed “pumpkins” will slide right off. I learned this when my first attempt slid off the platter and onto my kitchen floor at 11 PM. Not my finest moment.
Use room temperature cream cheese. Cold cream cheese is impossible to spread evenly and will leave lumpy patches in your “dirt.” Let it sit on the counter for at least 30 minutes before you start. If you’re in a hurry, you can microwave it in 10-second bursts, but be careful—cream cheese can go from soft to melted really fast.
Build from the back forward. Start with your tallest elements (broccoli trees, cauliflower clouds) at the back of the platter and work your way forward to the shorter elements (carrot pumpkins, pepper fence). This creates depth and makes the scene look more realistic. Think of it like a stage set—you want the audience to feel like they’re looking into a tiny world.
Prep everything before you start assembling. Cut all your veggies, make your dip, and have your platter ready before you begin. Once you start spreading the cream cheese, you’re on the clock. The dip will start to set, and you don’t want to be scrambling to cut more broccoli while your base is drying out. I keep a small bowl of warm water nearby to clean my fingers between steps.
Don’t overthink it. This is supposed to be fun. The first time I made this, I spent 45 minutes trying to get the carrot pumpkins to look perfect. Now I just pop them in and they look great. Imperfection actually adds charm here—real pumpkin patches aren’t perfectly uniform either.
Variations & Adaptations
One of the best things about this recipe is how flexible it is. I’ve made it for different occasions and crowds, and it always adapts beautifully. Here are some variations I’ve tried and loved.
Vegan Version : Swap the cream cheese for a dairy-free version (I like Kite Hill or Miyoko’s) and use a vegan ranch seasoning mix. The texture will be slightly different, but the visual impact is the same. I made this for my friend’s plant-based Halloween party and it was the first thing to disappear.
Fall Harvest Theme : Instead of a pumpkin patch, turn it into a fall harvest scene. Use sliced yellow squash and zucchini as “hay bales,” purple cabbage as “grapes,” and sliced apples as “fallen leaves.” This works great for Thanksgiving or a fall-themed dinner party.
Spooky Graveyard : For a creepier vibe, use black olives to spell out “RIP” in the cream cheese. Add pretzel sticks as “tombstones” and use sliced cucumbers as “ghosts” (cut them into ghost shapes with a small cookie cutter). I did this for a haunted house party and it was a hit.
Kid-Friendly Farm : Let your kids help build their own farm scene. Use animal-shaped cookie cutters to cut cheese slices into pigs, cows, and chickens. Add small toy animals (cleaned thoroughly) as decorations. My nephew loves making this with me every year.
Low-Carb Adaptation : For keto or low-carb diets, use the same cream cheese base but swap the carrots for mini bell peppers or cucumber rounds. The broccoli and cauliflower are already low-carb friendly. I’ve made this for my keto friends and they appreciate having a festive option they can actually eat.
Serving & Storage Suggestions
This veggie tray is best served chilled, straight from the refrigerator. The cream cheese dip firms up nicely and the veggies stay crisp. I recommend taking it out about 10 minutes before serving to take the chill off, but no longer—you want it cold enough that the veggies stay crunchy.
Presentation tips : Place the platter on a slightly elevated surface, like a cake stand or a small box covered with a festive napkin. This draws the eye and makes it a focal point of your snack table. I like to surround it with small bowls of extra dip (hummus, guacamole) and a pile of napkins. The contrast of the green, orange, and white against a dark tablecloth really pops.
What to serve alongside : This pairs beautifully with other finger foods. I usually serve it next to a bowl of chili, some stuffed mushrooms, and a plate of deviled eggs. For drinks, a pumpkin spice punch or a dark beer complements the theme perfectly. If you’re hosting a kids’ party, apple cider is a great non-alcoholic option.
Storage instructions : Leftovers can be stored in an airtight container in the refrigerator for up to 2 days. The cream cheese dip will absorb some moisture from the veggies, so it won’t look as pretty, but it will still taste great. I actually prefer the dip the next day—the flavors meld together beautifully.
Reheating : This is served cold, so no reheating needed. If you want to repurpose the leftovers, the veggies can be used in a stir-fry or soup, and the cream cheese dip makes a great sandwich spread.
Flavor development : The dip actually gets better after a few hours in the fridge. The ranch seasoning infuses the cream cheese more deeply, and the veggie flavors start to mingle. I’ve found that making this the morning of a party and letting it chill all day produces the best results.
Nutritional Information & Benefits
This is one of those rare party dishes that’s actually good for you. The veggies provide a solid dose of fiber, vitamins, and antioxidants, while the cream cheese dip adds a bit of protein and calcium. Here’s a rough breakdown per serving (about 1/8 of the platter):
- Calories: 180
- Protein: 5g
- Carbohydrates: 12g
- Fiber: 3g
- Fat: 14g
- Saturated Fat: 8g
- Sodium: 420mg
- Sugar: 4g
Health benefits of key ingredients : Broccoli is packed with vitamin C and fiber, which supports immune health and digestion. Carrots are rich in beta-carotene, which your body converts to vitamin A for healthy vision and skin. Cauliflower is a great source of choline, which supports brain health. The cream cheese provides a small amount of calcium for bone health.
Dietary considerations : This recipe is naturally gluten-free (check your ranch seasoning label to be sure). For a lower-fat option, use reduced-fat cream cheese. For a dairy-free version, use plant-based cream cheese and dairy-free ranch seasoning. The veggies are naturally vegan, low-carb, and keto-friendly on their own.
Potential allergens : Contains dairy (cream cheese, milk). The ranch seasoning may contain trace amounts of soy or other allergens depending on the brand. Always check labels if serving to guests with allergies.
My wellness perspective : I love that this dish makes healthy eating feel like a celebration. When you present veggies in a fun, creative way, people actually reach for them. I’ve seen kids who normally avoid broccoli eat an entire floret just because it was part of the “scenery.” That’s a win in my book.
Conclusion
This Pumpkin Patch Halloween Veggie Tray is the kind of recipe that makes you look like a hosting genius without actually doing that much work. It’s playful, healthy, and absolutely guaranteed to be the first thing people talk about at your party. I’ve made it for five different gatherings now, and every single time, someone asks for the “recipe” (which is really just a method, but I let them call it a recipe).
I love that this dish brings out the kid in everyone. Adults who wouldn’t normally touch a veggie tray find themselves arranging the carrot pumpkins and snapping photos. It’s interactive, it’s fun, and it tastes great. Honestly, that’s the kind of energy we need more of at our gatherings.
So go ahead—grab a pizza pan, raid your veggie drawer, and build yourself a tiny pumpkin patch. And when your guests start asking how you did it, just smile and say it was a late-night idea that somehow worked. Because that’s exactly what it was.
I’d love to hear how yours turns out! Drop a comment below with your own variations or tag me in your photos on social media. Happy Halloween, and happy snacking!
Frequently Asked Questions
Can I make this veggie tray ahead of time?
Absolutely! You can assemble the entire tray up to 4 hours before serving. Just cover it loosely with plastic wrap and keep it in the refrigerator. The cream cheese dip will firm up nicely, and the veggies will stay crisp. I actually recommend making it at least an hour ahead so the flavors have time to meld.
What if I don’t have a round platter?
No problem at all. A rectangular baking sheet, a large cutting board, or even a clean serving tray will work. The shape just changes how you arrange the landscape. For a rectangular platter, I like to create a long “field” of pumpkins in the center with “trees” at both ends.
How do I keep the veggies from falling over?
The key is to press them gently but firmly into the cream cheese base. Make sure your cream cheese layer is thick enough (about 1/4 inch) to hold the veggies upright. For taller items like broccoli florets, you can trim the stem at an angle so it sits flat against the platter.
Can I use different veggies?
Of course! This recipe is incredibly flexible. Try using sugar snap peas as “leaves,” celery sticks as “fence posts,” or sliced radishes as “flowers.” The only rule is to make sure your veggies are dry before placing them on the cream cheese. Wet veggies will slide right off.
How long will this last at a party?
This veggie tray can sit out at room temperature for up to 2 hours safely. After that, the cream cheese dip should be refrigerated. If you’re having a long party, I recommend making two smaller trays and swapping them out halfway through. The veggies stay crispest when they’re cold, so keep the backup tray in the fridge until you need it.
Pin This Recipe!
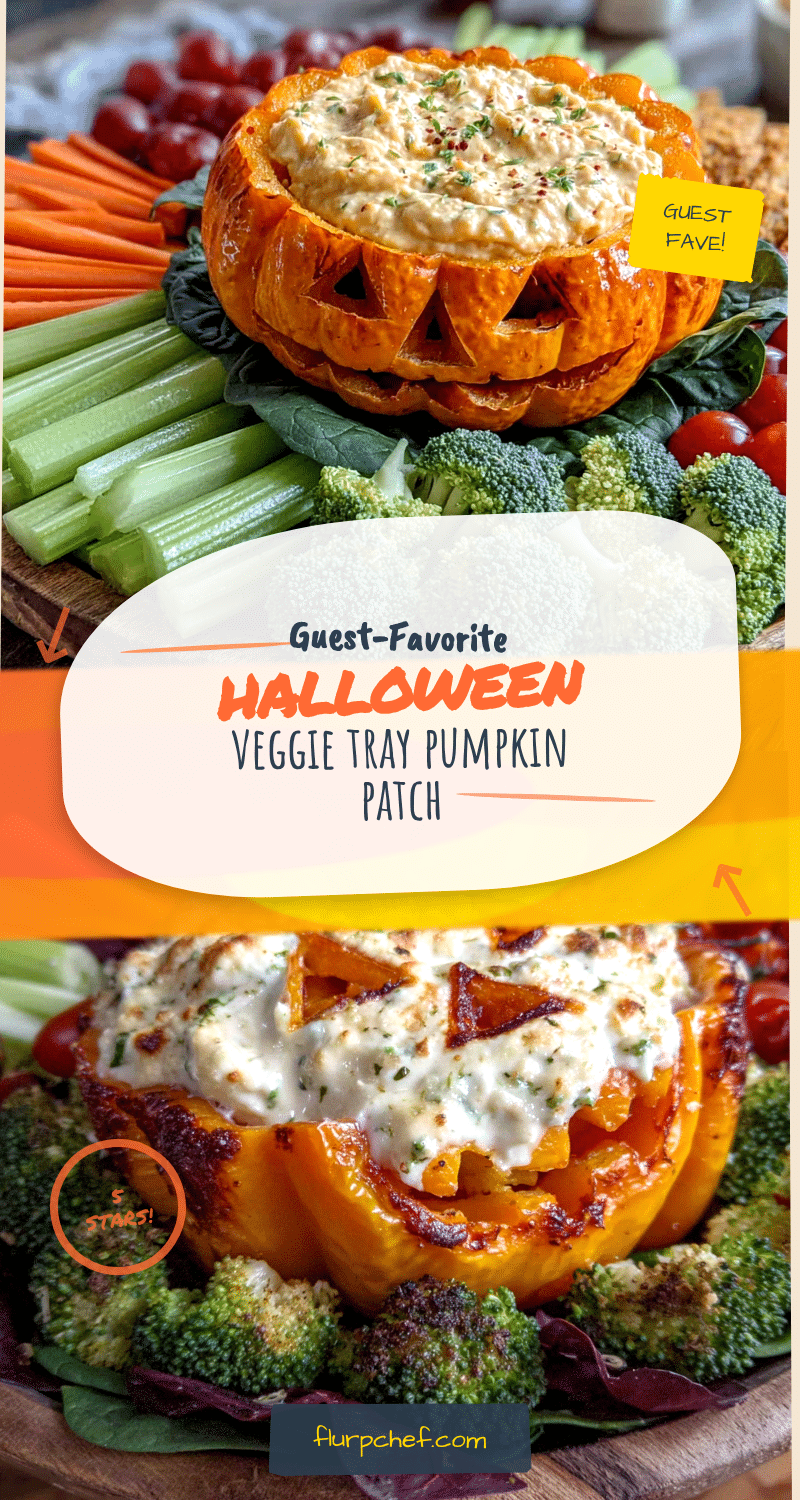
Perfect Pumpkin Patch Halloween Veggie Tray

A fun and festive Halloween veggie tray that looks like a miniature pumpkin patch, complete with cream cheese ‘dirt’, broccoli bushes, cauliflower clouds, and baby carrot pumpkins. It’s a crowd-pleasing, healthy party centerpiece that comes together in under 20 minutes.
- Prep Time: 20 minutes
- Cook Time: 0 minutes
- Total Time: 20 minutes
- Yield: 8 servings 1x
- Category: Appetizer
- Cuisine: American
Ingredients
- 8 oz cream cheese, softened to room temperature
- 1 packet ranch seasoning mix
- 2 tablespoons milk (whole or 2%)
- 1 bag (16 oz) baby carrots
- Fresh chives or green onion tops, cut into 1-inch pieces
- 1 head broccoli, cut into small florets
- 1 head cauliflower, cut into small florets
- 1 red bell pepper, cut into thin strips
- 1 yellow bell pepper, cut into small triangles (optional)
- Cherry tomatoes (optional)
- Pretzel sticks
- Black olives, sliced
Instructions
- Make the dip base: In a small mixing bowl, combine the softened cream cheese, ranch seasoning mix, and milk. Beat with a hand mixer on medium speed until smooth and fluffy, about 2 minutes. Scrape down the sides of the bowl halfway through. The mixture should be spreadable but not runny—if it’s too thick, add another tablespoon of milk.
- Prepare your canvas: Take your round pizza pan or platter and use a spatula to spread the cream cheese mixture evenly across the entire surface. Leave about a 1-inch border around the edge so it doesn’t drip off. The layer should be about 1/4 inch thick—thick enough to hold the veggies but thin enough to look like ‘dirt.’ This is your pumpkin patch soil.
- Create the pumpkins: Take your baby carrots and pat them dry with a paper towel. Using a small paring knife, make a tiny slit in the top of each carrot. Insert a 1-inch piece of fresh chive or green onion top into the slit to create a stem. You want about half the chive sticking out. For a more realistic look, you can also carve tiny lines into the sides of the carrots with the tip of your knife to mimic pumpkin ridges. Place these ‘pumpkins’ in clusters around the platter, pressing them gently …
- Build the landscape: Start arranging your veggies around the pumpkins. Place the broccoli florets in small groups to look like bushes or trees. I like to put a few taller ones in the back and shorter ones in the front for depth. Arrange the cauliflower florets in a loose grouping near the top of the platter to look like fluffy clouds. You can even overlap a few to create a sense of sky.
- Add the details: Use the red bell pepper strips to create a fence along one edge of the platter. Press the strips vertically into the cream cheese, leaving small gaps between them. Place a pretzel stick horizontally across the pepper strips to look like a fence rail. For a scarecrow, use a larger broccoli floret as the body, a cherry tomato as the head, and sliced black olives for the eyes and buttons. Use pretzel sticks for the arms.
- Fill in the gaps: Use any remaining veggies to fill in empty spots. Yellow bell pepper triangles can become stars or sun shapes. Cherry tomatoes can become ‘apples’ on the broccoli trees. The goal is to make the entire platter look like a tiny, edible landscape with no bare spots.
- Chill and set: Once everything is arranged, place the platter in the refrigerator for at least 30 minutes before serving. This allows the cream cheese base to firm up and helps the veggies stay in place. If you’re prepping for a party, you can make this up to 4 hours ahead of time—just cover it loosely with plastic wrap.
Notes
Dry your veggies thoroughly before placing them on the cream cheese to prevent sliding. Use room temperature cream cheese for easy spreading. Build from the back forward for depth. Prep all ingredients before assembling. The dip gets better after a few hours in the fridge.
Nutrition
- Serving Size: 1/8 of platter
- Calories: 180
- Sugar: 4
- Sodium: 420
- Fat: 14
- Saturated Fat: 8
- Carbohydrates: 12
- Fiber: 3
- Protein: 5
Keywords: Halloween, veggie tray, pumpkin patch, party appetizer, healthy snack, fall, holiday, cream cheese dip, vegetable platter