“Hey, do you have anything sweet?” That text popped up from my roommate one evening when the fridge was looking pretty bare except for some basics and a lonely pack of Oreos. Honestly, I was skeptical—no baking, no fuss? I figured, why not give it a shot? I was juggling a hectic week and the thought of firing up the oven was the last thing on my mind. So, I threw together these creamy no-bake Oreo cheesecake bars with just five ingredients, hoping for something decent.
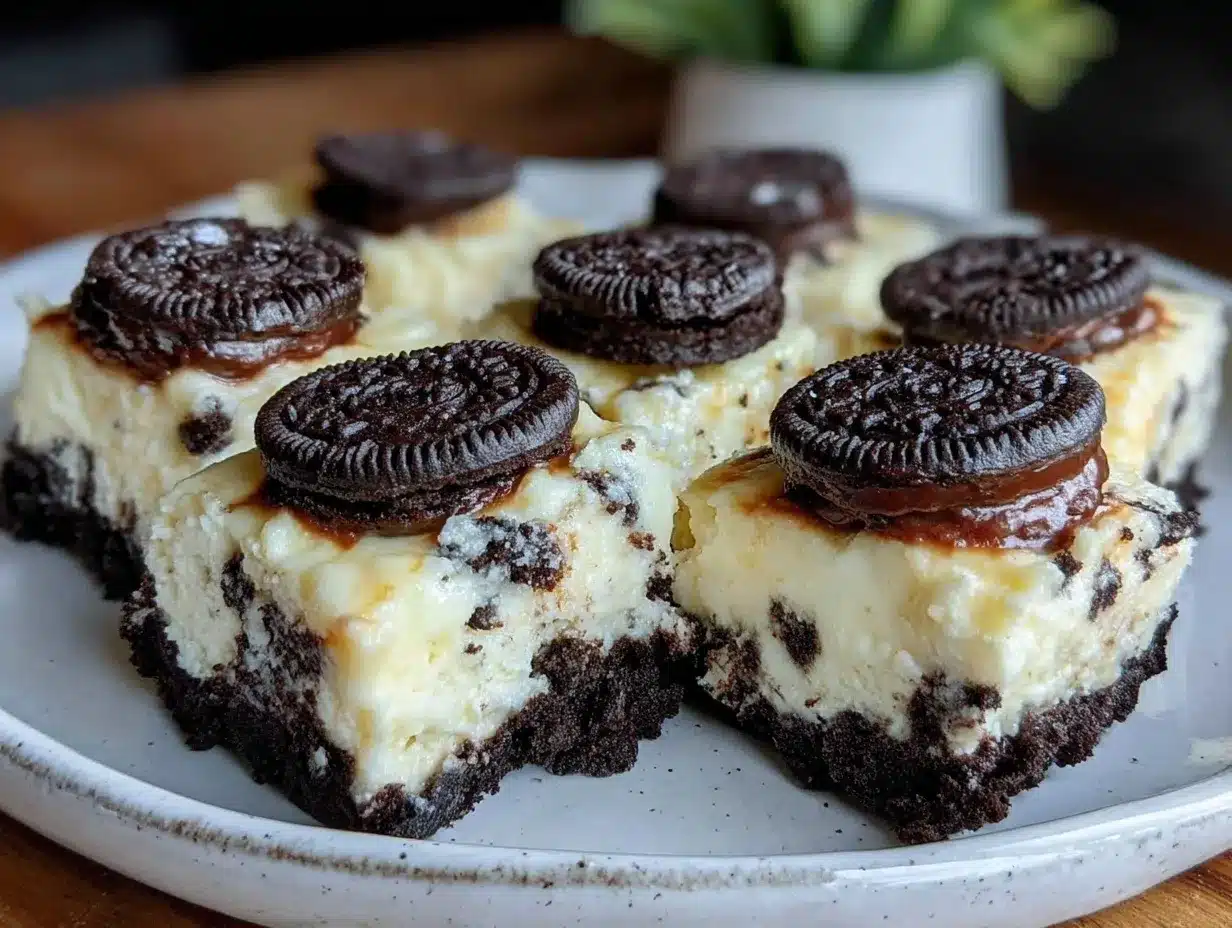
What happened next? Well, let’s just say the bars vanished faster than I expected. The creamy texture paired with those crunchy Oreo bits was unexpectedly satisfying. It’s funny how a simple craving and a few pantry staples turned into a dessert that quickly became our go-to treat. I found myself making these bars multiple times that week—each time tweaking the Oreo layer a bit, but never straying too far from the original 5-ingredient magic.
These bars aren’t just dessert; they’re like a little moment of calm on a busy day. The ease of no-bake preparation combined with rich, velvety cheesecake filling made them stick around in my recipe box. They’re perfect for when you want something indulgent without the mess or wait time. Honestly, it’s the kind of dessert that makes you pause, take a bite, and just nod in approval. That’s why these creamy no-bake Oreo cheesecake bars have stayed a favorite in my kitchen—and maybe they’ll find a spot in yours too.
Why You’ll Love This Creamy No-Bake Oreo Cheesecake Bars Recipe
After testing and tasting these bars multiple times, I’m confident this recipe hits all the right notes. It’s a simple, fuss-free dessert that doesn’t compromise on flavor or texture. Here’s why this creamy no-bake Oreo cheesecake bars recipe stands out:
- Quick & Easy: Ready in under 20 minutes and sets in the fridge—perfect for last-minute dessert needs or casual get-togethers.
- Simple Ingredients: Just five common pantry staples—no fancy grocery runs required. You probably have most of these on hand already.
- Perfect for Any Occasion: Whether it’s a casual snack, a weekend treat, or an easy dessert for a potluck, these bars fit right in.
- Crowd-Pleaser: Kids love the sweet Oreo crunch, and adults appreciate the creamy, smooth cheesecake filling.
- Unbelievably Delicious: The balance of creamy and crunchy textures is spot on, with just the right amount of sweetness.
What makes this version different? I blend the cream cheese until it’s extra smooth and fold in crushed Oreos carefully to keep that satisfying texture without making the filling gritty. Plus, the Oreo crust doubles up the cookie goodness, giving every bite that familiar chocolatey crunch. It’s honestly one of the simplest yet most indulgent desserts I’ve made that never gets old.
These bars aren’t just tasty—they’re a little reminder that you don’t need hours or complicated steps to whip up something special. They’re the kind of dessert you can close your eyes and savor, bringing a bit of joy to any day.
What Ingredients You Will Need
This creamy no-bake Oreo cheesecake bars recipe uses straightforward ingredients that deliver rich flavor and satisfying texture. Most are pantry staples, and substitutions are easy if needed.
- Oreo Cookies (about 24 cookies): For the crust and mix-in. I prefer the classic full-cream filling Oreos for that perfect balance of crunch and sweetness.
- Unsalted Butter (6 tablespoons / 85g), melted: Binds the crust together and adds richness. Use real butter for best flavor, but margarine works in a pinch.
- Cream Cheese (16 ounces / 450g), softened: The star of the filling. Make sure it’s room temperature so it blends smooth—Philadelphia brand is my go-to.
- Powdered Sugar (3/4 cup / 90g): Sweetens the filling without grittiness. This keeps the texture silky and creamy.
- Heavy Whipping Cream (1 cup / 240ml), cold: Whipped to light, fluffy peaks to fold into the cream cheese mixture, giving the bars that cloud-like texture.
Ingredient tips: For a lighter option, you can swap heavy cream with coconut cream, but it will slightly change the flavor. If you want to make these gluten-free, look for gluten-free sandwich cookies or use almond flour crust, but the classic Oreos really bring the nostalgic taste.
Equipment Needed
Making these creamy no-bake Oreo cheesecake bars requires only a handful of common kitchen tools, perfect for any home cook.
- 8×8 inch (20×20 cm) baking pan: Ideal for shaping the bars. You can line it with parchment paper for easy removal.
- Mixing bowls: One large for the filling and another for crushing Oreos and mixing the crust.
- Electric mixer or stand mixer: Helpful to whip the heavy cream and cream cheese smoothly. A hand mixer works just fine too.
- Food processor or plastic bag and rolling pin: For crushing the Oreos. I usually use a food processor for even crumbs, but a zip-top bag and rolling pin do the job without extra cleanup.
- Rubber spatula: For folding the whipped cream into the cream cheese mixture gently—keeps the texture light.
If you don’t have a food processor, no worries—crushing the Oreos by hand takes a bit more elbow grease but still works great. For those on a budget, a hand mixer and basic bowls are all you need to get started.
Preparation Method
- Prepare the crust: Crush 18 Oreo cookies into fine crumbs using a food processor or place them in a zip-top bag and crush with a rolling pin until almost powdery. Mix crumbs with the melted butter until combined. Press the mixture firmly into the bottom of the lined 8×8 inch pan. Refrigerate while preparing the filling to let it set (about 10 minutes).
- Whip the cream: In a chilled bowl, beat 1 cup (240ml) of cold heavy whipping cream on medium-high speed until stiff peaks form. This usually takes about 3-5 minutes. Set aside.
- Blend the cream cheese and sugar: In a separate large bowl, beat 16 ounces (450g) of softened cream cheese with 3/4 cup (90g) powdered sugar until smooth and creamy—no lumps. This step is crucial for the silky texture, so take your time.
- Combine cream cheese and whipped cream: Gently fold the whipped cream into the cream cheese mixture using a rubber spatula. Fold carefully to keep the mixture light and airy.
- Add crushed Oreos: Roughly chop 6 Oreo cookies and fold them into the filling. This gives nice chunks of cookie without overpowering the creamy filling.
- Assemble the bars: Spread the filling evenly over the prepared crust. Smooth the top with a spatula.
- Chill to set: Refrigerate the bars for at least 4 hours, preferably overnight, to allow the filling to firm up and flavors to meld.
- Cut and serve: Once set, remove from the pan using the parchment paper edges. Slice into bars with a sharp knife, wiping it clean between cuts for neat pieces.
Pro tip: If your cream cheese isn’t soft enough, microwave it for 10 seconds at a time—just until it softens but doesn’t melt. Also, chilling the bowl and beaters before whipping the cream makes a world of difference for volume.
Cooking Tips & Techniques for the Best Oreo Cheesecake Bars
Getting that perfect creamy no-bake Oreo cheesecake bars texture is all about technique and a few small details I’ve learned from trial and error.
- Softening cream cheese: It’s tempting to skip this, but softened cream cheese blends much better and avoids lumps. I always leave mine out for about 30 minutes before mixing.
- Whip cream cold: Cold heavy cream whips better and holds its shape longer. I keep mine in the fridge until the last second.
- Folding, not stirring: When combining whipped cream with cream cheese, fold gently to keep that fluffy texture. Overmixing can deflate the air and make the filling dense.
- Crushing Oreos: Don’t pulverize all the Oreos for the filling; leaving some chunks adds a nice surprise crunch in every bite.
- Refrigeration time: Resist the urge to cut these bars too early. The chilling time lets the filling firm up properly so your bars hold together and slice cleanly.
I remember the first time I tried cutting the bars after just an hour—total mess! Lesson learned: patience pays off deliciously here. Also, when pressing the crust, don’t forget to pack it tightly; otherwise, the bars might crumble when sliced.
Variations & Adaptations for Creamy No-Bake Oreo Cheesecake Bars
One of the great things about this recipe is how easy it is to tweak for different tastes and dietary needs. Here are some ideas I’ve tried or would recommend:
- Mint Oreo twist: Swap classic Oreos for mint-flavored ones to add a refreshing hint—great if you want a holiday-themed treat.
- Fruit layer: Add a thin layer of fresh raspberries or strawberry jam between crust and filling for a fruity contrast. It’s a fun way to brighten the flavor and add color.
- Gluten-free option: Use gluten-free sandwich cookies or make a crust with almond flour and butter to keep it safe for gluten-sensitive eaters.
- Dairy-free adaptation: Substitute cream cheese with dairy-free cream cheese and heavy cream with coconut cream. The texture shifts a bit but stays creamy and satisfying.
- Chocolate drizzle: Drizzle melted dark or white chocolate over the top for an extra decadent touch. I’ve done this for special occasions and it’s always a hit.
Personally, I like the classic version best, but adding fresh berries made it feel lighter during summer. If you like experimenting, pairing this with the fresh blueberry lemon trifle parfaits adds a bright, zesty contrast to the rich bars.
Serving & Storage Suggestions
These creamy no-bake Oreo cheesecake bars are best served chilled straight from the fridge. The cold temperature enhances the creamy texture and keeps the bars firm. I like to plate them simply—sometimes with a dusting of crushed Oreos or a dollop of whipped cream on the side for an extra touch.
They pair wonderfully with a hot cup of coffee or a cold glass of milk for a classic combo. If you’re serving them at a party, try offering alongside other easy desserts like the fudgy one-bowl brownies for a chocolate lover’s dream table.
Storage: Keep leftover bars covered in an airtight container in the refrigerator for up to 4 days. They also freeze well—wrap individual bars in plastic wrap and place in a freezer bag for up to 2 months. Thaw overnight in the fridge before serving to preserve texture.
Reheating tips: These bars are best enjoyed cold, but if you want a softer bite, let them sit at room temperature for 10-15 minutes before eating.
Over time, the flavors mellow and the Oreo pieces soften slightly, which some people actually prefer. So if you like a more integrated flavor, make these a day ahead.
Nutritional Information & Benefits
Each creamy no-bake Oreo cheesecake bar (assuming 12 servings) roughly contains:
| Calories | 320 kcal |
|---|---|
| Fat | 22 g |
| Carbohydrates | 26 g |
| Protein | 4 g |
Key ingredients like cream cheese provide a good dose of calcium and protein, while Oreos add sweetness and crunch but also sugars and carbs to keep in mind. This dessert is definitely on the indulgent side, so it’s perfect as an occasional treat.
For those watching gluten intake, swapping to gluten-free cookies is a simple fix. If dairy is a concern, the dairy-free adaptations still deliver creamy satisfaction without the lactose.
I appreciate how this recipe balances richness and simplicity, making it a satisfying choice when I want something sweet but not overly complicated or heavy.
Conclusion
These creamy no-bake Oreo cheesecake bars have become one of my favorite quick-dessert hacks. The ease of preparation combined with the luscious, creamy filling and classic Oreo crunch makes them hard to resist. I love how just five ingredients can come together into something that feels so indulgent yet requires almost no time or skill.
Feel free to tweak the recipe to match your tastes—whether that’s swapping cookies, adding fruit layers, or making it dairy-free. It’s a versatile dessert that welcomes creativity but also shines perfectly as-is.
If you try this recipe, I’d love to hear how you make it your own or what occasions you serve it at. Sharing these bars with friends always sparks good conversation and smiles, which is the best part of any recipe.
So grab those Oreos, cream cheese, and butter, and treat yourself to a little slice of creamy happiness today.
FAQs About Creamy No-Bake Oreo Cheesecake Bars
Can I make these bars ahead of time?
Absolutely! They actually taste better after chilling overnight, which helps the flavors meld and the texture firm up.
What’s the best way to crush Oreos without a food processor?
Place them in a sealed plastic bag and gently crush with a rolling pin or a heavy pan until you get fine crumbs and some small chunks.
Can I use low-fat cream cheese or whipped topping?
You can try low-fat cream cheese, but it may affect the creaminess. Whipped topping doesn’t whip the same as heavy cream, so the texture might be less fluffy.
How do I store leftover cheesecake bars?
Keep them in an airtight container in the fridge for up to 4 days or freeze individually wrapped for up to 2 months.
Can I double this recipe for a larger batch?
Yes! Just double all ingredients and use a larger pan (like 9×13 inch) for even bars. Adjust chilling time accordingly.
Pin This Recipe!
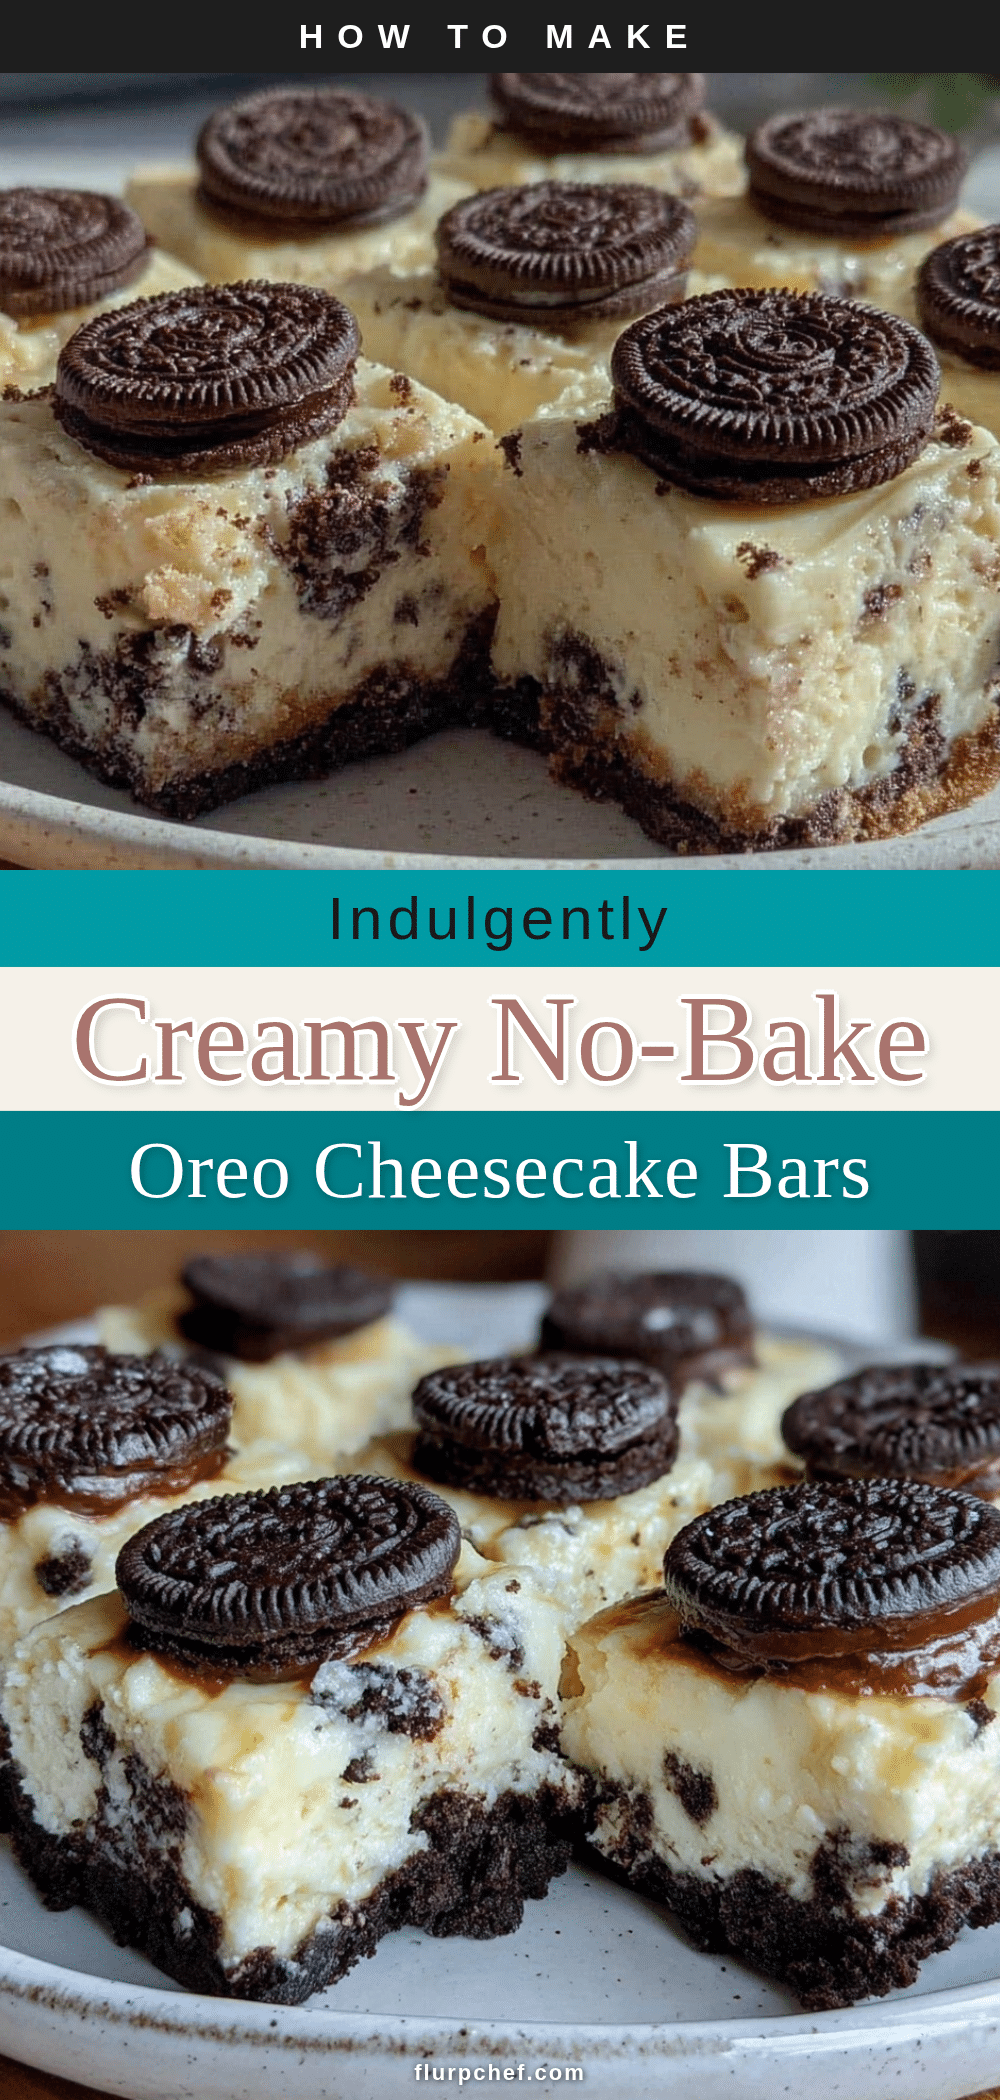
Creamy No-Bake Oreo Cheesecake Bars
A quick and easy no-bake dessert featuring a creamy cheesecake filling with crunchy Oreo bits, made with just five simple ingredients. Perfect for last-minute treats or casual get-togethers.
- Prep Time: 15 minutes
- Cook Time: 0 minutes
- Total Time: 4 hours 15 minutes
- Yield: 12 servings 1x
- Category: Dessert
- Cuisine: American
Ingredients
- 24 Oreo Cookies (classic full-cream filling)
- 6 tablespoons (85g) unsalted butter, melted
- 16 ounces (450g) cream cheese, softened
- 3/4 cup (90g) powdered sugar
- 1 cup (240ml) heavy whipping cream, cold
Instructions
- Crush 18 Oreo cookies into fine crumbs using a food processor or place them in a zip-top bag and crush with a rolling pin until almost powdery.
- Mix Oreo crumbs with melted butter until combined.
- Press the mixture firmly into the bottom of a lined 8×8 inch (20×20 cm) baking pan and refrigerate for about 10 minutes to set.
- In a chilled bowl, beat cold heavy whipping cream on medium-high speed until stiff peaks form (3-5 minutes). Set aside.
- In a separate large bowl, beat softened cream cheese with powdered sugar until smooth and creamy.
- Gently fold the whipped cream into the cream cheese mixture using a rubber spatula to keep it light and airy.
- Roughly chop 6 Oreo cookies and fold them into the filling.
- Spread the filling evenly over the prepared crust and smooth the top with a spatula.
- Refrigerate the bars for at least 4 hours, preferably overnight, to allow the filling to firm up and flavors to meld.
- Remove from the pan using parchment paper edges and slice into bars with a sharp knife, wiping it clean between cuts.
Notes
Softening the cream cheese before mixing is crucial for a smooth texture. Whip the heavy cream cold for best volume. Fold whipped cream gently into cream cheese mixture to keep it light and airy. Do not pulverize all Oreos for filling; leaving chunks adds texture. Chill bars at least 4 hours or overnight for best results. Use parchment paper to easily remove bars from pan.
Nutrition
- Serving Size: 1 bar (1/12th of rec
- Calories: 320
- Fat: 22
- Carbohydrates: 26
- Protein: 4
Keywords: no-bake, Oreo, cheesecake bars, easy dessert, 5-ingredient dessert, creamy, quick dessert, no oven dessert


