My brain is doing that thing again. It’s mid-October, the kitchen counter has a can of pumpkin puree staring at me from the pantry, and I’m craving something that feels like a hug but won’t leave me crashing by 10 AM. The problem with most pumpkin bread? It’s basically cake in disguise. Delicious, sure, but not exactly what I need on a Tuesday morning when I’ve got back-to-back calls and a kid who forgot his lunch. So here’s the thought that wouldn’t leave me alone: what if I swapped out the oil, cut the sugar, and threw in a big scoop of Greek yogurt for protein? Would it still taste like fall, or would it taste like a compromise?
Spoiler alert—it doesn’t taste like a compromise at all. This Healthy Greek Yogurt Pumpkin Bread is the kind of recipe that makes you question why you ever made it the old way. It’s moist, it’s spiced just right, and it’s got enough protein (thanks to that yogurt and a couple of eggs) to actually keep you full until lunch. I’ve been making this loaf on repeat for the past three weeks, and honestly, my family hasn’t even noticed it’s “healthy.” They just know it disappears fast. If you’ve been looking for a pumpkin bread that fits into your routine without the sugar crash, this one’s it. Let me show you how it works.
Why You’ll Love This Recipe
This isn’t just another pumpkin bread recipe—it’s the one that actually delivers on flavor and nutrition. I’ve tested this loaf more times than I’d like to admit (ask my neighbors), and every single batch came out better than the last. Here’s what makes it special:
- High Protein, No Powder: Most “high protein” baked goods rely on protein powder, which can turn things chalky fast. This recipe uses Greek yogurt and eggs for a protein boost that tastes completely natural. You get about 8 grams of protein per slice without any weird aftertaste.
- Naturally Sweetened: We’re using maple syrup and a touch of coconut sugar instead of a full cup of refined white sugar. The sweetness is subtle, warm, and lets the pumpkin shine through.
- Incredibly Moist: Greek yogurt does double duty here—it adds protein AND keeps the bread incredibly tender. No dry crumbs, no sad texture. This loaf stays moist for days (if it lasts that long).
- Simple Pantry Ingredients: You probably already have most of this in your kitchen. No fancy flours, no obscure superfoods. Just real food that works.
- Perfect for Meal Prep: Bake it on Sunday, and you’ve got breakfast, snacks, or even a quick dessert ready to go all week. It freezes beautifully too.
- Crowd-Pleaser: I brought this to a playdate last week, and three moms asked for the recipe. Kids devoured it. Husbands didn’t even blink. It’s that kind of recipe.
What really sets this bread apart is the texture. I’ve had so many “healthy” pumpkin breads that were dense and gummy—like eating a brick of pumpkin sadness. This one? It’s light, tender, and has that perfect crumb that makes you close your eyes after the first bite. It’s comfort food that actually works with your body, not against it.
What Ingredients You Will Need
This recipe uses simple, wholesome ingredients to deliver bold flavor and satisfying texture without the fuss. Most of these are pantry staples, which makes this bread perfect for those spontaneous baking moods.
- Pumpkin Puree (1 cup / 245g): Make sure you’re using 100% pure pumpkin puree, not pumpkin pie filling. The pie filling has added sugar and spices that will throw off the balance. I prefer Libby’s brand for consistent texture, but any pure pumpkin works.
- Greek Yogurt (1/2 cup / 120g): This is the protein powerhouse. Use plain, full-fat or 2% Greek yogurt for the best texture. Nonfat works too, but the bread will be slightly less tender. I like Fage or Chobani—they’re thick and not too tangy.
- Eggs (2 large, room temperature): Eggs add structure and more protein. Room temperature eggs mix more evenly into the batter, so take them out of the fridge about 20 minutes before you start.
- Maple Syrup (1/3 cup / 80ml): Pure maple syrup, not pancake syrup. It adds natural sweetness and a subtle flavor that pairs beautifully with pumpkin. You can use honey instead if that’s what you have.
- Coconut Sugar (1/4 cup / 40g): This adds a deeper, caramel-like sweetness. Brown sugar works as a substitute if you don’t have coconut sugar.
- Whole Wheat Flour (1 cup / 120g): I use white whole wheat flour for a lighter texture with extra fiber. Regular whole wheat flour works too, but the bread will be denser.
- All-Purpose Flour (1/2 cup / 60g): The combination of whole wheat and all-purpose gives you the best of both worlds—nutrition and tenderness. You can use all whole wheat if you prefer, just add an extra tablespoon of yogurt.
- Baking Soda (1 teaspoon): This helps the bread rise and gives it a nice dome. Make sure it’s fresh—old baking soda won’t do the job.
- Baking Powder (1/2 teaspoon): Adds a little extra lift. Aluminum-free baking powder is best for flavor.
- Salt (1/4 teaspoon): Just enough to balance the sweetness and bring out the spices.
- Pumpkin Pie Spice (2 teaspoons): You can use store-bought or make your own with cinnamon, nutmeg, ginger, and cloves. I make my own because I like a heavy hand with the cinnamon.
- Cinnamon (1 teaspoon): Because you can never have too much cinnamon in pumpkin bread.
- Vanilla Extract (1 teaspoon): Adds warmth and rounds out the flavors. Use pure vanilla extract if you can—it makes a difference.
- Coconut Oil (1/4 cup / 60ml, melted): This replaces the butter or vegetable oil you’d find in traditional recipes. It adds healthy fats and keeps the bread moist without making it greasy. Avocado oil works too.
- Optional Mix-Ins: Chocolate chips (1/2 cup), chopped walnuts (1/2 cup), or dried cranberries (1/3 cup). I usually add dark chocolate chips because everything is better with chocolate.
Equipment Needed
You don’t need a fancy kitchen to make this bread. Here’s what you’ll need:
- 9×5-inch Loaf Pan: This is the standard size for most quick breads. If you use an 8×4-inch pan, you’ll need to bake it a bit longer. Glass or metal both work—just adjust the baking time slightly.
- Parchment Paper: I always line my loaf pan with parchment paper, leaving an overhang on the long sides. It makes lifting the bread out so much easier, and cleanup is a breeze.
- Large Mixing Bowls (2): One for the wet ingredients and one for the dry. I use stainless steel bowls because they’re lightweight and easy to clean.
- Whisk: For mixing the dry ingredients and smoothing out the wet ingredients.
- Rubber Spatula: For folding everything together. A wooden spoon works too, but a spatula gives you more control.
- Measuring Cups and Spoons: Accurate measurements matter in baking. Use dry measuring cups for flour and sugar, and liquid measuring cups for the maple syrup and oil.
- Cooling Rack: Letting the bread cool completely on a rack prevents a soggy bottom. If you don’t have one, you can use the inverted loaf pan lid or just let it cool in the pan for 10 minutes, then transfer to a plate.
Budget-friendly tip: If you don’t have parchment paper, you can grease the pan thoroughly with coconut oil and dust it with a little flour. It won’t be as easy to remove, but it’ll work.
Preparation Method
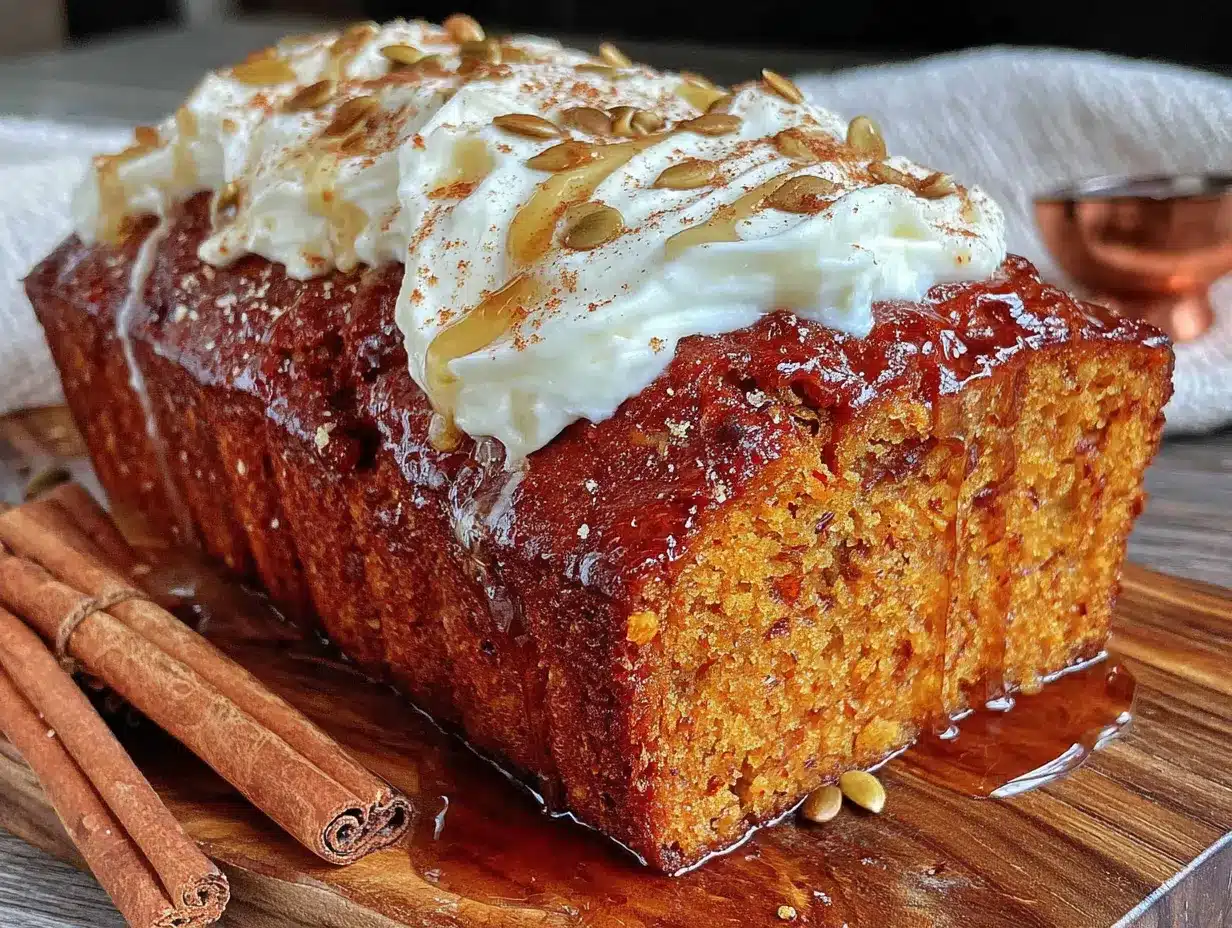
Alright, let’s get baking. This process is straightforward, but I’ll walk you through every step so you feel confident.
- Preheat and Prep: Preheat your oven to 350°F (175°C). Line your 9×5-inch loaf pan with parchment paper, leaving an overhang on the two long sides. This makes lifting the bread out effortless later.
- Mix the Dry Ingredients: In a large bowl, whisk together the whole wheat flour, all-purpose flour, baking soda, baking powder, salt, pumpkin pie spice, and cinnamon. Whisking aerates the flour and ensures the leavening agents are evenly distributed. Set this aside.
- Combine the Wet Ingredients: In another large bowl, whisk together the pumpkin puree, Greek yogurt, eggs, maple syrup, coconut sugar, melted coconut oil, and vanilla extract. Whisk until the mixture is smooth and well combined. The coconut sugar might not fully dissolve—that’s okay. It will melt as the bread bakes.
- Add Wet to Dry: Pour the wet ingredients into the bowl with the dry ingredients. Use a rubber spatula to fold everything together gently. Stir just until you no longer see streaks of flour. A few small lumps are totally fine—overmixing will make the bread tough.
- Fold in Mix-Ins (Optional): If you’re adding chocolate chips, nuts, or dried fruit, gently fold them in at this point. Don’t over-stir—just a few turns of the spatula to distribute them evenly.
- Transfer to the Pan: Pour the batter into your prepared loaf pan. Use the spatula to spread it evenly. The batter will be thick—that’s normal. Give the pan a gentle tap on the counter to release any air bubbles.
- Bake: Place the pan in the preheated oven and bake for 50-60 minutes. Start checking at the 45-minute mark. The bread is done when a toothpick inserted into the center comes out clean or with just a few moist crumbs attached. If the top is browning too quickly (after about 35 minutes), tent it loosely with aluminum foil.
- Cool in the Pan: Let the bread cool in the pan for 10 minutes. This allows it to set and makes it easier to remove. Then, use the parchment overhang to lift the bread out of the pan and transfer it to a cooling rack.
- Cool Completely: Let the bread cool completely on the rack before slicing—at least 1 hour. I know it’s tempting to cut into it warm, but slicing too early will result in crumbly, gummy slices. Trust me on this one.
Pro tip from my kitchen: If you want a crackly top, sprinkle a little coarse sugar (like turbinado) on the batter just before baking. It adds a nice crunch and a bakery-style finish.
Cooking Tips & Techniques
I’ve made this bread enough times to know where things can go sideways. Here’s what I’ve learned the hard way so you don’t have to.
Don’t Overmix the Batter: This is the #1 mistake people make with quick breads. Overmixing develops the gluten in the flour, which makes the bread dense and tough. You want to stir just until the flour disappears. A few streaks are fine—they’ll bake out.
Check Your Baking Soda Freshness: Baking soda loses its potency over time. To test it, drop a teaspoon into a small bowl of vinegar. If it fizzes vigorously, it’s good. If not, get a new box. Old baking soda is the most common reason for a flat, dense loaf.
Room Temperature Ingredients Matter: Cold eggs and cold yogurt can seize up the coconut oil, leaving you with a lumpy batter. Take everything out of the fridge 20-30 minutes before you start. If you forget, you can place the eggs in a bowl of warm water for 5 minutes.
Use the Toothpick Test Correctly: Insert a toothpick into the center of the bread—not the edge or a chocolate chip (if you added them). If it comes out wet with batter, it needs more time. If it comes out clean or with a few moist crumbs, it’s done.
My biggest failure: The first time I made this, I thought “more protein is better” and added an extra half cup of Greek yogurt without adjusting the flour. The bread turned out gummy and never fully set in the middle. Lesson learned: recipe ratios exist for a reason. Stick to the measurements, and you’ll get perfect results every time.
Variations & Adaptations
This recipe is super flexible. Here are some ways to switch it up based on what you have or what you’re craving.
- Gluten-Free Version: Swap the whole wheat and all-purpose flours for a 1:1 gluten-free baking flour blend (like Bob’s Red Mill). Add an extra tablespoon of Greek yogurt to help with moisture. The texture will be slightly more delicate, but still delicious.
- Dairy-Free Version: Use a dairy-free Greek-style yogurt (like coconut-based or soy-based) and swap the coconut oil for avocado oil. The bread will be a touch less tender, but still very good.
- Lower Sugar Version: Reduce the maple syrup to 1/4 cup and the coconut sugar to 2 tablespoons. The bread will be less sweet, but the pumpkin and spices will still shine. You might want to add an extra 1/4 teaspoon of cinnamon to compensate.
- Chocolate Chip Pumpkin Bread: Fold in 1/2 cup of dark chocolate chips (I use Enjoy Life brand for dairy-free). The chocolate melts into little pockets of richness that pair beautifully with the pumpkin spice.
- Pumpkin Walnut Bread: Add 1/2 cup of chopped walnuts, toasted first for extra flavor. Toast them in a dry skillet over medium heat for 3-4 minutes until fragrant, then let them cool before folding into the batter.
- Pumpkin Cranberry Bread: Fold in 1/3 cup of dried cranberries. The tartness cuts through the sweetness and adds a nice pop of color.
I’ve tried the chocolate chip version at least five times now, and it’s become my go-to for weekend baking. My kids actually think it’s dessert, and I don’t correct them.
Serving & Storage Suggestions
This bread is versatile enough for breakfast, snack time, or even a light dessert. Here’s how to serve and store it.
Serving Temperature: I prefer this bread at room temperature or lightly toasted. Toasting brings out the spices and gives the edges a slight crunch. If you’re feeling fancy, spread a little butter, almond butter, or cream cheese on top.
What to Serve With It: A slice of this bread pairs perfectly with a hot cup of coffee or chai tea. For a more filling breakfast, serve it alongside a Greek yogurt parfait with homemade granola or a couple of banana oat breakfast cookies for extra staying power.
Storage: Store the bread in an airtight container at room temperature for up to 3 days. If your kitchen is warm, you can refrigerate it—just let it come to room temperature before serving, or toast it straight from the fridge.
Freezing Instructions: This bread freezes beautifully. Let it cool completely, then wrap it tightly in plastic wrap, followed by a layer of aluminum foil. Freeze for up to 3 months. To thaw, leave it on the counter overnight, or unwrap and microwave individual slices for 20-30 seconds.
Flavor Development: Honestly, this bread tastes even better on day two. The spices have time to meld, and the texture becomes even more moist. So if you can resist eating it all on day one, you’re in for a treat.
Nutritional Information & Benefits
Here’s the estimated nutritional breakdown for one slice (based on 10 slices per loaf, without mix-ins):
- Calories: ~185
- Protein: 8g
- Carbohydrates: 28g
- Fiber: 3g
- Sugar: 14g (naturally occurring + added)
- Fat: 6g
- Saturated Fat: 4g
Health Benefits: This bread is packed with ingredients that actually do your body good. Pumpkin is rich in vitamin A and fiber, which supports eye health and digestion. Greek yogurt provides probiotics and protein for gut health and satiety. Whole wheat flour adds additional fiber and B vitamins. And coconut oil offers medium-chain triglycerides (MCTs), which can support energy metabolism.
Dietary Considerations: This recipe is vegetarian and can easily be made gluten-free, dairy-free, or lower in sugar (see variations above). It’s not suitable for a strict keto diet due to the maple syrup and flour, but it’s a fantastic option for anyone looking for a balanced, nutrient-dense treat.
Potential Allergens: Contains eggs, dairy (Greek yogurt), and gluten (flour). If you have allergies, check the variations section for swaps.
I love that I can feel good about eating this bread for breakfast. It’s not a “sometimes” food—it’s an “anytime” food that fits into a balanced lifestyle.
Conclusion
This Healthy Greek Yogurt Pumpkin Bread has become a staple in my kitchen, and I think it deserves a spot in yours too. It’s proof that you don’t have to choose between food that tastes amazing and food that fuels your body. The texture is spot-on, the spices are warm and cozy, and that protein boost makes it a breakfast you can actually count on.
I love that this recipe is forgiving enough for a beginner baker but interesting enough for someone who’s been making pumpkin bread for years. You can dress it up with mix-ins, keep it simple, or tweak it to fit your dietary needs. That’s the beauty of a good base recipe—it becomes yours.
If you give this bread a try, I’d love to hear how it turned out. Did you add chocolate chips? Swap the flour? Toast it with butter? Drop a comment below and let me know. And if you’re looking for more cozy, protein-packed recipes, check out my cottage cheese snack bowl or these peanut butter energy balls for more easy, healthy ideas. Happy baking, friends!
Frequently Asked Questions
Can I use all whole wheat flour instead of the blend?
Yes, you can. The bread will be denser and slightly more earthy in flavor. To keep it from drying out, add an extra tablespoon of Greek yogurt or a splash of milk. I’ve done it before, and it’s still delicious—just not as fluffy.
Can I make this into muffins instead of a loaf?
Absolutely. Grease a 12-cup muffin tin or line it with paper liners. Divide the batter evenly among the cups (about 3/4 full) and bake at 350°F for 18-22 minutes, or until a toothpick comes out clean. Muffins will be done faster, so start checking at 15 minutes.
Why did my pumpkin bread sink in the middle?
This usually happens for one of three reasons: the batter was overmixed (which creates too much air that collapses), the oven temperature was too low (invest in an oven thermometer), or the bread was underbaked. Next time, check your oven temp and use the toothpick test before pulling it out.
Can I skip the coconut sugar and just use maple syrup?
You can, but the texture will change slightly. The coconut sugar adds structure and a deeper sweetness. If you replace it entirely with maple syrup, reduce the total liquid by 2 tablespoons to keep the batter from being too wet. The bread will be a bit more tender and slightly less sweet.
How do I make this recipe nut-free?
This recipe is naturally nut-free if you skip the walnut variation. Just make sure your chocolate chips (if using) are certified nut-free, and you’re good to go. The base recipe contains no nuts at all, so it’s a safe choice for school lunchboxes or nut-free households.
Pin This Recipe!
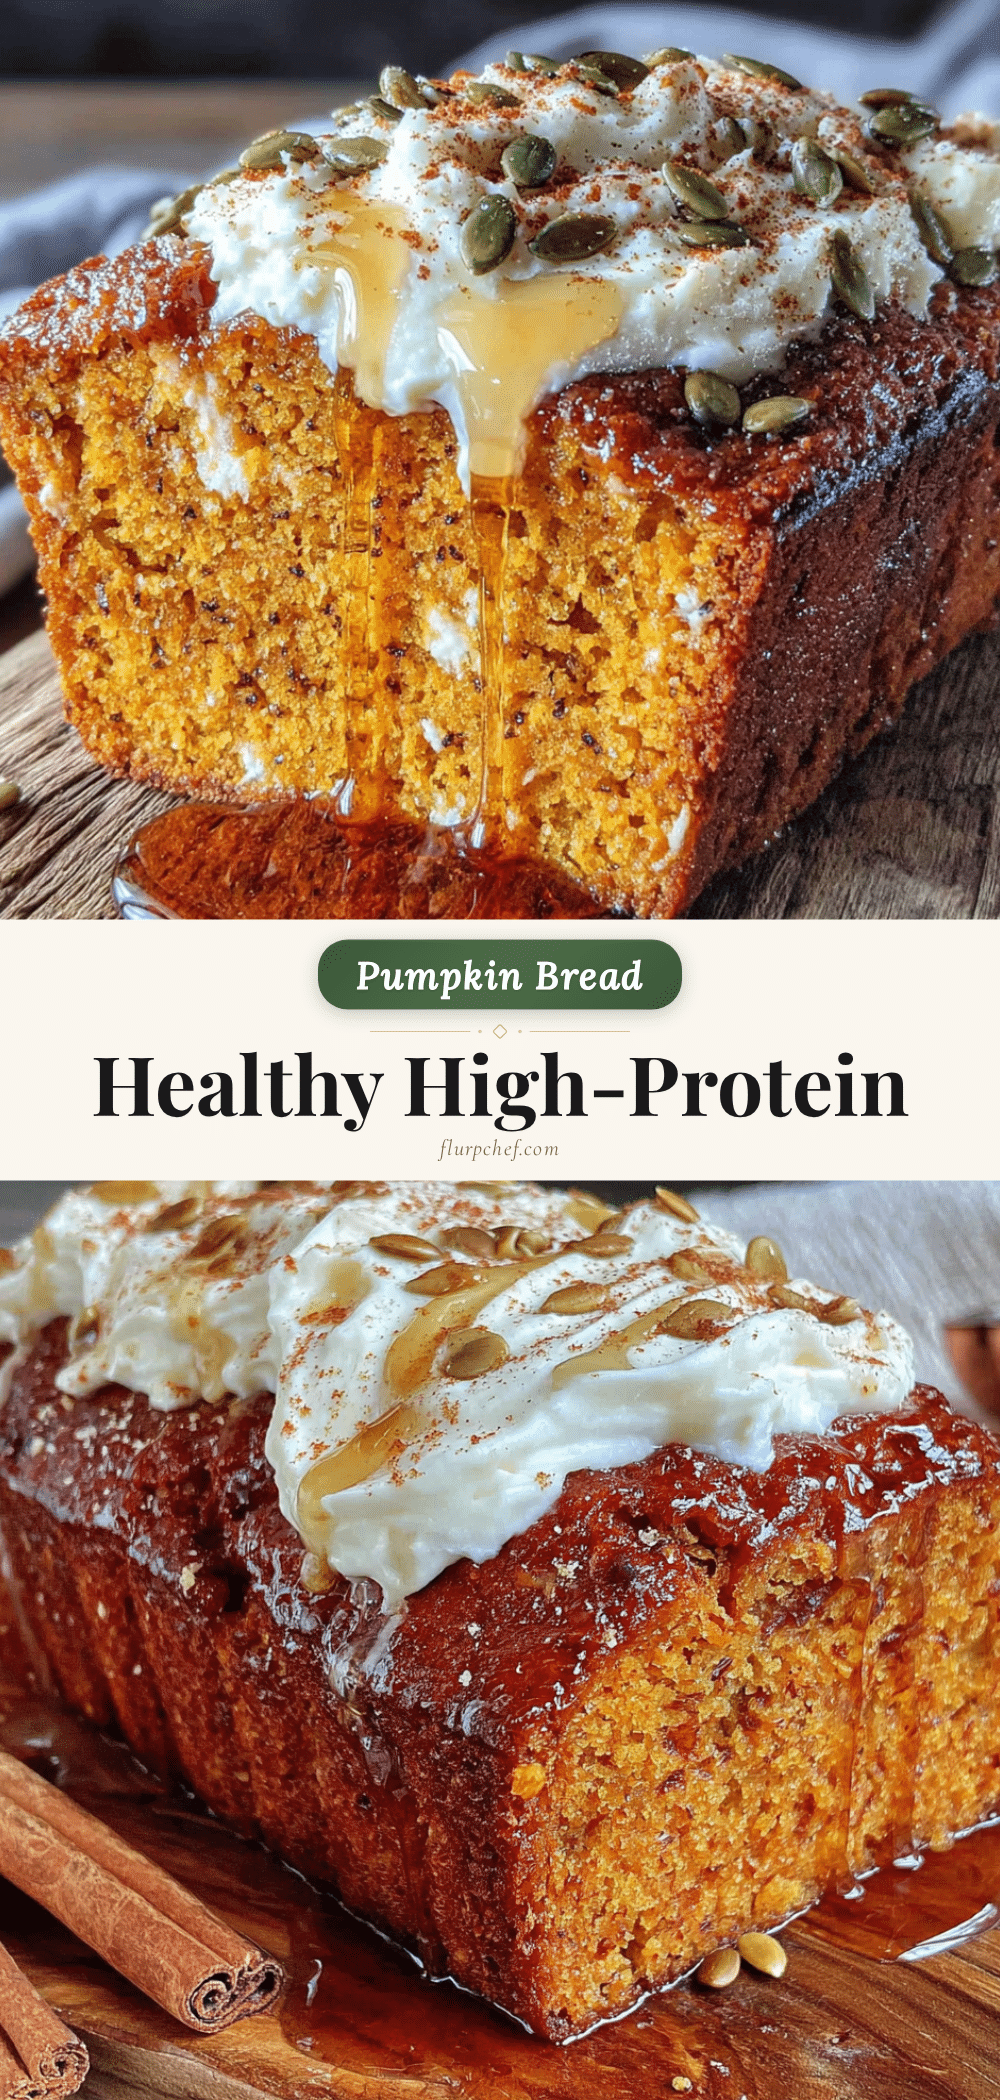
Healthy Greek Yogurt Pumpkin Bread – High Protein
This Healthy Greek Yogurt Pumpkin Bread is moist, spiced just right, and packed with protein to keep you full until lunch. It’s a wholesome twist on a classic fall favorite that tastes like comfort food without the sugar crash.
- Prep Time: 15 minutes
- Cook Time: 50-60 minutes
- Total Time: 1 hour 15 minutes
- Yield: 10 servings 1x
- Category: Breakfast, Snack, Dessert
- Cuisine: American
Ingredients
- 1 cup (245g) pumpkin puree (100% pure, not pumpkin pie filling)
- 1/2 cup (120g) plain Greek yogurt (full-fat or 2%)
- 2 large eggs, room temperature
- 1/3 cup (80ml) pure maple syrup
- 1/4 cup (40g) coconut sugar
- 1 cup (120g) whole wheat flour (white whole wheat preferred)
- 1/2 cup (60g) all-purpose flour
- 1 teaspoon baking soda
- 1/2 teaspoon baking powder (aluminum-free)
- 1/4 teaspoon salt
- 2 teaspoons pumpkin pie spice
- 1 teaspoon ground cinnamon
- 1 teaspoon pure vanilla extract
- 1/4 cup (60ml) coconut oil, melted
- Optional mix-ins: 1/2 cup dark chocolate chips, 1/2 cup chopped walnuts, or 1/3 cup dried cranberries
Instructions
- Preheat your oven to 350°F (175°C). Line a 9×5-inch loaf pan with parchment paper, leaving an overhang on the two long sides.
- In a large bowl, whisk together the whole wheat flour, all-purpose flour, baking soda, baking powder, salt, pumpkin pie spice, and cinnamon.
- In another large bowl, whisk together the pumpkin puree, Greek yogurt, eggs, maple syrup, coconut sugar, melted coconut oil, and vanilla extract until smooth and well combined.
- Pour the wet ingredients into the dry ingredients. Use a rubber spatula to fold gently until just combined—a few small lumps are fine. Do not overmix.
- If using optional mix-ins (chocolate chips, nuts, or dried fruit), gently fold them in at this point.
- Pour the batter into the prepared loaf pan and spread evenly. Tap the pan gently on the counter to release air bubbles.
- Bake for 50-60 minutes, starting to check at 45 minutes. The bread is done when a toothpick inserted into the center comes out clean or with a few moist crumbs. If the top browns too quickly, tent loosely with aluminum foil after about 35 minutes.
- Let the bread cool in the pan for 10 minutes, then use the parchment overhang to lift it out and transfer to a cooling rack.
- Cool completely on the rack before slicing—at least 1 hour.
Notes
For a crackly top, sprinkle coarse sugar (like turbinado) on the batter just before baking. This bread tastes even better on day two as the spices meld. Store in an airtight container at room temperature for up to 3 days, or freeze for up to 3 months.
Nutrition
- Serving Size: 1 slice (based on 10
- Calories: 185
- Sugar: 14
- Sodium: 200
- Fat: 6
- Saturated Fat: 4
- Carbohydrates: 28
- Fiber: 3
- Protein: 8
Keywords: pumpkin bread, healthy pumpkin bread, Greek yogurt pumpkin bread, high protein pumpkin bread, fall baking, healthy breakfast, meal prep