The kitchen was quiet, the only sound the soft hum of the mixer and the rain tapping against the window. It was a late October afternoon, the kind where the light turns golden and then fades too quickly. And the only thing I wanted, honestly, was a slice of this pumpkin roll. Not a whole pie, not a dozen cookies—just that perfect spiral of spiced cake and creamy filling. I had been thinking about it all week, the way the cinnamon sugar clings to the edges, the way the cream cheese filling cools and sets just right. It’s a specific craving, and it doesn’t come around often. But when it does, I know exactly what to do.
The first time I made this recipe, I was convinced I had ruined it. The cake cracked when I rolled it, the filling oozed out the sides, and I stood there, spatula in hand, wondering if I should just call it a day. But I tasted a piece—the imperfect, messy piece—and something clicked. The flavor was there. The texture was there. I just needed to learn how to treat the cake right. So I made it again. And again. And somewhere between the third and fourth attempts, it became my go-to. This is that version. The one that doesn’t crack (usually), the one that rolls up like a dream, the one that makes you feel like you actually know what you’re doing in the kitchen.
This pumpkin roll is not overly complicated. It uses simple ingredients you probably already have. But the method matters, and I’m going to walk you through every step so you don’t have to learn the hard way like I did. By the time we’re done, you’ll have a beautiful, cinnamon-sugar-dusted roll that looks like it came from a bakery. And honestly? It tastes even better. Trust me on this one.
Why You’ll Love This Recipe
I’ve tested this recipe more times than I can count, and I can tell you with confidence—it works. This isn’t just another pumpkin roll recipe floating around the internet. It’s the one I make for Thanksgiving, for fall brunches, and for those random Tuesday nights when I need a little comfort. Here’s why I think you’ll love it too.
- Foolproof Method: I’ve included all the little tricks I learned from my own failures. From the perfect rolling technique to the right way to cool the cake, every step is designed to help you succeed.
- Simple Ingredients: You don’t need anything fancy. Canned pumpkin, cream cheese, butter, sugar, flour, eggs, and a few warm spices. That’s it. No weird extracts or hard-to-find items.
- Perfect for Fall Gatherings: This roll is a showstopper on any dessert table. It looks impressive, but it’s actually one of the easier things you can make. Great for Thanksgiving, Friendsgiving, or just a cozy weekend treat.
- Crowd-Pleaser: I’ve brought this to potlucks and family dinners, and it always disappears first. Kids love the sweetness, adults love the spice blend, and everyone loves that cream cheese filling.
- Make-Ahead Friendly: This is the kind of dessert that actually gets better after a day in the fridge. The flavors meld, the filling sets, and it slices more cleanly. Perfect for when you want to prep ahead.
What really sets this recipe apart is the texture. The cake is light and tender, not dense or gummy. The filling is rich but not overly sweet, with a tang that balances the pumpkin spice. And the cinnamon sugar coating on the outside? That’s the little extra touch that makes it feel special. It’s the kind of dessert that makes you close your eyes after the first bite. Honestly, it’s comfort food at its finest.
What Ingredients You Will Need
This recipe uses simple, wholesome ingredients that come together to create something truly special. Most of these are pantry staples, especially if you do a lot of fall baking. Let me walk you through each one, so you know exactly what to look for.
For the Pumpkin Cake
- Pumpkin puree (1 cup, 240g): Make sure you’re using 100% pure pumpkin puree, not pumpkin pie filling. I prefer Libby’s for its consistent texture and moisture content. The puree adds moisture and that earthy, sweet flavor we all love in fall baking.
- All-purpose flour (¾ cup, 96g): Standard AP flour works perfectly here. No need for bread flour or cake flour. Just spoon and level your flour for the most accurate measurement.
- Granulated sugar (1 cup, 200g): This sweetens the cake and helps create that tender crumb. You could reduce it slightly if you prefer a less sweet cake, but I wouldn’t go below ¾ cup.
- Baking soda (1 teaspoon): This is our leavening agent. It reacts with the acidity in the pumpkin to help the cake rise. Make sure it’s fresh.
- Baking powder (½ teaspoon): A little extra lift to ensure the cake is light and airy.
- Ground cinnamon (2 teaspoons): The star of the spice blend. Use a good quality cinnamon like Saigon or Ceylon for the best flavor.
- Ground ginger (½ teaspoon): Adds a warm, slightly peppery note that complements the pumpkin.
- Ground nutmeg (¼ teaspoon): Just a touch for that classic pumpkin pie flavor.
- Salt (½ teaspoon): Balances the sweetness and enhances all the other flavors.
- Large eggs (3, room temperature): Room temperature eggs incorporate more air into the batter, giving you a lighter cake. Take them out of the fridge about 30 minutes before you start.
- Vanilla extract (1 teaspoon): Pure vanilla extract is best. It adds warmth and depth to the cake.
- Powdered sugar (for dusting the towel, about 2 tablespoons): This is crucial for rolling. It prevents the cake from sticking to the kitchen towel.
For the Cream Cheese Filling
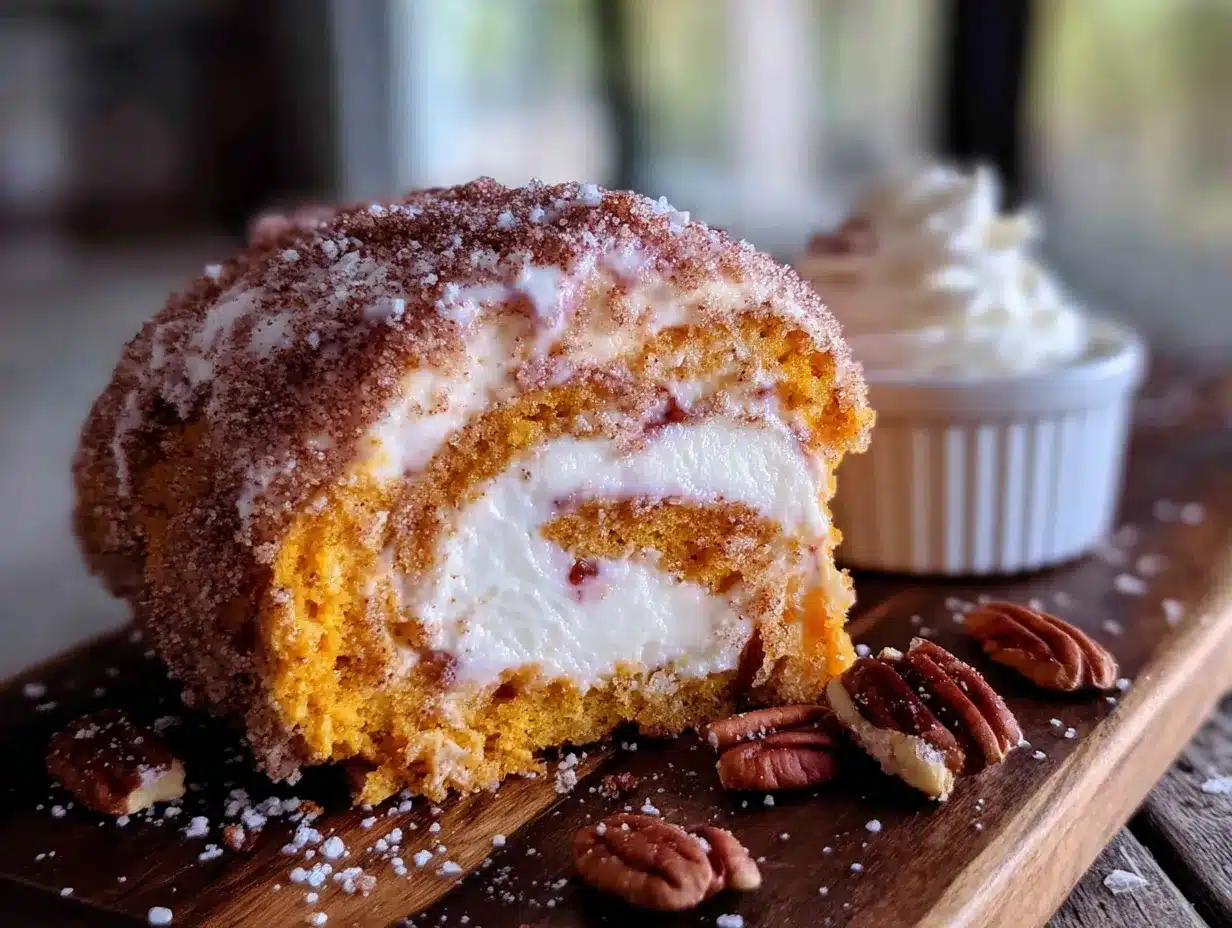
- Cream cheese (8 ounces, 226g, softened): Use full-fat block cream cheese, not the spreadable kind in a tub. Philadelphia is my go-to. It needs to be really soft, so leave it out for at least an hour.
- Unsalted butter (¼ cup, 56g, softened): Adds richness and helps the filling hold its shape. Make sure it’s softened to room temperature.
- Powdered sugar (1 cup, 120g, sifted): Sifting is important here to avoid lumps. The powdered sugar sweetens the filling and gives it that smooth, spreadable texture.
- Vanilla extract (1 teaspoon): For flavor. Simple and essential.
For the Cinnamon Sugar Coating
- Granulated sugar (¼ cup, 50g): Mixed with cinnamon for that sweet, crunchy exterior.
- Ground cinnamon (1 tablespoon): A generous amount so every bite has that warm spice flavor.
That’s it. No obscure ingredients, no specialty items. Just the good stuff. If you need to make substitutions, I’ll cover that in the variations section later.
Equipment Needed
You don’t need a lot of fancy equipment for this recipe, which is part of its charm. Here’s what you’ll need:
- 10×15-inch jelly roll pan: This is the standard size for a pumpkin roll. If you don’t have one, you can use a similar-sized rimmed baking sheet, but the cake will be thinner or thicker depending on the size. A jelly roll pan is ideal because it gives you the perfect thin cake that rolls easily.
- Parchment paper: Absolutely essential. You’ll line the pan with parchment, leaving some overhang to help lift the cake out. It also prevents sticking.
- Kitchen towel (clean, lint-free): You’ll roll the warm cake in a towel dusted with powdered sugar. This sets the shape and prevents cracking. Use a thin cotton towel, not a terry cloth one.
- Electric mixer (hand or stand): You need this to beat the eggs and sugar until thick and fluffy, and to cream the filling until smooth. A stand mixer is easier, but a hand mixer works just fine.
- Rubber spatula: For folding the dry ingredients into the batter gently. Don’t use a whisk for this—you’ll deflate the batter.
- Cooling rack: The cake needs to cool completely before you fill it. A wire rack allows air to circulate evenly.
- Sharp knife or serrated knife: For slicing the finished roll cleanly. A serrated knife works best for cutting through the cake without squishing the filling.
If you don’t have a jelly roll pan, you can try using a 9×13-inch pan, but the cake will be thicker and may be harder to roll. I’d recommend sticking with the standard size for best results. And honestly, a good jelly roll pan is a worthwhile investment if you enjoy making rolled cakes.
Preparation Method
Let’s get to the fun part. I’m going to walk you through every step, including the little details that make the difference between a good pumpkin roll and a great one. Take your time, and don’t rush the cooling steps—that’s where most people make mistakes.
Step 1: Preheat and Prepare the Pan
Preheat your oven to 350°F (175°C). Line your 10×15-inch jelly roll pan with parchment paper, leaving about an inch of overhang on the long sides. This will help you lift the cake out later. Lightly grease the parchment with non-stick spray or a thin layer of butter. Set the pan aside.
Step 2: Make the Pumpkin Cake Batter
In a medium bowl, whisk together the flour, baking soda, baking powder, cinnamon, ginger, nutmeg, and salt. Set this aside.
In a large mixing bowl (or the bowl of your stand mixer), beat the eggs and granulated sugar together on medium-high speed for about 3-4 minutes. You want the mixture to become thick, pale, and fluffy. It should look like a thick batter and fall in ribbons when you lift the beater. This step is important—it incorporates air into the batter, which gives the cake its light texture.
Reduce the speed to low and add the pumpkin puree and vanilla extract. Mix until just combined. Don’t overmix here.
Now, add the dry ingredients in two additions, folding them in gently with a rubber spatula. Fold just until you no longer see streaks of flour. Overmixing at this stage will make the cake tough. The batter will be thick and slightly lumpy—that’s okay.
Step 3: Bake the Cake
Spread the batter evenly into the prepared pan. Use an offset spatula to smooth it into an even layer. It will be a thin layer, which is exactly what you want.
Bake for 12-15 minutes, or until the top of the cake springs back when lightly touched. The edges will start to pull away from the pan slightly. Don’t overbake, or the cake will be dry and crack when you roll it. Start checking at 12 minutes.
Step 4: The Crucial Rolling Step
While the cake is baking, lay a clean kitchen towel flat on your counter. Dust it generously with powdered sugar—this prevents the cake from sticking.
As soon as the cake comes out of the oven, run a knife around the edges to loosen it. Invert the cake onto the prepared towel. Carefully peel off the parchment paper. Starting at one of the short ends, roll the cake up tightly in the towel. Roll it while it’s still warm—this is the secret to a crack-free roll. Let the rolled cake cool completely on a wire rack, seam-side down. This usually takes about 1-2 hours. Don’t rush this!
Step 5: Make the Cream Cheese Filling
While the cake cools, make the filling. In a medium bowl, beat the softened cream cheese and butter together until smooth and creamy. About 2 minutes on medium speed. Add the sifted powdered sugar and vanilla extract, and beat until the mixture is light, fluffy, and completely smooth. Scrape down the sides of the bowl as needed. If the filling seems too soft, you can refrigerate it for 15-20 minutes to firm it up.
Step 6: Assemble the Pumpkin Roll
Once the cake is completely cool, carefully unroll it. Don’t worry if the edges curl up a bit—just gently press them flat. Spread the cream cheese filling evenly over the cake, leaving a ½-inch border around the edges. This prevents the filling from squeezing out when you roll it up again.
Now, roll the cake back up, this time without the towel. Use the towel to help you lift and guide the cake, but don’t roll it inside the towel. Roll it as tightly as you can without squeezing the filling out. Place the roll seam-side down on a serving platter or a piece of plastic wrap.
Step 7: The Cinnamon Sugar Coating
In a small bowl, mix the granulated sugar and cinnamon. Gently brush the outside of the pumpkin roll with a little water or melted butter (optional, but helps the sugar stick), then roll it in the cinnamon-sugar mixture until evenly coated. You can also just sprinkle the mixture over the top and sides.
Step 8: Chill and Slice
Wrap the pumpkin roll tightly in plastic wrap and refrigerate for at least 2 hours, or overnight. Chilling allows the filling to set and makes slicing much easier. When you’re ready to serve, use a sharp serrated knife to slice the roll into ½-inch thick pieces. Wipe the knife clean between slices for the neatest cuts.
Cooking Tips & Techniques
I’ve made this recipe more times than I care to admit, and I’ve learned a few things along the way. Here are my best tips for success.
Don’t skip the room temperature ingredients. I know it’s tempting to use cold eggs and cream cheese straight from the fridge, but it really does make a difference. Room temperature ingredients emulsify better, creating a smoother batter and a more tender cake. Take everything out about 30-60 minutes before you start.
Roll the cake while it’s warm. This is non-negotiable. If you let the cake cool flat, it will crack when you try to roll it. The warmth makes it pliable. I’ve forgotten this step before, and let me tell you, a cracked pumpkin roll is a sad sight. Learn from my mistake.
Use a thin, lint-free towel. Terry cloth towels will leave fuzz on your cake. A thin cotton kitchen towel or a piece of cheesecloth works perfectly. Dust it generously with powdered sugar to prevent sticking.
Let the cake cool completely before filling. If the cake is even slightly warm, the cream cheese filling will melt and turn into a runny mess. Patience is key here. I usually make the cake in the afternoon, let it cool, and fill it in the evening.
Slice with a serrated knife. A serrated knife cuts through the cake cleanly without squishing the filling. Use a gentle sawing motion, and wipe the blade between cuts for the prettiest slices.
If the cake cracks, don’t panic. It happens. You can often hide small cracks with the filling or the cinnamon sugar coating. And honestly, even a cracked pumpkin roll tastes delicious. It’s not about perfection—it’s about the flavor.
Variations & Adaptations
One of the best things about this recipe is how adaptable it is. Here are a few ways to make it your own.
Gluten-Free Version
Substitute the all-purpose flour with a good quality 1:1 gluten-free baking flour blend. I’ve used Bob’s Red Mill and King Arthur Flour blends with great success. The texture will be slightly more delicate, so handle the cake gently when rolling.
Dairy-Free Version
Use a dairy-free cream cheese alternative (like Kite Hill or Miyoko’s) and vegan butter. The filling will be slightly softer, so you may need to chill it longer before serving. The cake itself is naturally dairy-free since it uses oil instead of butter.
Spice It Up
Add a pinch of cloves or allspice to the spice blend for a more complex flavor. You can also add a teaspoon of pumpkin pie spice instead of the individual spices if that’s what you have on hand.
Add Some Crunch
Fold ½ cup of finely chopped pecans or walnuts into the cream cheese filling for a textural contrast. Toast the nuts first for the best flavor.
Chocolate Pumpkin Roll
Replace 2 tablespoons of the flour with unsweetened cocoa powder. The chocolate-pumpkin combination is surprisingly good, and it looks beautiful with the white cream cheese filling.
I once made a version with a maple glaze drizzled over the top instead of the cinnamon sugar coating. It was a little messy, but the maple-pumpkin flavor was incredible. Don’t be afraid to experiment—that’s how new favorites are born.
Serving & Storage Suggestions
This pumpkin roll is best served chilled, straight from the fridge. The filling is firm, the cake is tender, and the flavors are perfectly balanced. Here are a few serving ideas.
Serving Temperature: I prefer it cold, but you can let it sit at room temperature for about 15 minutes before slicing if you want a slightly softer filling. Either way is delicious.
Presentation: Arrange the slices on a platter and dust with a little extra powdered sugar or cinnamon. A dollop of whipped cream on the side never hurts. For a festive touch, garnish with a few fresh cranberries or a sprig of rosemary.
Complementary Dishes: This roll pairs beautifully with a hot cup of coffee or a creamy iced pumpkin chai latte with brown sugar cold foam. If you’re serving it as part of a fall brunch, consider adding some cozy pumpkin cream cheese swirl muffins with streusel topping for variety. They’re both pumpkin-forward but have different textures, so it feels like a real spread.
Storage: Wrap the pumpkin roll tightly in plastic wrap and store it in the refrigerator for up to 5 days. The flavors actually improve after a day or two. You can also freeze it for up to 3 months. Wrap it in plastic wrap, then a layer of foil, and thaw it in the refrigerator overnight before serving.
Reheating: I don’t recommend reheating this roll—it’s meant to be served cold or at room temperature. If you want a warm dessert, try it alongside a warm brown butter pumpkin chocolate chip cookie for contrast.
Nutritional Information & Benefits
Let’s be real—this is a dessert, not a health food. But it does have a few redeeming qualities. Here’s a rough estimate of the nutritional values per slice (assuming 12 slices).
- Calories: Approximately 280-320 per slice
- Fat: 12-15g (mostly from cream cheese and butter)
- Carbohydrates: 38-42g
- Protein: 4-5g
- Fiber: 1-2g (from the pumpkin)
Pumpkin is a great source of vitamin A and fiber, which is a nice bonus. The cream cheese filling adds calcium and protein, though it’s also where most of the fat comes from. If you’re looking for a lighter version, you can use reduced-fat cream cheese, but the filling won’t be as rich and creamy.
This recipe contains gluten (unless you use a gluten-free flour blend), dairy, and eggs. It’s not suitable for vegans or those with celiac disease without modifications. But for a special occasion treat? It’s absolutely worth it.
Conclusion
This perfect cinnamon sugar pumpkin roll with cream cheese filling is everything I want in a fall dessert. It’s impressive enough for Thanksgiving, but simple enough for a random weekend baking project. The combination of tender pumpkin cake, tangy cream cheese filling, and that warm cinnamon sugar coating is honestly unbeatable.
I hope you give this recipe a try. Don’t be intimidated by the rolling process—I promise it gets easier with practice. And even if your first attempt isn’t perfect, it will still taste amazing. That’s the beauty of homemade baking. It doesn’t have to be flawless to be delicious.
If you make this pumpkin roll, I’d love to hear about it. Leave a comment below and let me know how it turned out. Did you make any substitutions? Did you discover a new favorite variation? Share your stories and photos—I read every single comment. Happy baking, friends. You’ve got this.
Frequently Asked Questions
Can I use fresh pumpkin instead of canned?
You can, but I don’t recommend it for this recipe. Canned pumpkin puree has a consistent moisture content, which is crucial for the cake’s texture. Fresh pumpkin puree can be more watery, which could make the cake soggy. If you do use fresh, make sure to drain it well in a cheesecloth-lined sieve for at least an hour.
Why did my pumpkin roll crack?
Cracking usually happens for one of three reasons: the cake was overbaked, it was cooled flat before rolling, or it was rolled too tightly. Make sure you roll the cake while it’s still warm, and don’t overbake it. If it does crack, don’t worry—you can often hide it with the cinnamon sugar coating.
Can I make this pumpkin roll ahead of time?
Absolutely. In fact, it’s better made a day ahead. The flavors meld together, and the filling sets up perfectly. Just wrap it tightly in plastic wrap and store it in the refrigerator for up to 5 days. You can also freeze it for up to 3 months.
How do I get clean slices?
Use a sharp serrated knife and a gentle sawing motion. Wipe the blade clean between each slice. Chilling the roll for at least 2 hours before slicing also helps. If the filling is too soft, the slices will be messy.
Can I double this recipe?
You can, but you’ll need to bake the cakes in separate pans. Don’t try to double the batter in one pan—it will be too thick and won’t bake evenly. Bake each cake separately, and roll them individually. The filling recipe can be doubled easily.
Pin This Recipe!
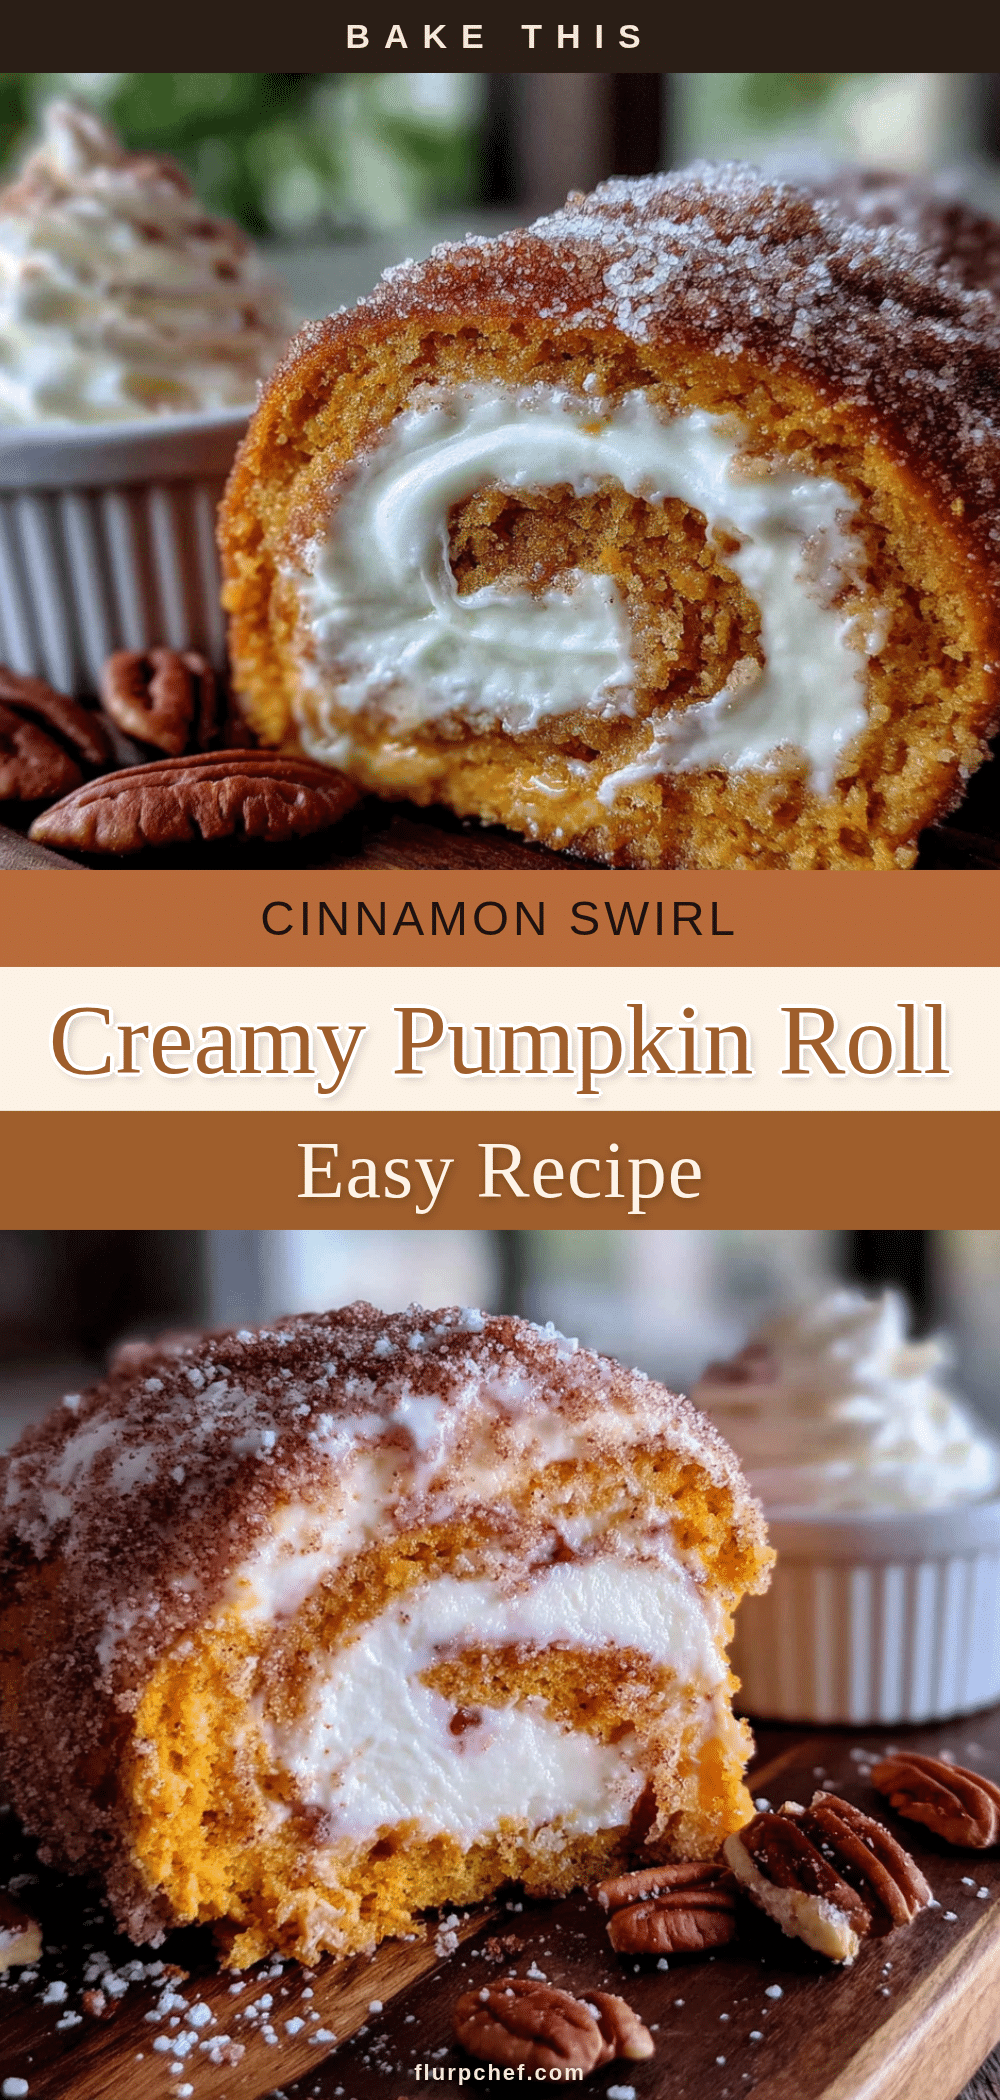
Best Easy Pumpkin Roll with Cream Cheese Filling Recipe
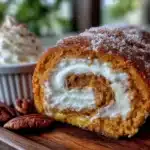
This foolproof pumpkin roll features a tender spiced cake rolled with a creamy, tangy cream cheese filling and coated in cinnamon sugar. Perfect for fall gatherings, it’s a showstopper that’s easier to make than it looks.
- Prep Time: 30 minutes
- Cook Time: 15 minutes
- Total Time: 2 hours 45 minutes (includes cooling and chilling)
- Yield: 12 servings 1x
- Category: Dessert
- Cuisine: American
Ingredients
- 1 cup (240g) pumpkin puree (100% pure, not pumpkin pie filling)
- 3/4 cup (96g) all-purpose flour
- 1 cup (200g) granulated sugar
- 1 teaspoon baking soda
- 1/2 teaspoon baking powder
- 2 teaspoons ground cinnamon
- 1/2 teaspoon ground ginger
- 1/4 teaspoon ground nutmeg
- 1/2 teaspoon salt
- 3 large eggs, room temperature
- 1 teaspoon vanilla extract
- 2 tablespoons powdered sugar (for dusting towel)
- 8 ounces (226g) cream cheese, softened
- 1/4 cup (56g) unsalted butter, softened
- 1 cup (120g) powdered sugar, sifted
- 1 teaspoon vanilla extract
- 1/4 cup (50g) granulated sugar (for coating)
- 1 tablespoon ground cinnamon (for coating)
Instructions
- Preheat oven to 350°F (175°C). Line a 10×15-inch jelly roll pan with parchment paper, leaving overhang on long sides. Lightly grease parchment.
- In a medium bowl, whisk together flour, baking soda, baking powder, cinnamon, ginger, nutmeg, and salt. Set aside.
- In a large mixing bowl, beat eggs and granulated sugar on medium-high speed for 3-4 minutes until thick, pale, and fluffy.
- Reduce speed to low, add pumpkin puree and vanilla extract, and mix until just combined.
- Fold dry ingredients into wet mixture in two additions using a rubber spatula, mixing until no streaks of flour remain. Batter will be thick.
- Spread batter evenly into prepared pan. Bake for 12-15 minutes until top springs back when lightly touched.
- While cake bakes, lay a clean kitchen towel flat and dust generously with powdered sugar.
- Immediately after baking, run a knife around edges, invert cake onto prepared towel, and peel off parchment paper. Starting at a short end, roll cake tightly in towel. Cool completely on a wire rack, seam-side down (about 1-2 hours).
- For filling: Beat softened cream cheese and butter until smooth and creamy (about 2 minutes). Add sifted powdered sugar and vanilla, beat until light and fluffy. Refrigerate 15-20 minutes if too soft.
- Once cake is completely cool, carefully unroll. Spread filling evenly over cake, leaving 1/2-inch border. Re-roll cake without towel, using towel to guide. Place seam-side down.
- Mix granulated sugar and cinnamon for coating. Brush outside of roll with water or melted butter (optional), then roll in cinnamon-sugar mixture until coated.
- Wrap tightly in plastic wrap and refrigerate at least 2 hours or overnight. Slice with a serrated knife into 1/2-inch pieces, wiping blade between cuts.
Notes
Roll the cake while it’s still warm to prevent cracking. Use room temperature ingredients for best results. Chill at least 2 hours before slicing for clean cuts. Can be made ahead and stored in refrigerator for up to 5 days or frozen for up to 3 months.
Nutrition
- Serving Size: 1 slice (1/12 of rol
- Calories: 300
- Sugar: 30
- Sodium: 250
- Fat: 13.5
- Saturated Fat: 7
- Carbohydrates: 40
- Fiber: 1.5
- Protein: 4.5
Keywords: pumpkin roll, pumpkin dessert, cream cheese filling, fall dessert, Thanksgiving dessert, pumpkin cake roll, cinnamon sugar pumpkin roll