“Hey, you have to see this cake I made for the Fourth of July party,” my neighbor texted me one humid summer afternoon. Honestly, I wasn’t expecting much—red velvet is a classic, sure, but I’ve tasted plenty of dry, flat versions that barely hit the mark. Yet when I finally got a slice of that perfect red velvet flag cake with cream cheese frosting, it was like the fireworks outside had a tasty twin on my palate.
What made it stand out? The layers weren’t just red—they were vivid and moist, and that frosting? Silky, tangy, and just sweet enough to feel indulgent without overpowering. I found myself making it again the very next weekend—twice, actually—inspired by how effortlessly it brought people together around the table. This recipe isn’t about fancy tricks or hours in the kitchen; it’s the kind of dessert that feels special yet approachable, a quiet kind of joy after a long day. And honestly, it’s become my go-to for any celebration, whether it’s a backyard barbecue or a simple Sunday treat.
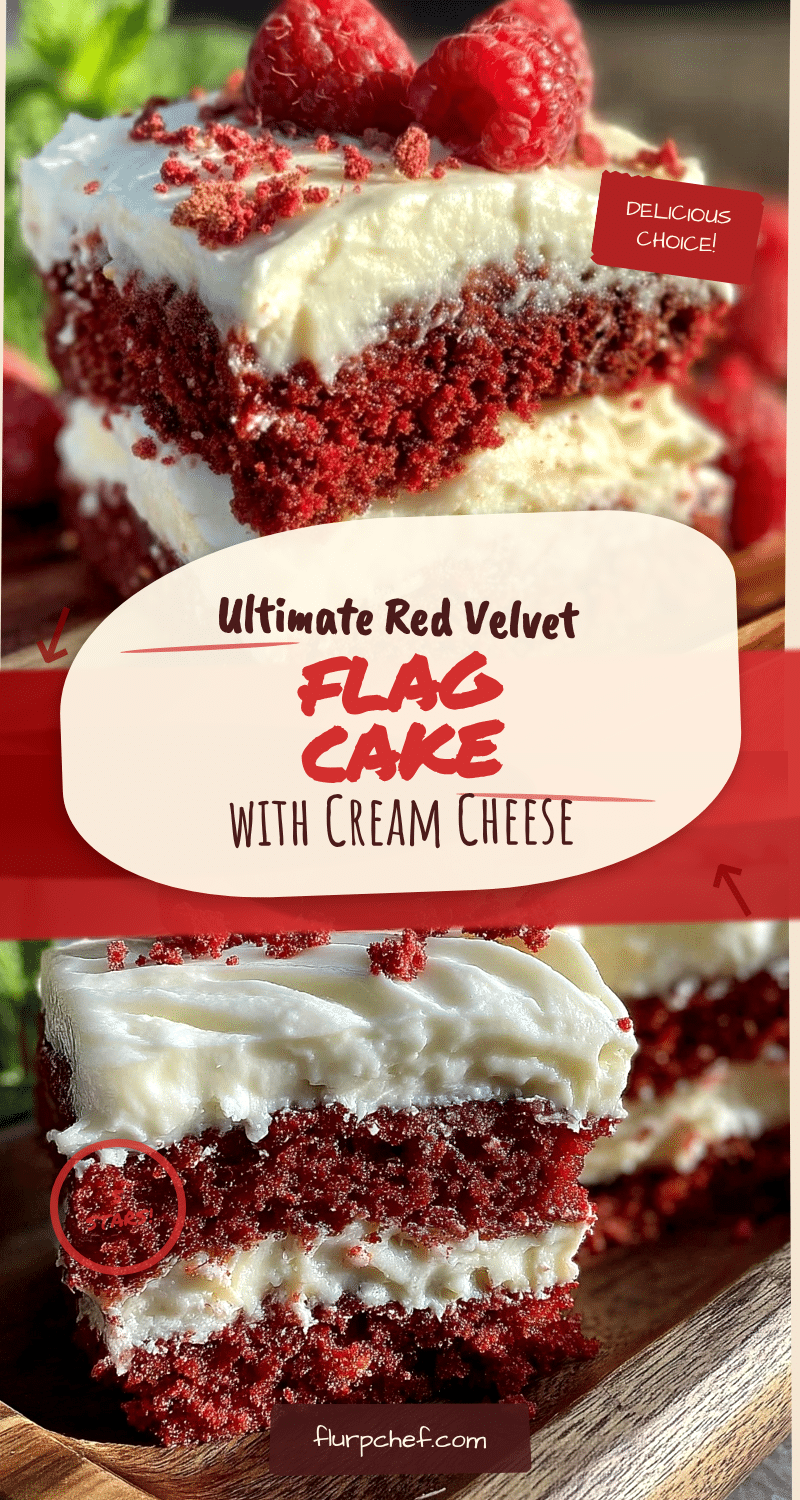
What hooked me was how the layers, once stacked, form a beautiful flag pattern that’s both festive and full of classic Southern charm. It’s not just a cake; it’s a little statement on a plate. After testing variations and tweaking the frosting to get that perfect balance, I knew this was the recipe worth sharing. So here it is—your ticket to that perfect red velvet flag cake with cream cheese frosting that you’ll want to make again and again, just like I do.
Why You’ll Love This Recipe
This perfect red velvet flag cake with cream cheese frosting isn’t just another dessert—it’s a tried-and-true recipe that’s been tested, tasted, and loved by everyone from casual home cooks to my most discerning friends. Here’s why it stands out:
- Quick & Easy: The batter comes together in under 20 minutes, making it a breeze even on busy days.
- Simple Ingredients: No need for specialty stores—most ingredients are pantry staples, like cocoa powder and buttermilk.
- Perfect for Celebrations: Whether it’s Independence Day, birthdays, or just a weekend treat, this cake’s striking flag design always impresses without stress.
- Crowd-Pleaser: Kids and adults alike go for seconds—there’s something about the tender crumb and tangy frosting combo that just clicks.
- Unbelievably Delicious: The subtle cocoa flavor balanced with that luscious cream cheese frosting gives you comfort food with a fancy twist.
What sets this recipe apart is the way the layers come together with a special technique that keeps the cake moist yet firm enough to hold the flag pattern perfectly. Plus, the cream cheese frosting is whipped just right—not too sweet, not too dense—which makes all the difference. You know that feeling when you take a bite and want to close your eyes because it’s just so good? That’s what this cake delivers every time.
What Ingredients You Will Need
This recipe uses simple, wholesome ingredients to deliver bold flavor and that moist texture red velvet fans crave. You’ll find most of these are kitchen staples, so no frantic last-minute shopping trips.
- For the Cake Batter:
- All-purpose flour (2 ½ cups / 315 g) – I prefer Gold Medal for consistent results
- Granulated sugar (1 ½ cups / 300 g)
- Unsweetened cocoa powder (2 tablespoons / 15 g) – use Dutch-processed if possible for deeper flavor
- Baking soda (1 teaspoon)
- Salt (½ teaspoon)
- Buttermilk (1 cup / 240 ml), room temperature – adds tang and keeps it moist (you can substitute with milk + 1 tbsp vinegar)
- Vegetable oil (1 cup / 240 ml) – keeps cake tender
- Large eggs (2), room temperature
- Red food coloring (2 tablespoons) – I use gel paste for vibrant color without extra liquid
- Vanilla extract (1 teaspoon)
- White vinegar (1 teaspoon) – reacts with baking soda for extra lift
- For the Cream Cheese Frosting:
- Cream cheese (16 ounces / 450 g), softened – I recommend Philadelphia brand for smoothness
- Unsalted butter (½ cup / 115 g), softened (adds richness)
- Powdered sugar (4 cups / 480 g), sifted
- Pure vanilla extract (1 teaspoon)
- Pinch of salt (balances sweetness)
If you want to swap buttermilk, use dairy-free yogurt or almond milk with a splash of lemon juice. For a gluten-free version, almond or oat flour can work but expect a slightly different crumb. And if you prefer a less sweet frosting, start with 3 cups powdered sugar and adjust to taste.
Equipment Needed
For this cake, you’ll want some basic baking tools, nothing too fancy but a few items that make the process smoother:
- Two 9-inch (23 cm) round cake pans – nonstick or lined with parchment paper for easy release
- Mixing bowls – at least two, preferably one large for dry ingredients and one medium for wet
- Electric mixer or stand mixer – a hand whisk works, but mixing by hand takes longer and can be tiring
- Measuring cups and spoons – accuracy really matters here, especially for baking soda and vinegar
- Rubber spatula – for folding batter gently and scraping bowls clean
- Cooling racks – to let the cakes cool evenly and avoid sogginess
- Offset spatula or butter knife – perfect for spreading cream cheese frosting smoothly
If you don’t have an electric mixer, a strong arm and a whisk will do, but be patient with the frosting—it’s easier to get silky with a mixer. For budget-friendly pans, I recommend checking out nonstick options from Wilton or Nordic Ware, which hold up well over time.
Preparation Method

- Preheat your oven to 350°F (175°C) and grease your two 9-inch cake pans. Line bottoms with parchment paper circles for extra insurance against sticking. This step is crucial—you want a smooth release after baking.
- Mix dry ingredients: In a large bowl, sift together 2 ½ cups (315 g) all-purpose flour, 1 ½ cups (300 g) granulated sugar, 2 tablespoons (15 g) unsweetened cocoa powder, 1 teaspoon baking soda, and ½ teaspoon salt. Whisk until evenly combined. The sifted cocoa powder helps avoid clumps, giving you that smooth crumb.
- Combine wet ingredients: In a separate bowl, whisk 1 cup (240 ml) buttermilk, 1 cup (240 ml) vegetable oil, 2 large eggs, 2 tablespoons red food coloring, 1 teaspoon vanilla extract, and 1 teaspoon white vinegar. Make sure the eggs and buttermilk are room temperature—they blend better and give a lighter cake.
- Mix wet into dry: Slowly pour the wet ingredients into the dry bowl while mixing on low speed with your electric mixer. Beat until just combined—about 1 to 2 minutes. Overmixing can make the cake dense, so stop as soon as you see no flour streaks.
- Divide and bake: Pour the batter evenly into the two prepared pans. Tap the pans gently on the counter to release any large air bubbles. Bake in the preheated oven for 25-30 minutes, or until a toothpick inserted into the center comes out clean. Your kitchen will start to smell like a cozy bakery—sweet cocoa and vanilla mingling.
- Cool completely: Let the cakes cool in the pans for 10 minutes, then run a knife around edges and invert onto cooling racks. Resist the urge to frost while warm—that’s a rookie mistake that leads to melting frosting.
- Prepare the frosting: Beat 16 ounces (450 g) softened cream cheese and ½ cup (115 g) softened unsalted butter together until smooth and fluffy, about 3 minutes on medium speed. Gradually add 4 cups (480 g) powdered sugar, one cup at a time, beating well after each addition. Mix in 1 teaspoon vanilla extract and a pinch of salt. The frosting should be creamy but thick enough to hold shape.
- Assemble the flag cake: Slice each cake horizontally into two layers (four layers total). Arrange red and white layers alternately to mimic the flag’s stripes. Spread a thin layer of frosting between layers and use the remaining frosting to cover the entire cake smoothly. For the “stars” section, you can pipe small dots or use white chocolate chips if you want to get fancy.
- Chill and serve: Refrigerate the cake for at least 1 hour before slicing to let the frosting set. This makes cutting cleaner and flavors meld better. Bring to room temperature 15 minutes before serving for the best taste and texture.
A quick note: if your cake turns out a little dense, it’s probably from overmixing or too much flour—easy to fix next time by measuring carefully and mixing only until combined. Also, using gel food coloring avoids adding extra liquid that can throw off the batter consistency.
Cooking Tips & Techniques
When it comes to nailing this red velvet flag cake, a few insider tips can make all the difference.
- Room temperature ingredients: Always bring eggs, buttermilk, and butter up to room temp before mixing. This helps everything blend smoothly and prevents curdling.
- Use gel food coloring: Liquid food coloring can thin your batter; gel or paste versions give vibrant color without messing with texture.
- Don’t overmix: Once you add wet to dry, mix just until no flour pockets remain. Overmixing activates gluten and makes cakes tough.
- Check oven temp: An oven thermometer is a handy tool—too hot and the cake browns too quickly outside but stays raw inside.
- Cooling is key: Let cakes cool completely before frosting to avoid the dreaded frosting meltdown. Patience here pays off in neat layers.
- Frosting consistency: If your cream cheese frosting feels too soft, chill it for 10-15 minutes before spreading. If too stiff, whip in a teaspoon of milk.
- Multitasking suggestion: While cakes bake, prep frosting so you’re ready for assembly right after cooling. Saves time and keeps the process smooth.
One time, I rushed and frosted a still-warm cake—disaster. The frosting melted and slid off like a sad snowman in July. Learned my lesson the hard way, but now I swear by cooling racks and a timer.
Variations & Adaptations
This red velvet flag cake recipe is versatile enough to fit many tastes and dietary needs.
- Gluten-free option: Substitute all-purpose flour with a 1-to-1 gluten-free baking flour blend. The texture will be slightly different but still delicious.
- Vegan adaptation: Use flax eggs (2 tablespoons flaxseed meal + 6 tablespoons water, let sit 5 minutes), dairy-free cream cheese and butter alternatives, and plant-based milk with vinegar instead of buttermilk.
- Flavor twists: Try adding a teaspoon of espresso powder to the batter to deepen the cocoa flavor. Or swirl in some raspberry puree between layers for a fresh fruity contrast.
- Alternative frostings: If cream cheese isn’t your thing, a whipped mascarpone frosting or chocolate ganache can add a new spin.
- Seasonal flair: For winter holidays, add a pinch of cinnamon or nutmeg to the batter for warmth.
Personally, I once tried adding a layer of homemade strawberry jam between the frosting layers—totally worth the extra effort for a bright burst of flavor. If you want to keep it simple yet festive, the classic cream cheese frosting is hard to beat.
Serving & Storage Suggestions
This cake is best served at room temperature—take it out of the fridge about 15-20 minutes before slicing to let the frosting soften slightly for a melt-in-your-mouth experience.
For a patriotic party, serve slices with fresh berries or a dollop of whipped cream. It pairs beautifully with a cup of coffee or a chilled glass of milk.
To store, wrap the cake tightly with plastic wrap or store in an airtight container in the refrigerator for up to 4 days. You can also freeze individual slices wrapped well for up to 2 months.
When reheating frozen slices, let them thaw overnight in the fridge and bring to room temperature before serving. The frosting might firm up a bit in the fridge but softens nicely if given time.
Over time, the flavors meld and the cake becomes even more tender, so sometimes making it a day ahead is a solid move for effortless entertaining.
Nutritional Information & Benefits
Each slice of this red velvet flag cake (assuming 12 servings) contains approximately:
| Nutrient | Amount |
|---|---|
| Calories | 350-400 |
| Fat | 18g |
| Saturated Fat | 7g |
| Carbohydrates | 45g |
| Sugar | 30g |
| Protein | 4g |
Key ingredients like buttermilk bring calcium and protein, while cream cheese adds richness and a dose of vitamin A. Using oil instead of butter in the cake keeps it moist without adding excess saturated fat. This recipe is gluten-containing unless you swap flour.
It’s definitely a treat, but one that’s straightforward and made with real ingredients you can pronounce. For those mindful of allergens, cream cheese and eggs are present, so substitutions are possible for dairy-free or vegan eaters as noted.
Conclusion
Making the perfect red velvet flag cake with cream cheese frosting is honestly a rewarding experience that brings a little festive magic to any gathering. It’s not complicated, doesn’t require fancy ingredients, and yet the result is a showstopper that tastes as good as it looks. I love this recipe because it combines nostalgia and celebration in every bite.
Feel free to tweak the layers, try different frostings, or add your own flair—this cake is a blank canvas for your creativity. And if you’re curious about other crowd-pleasing dishes with big flavor, you might enjoy my recipe for smoked brisket sliders or the fresh and zesty grilled jalapeño corn salad. Both have been party favorites in my kitchen.
Let me know how your flag cake turns out or if you put your own spin on it—I love hearing from you. Happy baking!
FAQs About Perfect Red Velvet Flag Cake
How do I get the bright red color without using too much food coloring?
Use gel or paste food coloring instead of liquid. It’s more concentrated, so you get vibrant color without thinning the batter.
Can I make this cake ahead of time?
Absolutely! Bake the layers a day or two in advance, wrap tightly, and keep refrigerated. Assemble and frost the day you want to serve for the freshest taste.
What’s the best way to slice the cake cleanly?
Chill the cake for at least an hour to set the frosting, then use a sharp serrated knife. Wiping the knife clean between cuts helps keep edges neat.
Can I freeze this cake?
Yes, freeze individual slices wrapped well in plastic wrap and foil. Thaw overnight in the fridge before serving.
Is there a way to make this cake dairy-free?
Use dairy-free cream cheese and butter alternatives, almond or oat milk with lemon juice instead of buttermilk, and flax eggs in place of chicken eggs.
Pin This Recipe!
Perfect Red Velvet Flag Cake Recipe with Easy Cream Cheese Frosting

A moist and vivid red velvet cake layered to form a festive flag pattern, topped with silky, tangy cream cheese frosting. Perfect for celebrations and easy to make with pantry staples.
- Prep Time: 20 minutes
- Cook Time: 25-30 minutes
- Total Time: 1 hour 15 minutes
- Yield: 12 servings 1x
- Category: Dessert
- Cuisine: Southern American
Ingredients
- 2 ½ cups (315 g) all-purpose flour
- 1 ½ cups (300 g) granulated sugar
- 2 tablespoons (15 g) unsweetened cocoa powder (preferably Dutch-processed)
- 1 teaspoon baking soda
- ½ teaspoon salt
- 1 cup (240 ml) buttermilk, room temperature (or milk + 1 tbsp vinegar)
- 1 cup (240 ml) vegetable oil
- 2 large eggs, room temperature
- 2 tablespoons red food coloring (gel paste preferred)
- 1 teaspoon vanilla extract
- 1 teaspoon white vinegar
- 16 ounces (450 g) cream cheese, softened
- ½ cup (115 g) unsalted butter, softened
- 4 cups (480 g) powdered sugar, sifted
- 1 teaspoon pure vanilla extract
- Pinch of salt
Instructions
- Preheat oven to 350°F (175°C) and grease two 9-inch round cake pans. Line bottoms with parchment paper.
- In a large bowl, sift together flour, sugar, cocoa powder, baking soda, and salt. Whisk to combine.
- In a separate bowl, whisk buttermilk, vegetable oil, eggs, red food coloring, vanilla extract, and white vinegar until smooth.
- Slowly pour wet ingredients into dry ingredients while mixing on low speed. Beat until just combined, about 1-2 minutes. Do not overmix.
- Divide batter evenly between prepared pans. Tap pans gently to release air bubbles.
- Bake for 25-30 minutes or until a toothpick inserted in the center comes out clean.
- Cool cakes in pans for 10 minutes, then invert onto cooling racks to cool completely.
- For frosting, beat cream cheese and butter until smooth and fluffy, about 3 minutes on medium speed.
- Gradually add powdered sugar, one cup at a time, beating well after each addition.
- Mix in vanilla extract and a pinch of salt until frosting is creamy and thick.
- Slice each cake horizontally into two layers (four layers total).
- Arrange layers alternately to mimic flag stripes, spreading a thin layer of frosting between each.
- Cover entire cake with remaining frosting smoothly. Optionally pipe dots or use white chocolate chips for stars.
- Refrigerate cake for at least 1 hour before slicing. Bring to room temperature 15 minutes before serving.
Notes
Use room temperature ingredients for best blending. Use gel food coloring to avoid thinning batter. Do not overmix batter to keep cake tender. Cool cakes completely before frosting to prevent melting. Chill frosting if too soft or add milk if too stiff. An oven thermometer helps maintain correct baking temperature.
Nutrition
- Serving Size: 1 slice (1/12 of cak
- Calories: 375
- Sugar: 30
- Fat: 18
- Saturated Fat: 7
- Carbohydrates: 45
- Protein: 4
Keywords: red velvet cake, cream cheese frosting, flag cake, Fourth of July dessert, celebration cake, easy red velvet, moist cake


