The doorbell rang at 4:47 PM on a Tuesday. I remember because I was staring at a pack of bone-in chicken thighs thawing on the counter, wondering how they’d become dinner in under an hour. My neighbor Jen was dropping off a book she’d borrowed, and I invited her in without thinking—the way you do when your hands are covered in garlic paste. She stayed. She sat on a stool at my kitchen island while I frantically scanned my pantry, and the only thing that felt right was a slow cooker I hadn’t used in months. I didn’t have a plan. I had soy sauce, honey, garlic, and a vague memory of a takeout glaze I’d been chasing for years. That night, Jen ate two servings and asked for the recipe before I’d even written it down. That’s how these sticky honey garlic chicken thighs in the crockpot were born—not from a carefully tested blog post, but from a Tuesday that demanded something good without a lot of effort. And honestly? That’s the kind of recipe that sticks.
There’s something about chicken thighs in a slow cooker that just works. They stay tender, they soak up flavor, and they don’t dry out the way breasts do when you forget about them for an extra hour. I’ve made this recipe maybe a dozen times since that night, tweaking the honey-to-soy ratio, testing different garlic amounts, and finally landing on a version that makes my whole kitchen smell like a Chinese takeout dream. It’s not fancy. It’s not complicated. But it is the kind of meal that makes you close your eyes after the first bite. And that’s the only kind of recipe I really want to share.
Why You’ll Love This Recipe
This isn’t just another chicken recipe. This is the one you’ll come back to on busy weeks, lazy Sundays, and those nights when you need dinner to feel like a hug. Here’s why it works:
- Truly Set-It-and-Forget-It: No searing, no basting, no standing over a hot stove. Just toss everything in the crockpot and walk away. The slow cooker does all the heavy lifting while you handle life.
- Simple Pantry Ingredients: You probably have soy sauce, honey, and garlic in your kitchen right now. No specialty stores, no expensive cuts—just honest ingredients that come together beautifully.
- Perfect for Busy Weeknights: This is the dinner you start at lunch and forget about until your family starts asking what smells so good. It’s also great for meal prep—make it Sunday, eat it all week.
- Crowd-Pleasing Flavor: The sticky honey garlic glaze hits that perfect sweet-savory balance that kids love and adults crave. I’ve served this to picky eaters, dinner guests, and my own skeptical self, and it never disappoints.
- Incredibly Versatile: Serve it over rice, with roasted veggies, on a salad, or in lettuce wraps. It works for dinner, leftovers, and even quick lunches throughout the week.
What makes this recipe different from all the other honey garlic chicken recipes out there? It’s the texture. Most crockpot chicken ends up swimming in thin sauce, but this one develops a genuinely sticky, almost caramelized glaze without any cornstarch slurry or last-minute thickening. The secret is in how the honey and soy sauce reduce slowly over hours, creating a coating that clings to each thigh like it was brushed on. I tested this recipe six times to get that texture right, and I promise you—it’s worth every attempt.
This is the kind of meal that makes you feel like you’ve got it together, even when you’re barely holding on. It’s comfort food that doesn’t require a lot of work, and honestly? That’s the best kind.
What Ingredients You Will Need
This recipe relies on a short list of everyday ingredients, but each one plays a specific role. Here’s what you’ll need and why it matters:
For the Chicken:
- 2 pounds boneless, skinless chicken thighs (about 6-8 thighs) — I prefer boneless thighs here because they cook faster and are easier to shred or serve whole. Bone-in works too, but you’ll need to add 1-2 hours to the cooking time. Look for thighs that are similar in size so they cook evenly.
- Salt and black pepper — Just a light seasoning before the sauce goes on. Don’t overdo it—the soy sauce brings plenty of salt.
For the Sticky Honey Garlic Sauce:
- 1/2 cup honey — Use a good quality honey here. I prefer a mild wildflower or clover honey—something that’s not too floral but still has depth. Avoid raw honey with strong flavors; it can overpower the garlic. (Pro tip: if your honey has crystallized, microwave it for 10 seconds to loosen it up before mixing.)
- 1/3 cup low-sodium soy sauce — Low-sodium is key here. Regular soy sauce will make the final dish way too salty after the sauce reduces. I use Kikkoman or San-J tamari for a gluten-free option.
- 6 cloves garlic, minced — Fresh garlic is non-negotiable here. The jarred stuff won’t give you the same punch. I use a microplane for the finest mince, but a garlic press works too. If you’re feeling lazy, smash the cloves with the side of your knife and chop roughly—it’ll still be delicious.
- 2 tablespoons rice vinegar — This brightens the sauce and cuts through the richness of the chicken. Apple cider vinegar works in a pinch, but rice vinegar is milder and more authentic.
- 1 tablespoon sesame oil — Adds that nutty, toasty flavor that makes the sauce taste like takeout. Don’t skip it—it’s a small amount but makes a big difference.
- 1 teaspoon ground ginger — Or 1 tablespoon fresh grated ginger if you have it. I use ground ginger because it’s always in my pantry, but fresh ginger adds a brighter, more pungent kick. Both work.
- 1/4 teaspoon red pepper flakes (optional) — For a tiny bit of heat. I add this about half the time, depending on my mood. It doesn’t make the dish spicy—just gives it a little edge.
For Garnish (Optional but Recommended):
- Sesame seeds — Toasted white or black sesame seeds add a nice visual pop and a subtle crunch.
- Chopped green onions — Fresh scallions cut through the richness and add color. I use both the white and green parts.
- Fresh cilantro (optional) — If you’re a cilantro person, a handful of chopped leaves adds freshness. If you’re not, skip it.
That’s it. Eight main ingredients plus a few garnishes. No cream, no butter, no complicated spice blends. Just honest flavors that come together into something sticky, savory, and sweet.
Equipment Needed
You don’t need a fancy kitchen to make this recipe. Here’s what you’ll need:
- 6-quart slow cooker — This is the sweet spot for 2 pounds of chicken thighs. A 4-quart will work if you arrange the thighs in a single layer, but a 6-quart gives you room for the sauce to reduce without overflowing. I use a Crock-Pot brand slow cooker, but any brand works.
- Small mixing bowl — For whisking together the sauce ingredients. Any bowl will do.
- Whisk or fork — To combine the sauce until smooth.
- Measuring cups and spoons — For accurate measurements. I know some people eyeball it, but the honey-to-soy ratio is important here.
- Garlic press or microplane — For mincing garlic. A knife works too, but a press saves time and gets the garlic finer.
- Tongs — For placing the chicken in the slow cooker and turning it halfway through. Tongs are safer than forks for handling raw chicken.
- Cutting board and knife — For mincing garlic and chopping garnishes.
- Small saucepan (optional) — If you want to thicken the sauce further at the end, you can transfer it to a saucepan and simmer for a few minutes. I rarely do this because the slow cooker does the work, but it’s an option if you want an extra-sticky glaze.
Budget-Friendly Tip: If you don’t have a 6-quart slow cooker, check your local thrift store. I found my first slow cooker for $8, and it lasted me five years. You don’t need the latest model with digital timers—the old-school ones with a low/high/warm switch work perfectly.
Preparation Method
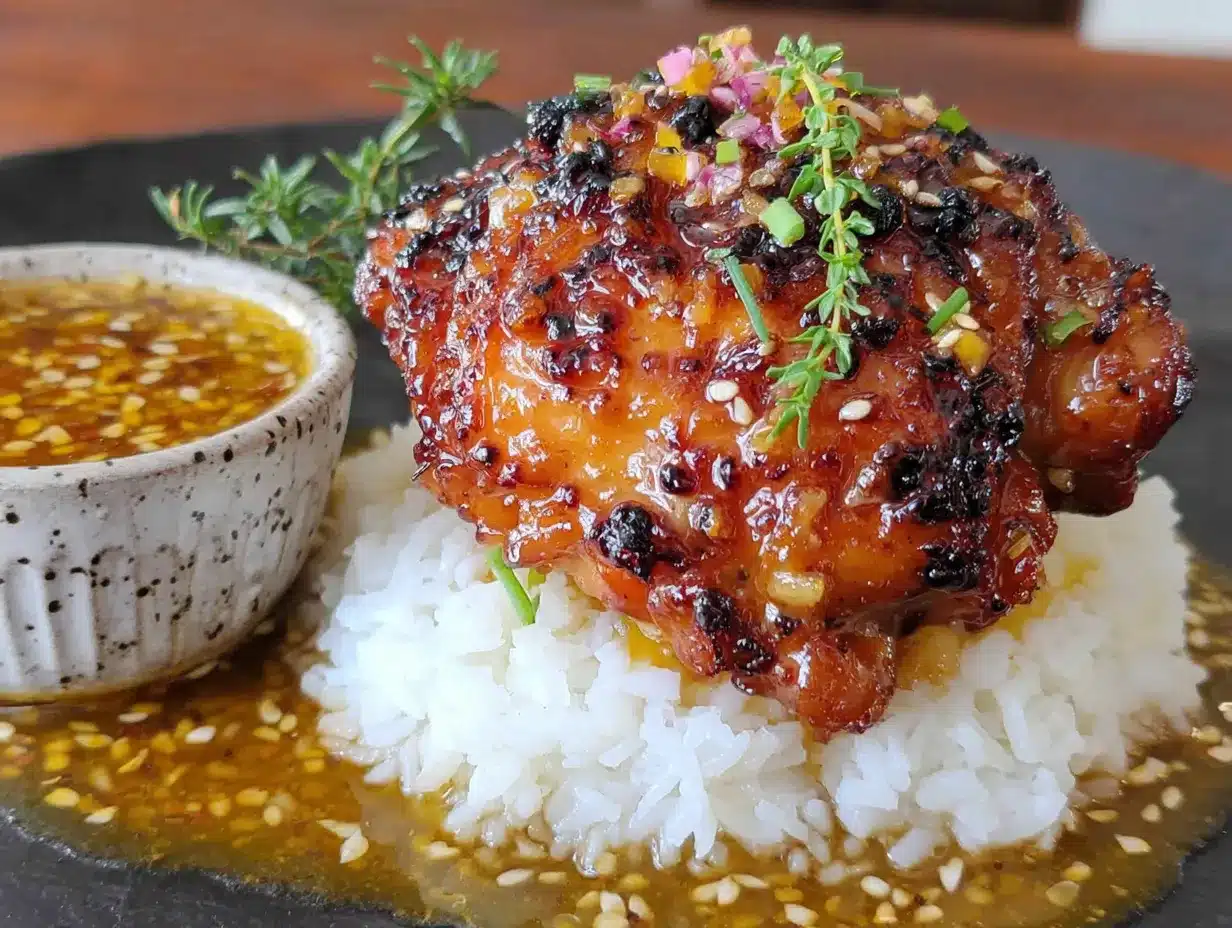
This recipe is almost embarrassingly easy, but I’ll walk you through every step so you get perfect results every time.
- Prep the chicken (5 minutes): Pat the chicken thighs dry with paper towels. This helps the sauce stick better and prevents the final dish from being watery. Season both sides lightly with salt and pepper. Don’t go overboard—the soy sauce brings plenty of salt. Place the thighs in the bottom of your slow cooker in a single layer. If they overlap a little, that’s fine—they’ll shrink as they cook.
- Make the sauce (5 minutes): In a small bowl, whisk together the honey, low-sodium soy sauce, minced garlic, rice vinegar, sesame oil, ground ginger, and red pepper flakes (if using). Whisk until the honey is fully incorporated and the sauce looks smooth. Taste it—it should be sweet, savory, and slightly tangy. If it tastes too sweet, add another splash of soy sauce. If it’s too salty, add a little more honey. Adjust to your preference.
- Pour and cook (4-6 hours on low or 2-3 hours on high): Pour the sauce evenly over the chicken thighs. Use a spoon to make sure each thigh gets some sauce on top. Put the lid on and cook on LOW for 4-6 hours or on HIGH for 2-3 hours. I strongly recommend LOW—the longer, gentler cooking gives you the most tender chicken and allows the sauce to reduce and thicken naturally. If you’re in a hurry, HIGH works, but check at the 2-hour mark.
- Flip halfway through (optional but recommended): About halfway through cooking, use tongs to flip each chicken thigh over. This ensures even coating and prevents the top from drying out. If you forget, don’t stress—the chicken will still be delicious. I forget about half the time and it’s never ruined a batch.
- Check for doneness (1 minute): The chicken is done when it reaches an internal temperature of 165°F and shreds easily with a fork. If you’re serving the thighs whole, they should be fork-tender but still hold their shape. If you’re shredding, let them cook until they fall apart with minimal effort.
- Thicken the sauce (optional, 5 minutes): Once the chicken is cooked, use tongs to transfer it to a plate or cutting board. Pour the remaining sauce from the slow cooker into a small saucepan. Bring it to a simmer over medium heat and let it bubble for 3-5 minutes, stirring occasionally, until it thickens into a syrupy glaze. This step is optional but highly recommended if you want that sticky, glossy coating. If you’re short on time, just spoon the sauce over the chicken as-is—it’ll still be delicious.
- Glaze and serve (2 minutes): Return the chicken to the slow cooker or place it on a serving platter. Pour the thickened glaze over the top and toss gently to coat. Sprinkle with sesame seeds and chopped green onions. Serve immediately over rice, noodles, or with your favorite vegetables.
Sensory Cues to Watch For:
- At the 2-hour mark on LOW, your kitchen should smell like sweet garlic and soy. If it smells burnt, your heat is too high.
- The sauce should look darker and slightly thicker by hour 4. If it’s still thin and watery, cook for another 30-60 minutes with the lid off to let it reduce.
- The chicken should be so tender that a fork slides in with almost no resistance. If it’s still firm, give it more time.
Cooking Tips & Techniques
I’ve made this recipe enough times to know exactly where things can go wrong—and how to fix them. Here are my best tips:
The Lid Stays On: I know it’s tempting to peek, but every time you lift the lid, you release heat and steam. This slows down cooking and prevents the sauce from reducing properly. Trust the process. If you absolutely must check, do it quickly and put the lid right back.
Don’t Overcrowd: If you’re doubling the recipe, use a larger slow cooker or cook in batches. Overcrowding means the chicken steams instead of braising, and the sauce won’t reduce properly. A single layer is ideal.
Watch the Salt: Low-sodium soy sauce is non-negotiable here. I learned this the hard way when I used regular soy sauce and ended up with chicken that tasted like a salt lick. If you only have regular soy sauce, reduce it to 1/4 cup and add a splash of water.
The Honey Factor: Different honeys have different sweetness levels. If your honey is particularly strong or floral, start with 1/3 cup and taste the sauce before adding more. You can always add honey, but you can’t take it out.
My Biggest Failure: The first time I made this, I used chicken breasts instead of thighs. The breasts dried out after 4 hours, and the sauce never thickened because there wasn’t enough fat to help it reduce. Chicken thighs are forgiving. Chicken breasts are not. Stick with thighs for this recipe.
Multitasking Strategy: Start your rice or noodles about 30 minutes before the chicken is done. That way, everything finishes at the same time. If you’re making a vegetable side, roast it in the oven while the chicken finishes in the slow cooker.
Make-Ahead Tip: You can prep the sauce up to 3 days in advance. Store it in an airtight container in the fridge. When you’re ready to cook, just pour it over the chicken and go. This is a lifesaver on busy mornings.
Variations & Adaptations
This recipe is flexible. Here are some ways to make it your own:
Spicy Honey Garlic Chicken: Add 1-2 tablespoons of sriracha or sambal oelek to the sauce for a spicy kick. I’ve done this when I’m craving heat, and it works beautifully. The honey balances the spice, so it’s not overwhelming.
Garlic-Lover’s Version: Use 8-10 cloves of garlic instead of 6. Roast the garlic first for an even mellower, sweeter flavor. Just wrap whole garlic cloves in foil and roast at 400°F for 20 minutes before mincing.
Low-Carb/Keto Adaptation: Replace the honey with 1/4 cup of sugar-free maple syrup or monk fruit honey. The texture won’t be exactly the same, but the flavor is still great. Serve over cauliflower rice or zucchini noodles to keep it low-carb.
Gluten-Free Option: Use tamari or coconut aminos instead of soy sauce. Both are gluten-free and work perfectly. Coconut aminos are slightly sweeter, so you might want to reduce the honey by a tablespoon.
Baked Version: If you don’t have a slow cooker, you can bake this in the oven. Place the chicken and sauce in a 9×13 baking dish. Cover with foil and bake at 350°F for 45 minutes. Remove the foil and bake for another 10-15 minutes to let the sauce thicken. It’s not quite the same, but it’s close.
My Personal Favorite Variation: I sometimes add a tablespoon of gochujang (Korean chili paste) to the sauce. It adds a subtle fermented depth that pairs perfectly with the honey and garlic. My family doesn’t even notice it’s there—they just say the chicken tastes “extra good.”
Serving & Storage Suggestions
This chicken is versatile enough to work for dinner, meal prep, or even a fancy date night at home.
Serving Temperature: Serve the chicken hot, straight from the slow cooker. The glaze is most flavorful and sticky when it’s warm. If you’re serving it cold (like on a salad), let it cool completely first—the glaze will firm up slightly.
What to Serve With It:
- Rice: Steamed jasmine rice, brown rice, or coconut rice are all excellent choices. The sauce soaks into the rice, making every bite delicious.
- Noodles: Try it over lo mein noodles, udon, or even spaghetti. Toss the noodles with a little sesame oil before adding the chicken.
- Vegetables: Roasted broccoli, steamed bok choy, or a simple cucumber salad all work well. The freshness balances the richness of the chicken.
- Lettuce Wraps: Shred the chicken and serve it in butter lettuce cups with shredded carrots and fresh herbs. It’s light, fresh, and perfect for summer.
Storage Instructions:
- Refrigerator: Store leftover chicken in an airtight container for up to 4 days. The flavors actually get better after a day or two as the sauce soaks into the chicken.
- Freezer: This freezes beautifully. Let the chicken cool completely, then transfer it to a freezer-safe bag or container. It will keep for up to 3 months. Thaw overnight in the refrigerator before reheating.
Reheating Tips:
- Microwave: Place the chicken in a microwave-safe dish and heat in 30-second intervals, stirring between each, until hot. Add a splash of water if the sauce seems thick.
- Stovetop: Reheat in a skillet over medium-low heat with a tablespoon of water or chicken broth. Stir occasionally until heated through. This method helps restore the sticky glaze.
- Oven: Place the chicken in a baking dish, cover with foil, and reheat at 300°F for 10-15 minutes. This is the gentlest method and works best for whole thighs.
How Flavors Develop Over Time: This is one of those rare recipes that tastes even better the next day. The garlic mellows, the honey deepens, and the soy sauce infuses every fiber of the chicken. I often make a double batch just so I can have leftovers for lunch.
Nutritional Information & Benefits
Here’s the approximate nutritional breakdown for one serving (about 2 chicken thighs with sauce):
- Calories: 380
- Protein: 32g
- Fat: 14g
- Carbohydrates: 28g
- Sugar: 24g (from honey)
- Sodium: 680mg
- Fiber: 0g
Health Benefits of Key Ingredients:
- Chicken Thighs: Rich in protein, iron, and B vitamins. They also contain more selenium than chicken breasts—a mineral that supports thyroid function and immune health.
- Garlic: Known for its immune-boosting properties. Raw garlic contains allicin, a compound with antibacterial and anti-inflammatory effects. Cooking reduces some of these benefits, but you still get plenty of flavor and some health perks.
- Honey: A natural sweetener with antioxidants. It also has antibacterial properties and can help soothe a sore throat. Just remember—it’s still sugar, so enjoy in moderation.
- Ginger: Helps with digestion and has anti-inflammatory properties. It also adds warmth to the dish without adding heat.
Dietary Considerations: This recipe is naturally dairy-free and can be made gluten-free (use tamari). It’s not low-carb due to the honey, but you can adapt it as mentioned above. If you’re watching your sodium, use low-sodium soy sauce and skip the extra salt.
My Personal Wellness Perspective: I don’t believe in labeling foods as “good” or “bad.” This chicken is a balanced meal—protein, healthy fats, and a little sweetness. It’s the kind of food that nourishes you while also making you happy. And honestly? That’s the healthiest kind of meal there is.
Conclusion
This sticky honey garlic chicken thighs in the crockpot recipe is proof that you don’t need a lot of time, skill, or fancy ingredients to make something truly memorable. It came from a Tuesday night when I had nothing planned and everything to prove—that simple food, made with intention, can be extraordinary.
I love this recipe because it’s forgiving. It doesn’t care if you forgot to flip the chicken or if you used a little too much garlic. It meets you where you are and still delivers. Whether you’re feeding a family, meal-prepping for the week, or just trying to get dinner on the table without losing your mind, this chicken is here for you.
So go ahead—make it your own. Add extra heat, swap the honey for maple syrup, serve it over noodles instead of rice. The beauty of this recipe is that it’s a starting point, not a rulebook. And when you take that first bite of sticky, garlicky, perfectly tender chicken, I hope you close your eyes and smile. Because that’s what good food does.
If you make this recipe, I’d love to hear about it. Leave a comment below with your favorite variation, or tag me in your photos. And if you’re looking for more easy, delicious meals, check out my teriyaki chicken bento box or my sun-dried tomato chicken orzo for more weeknight inspiration. Happy cooking!
Frequently Asked Questions
Can I use chicken breasts instead of thighs?
You can, but I don’t recommend it. Chicken breasts cook faster and tend to dry out in the slow cooker. If you must use breasts, reduce the cooking time to 2-3 hours on LOW and check for doneness early. The sauce will also be thinner because there’s less fat.
Can I make this in an Instant Pot?
Yes! Use the sauté function to quickly thicken the sauce after pressure cooking. Cook the chicken on HIGH pressure for 10 minutes with a natural release. Then remove the chicken and use the sauté function to reduce the sauce for 5-7 minutes. It’s faster but not quite as tender as the slow cooker version.
How do I prevent the sauce from being too watery?
Make sure you’re using the right amount of honey—it helps the sauce thicken. Also, keep the lid on during cooking and avoid adding extra liquid. If the sauce is still thin at the end, transfer it to a saucepan and simmer for 5-10 minutes to reduce it.
Can I freeze the leftovers?
Absolutely! Let the chicken cool completely, then store it in a freezer-safe container for up to 3 months. The sauce will thicken slightly when frozen, but it will return to its sticky glory when reheated. Thaw overnight in the fridge before reheating.
What can I serve with this chicken?
Steamed rice is the classic choice, but it’s also great over noodles, quinoa, or cauliflower rice. For vegetables, try roasted broccoli, steamed bok choy, or a fresh cucumber salad. The chicken also works beautifully in lettuce wraps or on top of a grain bowl.
Pin This Recipe!
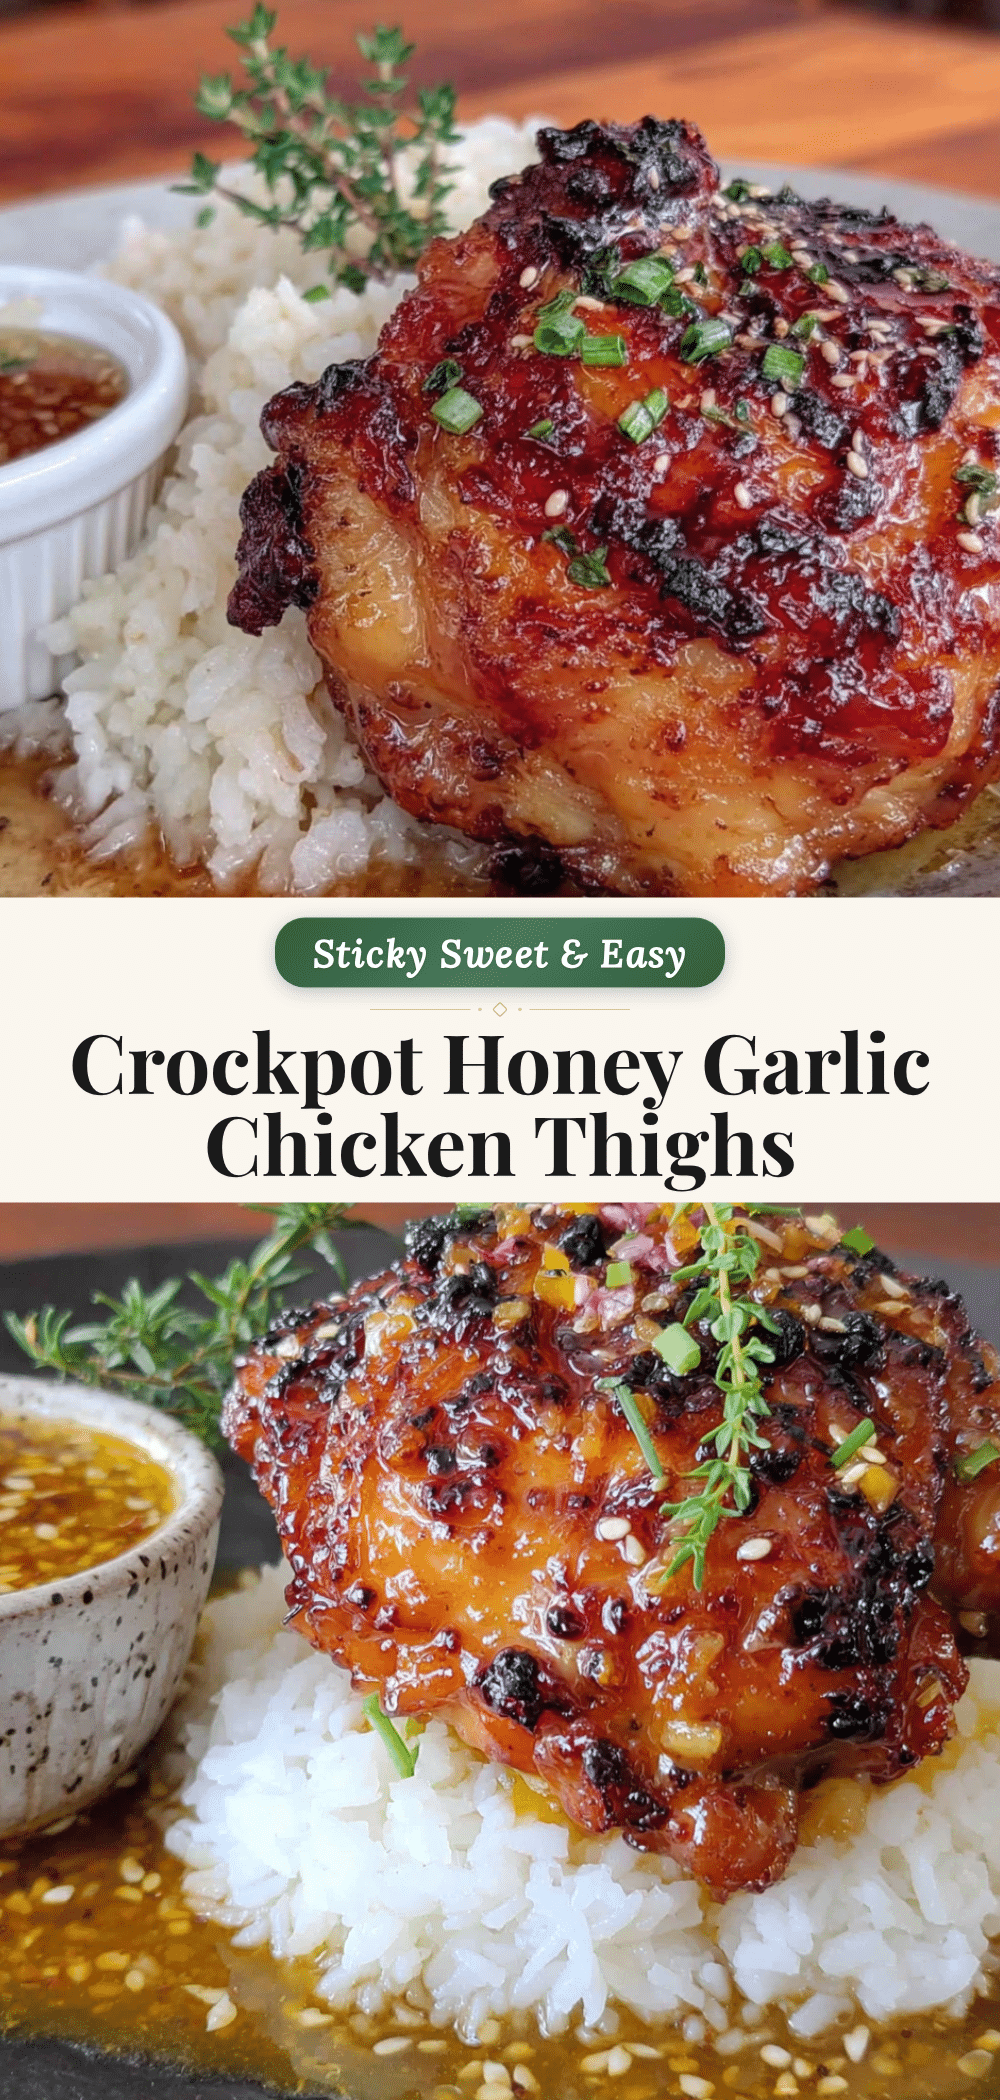
Easy Crockpot Sticky Honey Garlic Chicken Thighs

Tender, sticky honey garlic chicken thighs made effortlessly in the slow cooker. This set-it-and-forget-it recipe delivers a perfectly caramelized glaze with simple pantry ingredients, perfect for busy weeknights.
- Prep Time: 10 minutes
- Cook Time: 4 hours
- Total Time: 4 hours 10 minutes
- Yield: 4 servings 1x
- Category: Main Course
- Cuisine: Asian-inspired
Ingredients
- 2 pounds boneless, skinless chicken thighs (about 6–8 thighs)
- Salt and black pepper, to taste
- 1/2 cup honey
- 1/3 cup low-sodium soy sauce
- 6 cloves garlic, minced
- 2 tablespoons rice vinegar
- 1 tablespoon sesame oil
- 1 teaspoon ground ginger
- 1/4 teaspoon red pepper flakes (optional)
- Sesame seeds, for garnish (optional)
- Chopped green onions, for garnish (optional)
- Fresh cilantro, for garnish (optional)
Instructions
- Pat the chicken thighs dry with paper towels. Season both sides lightly with salt and pepper. Place the thighs in the bottom of your slow cooker in a single layer.
- In a small bowl, whisk together the honey, low-sodium soy sauce, minced garlic, rice vinegar, sesame oil, ground ginger, and red pepper flakes (if using) until smooth.
- Pour the sauce evenly over the chicken thighs. Cover and cook on LOW for 4-6 hours or on HIGH for 2-3 hours.
- Optional: About halfway through cooking, flip each chicken thigh using tongs for even coating.
- Check for doneness: Chicken is done when it reaches an internal temperature of 165°F and shreds easily with a fork.
- Optional: Transfer cooked chicken to a plate. Pour remaining sauce into a small saucepan and simmer over medium heat for 3-5 minutes until thickened into a syrupy glaze.
- Return chicken to the slow cooker or place on a serving platter. Pour thickened glaze over the top and toss gently to coat. Sprinkle with sesame seeds and chopped green onions. Serve immediately.
Notes
For best results, use boneless, skinless chicken thighs. Low-sodium soy sauce is essential to prevent the dish from being too salty. The sauce thickens naturally as it reduces; avoid adding extra liquid. Leftovers can be stored in the refrigerator for up to 4 days or frozen for up to 3 months.
Nutrition
- Serving Size: 2 chicken thighs wit
- Calories: 380
- Sugar: 24
- Sodium: 680
- Fat: 14
- Saturated Fat: 4
- Carbohydrates: 28
- Protein: 32
Keywords: crockpot chicken, honey garlic chicken, slow cooker chicken thighs, sticky chicken, easy weeknight dinner


