I figured browning butter for a scone would be one of those fussy steps you could skip without anyone noticing. It took about three batches of flat, sad, flavorless triangles for that assumption to fall apart completely. The first time I actually let the butter sizzle and foam until it smelled like toasted nuts and caramel, the whole kitchen shifted. My husband walked in and asked if I was baking something with butterscotch. Nope. Just butter doing its thing. And when I folded that nutty, liquid gold into a pumpkin dough, something clicked. These scones came out of the oven with these jagged, craggy tops and edges so crisp they practically sang. The inside stayed impossibly tender — almost biscuit-like, but richer. I stood there eating one still warm, no glaze, just butter and pumpkin and that deep toasted flavor, and I knew I’d never make a plain scone again. The maple glaze came later, almost as an afterthought, but honestly, it made the whole thing feel complete. Like the scone was always meant to have that sweet, woodsy finish.
These Perfect Brown Butter Pumpkin Scones with Maple Glaze aren’t complicated. They’re just intentional. Every step has a reason, and the payoff is this bakery-quality pastry that tastes like autumn in a way that feels earned, not gimmicky. You don’t need a pastry chef degree or a marble slab. You just need patience for one extra step that changes everything.
Why You’ll Love This Recipe
- Deep, Complex Flavor — Browning the butter adds a nutty, caramelized richness that plain butter simply cannot deliver. It transforms pumpkin scones from predictable to memorable in one skillet.
- Tender, Flaky Texture — Cold ingredients and a gentle hand create scones that are crisp on the outside and soft on the inside. No hockey pucks here.
- Easy Maple Glaze — A simple two-ingredient glaze that sets perfectly and adds just the right amount of sweetness without overwhelming the pumpkin and brown butter flavors.
- Make-Ahead Friendly — You can prep the dry mix and browned butter the night before. Morning baking becomes a 15-minute assembly job.
- Crowd-Pleaser — I have brought these to brunches, fall gatherings, and even a book club meeting where someone asked for the recipe before she finished her first scone. They disappear fast.
This recipe is different because it skips the shortcuts that make most pumpkin scones taste like spiced cardboard. The brown butter is non-negotiable. It adds a savory depth that balances the pumpkin and spice, creating a scone that tastes sophisticated but comes together with basic pantry ingredients. It’s the kind of pastry that makes you close your eyes after the first bite. Comfort food reimagined — richer, warmer, and somehow both indulgent and simple.
What Ingredients You Will Need
This recipe uses simple, wholesome ingredients to deliver bold flavor and satisfying texture without the fuss. Most of these are pantry staples, but a few deserve a closer look.
- Unsalted butter (1 stick, 113 grams) — You will brown this whole stick. I use Kerrygold for its higher butterfat content, which browns more evenly and tastes richer. Do not substitute margarine or plant-based butter; they will not brown the same way.
- All-purpose flour (2 ½ cups, 312 grams) — Spoon and level your flour. Scooping directly from the bag packs in too much flour and makes dense scones. If you want a lighter texture, you can substitute up to ½ cup with white whole wheat flour.
- Granulated sugar (⅓ cup, 66 grams) — Just enough to sweeten the dough without making it taste like cake. The glaze handles the rest of the sweetness.
- Light brown sugar (2 tablespoons, 25 grams) — Adds moisture and a hint of molasses that plays beautifully with the pumpkin and brown butter.
- Baking powder (2 ½ teaspoons) — Make sure it is fresh. Expired baking powder is the number one reason scones don’t rise properly.
- Pumpkin pie spice (1 ½ teaspoons) — Store-bought is fine, but I like to make my own with cinnamon, ginger, nutmeg, allspice, and a tiny pinch of cloves. It tastes brighter.
- Ground cinnamon (½ teaspoon) — Extra warmth because pumpkin and cinnamon are a non-negotiable pair.
- Salt (½ teaspoon) — Do not skip this. Salt sharpens the brown butter and balances the sweetness.
- Pumpkin purée (½ cup, 120 grams) — Use canned pumpkin purée, not pumpkin pie filling. I prefer Libby’s for its consistent thickness and smooth texture. If your purée looks watery, blot it with a paper towel before measuring.
- Heavy cream (⅓ cup, 80 ml, plus more for brushing) — Cold heavy cream adds richness and helps create flaky layers. You can substitute half-and-half in a pinch, but the scones will be slightly less tender.
- Vanilla extract (1 teaspoon) — Pure vanilla, not imitation. It rounds out the spice flavors beautifully.
- Egg (1 large) — Adds structure and helps the scones hold their shape. Bring it to room temperature before mixing.
- For the maple glaze: Powdered sugar (1 cup, 120 grams) and pure maple syrup (3 to 4 tablespoons). Do not use pancake syrup. Real maple syrup makes the glaze taste clean and woodsy, not cloyingly sweet.
Equipment Needed
- Large skillet or saucepan — Light-colored is best so you can see the butter solids turn amber. Dark pans make it hard to judge the color.
- Mixing bowls — One large for dry ingredients, one medium for wet ingredients.
- Pastry cutter or two forks — For cutting the browned butter into the flour. A food processor works too, but I find hand-cutting gives me more control over the butter pieces.
- Baking sheet — Line it with parchment paper. No greasing needed.
- Bench scraper or sharp knife — For cutting the dough into triangles. A bench scraper gives cleaner edges.
- Pastry brush — For brushing heavy cream on top before baking. This gives the scones that golden, slightly crunchy crust.
- Wire rack — For cooling the scones. Glazing them on a rack prevents puddles of glaze from forming underneath.
If you do not have a pastry cutter, you can use your fingertips to work the butter into the flour. Just work quickly so the butter stays cold. I have also used a box grater to grate frozen browned butter into the flour — it works surprisingly well and creates tiny butter shards that melt into flaky layers.
Preparation Method
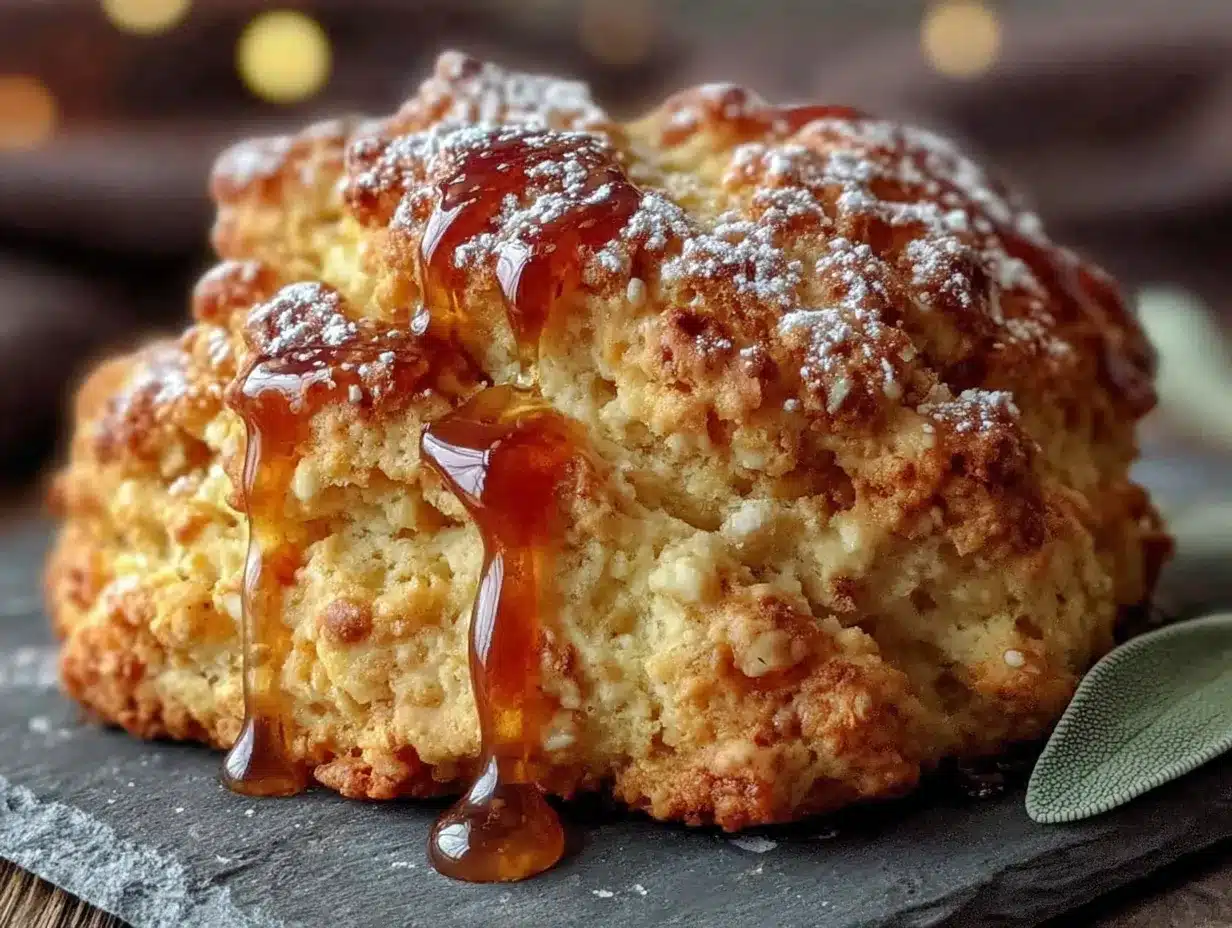
- Brown the butter. Place the stick of butter in a light-colored skillet over medium heat. Let it melt completely, then swirl the pan occasionally. The butter will foam, then crackle, then foam again. Watch closely. When the foam subsides and you see golden brown specks forming at the bottom, the butter will smell nutty and toasted. This takes about 5 to 7 minutes. Immediately pour the butter into a heatproof bowl, including all the brown bits. Let it cool for 10 minutes at room temperature, then transfer to the refrigerator for about 30 minutes until it is solid but still soft, like the texture of softened butter. Do not let it harden completely.
- Preheat and prep. Preheat your oven to 400°F (200°C). Line a baking sheet with parchment paper.
- Mix dry ingredients. In a large bowl, whisk together the all-purpose flour, granulated sugar, brown sugar, baking powder, pumpkin pie spice, cinnamon, and salt. Make sure the brown sugar is broken up and evenly distributed.
- Cut in the browned butter. Add the softened browned butter to the flour mixture. Use a pastry cutter or two forks to cut the butter into the flour until the mixture resembles coarse meal with pea-sized butter pieces. Some larger chunks are okay — they create flaky pockets in the scones. Do not overwork this step.
- Combine wet ingredients. In a separate bowl, whisk together the pumpkin purée, heavy cream, vanilla extract, and egg until smooth. The mixture should look uniform and slightly thick.
- Bring it together. Pour the wet ingredients into the dry ingredients. Stir with a spatula or wooden spoon until just combined. The dough will look shaggy and slightly sticky. Do not overmix. Stop when you no longer see streaks of flour.
- Shape the dough. Turn the dough out onto a lightly floured surface. Gently bring it together with your hands, folding it over itself a few times until it holds together. Pat it into a circle about ¾-inch thick and 8 inches in diameter. Use a bench scraper or sharp knife to cut the circle into 8 equal wedges, like a pizza.
- Chill the scones. Place the wedges on the prepared baking sheet, spacing them about 2 inches apart. Transfer the baking sheet to the refrigerator and chill for 15 minutes. This step is crucial — cold scones hold their shape better and rise taller.
- Brush and bake. Remove the scones from the refrigerator. Brush the tops with a thin layer of heavy cream. Bake for 16 to 20 minutes, rotating the pan halfway through, until the scones are golden brown on the edges and firm to the touch. The bottoms should be lightly browned. Let them cool on the baking sheet for 5 minutes, then transfer to a wire rack to cool completely.
- Make the maple glaze. In a small bowl, whisk together the powdered sugar and 3 tablespoons of pure maple syrup. The glaze should be thick but pourable. If it is too thick, add another tablespoon of maple syrup. If it is too thin, add a little more powdered sugar. Drizzle the glaze over the cooled scones using a spoon or a piping bag with the tip snipped off. Let the glaze set for about 10 minutes before serving.
Sensory cues: When you cut into the butter-flour mixture, it should look like damp sand with visible butter flecks. The dough should feel soft and slightly tacky but not sticky enough to cling to your fingers. When the scones are done, the edges will look dry and golden, and the tops will feel springy when pressed gently. The glaze should fall in thick ribbons that hold their shape for a moment before settling.
Cooking Tips & Techniques
Browning butter seems intimidating the first time, but it is actually forgiving. The key is to stay nearby and watch for the color change. If you get distracted and the butter turns dark brown or smells burnt, start over. Burnt butter tastes bitter and will ruin the scones. I have done this exactly once, and trust me, the waste of butter is not worth pushing through.
Cold ingredients matter here. If your browned butter softens too much while you are working, pop it back in the fridge for 10 minutes. If your kitchen is warm, chill the shaped scones for 20 minutes instead of 15. Warm butter melts into the flour instead of creating steam pockets, which is what makes scones flaky. I learned this the hard way when I made a batch in July without air conditioning and ended up with flat, greasy discs.
Do not twist the cutter or knife when dividing the dough. A clean straight cut helps the scones rise evenly. Twisting seals the edges and prevents them from puffing up properly.
For the glaze, let the scones cool completely before drizzling. Warm scones will absorb the glaze and turn sticky. If you want a thicker glaze layer, let the first coat set for 5 minutes, then add a second drizzle.
Variations & Adaptations
- Gluten-Free Version: Substitute the all-purpose flour with a 1:1 gluten-free baking flour blend that contains xanthan gum. I have used King Arthur Measure for Measure with good results. The texture will be slightly more tender and crumbly, but the flavor remains excellent.
- Dairy-Free Adaptation: Use a high-quality vegan butter stick for browning. Miyoko’s Creamery works well. Replace the heavy cream with full-fat canned coconut milk (the thick part, not the watery liquid). The scones will have a subtle coconut note that pairs surprisingly well with pumpkin and maple.
- Add-Ins: Fold in ½ cup of toasted pecans or walnuts after combining the wet and dry ingredients. The crunch adds texture and the nuts deepen the autumnal flavor. You can also add ⅓ cup of dried cranberries for a tart pop against the sweet glaze.
- Spice Adjustment: If you prefer a more intense spice profile, increase the pumpkin pie spice to 2 teaspoons and add an extra ¼ teaspoon of ground ginger. For a simpler version, use 2 teaspoons of cinnamon and skip the pumpkin pie spice entirely.
- Savory-Sweet Twist: Reduce the granulated sugar to ¼ cup and add ½ teaspoon of black pepper and a pinch of cayenne to the dry ingredients. The heat plays beautifully with the brown butter and maple glaze. I tried this on a whim last fall and it was unexpectedly addictive.
Serving & Storage Suggestions
These scones are best served the day they are baked, slightly warm or at room temperature. The glaze stays glossy and the edges stay crisp. If you want to reheat them, pop them in a 300°F (150°C) oven for 5 to 7 minutes. Avoid the microwave — it makes the scones soggy and ruins the texture.
For storage, keep unglazed scones in an airtight container at room temperature for up to 2 days. If you have already glazed them, store them in a single layer in an airtight container with parchment paper between layers. They will keep for about 3 days, but the glaze may soften slightly.
These scones freeze beautifully. Freeze unglazed scones on a baking sheet until solid, then transfer them to a freezer bag. They will keep for up to 3 months. When you are ready to enjoy them, thaw at room temperature for about 30 minutes, then warm in the oven and glaze fresh. The glaze does not freeze well, so always make it the day you plan to serve.
I love serving these with a hot cup of coffee or a creamy iced pumpkin chai latte with brown sugar cold foam for the ultimate fall pairing. They also make a lovely addition to a brunch spread alongside pumpkin cream cheese swirl muffins with streusel topping for a full pumpkin pastry table. The flavors develop slightly overnight, so day-old scones actually taste more spiced and nutty — just reheat them gently to restore some crunch.
Nutritional Information & Benefits
Each scone (with glaze) contains approximately 320 calories, 16 grams of fat, 42 grams of carbohydrates, and 4 grams of protein. These are estimates and will vary based on ingredient brands and substitutions.
Pumpkin purée is rich in vitamin A and fiber, which supports eye health and digestion. The brown butter adds a small amount of vitamin A and healthy fats that help your body absorb fat-soluble vitamins from the pumpkin. Real maple syrup contains antioxidants and minerals like zinc and manganese, though the amount in the glaze is modest.
For a lower-sugar option, reduce the glaze to a light drizzle or skip it entirely. The scones are still delicious without it, especially if you sprinkle coarse sugar on top before baking. If you are watching your saturated fat intake, substitute half the browned butter with cold coconut oil. The texture will be slightly different, but the scones will still be tender and flavorful.
Conclusion
These Perfect Brown Butter Pumpkin Scones with Maple Glaze are the kind of recipe that makes you look forward to fall all year. The brown butter adds a warmth that plain butter cannot touch, and the pumpkin keeps everything tender and moist without weighing the scones down. The maple glaze is the finishing touch that ties it all together — sweet enough to satisfy but subtle enough to let the toasted butter and spices shine.
I make these every October, and they have become the thing my family requests for every fall gathering. They are forgiving enough for a beginner baker but impressive enough to serve to company. If you try them, let me know how they turn out. Did you add pecans? Did you double the glaze? I would love to hear your spin on them. Drop a comment below or tag me in your photos — I genuinely read every single one.
Happy baking, friends. May your butter brown evenly and your scones rise high.
Frequently Asked Questions
Can I use pumpkin pie filling instead of pumpkin purée?
No. Pumpkin pie filling contains added sugar and spices that will throw off the balance of this recipe. Stick with 100% pumpkin purée. If you only have pie filling on hand, reduce the sugar in the recipe by half and skip the pumpkin pie spice, but the texture will still be denser and sweeter than intended.
Why did my scones spread out instead of rising tall?
This usually happens when the butter is too warm or the dough is overmixed. Make sure your browned butter is softened but still cool, and chill the shaped scones for at least 15 minutes before baking. If your kitchen is warm, chill them for 20 minutes. Also, check that your baking powder is fresh — expired leavening will not give enough lift.
Can I make the dough the night before?
Absolutely. Shape the scones, place them on a parchment-lined baking sheet, cover tightly with plastic wrap, and refrigerate overnight. Bake them directly from the fridge the next morning, adding 2 to 3 minutes to the baking time. This is my favorite way to make them for holiday mornings.
How do I get a thicker glaze?
Use less maple syrup. Start with 2 tablespoons of maple syrup and add more one teaspoon at a time until you reach your desired consistency. For an even thicker glaze, let the first layer set for 5 minutes, then add a second coat. You can also sift the powdered sugar to remove lumps before mixing.
Can I freeze the browned butter for later use?
Yes. Brown the butter, let it cool completely, then transfer it to an airtight container and refrigerate for up to 2 weeks or freeze for up to 3 months. When you are ready to use it, let it soften at room temperature until it reaches a spreadable consistency. This is a great time-saver if you make these scones often.
Pin This Recipe!
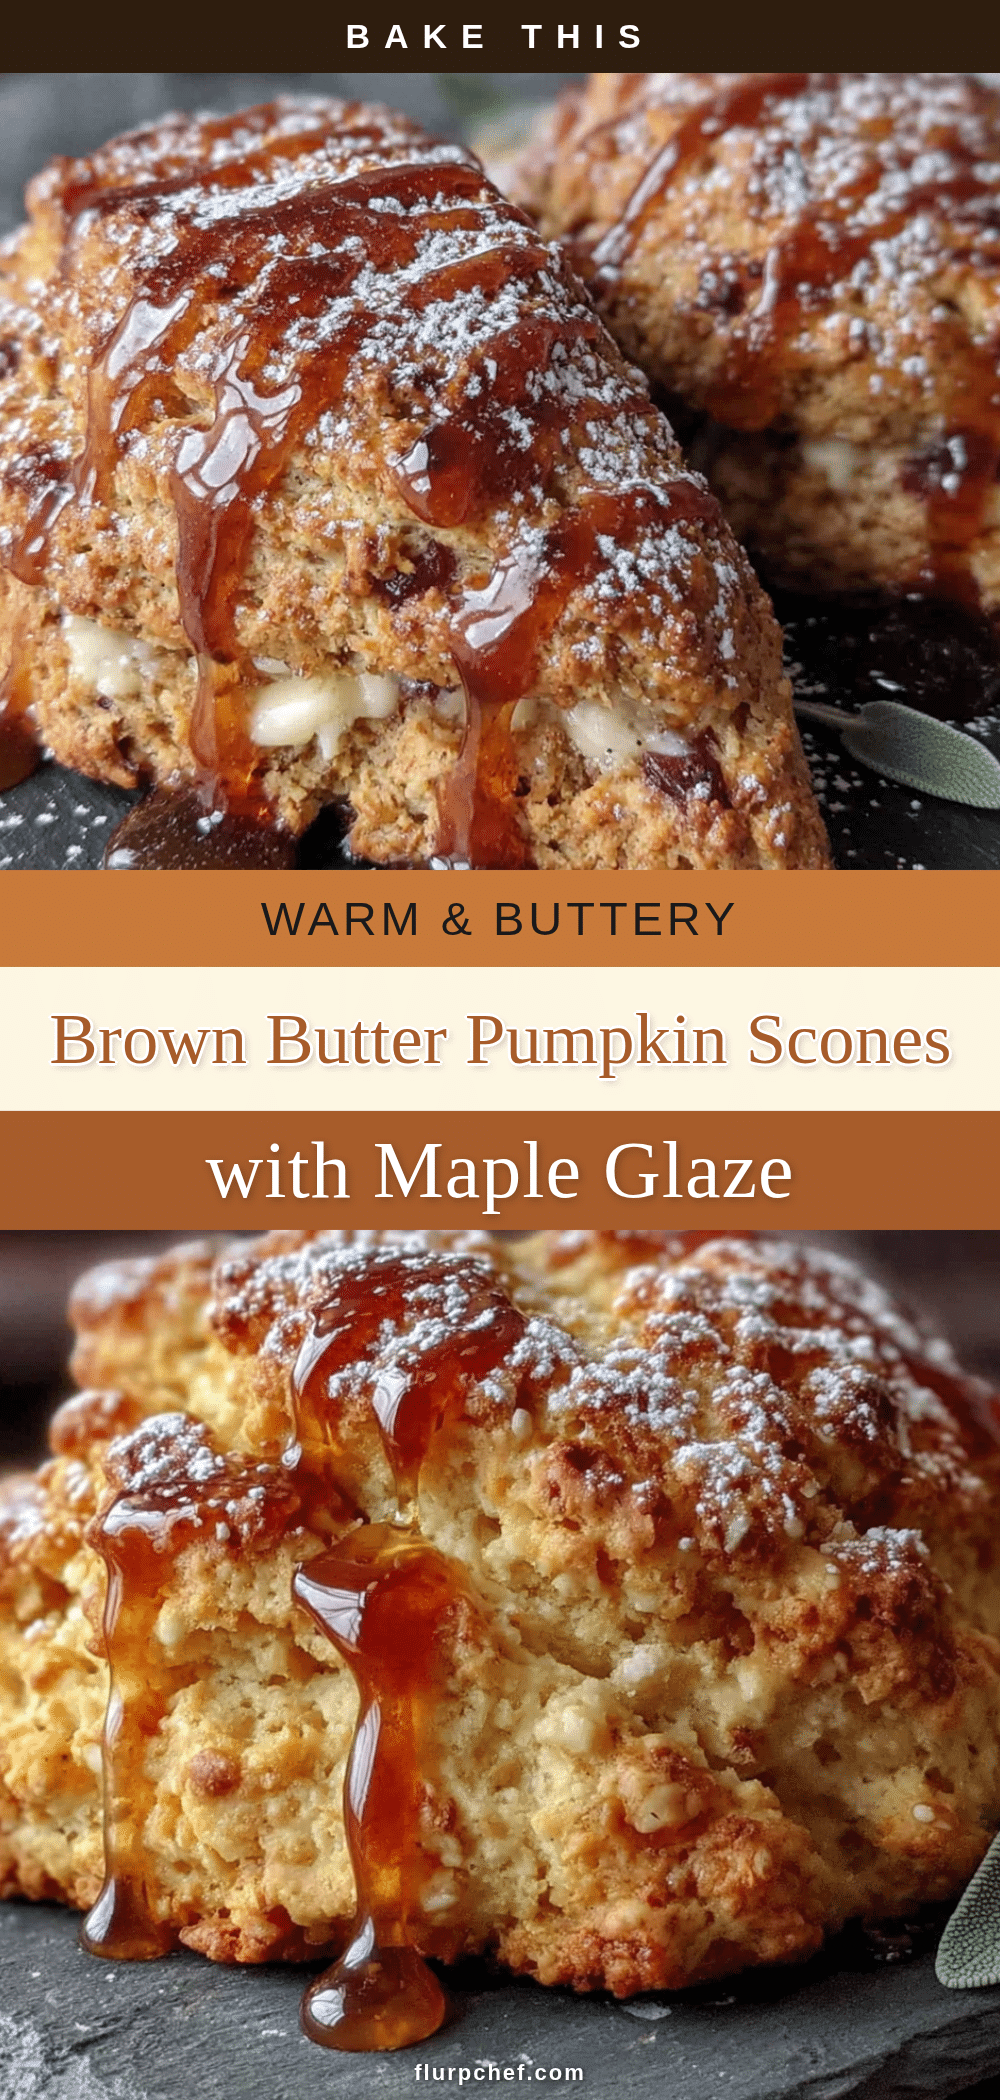
Perfect Brown Butter Pumpkin Scones with Easy Maple Glaze
These Perfect Brown Butter Pumpkin Scones with Maple Glaze aren’t complicated. They’re just intentional. Every step has a reason, and the payoff is this bakery-quality pastry that tastes like autumn in a way that feels earned, not gimmicky.
- Prep Time: 30 minutes
- Cook Time: 20 minutes
- Total Time: 50 minutes
- Yield: 8 servings 1x
- Category: Breakfast
- Cuisine: American
Ingredients
- 1 stick (113 grams) unsalted butter
- 2 ½ cups (312 grams) all-purpose flour
- ⅓ cup (66 grams) granulated sugar
- 2 tablespoons (25 grams) light brown sugar
- 2 ½ teaspoons baking powder
- 1 ½ teaspoons pumpkin pie spice
- ½ teaspoon ground cinnamon
- ½ teaspoon salt
- ½ cup (120 grams) pumpkin purée
- ⅓ cup (80 ml) heavy cream, plus more for brushing
- 1 teaspoon vanilla extract
- 1 large egg
- For the maple glaze:
- 1 cup (120 grams) powdered sugar
- 3 to 4 tablespoons pure maple syrup
Instructions
- Brown the butter. Place the stick of butter in a light-colored skillet over medium heat. Let it melt completely, then swirl the pan occasionally. The butter will foam, then crackle, then foam again. Watch closely. When the foam subsides and you see golden brown specks forming at the bottom, the butter will smell nutty and toasted. This takes about 5 to 7 minutes. Immediately pour the butter into a heatproof bowl, including all the brown bits. Let it cool for 10 minutes at room temperature, then …
- Preheat and prep. Preheat your oven to 400°F (200°C). Line a baking sheet with parchment paper.
- Mix dry ingredients. In a large bowl, whisk together the all-purpose flour, granulated sugar, brown sugar, baking powder, pumpkin pie spice, cinnamon, and salt. Make sure the brown sugar is broken up and evenly distributed.
- Cut in the browned butter. Add the softened browned butter to the flour mixture. Use a pastry cutter or two forks to cut the butter into the flour until the mixture resembles coarse meal with pea-sized butter pieces. Some larger chunks are okay — they create flaky pockets in the scones. Do not overwork this step.
- Combine wet ingredients. In a separate bowl, whisk together the pumpkin purée, heavy cream, vanilla extract, and egg until smooth. The mixture should look uniform and slightly thick.
- Bring it together. Pour the wet ingredients into the dry ingredients. Stir with a spatula or wooden spoon until just combined. The dough will look shaggy and slightly sticky. Do not overmix. Stop when you no longer see streaks of flour.
- Shape the dough. Turn the dough out onto a lightly floured surface. Gently bring it together with your hands, folding it over itself a few times until it holds together. Pat it into a circle about ¾-inch thick and 8 inches in diameter. Use a bench scraper or sharp knife to cut the circle into 8 equal wedges, like a pizza.
- Chill the scones. Place the wedges on the prepared baking sheet, spacing them about 2 inches apart. Transfer the baking sheet to the refrigerator and chill for 15 minutes. This step is crucial — cold scones hold their shape better and rise taller.
- Brush and bake. Remove the scones from the refrigerator. Brush the tops with a thin layer of heavy cream. Bake for 16 to 20 minutes, rotating the pan halfway through, until the scones are golden brown on the edges and firm to the touch. The bottoms should be lightly browned. Let them cool on the baking sheet for 5 minutes, then transfer to a wire rack to cool completely.
- Make the maple glaze. In a small bowl, whisk together the powdered sugar and 3 tablespoons of pure maple syrup. The glaze should be thick but pourable. If it is too thick, add another tablespoon of maple syrup. If it is too thin, add a little more powdered sugar. Drizzle the glaze over the cooled scones using a spoon or a piping bag with the tip snipped off. Let the glaze set for about 10 minutes before serving.
Notes
Browning butter seems intimidating the first time, but it is actually forgiving. The key is to stay nearby and watch for the color change. If you get distracted and the butter turns dark brown or smells burnt, start over. Burnt butter tastes bitter and will ruin the scones. Cold ingredients matter here. If your browned butter softens too much while you are working, pop it back in the fridge for 10 minutes. If your kitchen is warm, chill the shaped scones for 20 minutes instead of 15. Do not twist the cutter or knife when dividing the dough. A clean straight cut helps the scones rise evenly. For the glaze, let the scones cool completely before drizzling. Warm scones will absorb the glaze and turn sticky.
Nutrition
- Serving Size: 1 scone
- Calories: 320
- Sugar: 18
- Sodium: 280
- Fat: 16
- Saturated Fat: 10
- Carbohydrates: 42
- Fiber: 2
- Protein: 4
Keywords: brown butter, pumpkin scones, maple glaze, fall baking, breakfast pastry, scone recipe, pumpkin recipe


