I figured a single 8×8 pan of pumpkin bars would last us at least three days. It took about 36 hours for that assumption to fall apart completely.
The first bite came out of sheer curiosity—I was testing the recipe, adjusting the spice level, making sure the cream cheese icing had that perfect tangy-sweet balance. Then I cut myself a proper square. Then my husband wandered into the kitchen, saw the pan, and gave me that look. You know the one. By the next morning, there were exactly two bars left, and we stood over the counter splitting them like we were negotiating a treaty.
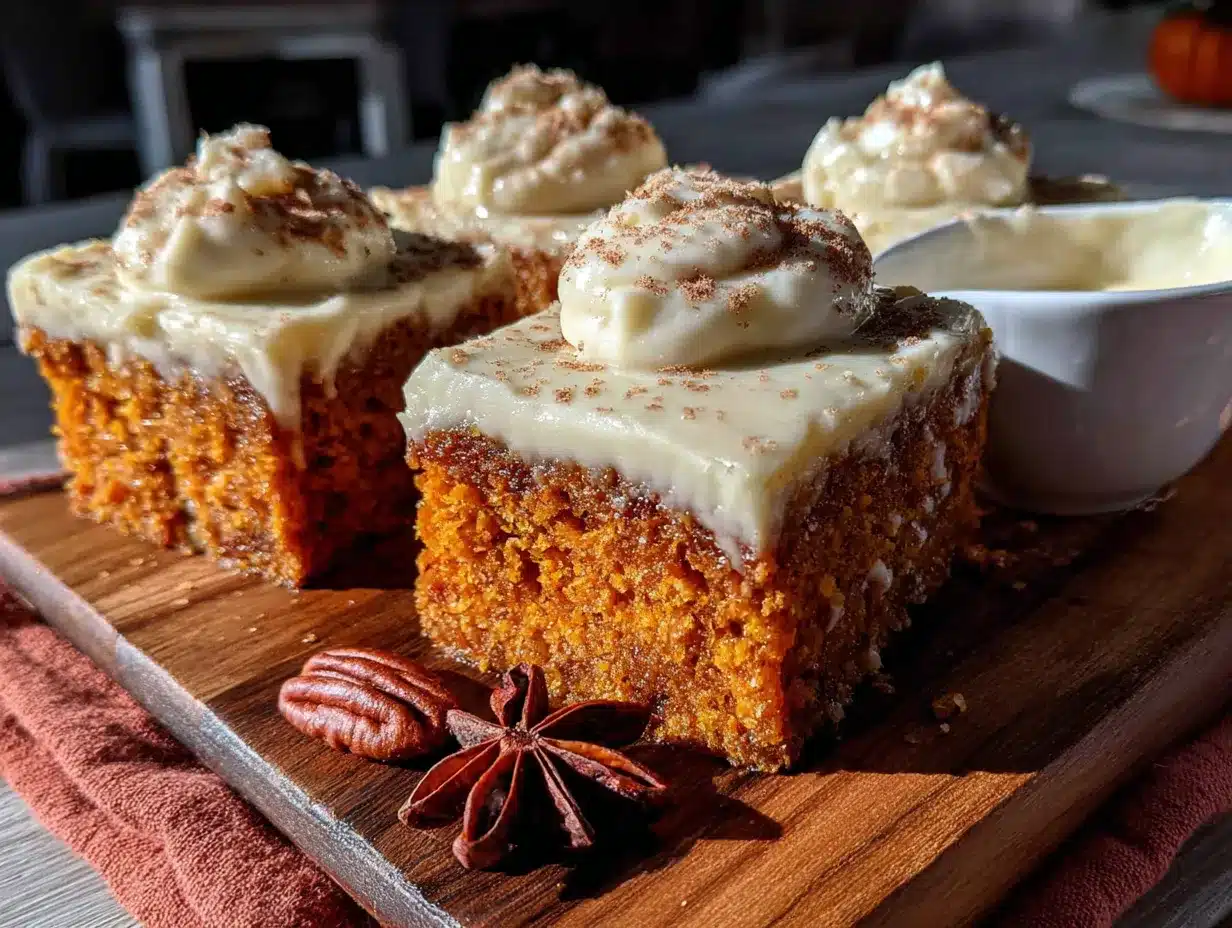
That’s the thing about these small-batch pumpkin bars. They don’t scream for attention. They just sit there on the counter, looking modest, while the cinnamon and nutmeg pull you in from across the room. The texture is what gets you—soft and tender, almost like a pumpkin cake, but sturdy enough to hold a generous swoop of cream cheese icing without falling apart.
This recipe came together because I wanted pumpkin bars, but I didn’t want to commit to a full sheet pan’s worth. Some weeks you just need a little fall flavor without feeding an army. And honestly? The smaller batch means you actually take the time to get the icing right. You’re not rushing. You’re not stress-spreading across a giant pan while the cream cheese firms up on you. It’s just you, a small pan, and a very good idea.
I’ve made this recipe four times now. Three of those times were in the same week. I think that tells you everything you need to know.
Why You’ll Love This Recipe
Let me tell you why these small-batch pumpkin bars keep showing up in my kitchen every single fall.
- Perfect Portion Control: This recipe fits an 8×8 pan—no giant sheet cake lingering on your counter tempting you for days. Just enough to satisfy that pumpkin craving without overwhelming your kitchen.
- Simple Pantry Ingredients: You probably have most of this already. Canned pumpkin, flour, sugar, eggs, butter, cream cheese. No special trips to three different stores.
- Quick and Easy: From start to finish, you’re looking at about 45 minutes. The bars bake in 25 minutes, and the icing comes together while they cool.
- That Cream Cheese Icing: This isn’t a drizzle situation. This is a thick, creamy, swoopable layer of tangy-sweet perfection. I’ve been known to make extra just for spooning.
- Crowd-Pleaser: I brought these to a casual fall gathering and watched three people ask for the recipe before the napkins were even passed around.
What makes these different from every other pumpkin bar recipe out there? It’s the texture, honestly. Most pumpkin bars lean either too cakey or too dense. These hit that sweet spot in between—soft and moist with just enough structure to hold up under the icing. The secret is not overmixing the batter and using room-temperature ingredients. Trust me on this one.
There’s something about that first bite. The warm spices hit you first, then the creamy icing melts into the soft crumb, and for a second, everything feels right in the world. It’s comfort food in bar form. No fuss, no stress, just really good pumpkin bars.
What Ingredients You Will Need
This recipe keeps things simple. You don’t need anything fancy here—just good, honest ingredients that work together to create something special. I’ve tested this with a few different brands and variations, so I’ll share what I’ve learned along the way.
For the Pumpkin Bars
- 1 cup all-purpose flour (120g) — Spoon and level it, don’t scoop straight from the bag. Too much flour makes the bars dry, and nobody wants that.
- 1 teaspoon baking powder — Make sure it’s fresh. Old baking powder won’t give you that soft lift.
- 1/2 teaspoon baking soda — Helps the bars rise and gives them a tender crumb.
- 1/2 teaspoon salt — Balances the sweetness and brings out the warm spices.
- 1 teaspoon ground cinnamon — I prefer Saigon cinnamon here—it’s warmer and more aromatic than standard grocery store cinnamon.
- 1/2 teaspoon ground nutmeg — Freshly grated if you have it, but pre-ground works perfectly fine.
- 1/4 teaspoon ground ginger — Adds a subtle warmth that rounds out the pumpkin flavor.
- 1/8 teaspoon ground cloves — Just a pinch. Cloves are strong, so a little goes a long way.
- 1/2 cup unsalted butter (113g), melted and slightly cooled — I use salted butter in a pinch and just reduce the added salt to 1/4 teaspoon.
- 1/2 cup granulated sugar (100g) — White sugar keeps the bars light and tender.
- 1/4 cup packed light brown sugar (50g) — Adds moisture and a hint of molasses warmth.
- 1 large egg, room temperature — Cold egg can seize the melted butter and affect the texture.
- 1 teaspoon vanilla extract — Pure vanilla, not imitation. It makes a difference.
- 3/4 cup canned pumpkin puree (170g) — Not pumpkin pie filling. Make sure you grab 100% pure pumpkin. Libby’s is my go-to for consistent texture.
For the Cream Cheese Icing
- 4 ounces cream cheese (113g), softened — Full-fat is best here. Low-fat cream cheese can make the icing runny.
- 2 tablespoons unsalted butter (28g), softened — Room temperature is crucial. Cold butter equals lumpy icing.
- 1 cup powdered sugar (120g), sifted — Sifting prevents clumps and gives you that silky smooth finish.
- 1/2 teaspoon vanilla extract — Again, pure vanilla.
- Pinch of salt — Just a tiny pinch to balance the sweetness.
One quick note on the pumpkin—I’ve tested this with both homemade pumpkin puree and canned. Canned gives you a more consistent result because the moisture content is predictable. Homemade puree can be more watery, so if you go that route, strain it through a cheesecloth or paper towels for about 30 minutes first.
Equipment Needed
You don’t need a fancy kitchen to make these bars. Here’s what you’ll actually use:
- 8×8 inch square baking pan — The star of the show. I use a metal pan for even baking, but glass works too. Just note that glass pans can make the edges brown faster.
- Parchment paper — Cut a strip to fit the pan with overhang on two sides. This makes lifting the bars out so much easier. Trust me, you don’t want to fight with stuck bars.
- Mixing bowls — One medium for dry ingredients, one large for wet ingredients.
- Whisk — For mixing dry ingredients and smoothing out the batter.
- Rubber spatula — For folding the batter and scraping every last bit of icing.
- Hand mixer or stand mixer — For the cream cheese icing. You can do it by hand with a wooden spoon, but your arm will thank you for using a mixer.
- Cooling rack — Lets air circulate under the pan so the bars cool evenly. If you don’t have one, just be patient and let them cool completely in the pan.
If you don’t have an 8×8 pan, you can use a 9×9 pan—just check the bars a few minutes early since they’ll bake faster. A loaf pan works too, but the baking time will increase significantly. I’ve done it before, and it’s doable, just not ideal.
One thing I’ve learned the hard way: don’t skip the parchment paper. I once greased the pan really well and still ended up with half the bars stuck to the bottom. Parchment paper is cheap insurance.
Preparation Method
Alright, let’s get baking. I’ll walk you through this step by step, including all the little things I’ve picked up from making these bars more times than I care to admit.
- Preheat your oven to 350°F (175°C). Line your 8×8 pan with parchment paper, leaving overhang on two opposite sides. Lightly grease the parchment with butter or non-stick spray.
- Whisk the dry ingredients together. In a medium bowl, combine the flour, baking powder, baking soda, salt, cinnamon, nutmeg, ginger, and cloves. Whisk until everything is evenly distributed. This takes about 30 seconds. Don’t skip the whisking—it aerates the flour and ensures the spices are evenly spread.
- Mix the wet ingredients. In a large bowl, whisk together the melted butter, granulated sugar, and brown sugar until smooth. It should look like a thick paste. Add the egg and vanilla, and whisk until fully combined. The mixture will look glossy and smell amazing already.
- Add the pumpkin. Stir in the pumpkin puree until the mixture is smooth and uniform. Don’t overmix here—just stir until you don’t see any more white streaks from the butter-sugar mixture.
- Fold in the dry ingredients. Add the flour mixture to the wet ingredients. Use a rubber spatula to fold everything together gently. Stop as soon as you don’t see any more flour streaks. Overmixing at this stage develops gluten and makes the bars tough. A few small lumps are totally fine.
- Pour and spread. Transfer the batter to your prepared pan. Use the spatula to spread it evenly into all corners. The batter will be thick—that’s normal. Give the pan a gentle tap on the counter to release any air bubbles.
- Bake. Place the pan on the middle rack and bake for 22-26 minutes. At the 22-minute mark, start checking. A toothpick inserted into the center should come out clean or with just a few moist crumbs. If it’s still wet, give it another 2 minutes and check again.
- Cool completely. Transfer the pan to a cooling rack and let the bars cool for about 10 minutes in the pan. Then use the parchment overhang to lift them out and transfer them to the rack. Let them cool completely—this is crucial. Warm bars will melt your icing into a puddle.
While the bars are cooling, make the icing. In a medium bowl, beat the softened cream cheese and butter together until smooth and creamy—about 2 minutes with a hand mixer. Add the powdered sugar, vanilla, and salt, and beat on low speed until combined, then increase to medium and beat for another minute until light and fluffy. Spread the icing over the completely cooled bars. I like to leave a bit of texture with the spatula—makes them look homemade and inviting.
One thing I always do: after icing, I pop the pan in the fridge for about 15 minutes to let the icing set. Makes cutting clean squares so much easier.
Cooking Tips & Techniques
I’ve made enough mistakes in the kitchen to fill a small book. Here are the lessons I learned so you don’t have to repeat them.
Room temperature ingredients matter. I know, I know—every recipe says this. But here’s why: cold cream cheese creates lumpy icing. Cold egg can seize melted butter. Take the extra 20 minutes to let everything come to room temperature. Your bars will thank you.
Don’t overbake. Pumpkin bars are meant to be moist and tender. Overbaking turns them into dry, sad little squares. Start checking at 22 minutes. The edges should look set and slightly pulling away from the pan, but the center should still feel soft when you gently press it. A toothpick with a few moist crumbs is perfect.
Let the bars cool completely. I cannot stress this enough. The first time I made these, I was impatient and spread the icing over slightly warm bars. The icing melted into a thin, sad layer that soaked into the bars. They still tasted good, but the texture was all wrong. Patience pays off here.
Use a light hand with the spices. It’s tempting to go heavy on the pumpkin pie spice, but too much can make the bars taste bitter or medicinal. Stick to the measurements, and if you want more spice, add a tiny pinch at a time and taste the batter. Yes, you can taste raw batter—just don’t eat the whole bowl.
Cut clean squares. Use a sharp knife and wipe it clean between cuts. This gives you those beautiful, bakery-style squares instead of messy, crumbly edges. If you want perfectly clean cuts, refrigerate the iced bars for 30 minutes before slicing.
Here’s a mistake I made more than once: forgetting to sift the powdered sugar. Lumpy icing is fixable with extra mixing, but it’s easier to just sift from the start. Also, don’t use margarine in the icing. Butter and cream cheese are non-negotiable here.
Variations & Adaptations
One of the best things about this recipe is how easy it is to adapt. Here are some variations I’ve tried and loved.
Gluten-Free Version: Swap the all-purpose flour for a 1:1 gluten-free baking flour. I’ve used King Arthur Measure for Measure and Cup4Cup with great results. Just don’t overmix the batter—gluten-free flours can get gummy if you work them too much.
Dairy-Free Adaptation: Use vegan butter in both the bars and the icing, and swap the cream cheese for a dairy-free alternative. Miyoko’s and Violife both work well. The texture will be slightly different—a bit less creamy—but still delicious.
Spice It Up: Add 1/4 teaspoon of cardamom or allspice for a warmer, more complex flavor profile. I did this on a whim one afternoon and now it’s my go-to variation. The cardamom pairs beautifully with the pumpkin and cinnamon.
Add Mix-Ins: Fold in 1/2 cup of chopped pecans, walnuts, or chocolate chips before baking. I’ve done all three, and the chocolate chip version is dangerously good. Dark chocolate chips balance the sweetness perfectly.
Maple Cream Cheese Icing: Replace 2 tablespoons of the powdered sugar with maple syrup. Reduce the powdered sugar to 3/4 cup. The maple flavor adds a cozy fall twist that pairs wonderfully with the pumpkin.
Pumpkin Spice Latte Bars: Add 1 tablespoon of instant espresso powder to the dry ingredients. The coffee flavor doesn’t overwhelm—it just deepens the pumpkin and spice notes. This one surprised me with how good it turned out.
If you’re looking for more pumpkin inspiration, you might also enjoy these cozy pumpkin cream cheese swirl muffins or these brown butter pumpkin chocolate chip cookies. Both are fall favorites in my kitchen.
Serving & Storage Suggestions
These bars are versatile enough for almost any occasion. Here’s how I serve and store them.
Serving: I like these bars at room temperature—the icing softens slightly and the pumpkin flavor really shines. For a special treat, warm a bar in the microwave for about 10 seconds. The icing gets slightly melty and the bar becomes almost pudding-like. A scoop of vanilla ice cream on top? Absolutely. A drizzle of caramel sauce? Even better.
Presentation: Cut into 9 squares for a generous serving, or 16 smaller squares for a dessert table. I dust a little cinnamon on top through a fine-mesh sieve just before serving. It adds a nice visual touch and a hint of extra flavor.
Storage: Store the bars in an airtight container in the refrigerator for up to 5 days. The cream cheese icing needs refrigeration, so don’t leave them out overnight. Let them sit at room temperature for about 15 minutes before serving if you prefer them softer.
Freezing: These freeze beautifully. Freeze the un-iced bars in a single layer on a baking sheet, then transfer to a freezer-safe bag or container. They’ll keep for up to 3 months. When you’re ready, thaw them in the refrigerator overnight, then make fresh icing. Alternatively, freeze the fully iced bars—just place them in a single layer in a freezer-safe container with parchment paper between layers. Thaw in the fridge overnight.
Reheating: If you’re reheating from frozen, pop a bar in the microwave for 20-30 seconds. The icing will soften, but the bar will be warm and comforting. For a crispier edge, reheat in a 300°F oven for about 5 minutes.
One thing I’ve noticed: the flavors actually deepen after a day in the fridge. The spices meld together, and the pumpkin becomes more pronounced. So don’t be sad if you have leftovers—they’re even better the next day.
Nutritional Information & Benefits
Let’s be real—these are a treat. But they’re made with real ingredients, and that counts for something.
Per serving (based on 9 servings):
- Calories: Approximately 320
- Total Fat: 18g
- Saturated Fat: 11g
- Cholesterol: 70mg
- Sodium: 280mg
- Total Carbohydrates: 38g
- Dietary Fiber: 1g
- Sugars: 25g
- Protein: 4g
Pumpkin is a nutritional powerhouse—it’s packed with vitamin A, fiber, and antioxidants. The cinnamon and ginger offer anti-inflammatory benefits. And while the cream cheese icing isn’t exactly health food, the calcium from the cream cheese and butter does contribute to bone health. Everything in moderation, right?
If you’re watching your sugar intake, you can reduce the sugar in the bars to 1/3 cup granulated and 2 tablespoons brown sugar. The bars will be slightly less sweet but still flavorful. The icing can be made with reduced-fat cream cheese, but honestly, I don’t recommend it. Life’s too short for sad icing.
These bars are vegetarian and can be made gluten-free and dairy-free with the substitutions mentioned earlier. They are not vegan, but I’ve had success with flax eggs and vegan butter in testing. The texture changes a bit, but the flavor is still there.
Conclusion
These small-batch pumpkin bars with cream cheese icing have become my fall baking staple for a reason. They’re simple enough for a Tuesday afternoon but special enough for a holiday gathering. The recipe is forgiving, the ingredients are basic, and the result is genuinely impressive.
What I love most about this recipe is how it makes you feel. There’s something satisfying about pulling a pan of golden pumpkin bars out of the oven, spreading that thick, creamy icing on top, and knowing you created something delicious with your own two hands. It’s not complicated. It doesn’t need to be.
I hope you give these a try. Maybe you’ll make them for a cozy weekend breakfast, or for a fall potluck, or just because you’re craving something pumpkin-spiced and wonderful. And when you do, I’d love to hear how they turned out. Did you add chocolate chips? Swap the spices? Make a double batch because one pan wasn’t enough?
Drop a comment below and let me know. And if you’re looking for more fall baking ideas, check out these ultimate cozy overnight pumpkin cinnamon rolls or this easy homemade pumpkin spice syrup. Happy baking, friends!
Frequently Asked Questions
Can I use pumpkin pie filling instead of pumpkin puree?
No, don’t do that. Pumpkin pie filling is pre-sweetened and spiced, which will throw off the sugar and spice balance completely. Stick with 100% pure pumpkin puree for the best results.
Can I make this recipe in a loaf pan?
Yes, but the baking time will increase to about 35-40 minutes. Use a 9×5 inch loaf pan and check for doneness with a toothpick. The bars will be thicker, so adjust your expectations for serving size.
How do I know when the bars are done baking?
The edges should look set and slightly golden, and the center should spring back when lightly pressed. A toothpick inserted in the center should come out clean or with a few moist crumbs—not wet batter. Start checking at 22 minutes.
Can I freeze the cream cheese icing separately?
Absolutely. Freeze the icing in a zip-top bag or airtight container for up to 3 months. Thaw in the refrigerator overnight, then beat it briefly with a mixer to restore the creamy texture before spreading on the bars.
Why did my icing turn out runny?
Most likely, your cream cheese or butter was too soft, or the bars were still warm when you spread the icing. Make sure both are at room temperature but not overly soft, and always let the bars cool completely before icing. If your icing is already runny, pop it in the fridge for 15-20 minutes to firm up before spreading.
Pin This Recipe!
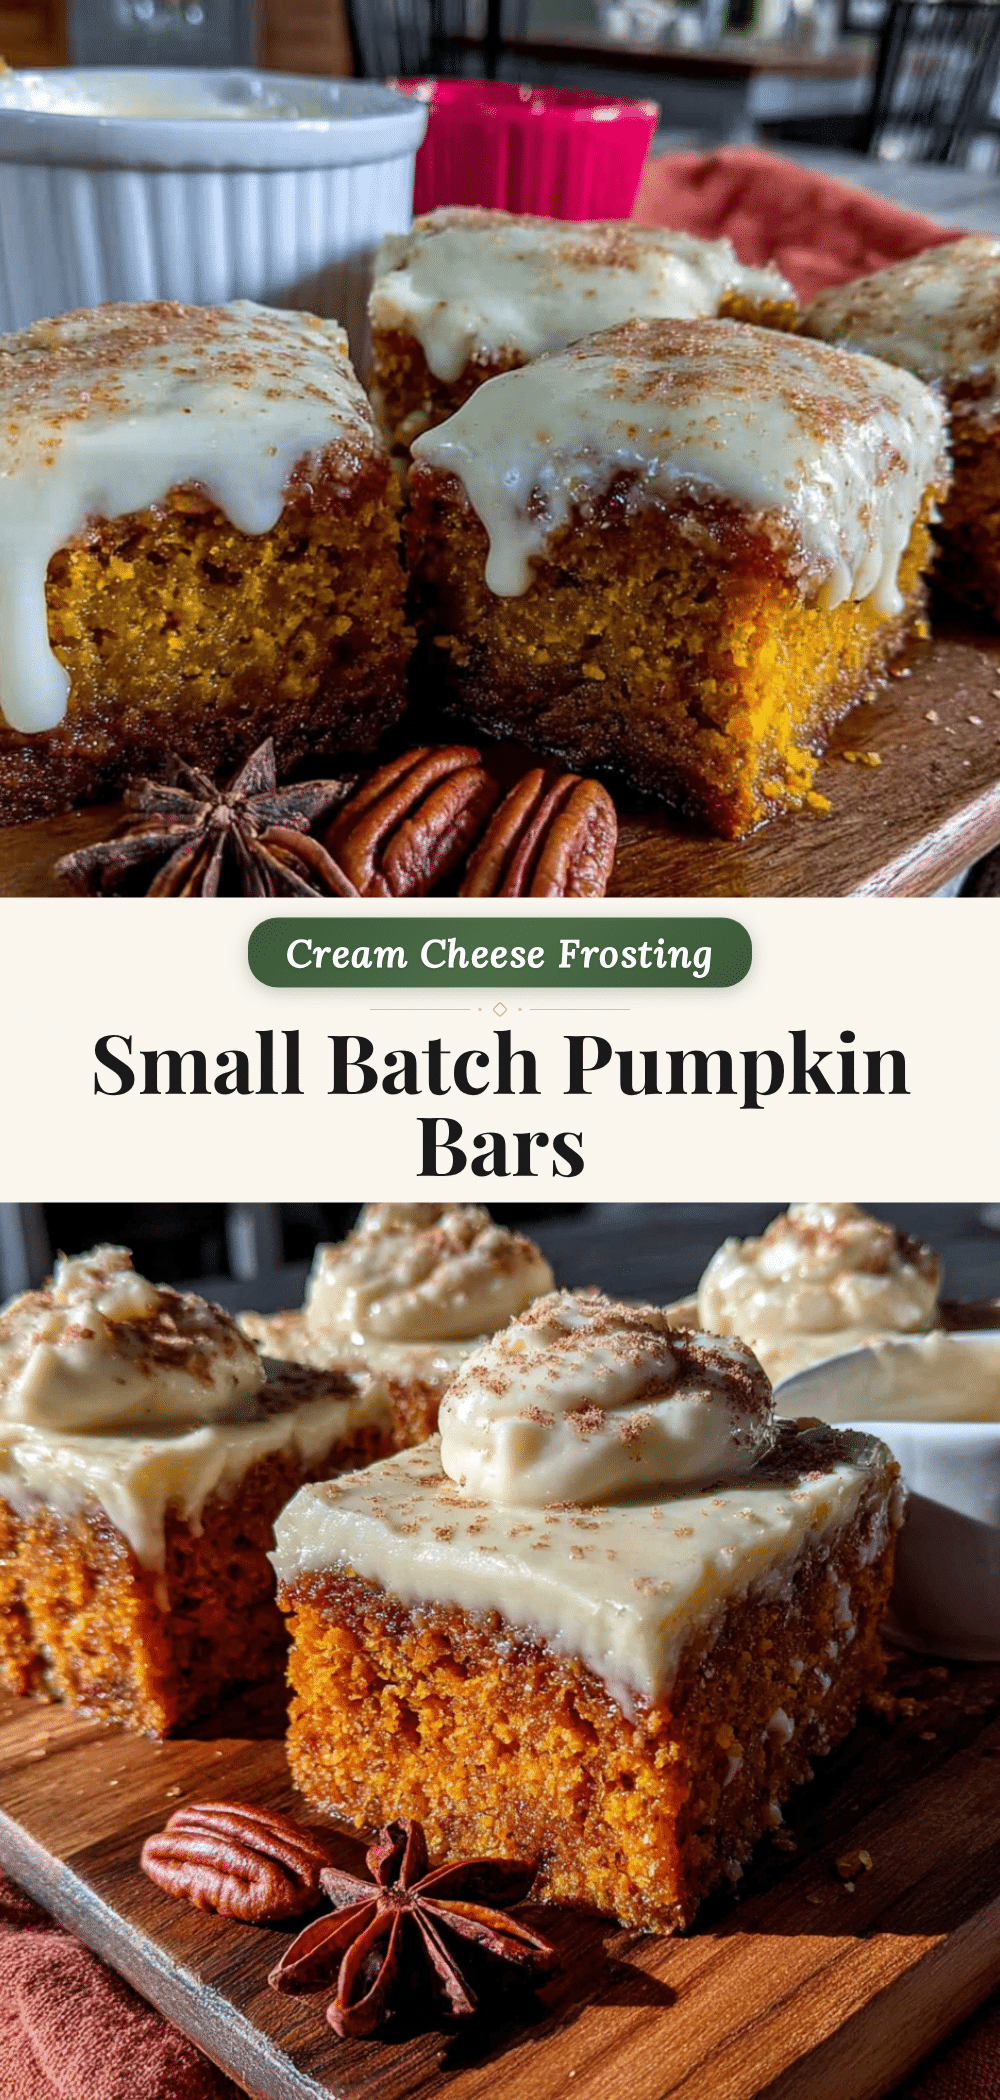
Best Small-Batch Pumpkin Bars with Cream Cheese Icing
These small-batch pumpkin bars are soft, tender, and topped with a thick, tangy-sweet cream cheese icing. Perfect for when you want fall flavor without committing to a full sheet pan.
- Prep Time: 15 minutes
- Cook Time: 25 minutes
- Total Time: 45 minutes
- Yield: 9 servings 1x
- Category: Dessert
- Cuisine: American
Ingredients
- 1 cup all-purpose flour (120g)
- 1 teaspoon baking powder
- 1/2 teaspoon baking soda
- 1/2 teaspoon salt
- 1 teaspoon ground cinnamon
- 1/2 teaspoon ground nutmeg
- 1/4 teaspoon ground ginger
- 1/8 teaspoon ground cloves
- 1/2 cup unsalted butter (113g), melted and slightly cooled
- 1/2 cup granulated sugar (100g)
- 1/4 cup packed light brown sugar (50g)
- 1 large egg, room temperature
- 1 teaspoon vanilla extract
- 3/4 cup canned pumpkin puree (170g)
- 4 ounces cream cheese (113g), softened
- 2 tablespoons unsalted butter (28g), softened
- 1 cup powdered sugar (120g), sifted
- 1/2 teaspoon vanilla extract
- Pinch of salt
Instructions
- Preheat your oven to 350°F (175°C). Line an 8×8 pan with parchment paper, leaving overhang on two opposite sides. Lightly grease the parchment with butter or non-stick spray.
- In a medium bowl, whisk together the flour, baking powder, baking soda, salt, cinnamon, nutmeg, ginger, and cloves until evenly distributed.
- In a large bowl, whisk together the melted butter, granulated sugar, and brown sugar until smooth. Add the egg and vanilla, and whisk until fully combined.
- Stir in the pumpkin puree until the mixture is smooth and uniform.
- Add the flour mixture to the wet ingredients. Use a rubber spatula to fold together gently until just combined. Do not overmix.
- Transfer the batter to the prepared pan and spread evenly. Tap the pan gently on the counter to release air bubbles.
- Bake on the middle rack for 22-26 minutes, until a toothpick inserted in the center comes out clean or with a few moist crumbs.
- Cool the bars in the pan on a cooling rack for 10 minutes, then lift out using the parchment overhang and cool completely on the rack.
- While the bars cool, make the icing: In a medium bowl, beat the softened cream cheese and butter together until smooth and creamy (about 2 minutes with a hand mixer). Add the powdered sugar, vanilla, and salt, and beat on low until combined, then increase to medium and beat for another minute until light and fluffy.
- Spread the icing over the completely cooled bars. Refrigerate for 15 minutes to set before cutting into squares.
Notes
Use room temperature ingredients for best results. Do not overbake; start checking at 22 minutes. Let bars cool completely before icing to prevent melting. For clean cuts, refrigerate iced bars for 30 minutes before slicing.
Nutrition
- Serving Size: 1 bar (1/9 of recipe
- Calories: 320
- Sugar: 25
- Sodium: 280
- Fat: 18
- Saturated Fat: 11
- Carbohydrates: 38
- Fiber: 1
- Protein: 4
Keywords: pumpkin bars, small batch, cream cheese icing, fall dessert, pumpkin dessert, easy pumpkin bars


