Third time this week I found myself staring into the fridge at a half-empty bottle of maple syrup, and somehow, that’s exactly when the best recipes happen. Not when I’m planning, not when I’m shopping with a list—but when I’m just standing there, spatula in hand, with a butter wrapper on the counter and a vague sense that something buttery and sweet needs to happen before the day gets away from me. The first batch of these maple pecan pie bars came out too sticky, the shortbread crust crumbled like sand, and I ate the sad remains over the sink while the second batch was chilling. By the third attempt, something clicked—the crust held, the filling set into that soft-chewy amber layer you dream about, and I realized I’d accidentally made the dessert I’d been chasing all fall.
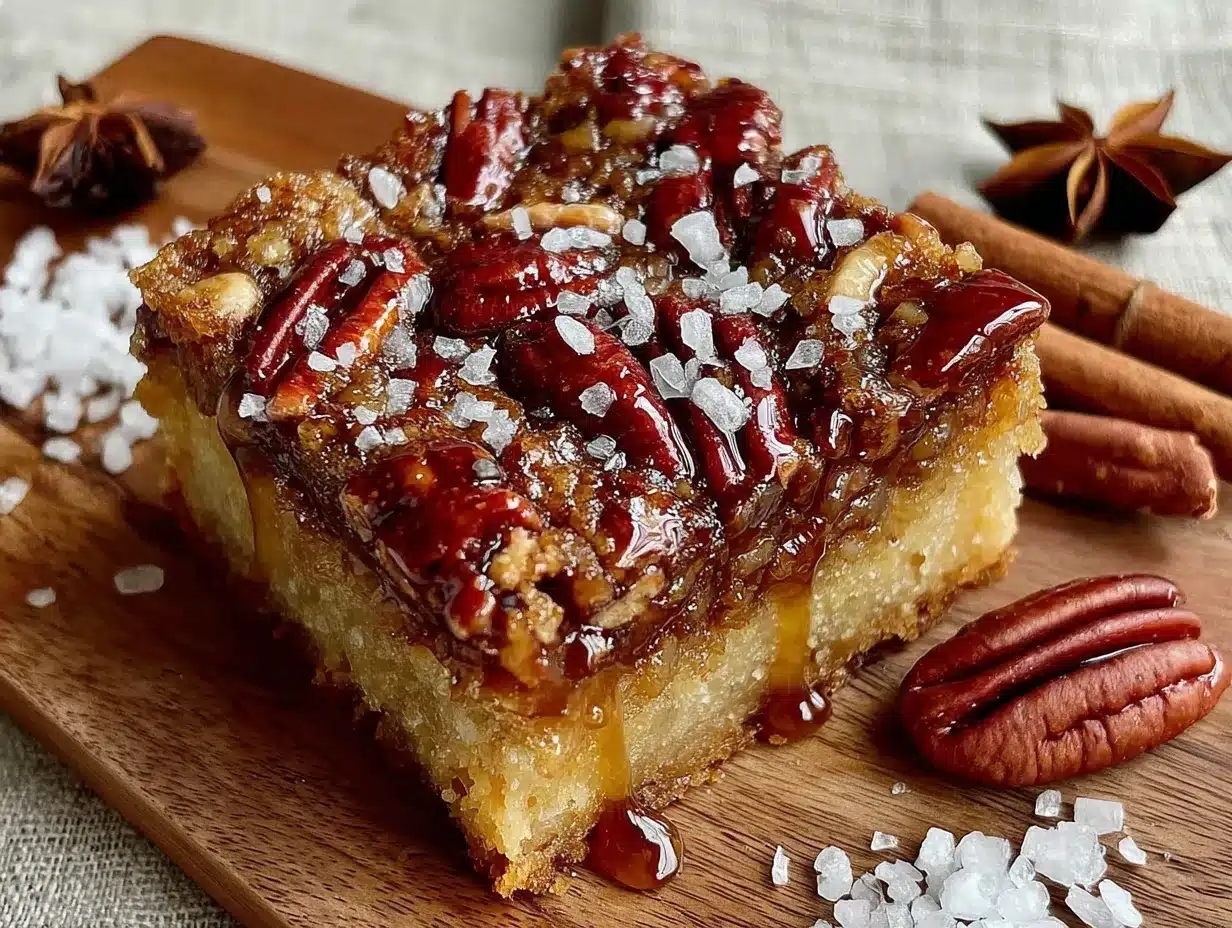
These aren’t fussy. They don’t require a pie plate or blind baking or any of that anxiety-inducing pastry work. You press a buttery shortbread into a pan, pour a maple-pecan custard over it, and let the oven do the heavy lifting. What comes out is this perfect little square of texture contrast—crunchy bottom, gooey top, toasted pecans scattered throughout like little flavor bombs. I’ve made them for Thanksgiving, for random Tuesday afternoons, and for a friend who needed a care package, and every time, someone asks for the recipe before they’ve even finished chewing. That’s how you know it’s a keeper.
Honestly, I think what makes these work is the restraint. No corn syrup, no weird stabilizers—just maple syrup doing its thing, butter doing its thing, and pecans being their nutty, toasty selves. The shortbread crust isn’t sweet; it’s salty-buttery, which is exactly what a rich maple filling needs to keep from being cloying. It’s the kind of dessert that feels special but doesn’t require a special occasion. And really, isn’t that the best kind of recipe to have in your back pocket?
Why You’ll Love This Recipe
Let me tell you why these bars have earned a permanent spot in my fall baking rotation—and why they’ll probably end up in yours too.
- No Pie Crust Stress: Press-in shortbread crust means zero rolling, zero chilling, zero soggy bottom worries. It’s practically foolproof.
- Pure Maple Flavor: Real maple syrup is the star here, not corn syrup or artificial flavoring. You taste the woodsy, complex sweetness with every bite.
- Perfect Texture Contrast: That crumbly, buttery shortbread base against the soft, almost custardy maple-pecan topping? Chef’s kiss.
- Make-Ahead Friendly: These bars actually get better after a day or two in the fridge. The flavors meld, the texture settles, and they slice even cleaner.
- Portion Control (Sort Of): Bars are easier to serve than pie slices, which means you can cut them small for a crowd or large for yourself. No judgment here.
I tested this recipe with friends who claimed they “didn’t like pecan pie” because it was too sweet. These bars changed their minds. The shortbread crust balances the sweetness, and the maple flavor feels more sophisticated than the traditional corn syrup version. Plus, they’re way easier to transport than a whole pie—just stack them in a container and go. If you’ve ever struggled with a pie crust that shrinks or cracks, you’ll understand why this method is life-changing.
What Ingredients You Will Need
This recipe uses simple, pantry-friendly ingredients, but a few key choices make all the difference. Here’s what you’ll need and why each one matters.
For the Shortbread Crust
- 1 ½ cups (188g) all-purpose flour – Spoon and level for accuracy; scooping directly can pack the flour and make the crust tough.
- ½ cup (100g) granulated sugar – Just enough sweetness to complement the filling without overpowering it.
- ½ teaspoon salt – Don’t skip this. Salt is what makes shortbread taste like shortbread, not sweet cardboard.
- ¾ cup (170g or 1 ½ sticks) unsalted butter, cold and cubed – Cold butter creates that flaky, tender crumb. I prefer unsalted so I control the salt level.
For the Maple Pecan Filling
- ¾ cup (180ml) pure maple syrup – Use the real stuff, not pancake syrup. Grade A dark amber works beautifully here for deeper flavor. I’m partial to the brand from my favorite syrup supplier for its rich, almost smoky notes.
- ½ cup (100g) packed light brown sugar – Adds depth and helps the filling set properly.
- 2 large eggs, room temperature – Room-temperature eggs incorporate more evenly into the filling, preventing a grainy texture.
- ¼ cup (56g) unsalted butter, melted and slightly cooled – Adds richness and helps the filling firm up as it cools.
- 1 teaspoon vanilla extract – Enhances the maple flavor without competing with it.
- 1 tablespoon all-purpose flour – A tiny amount helps stabilize the filling so it doesn’t turn into a runny mess.
- ¼ teaspoon salt – Balances the sweetness and brings out the nuttiness of the pecans.
- 1 ½ cups (170g) pecan halves or chopped pecans – I prefer pecan halves for a prettier top, but chopped works fine too. Toast them lightly first for extra flavor (see tips section).
If you’re looking for a dairy-free option, you can substitute the butter in both the crust and filling with a high-quality vegan butter stick. Just make sure it’s cold for the crust. For a gluten-free version, use a 1:1 gluten-free flour blend in both the crust and the tablespoon in the filling. I’ve tested this with King Arthur’s measure-for-measure blend, and it works great.
Equipment Needed
You don’t need a fancy kitchen to make these bars, but a few specific tools make the process smoother. Here’s what I use:
- 9×9-inch square baking pan – Metal or glass both work, but metal gives a crisper crust. If using glass, reduce oven temperature by 25°F.
- Parchment paper – Lining the pan with parchment overhang on two sides makes lifting the bars out a breeze. Trust me on this one.
- Food processor or pastry cutter – For cutting butter into flour for the crust. A food processor takes 30 seconds; a pastry cutter takes a few minutes of elbow grease.
- Mixing bowls – One medium, one small.
- Whisk – For the filling. A fork works in a pinch, but a whisk gives you a smoother result.
- Spatula – For spreading the filling evenly.
- Sharp knife – For clean slices. A chef’s knife works better than a serrated one here.
If you don’t have a food processor, you can make the crust by hand. Just grate the cold butter into the flour mixture using a box grater, then work it in with your fingertips until it looks like coarse meal. It takes a little longer, but it’s oddly satisfying.
Preparation Method
Let’s get baking. I’ll walk you through every step, including what to look for and what to avoid.
Step 1: Make the Shortbread Crust
Preheat your oven to 350°F (175°C). Line your 9×9-inch pan with parchment paper, leaving about 2 inches of overhang on two opposite sides. This is your lifting handle later.
In a food processor, combine the flour, granulated sugar, and salt. Pulse a few times to mix. Add the cold, cubed butter and pulse in short bursts—about 10 to 12 pulses—until the mixture looks like coarse sand with some pea-sized butter pieces still visible. Don’t over-process; you want those little butter bits for a flaky texture.
If doing this by hand, whisk the dry ingredients together, then cut in the cold butter using a pastry cutter or your fingertips until you get that same coarse texture.
Pour the mixture into your prepared pan. Press it down firmly and evenly into the bottom. I use the bottom of a measuring cup to really compact it—this prevents the crust from crumbling when you cut the bars later. Press it all the way to the edges and into the corners.
Bake the crust for 15 to 18 minutes, until it’s lightly golden around the edges and just starting to brown. The center should look set, not wet. Remove from the oven and let it cool on a wire rack while you make the filling. Leave the oven on.
Step 2: Prepare the Maple Pecan Filling
In a medium mixing bowl, whisk together the maple syrup, brown sugar, eggs, melted butter, and vanilla extract until smooth. Make sure the melted butter isn’t hot—you don’t want to scramble the eggs. Warm is fine, just not piping hot.
Add the flour and salt, then whisk again until no lumps remain. The mixture will be thin and glossy, like a loose caramel sauce. That’s exactly right.
Fold in the pecans with a spatula. If you’re using pecan halves, try to distribute them evenly so every bar gets a good amount. If using chopped, they’ll spread more naturally.
Step 3: Assemble and Bake
Pour the filling over the pre-baked shortbread crust. It should spread evenly on its own, but you can tilt the pan gently if needed. Don’t stir or poke—just let it settle.
Bake for 28 to 32 minutes, until the edges are set and the center is just slightly jiggly when you gently shake the pan. Think of it like a cheesecake—it will continue to set as it cools. Overbaking leads to a dry, cracked top, so err on the side of underdone.
The filling will puff up a bit in the oven and then deflate as it cools. That’s normal and expected. You’ll see the pecans rise to the top, creating that beautiful, toasted layer.
Step 4: Cool and Slice
Let the bars cool completely in the pan on a wire rack. This takes about 2 hours at room temperature. Don’t rush this step—cutting into warm bars will result in a gooey mess, no matter how sharp your knife is.
Once cool, cover the pan with plastic wrap and refrigerate for at least 2 hours, preferably overnight. Chilling firms up the filling and makes slicing clean and easy. Trust me, this is the secret to those perfect, Instagram-worthy squares.
When ready to serve, lift the bars out using the parchment overhang. Place on a cutting board and use a sharp knife to slice into 16 squares (4 rows by 4 rows). Wipe the knife clean between cuts for the neatest edges.
Cooking Tips & Techniques
Over the course of my three-batch obsession, I learned a few things that’ll save you time and frustration.
Toast Your Pecans First: Spread the pecans on a baking sheet and toast at 350°F for 5 to 7 minutes, until fragrant. This deepens their flavor and keeps them crunchier in the filling. I forgot to do this on my first batch, and the pecans ended up a little soft and bland. Toasting makes a noticeable difference.
Don’t Overmix the Crust: When using a food processor, pulse, don’t run. If the butter gets too warm and incorporates fully into the flour, your crust will be tough instead of tender. You want visible butter bits—that’s what creates the flaky texture.
Room Temperature Eggs Matter: Cold eggs can seize the melted butter and create a lumpy filling. If you forgot to set them out, place them in a bowl of warm water for 5 minutes before using.
Watch the Bake Time: Ovens vary wildly. Start checking at 25 minutes. The edges should look set and slightly darker than the center. If the center still ripples like liquid when you shake the pan, give it another 3 minutes and check again.
Chill Before Cutting: I cannot stress this enough. I ruined my first batch by cutting too early. The filling oozed everywhere, the crust crumbled, and I ended up with a delicious but ugly pan of bar fragments. Chilling gives you clean edges and layers that hold their shape.
If you’re looking for more fall baking inspiration, you might also enjoy these cozy brown butter peach cobbler bars—they use a similar press-in crust technique for that same buttery, fruit-filled satisfaction.
Variations & Adaptations
One of the best things about this recipe is how easily it adapts to different tastes and dietary needs. Here are a few variations I’ve tried and loved.
Chocolate Maple Pecan Bars: Sprinkle ½ cup of semi-sweet chocolate chips over the hot crust before pouring the filling. The chocolate melts into a fudgy layer that pairs beautifully with the maple and pecans. Dangerously good.
Bourbon Maple Version: Replace the vanilla extract with 1 tablespoon of bourbon. The smoky, oaky notes complement the maple syrup and add a grown-up twist. I made these for a holiday party, and they disappeared faster than anything else on the dessert table.
Gluten-Free Adaptation: Use a 1:1 gluten-free flour blend in both the crust and the filling. I’ve tested this with Bob’s Red Mill and King Arthur blends, and the texture is nearly identical to the original. Just make sure your blend contains xanthan gum for structure.
Vegan Version: Substitute the butter with vegan butter sticks (like Miyoko’s or Earth Balance) and use a flax egg (1 tablespoon ground flaxseed mixed with 3 tablespoons water, let sit for 5 minutes) in place of each egg. The texture is slightly less custardy but still delicious.
Spiced Maple Pecan Bars: Add 1 teaspoon of cinnamon and ¼ teaspoon of nutmeg to the filling. It gives the bars a chai-like warmth that’s perfect for cozy fall afternoons. Pair these with a creamy iced pumpkin chai latte for the ultimate autumn treat.
Serving & Storage Suggestions
These bars are versatile enough for any occasion, from casual snacking to holiday dessert tables.
Serving: Serve at room temperature or slightly chilled. I actually prefer them cold from the fridge—the filling firms up into a dense, fudge-like texture that’s incredibly satisfying. If you want to dress them up, dust with a little flaky sea salt right before serving, or add a dollop of lightly sweetened whipped cream. A drizzle of warm caramel sauce never hurt anyone either.
Pairing Ideas: These bars are fantastic with a cup of black coffee or a hot cup of tea. For a dessert spread, they pair beautifully with overnight pumpkin cinnamon rolls or a simple vanilla ice cream. The contrast of cold, creamy ice cream against the chewy, nutty bar is pure magic.
Storage: Store bars in an airtight container in the refrigerator for up to 5 days. Layer them with parchment paper between stacks to prevent sticking. They also freeze beautifully—wrap individual bars in plastic wrap, then place in a freezer-safe bag or container. Freeze for up to 3 months. Thaw in the refrigerator overnight or at room temperature for about 30 minutes.
Flavor Development: Here’s a little secret—these bars taste even better on day two or three. The maple flavor deepens, the texture evens out, and the crust softens slightly into a more cohesive bite. If you can resist eating them all immediately, you’ll be rewarded.
Nutritional Information & Benefits
While these bars are definitely a treat, they do offer a few redeeming qualities. Here’s the approximate nutritional breakdown per bar (based on 16 servings):
- Calories: 285
- Fat: 17g
- Saturated Fat: 8g
- Carbohydrates: 32g
- Sugar: 22g
- Protein: 3g
- Fiber: 1g
Health Highlights: Pecans are a good source of healthy monounsaturated fats, magnesium, and zinc. Maple syrup contains antioxidants and minerals like manganese and zinc, though it’s still sugar and should be enjoyed in moderation. The shortbread crust provides a small amount of protein and calcium from the butter.
Dietary Considerations: This recipe contains gluten, dairy, eggs, and tree nuts (pecans). For allergen-friendly versions, see the variations section above. These bars are not low-carb or keto-friendly due to the sugar content, but they make a wonderful occasional indulgence.
I personally love that these bars feel decadent without being cloying. The maple syrup provides a more complex sweetness than refined sugar, and the pecans add a satisfying crunch that makes a small portion feel plenty generous. It’s dessert you can feel good about—in moderation, of course.
Conclusion
These maple pecan pie bars with shortbread crust are everything I want in a fall dessert—buttery, nutty, sweet without being overwhelming, and easy enough to make on a whim. The shortbread crust is forgiving, the filling comes together in minutes, and the result is a bar that looks and tastes like you spent hours in the kitchen. But you and I know the truth: it’s mostly oven time and patience while things chill.
I hope you give these a try, whether for a holiday gathering, a potluck, or just because you’re staring at a bottle of maple syrup and feel inspired. Play around with the variations, make them your own, and don’t forget to save a few for yourself before they disappear. Trust me—they will disappear.
If you make these, I’d love to hear how they turned out. Drop a comment below, tag me in your photos, or share your own twist on the recipe. Happy baking, friends—and may your crust always be buttery and your filling perfectly set.
Frequently Asked Questions
Can I use dark corn syrup instead of maple syrup?
You can, but it won’t taste the same. Dark corn syrup is sweeter and less complex than maple syrup. If you’re in a pinch, use a 50/50 mix of maple syrup and light corn syrup for a closer flavor profile.
Why did my shortbread crust crumble when I cut the bars?
This usually happens if the crust wasn’t pressed firmly enough into the pan, or if it was underbaked. Make sure to compact it well with a measuring cup and bake until lightly golden. Chilling the bars completely before cutting also helps the crust hold together.
Can I use a different nut instead of pecans?
Absolutely. Walnuts are a great substitute and have a similar texture. You could also try a mix of pecans and walnuts for a more complex flavor. Toast them first regardless.
How do I know when the bars are done baking?
The edges should be set and slightly puffed, while the center should still have a slight jiggle when you shake the pan. It will firm up as it cools. Overbaking results in a dry, cracked top.
Can I double this recipe for a 9×13-inch pan?
Yes! Double all ingredients and bake in a 9×13-inch pan lined with parchment. The crust may need 2 to 3 extra minutes of pre-baking, and the filled bars will bake for about 35 to 40 minutes. Keep an eye on the center jiggle.
Pin This Recipe!
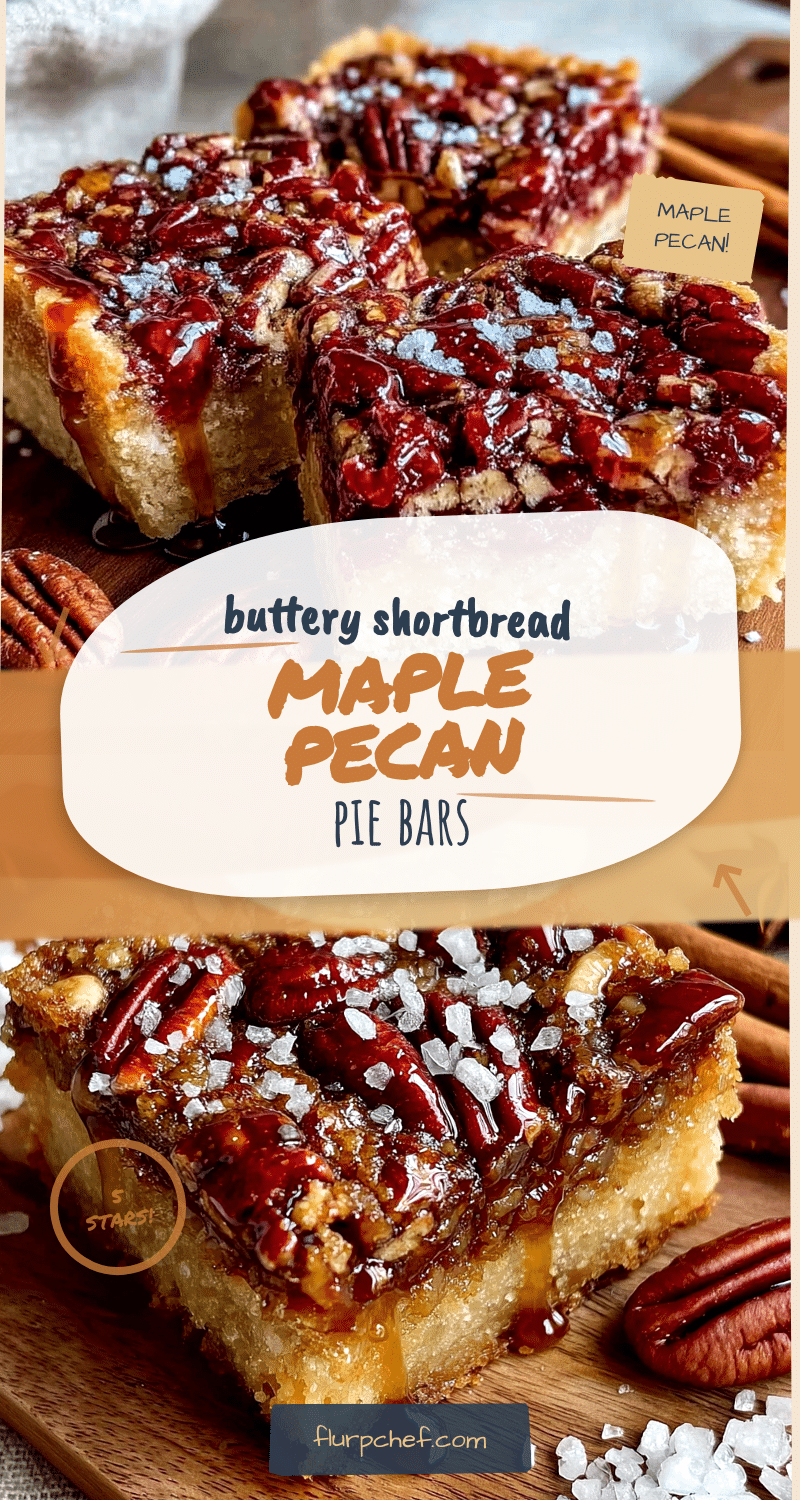
Perfect Maple Pecan Pie Bars: Easy Shortbread Crust Recipe
These maple pecan pie bars feature a buttery shortbread crust and a soft, chewy maple-pecan filling. They’re easy to make, require no pie crust stress, and are perfect for fall baking or any occasion.
- Prep Time: 20 minutes
- Cook Time: 45 minutes
- Total Time: 2 hours 5 minutes (plus chilling time)
- Yield: 16 servings 1x
- Category: Dessert
- Cuisine: American
Ingredients
- 1 ½ cups (188g) all-purpose flour
- ½ cup (100g) granulated sugar
- ½ teaspoon salt
- ¾ cup (170g or 1 ½ sticks) unsalted butter, cold and cubed
- ¾ cup (180ml) pure maple syrup
- ½ cup (100g) packed light brown sugar
- 2 large eggs, room temperature
- ¼ cup (56g) unsalted butter, melted and slightly cooled
- 1 teaspoon vanilla extract
- 1 tablespoon all-purpose flour
- ¼ teaspoon salt
- 1 ½ cups (170g) pecan halves or chopped pecans
Instructions
- Preheat oven to 350°F (175°C). Line a 9×9-inch baking pan with parchment paper, leaving overhang on two sides.
- Make the shortbread crust: In a food processor, combine flour, granulated sugar, and salt. Pulse to mix. Add cold cubed butter and pulse 10-12 times until mixture resembles coarse sand with some pea-sized butter pieces. Alternatively, cut in butter by hand using a pastry cutter.
- Press the crust mixture firmly and evenly into the prepared pan using the bottom of a measuring cup. Bake for 15-18 minutes until lightly golden around edges. Let cool on a wire rack. Keep oven on.
- Prepare the filling: In a medium bowl, whisk together maple syrup, brown sugar, eggs, melted butter, and vanilla extract until smooth. Add flour and salt, whisk until no lumps remain. Fold in pecans.
- Pour filling over pre-baked crust. Bake for 28-32 minutes until edges are set and center is slightly jiggly. Cool completely in pan on a wire rack (about 2 hours).
- Cover and refrigerate for at least 2 hours, preferably overnight. Lift bars out using parchment overhang, slice into 16 squares with a sharp knife.
Notes
Toast pecans at 350°F for 5-7 minutes before using for deeper flavor. Don’t overmix the crust; visible butter bits create flaky texture. Use room temperature eggs to prevent lumpy filling. Chill bars completely before cutting for clean slices. Bars taste even better on day two or three.
Nutrition
- Serving Size: 1 bar
- Calories: 285
- Sugar: 22
- Sodium: 150
- Fat: 17
- Saturated Fat: 8
- Carbohydrates: 32
- Fiber: 1
- Protein: 3
Keywords: maple pecan pie bars, shortbread crust, fall dessert, pecan bars, maple syrup dessert, easy bars, Thanksgiving dessert


