“These taste like fall in cookie form — but, like, the good kind of fall, not the kind where you step in a puddle in your socks.” That was my sister, texting me after I dropped off a test batch of these pumpkin snickerdoodles last October. And honestly? She nailed it.
I wasn’t even trying to invent a new recipe that day. I had half a can of pumpkin puree sitting in my fridge from a batch of pumpkin banana bread I’d made earlier that week, and a serious craving for something chewy and cinnamon-y. Snickerdoodles are my go-to cookie — they’re simple, they’re nostalgic, and they don’t try too hard. But I wondered what would happen if I gave them that pumpkin treatment. Would they get too cakey? Would the pumpkin flavor even come through? I had to find out.
The first batch came out of the oven looking a little sad. Too puffy, not enough cracks on top. The second batch? Better. By the third try, I’d figured out the trick — you need to chill the dough, and you absolutely cannot skip the extra cinnamon-sugar roll just before baking. That double coating is what gives these cookies their signature crinkly top and that warm, spiced crust that makes you reach for another one before you’ve even finished the first.
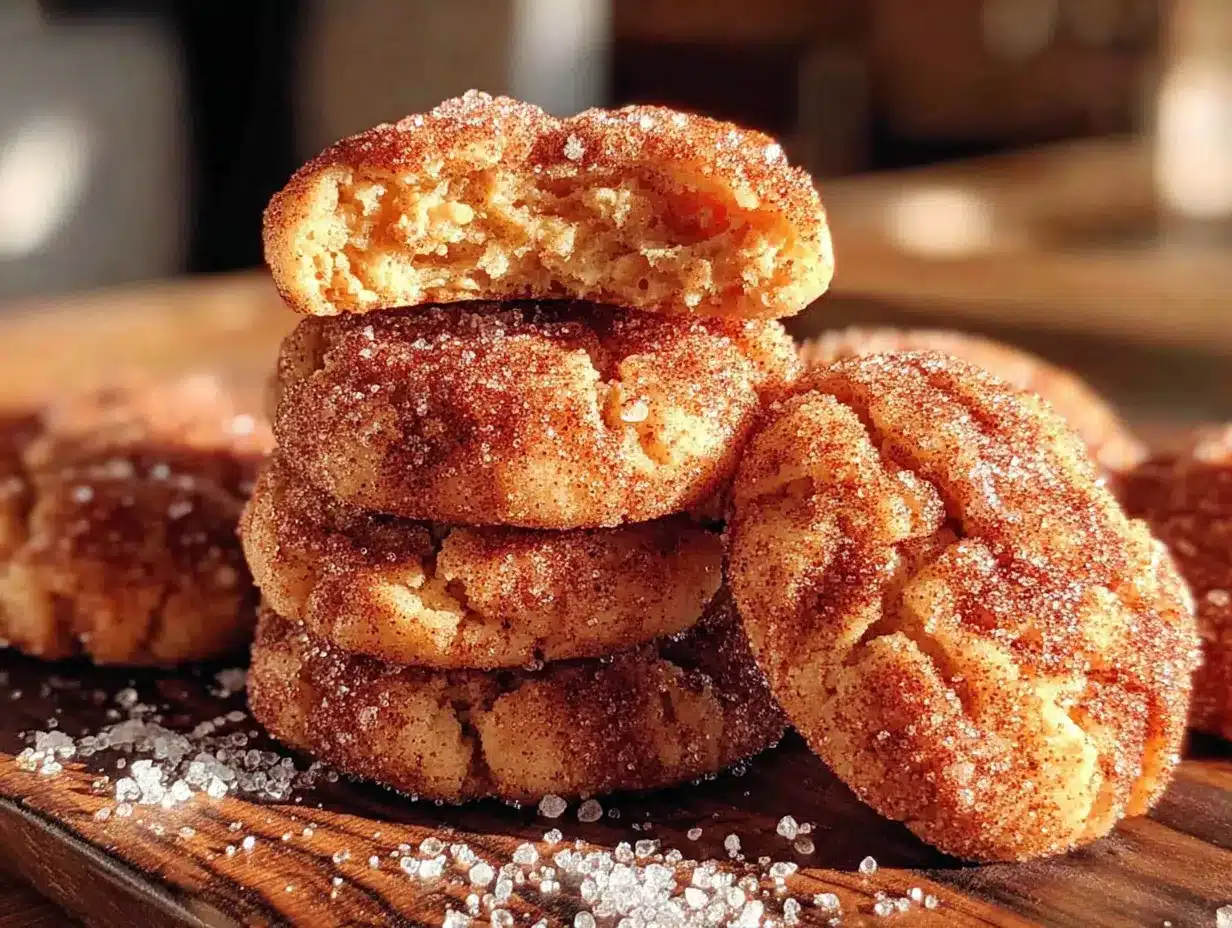
These cookies aren’t trying to be fancy. They’re not stuffed with cream cheese or drizzled with caramel (though, hey, that wouldn’t be a bad idea). They’re just really, really good pumpkin snickerdoodles — soft in the middle, chewy at the edges, and rolled in enough cinnamon sugar to make your kitchen smell like a candle store. The kind of cookie you make on a rainy Sunday and eat over kitchen counter conversations.
Why You’ll Love This Recipe
I’ve tested this recipe more times than I care to admit, and here’s what I’ve learned: these cookies hit that sweet spot between a classic snickerdoodle and a soft pumpkin cookie, without tasting like either one alone. They’re their own thing, and that thing is delicious.
- Soft & Chewy Perfection : These cookies stay soft for days — no dry, crumbly texture here. The pumpkin keeps them tender, and the right ratio of butter to sugar gives them that signature chew.
- Simple Pantry Ingredients : You probably already have most of what you need. Pumpkin puree, butter, sugar, flour, eggs, and cinnamon — nothing weird or hard to find.
- Perfect for Fall Baking : Whether it’s for a Thanksgiving dessert table, a Halloween party, or just because it’s October and you want your house to smell amazing, these cookies deliver.
- Crowd-Pleaser : I’ve brought these to potlucks, cookie swaps, and family gatherings. They disappear fast. Kids love them, adults sneak extras, and everyone asks for the recipe.
- No Mixer Required : You can make these by hand with a whisk and a spatula. No need to drag out your stand mixer unless you really want to.
What makes these different from every other pumpkin cookie recipe out there? It’s the texture. Most pumpkin cookies turn out cakey and soft, like little muffin tops. These have that snickerdoodle chew — slightly crisp on the outside, dense and tender on the inside, with just enough pumpkin flavor to remind you it’s fall without overwhelming everything else. The double cinnamon-sugar coating is non-negotiable, by the way. It creates that crackly crust that snickerdoodles are famous for, and it adds a little crunch that contrasts perfectly with the soft cookie underneath.
Honestly, these cookies make me happy every single time I bake them. They’re the kind of recipe you’ll come back to year after year, tweaking slightly each time until they’re exactly how you like them. And that’s the beauty of a good cookie — it’s never really finished. It just gets better.
What Ingredients You Will Need
This recipe uses simple, everyday ingredients to create something that tastes anything but ordinary. The pumpkin does double duty here — it adds moisture and flavor without making the cookies heavy or wet. Here’s what you’ll need:
For the Cookies
- 1/2 cup (1 stick) unsalted butter, softened to room temperature (not melted — melted butter will make these spread too thin)
- 3/4 cup granulated sugar (this gives the cookies their structure and sweetness)
- 1/3 cup packed light brown sugar (adds moisture and a hint of molasses flavor that pairs beautifully with pumpkin)
- 1/2 cup pumpkin puree (not pumpkin pie filling — make sure it’s 100% pure pumpkin. I prefer Libby’s for consistent results)
- 1 large egg yolk, room temperature (the yolk adds richness without thinning the dough too much)
- 1 teaspoon vanilla extract (pure vanilla, not imitation, if you can swing it)
- 1 3/4 cups all-purpose flour (spooned and leveled — don’t scoop directly from the bag or you’ll pack in too much)
- 1/2 teaspoon baking soda
- 1/2 teaspoon cream of tartar (this is what gives snickerdoodles their signature tangy flavor — don’t skip it)
- 1/2 teaspoon salt
- 1 teaspoon ground cinnamon
- 1/2 teaspoon ground ginger
- 1/4 teaspoon ground nutmeg
- 1/4 teaspoon ground cloves
For the Cinnamon Sugar Coating
- 1/4 cup granulated sugar
- 1 1/2 tablespoons ground cinnamon
A few notes on ingredients: If you don’t have cream of tartar, you can substitute 1 teaspoon of lemon juice or white vinegar mixed into the wet ingredients, but honestly, I recommend getting the real stuff. It’s cheap and lasts forever, and it makes a noticeable difference in the texture and flavor of snickerdoodles.
For the spices, feel free to use pumpkin pie spice instead of the individual spices — just use 2 teaspoons total. I like mixing my own because I can adjust the ratios, but store-bought works perfectly fine.
If you’re out of brown sugar, you can use all granulated sugar, but the cookies won’t be quite as soft. And if you’re dairy-free, you can substitute the butter with a good plant-based butter stick (not the spreadable kind in a tub). I’ve tested this with Earth Balance and it worked well.
Equipment Needed
You don’t need a lot of fancy equipment for these cookies, which is part of what I love about them. Here’s what you’ll need:
- Large mixing bowl (for the wet ingredients and the dry ingredients)
- Medium mixing bowl (for the cinnamon sugar coating)
- Whisk (for mixing dry ingredients)
- Spatula or wooden spoon (for combining everything)
- Measuring cups and spoons (I prefer metal measuring cups for dry ingredients — they’re more accurate)
- Baking sheets (I use light-colored aluminum sheets for even browning. Dark sheets can make the bottoms burn)
- Parchment paper or silicone baking mats (parchment is my go-to — it prevents sticking and makes cleanup a breeze)
- Cookie scoop (a 1.5-tablespoon scoop is perfect for uniform cookies. I use a OXO scoop and it’s never let me down)
- Cooling rack (for letting the cookies cool properly — don’t skip this or the bottoms will get soggy)
If you don’t have a cookie scoop, you can use two spoons to portion the dough. The cookies won’t be perfectly uniform, but they’ll taste the same. And if you don’t have parchment paper, you can grease the baking sheets lightly with butter or cooking spray — just watch the bottoms closely so they don’t over-brown.
Preparation Method
Alright, let’s make some cookies. This process is straightforward, but there are a few key steps that make the difference between good cookies and great ones. Pay attention to the chilling time — it’s not optional.
- Cream the butter and sugars. In a large bowl, beat the softened butter, granulated sugar, and brown sugar together until light and fluffy — about 2 minutes with a hand mixer or 3 minutes by hand with a spatula. You want the mixture to look pale and airy. Scrape down the sides of the bowl halfway through.
- Add the wet ingredients. Add the pumpkin puree, egg yolk, and vanilla extract to the butter mixture. Stir until just combined. The mixture will look a little curdled at this point — that’s normal. Don’t overmix or the cookies will be tough.
- Whisk the dry ingredients. In a separate medium bowl, whisk together the flour, baking soda, cream of tartar, salt, cinnamon, ginger, nutmeg, and cloves. Whisking ensures everything is evenly distributed — nobody wants a pocket of baking soda in their cookie.
- Combine wet and dry. Gradually add the dry ingredients to the wet ingredients, stirring with a spatula until just combined. Stop as soon as you don’t see any more streaks of flour. Overmixing at this stage will develop gluten and make the cookies dense and tough.
- Chill the dough. This is the most important step. Cover the bowl with plastic wrap and refrigerate for at least 30 minutes, or up to 3 days. Chilling the dough prevents the cookies from spreading too much in the oven and allows the flavors to meld together. I’ve tested these without chilling, and they turn into flat, sad discs. Don’t skip this.
- Preheat the oven. About 15 minutes before you’re ready to bake, preheat your oven to 350°F (175°C). Line two baking sheets with parchment paper or silicone mats.
- Make the cinnamon sugar coating. In a small bowl, whisk together the 1/4 cup granulated sugar and 1 1/2 tablespoons cinnamon. Set aside.
- Shape and coat the cookies. Using a cookie scoop or your hands, portion the chilled dough into 1.5-tablespoon balls (about 25-30 grams each). Roll each ball between your palms until smooth, then roll it generously in the cinnamon sugar mixture. Place the coated dough balls on the prepared baking sheets, spacing them about 2 inches apart — they will spread a little.
- Bake. Bake for 10-12 minutes, or until the edges are set and the tops look slightly cracked and puffy. The centers will look soft and slightly underdone — that’s what you want. They’ll continue to set as they cool. For softer cookies, bake on the shorter end; for slightly crispier edges, go closer to 12 minutes.
- Cool. Let the cookies cool on the baking sheet for 5 minutes — this is crucial because they’re fragile right out of the oven. After 5 minutes, transfer them to a wire rack to cool completely. If you try to move them too soon, they’ll fall apart. Trust me, I’ve learned this the hard way.
A quick note: If you’re baking in batches, always let the baking sheet cool completely before placing more dough on it. A hot sheet will cause the dough to spread immediately. I usually run mine under cold water and dry it off between batches.
Cooking Tips & Techniques
After making these cookies more times than I can count, I’ve picked up a few tricks that make the process smoother and the results more consistent. Here are my best tips:
Don’t overmix the dough. This is the most common mistake I see in cookie recipes. Once you add the flour, mix only until it disappears. Overmixing develops gluten, which makes cookies tough and cakey instead of tender and chewy. Stop while you still see a few streaks of flour — they’ll incorporate as you scrape the bowl.
Chill the dough properly. I know I’ve said this already, but it bears repeating. Chilling solidifies the butter, which means the cookies will spread less and bake up thicker. It also gives the flour time to hydrate, which improves texture. If you’re in a hurry, you can chill the dough for 20 minutes in the freezer, but 30 minutes in the fridge is better. Overnight is best — the flavor develops beautifully.
Use a cookie scoop for uniform sizing. This isn’t just about aesthetics — uniform cookies bake evenly. If some are bigger than others, the small ones will burn while the big ones are still raw inside. A 1.5-tablespoon scoop is perfect for this recipe. I’ve used the same OXO scoop for years and it’s never failed me.
Rotate your baking sheets halfway through. Most ovens have hot spots, and rotating the sheets ensures even browning. I do this at the 6-minute mark — swap the top sheet to the bottom rack and vice versa, and turn them 180 degrees for good measure.
Let them cool on the sheet. Those 5 minutes of cooling on the hot baking sheet are essential. The cookies are still setting up internally, and moving them too soon will cause them to break apart. I know it’s tempting to dig in immediately, but patience pays off here.
One mistake I made early on was using too much pumpkin puree. I thought more pumpkin would mean more flavor, but it just made the dough sticky and the cookies flat. Stick to the 1/2 cup measurement — it’s the sweet spot for moisture and structure.
Variations & Adaptations
One of the best things about this recipe is how flexible it is. Here are some variations I’ve tried and loved:
- Gluten-Free Version : Substitute the all-purpose flour with a 1:1 gluten-free baking flour blend that contains xanthan gum. I’ve tested this with Bob’s Red Mill 1:1 Baking Flour and the cookies turned out slightly more delicate but still delicious. Chill the dough for an extra 15 minutes to help them hold their shape.
- Vegan Version : Use a plant-based butter stick (like Earth Balance) and substitute the egg yolk with 1 tablespoon of aquafaba (the liquid from a can of chickpeas) or a flax egg (1 tablespoon ground flaxseed mixed with 3 tablespoons water, let sit for 5 minutes). The texture will be slightly less tender, but still very good.
- Add-Ins : Fold in 1/2 cup of white chocolate chips, chopped pecans, or dried cranberries after mixing the dough. White chocolate and pumpkin is a classic combo, and the pecans add a nice crunch. I’ve also tried adding a handful of toffee bits — highly recommend.
- Spice It Up : Add a pinch of cardamom or allspice to the cinnamon sugar coating for a more complex flavor. Cardamom gives it a slightly floral, aromatic note that’s lovely with the pumpkin.
- Pumpkin Spice Latte Twist : Add 1 teaspoon of instant espresso powder to the dry ingredients for a subtle coffee flavor that enhances the pumpkin and spices. This is my personal favorite variation — it makes the cookies taste like a PSL in cookie form.
- Glazed Version : Drizzle the cooled cookies with a simple glaze made from 1/2 cup powdered sugar, 1 tablespoon milk, and 1/4 teaspoon vanilla extract. Let the glaze set for about 15 minutes before serving. It adds a pretty finish and a little extra sweetness.
Serving & Storage Suggestions
These cookies are best enjoyed slightly warm, when the edges are still a little soft and the cinnamon sugar coating is at its crackliest. I like to serve them with a cold glass of milk or a warm mug of spiced pumpkin apple cider for the ultimate fall experience. They’re also fantastic alongside a cup of coffee or a chai latte — the spices in the cookies complement the warm, aromatic notes of chai beautifully.
For a dessert spread, these cookies pair well with no-bake pumpkin pie cheesecake bars or a scoop of vanilla ice cream. They’re also perfect for packaging up as gifts — just stack them in a tin or a cellophane bag tied with a ribbon.
Storage: Store the cookies in an airtight container at room temperature for up to 5 days. To keep them soft, add a slice of bread to the container — the cookies will absorb the moisture from the bread and stay tender. (The bread will get stale, but that’s the sacrifice it makes.)
Freezing: You can freeze either the baked cookies or the unbaked dough. For baked cookies, let them cool completely, then layer them in a freezer-safe container with parchment paper between layers. Freeze for up to 3 months. Thaw at room temperature for about 30 minutes before serving.
For the unbaked dough, scoop it into balls, roll them in the cinnamon sugar coating, and place them on a parchment-lined baking sheet. Freeze until solid (about 2 hours), then transfer the frozen dough balls to a freezer bag. When you’re ready to bake, place the frozen dough balls on a baking sheet and add 2-3 minutes to the baking time. No need to thaw — just bake straight from frozen.
Reheating: To revive day-old cookies, pop them in a 300°F oven for 3-5 minutes. They’ll come out tasting freshly baked. You can also microwave them for 10-15 seconds, but they won’t have that same crisp edge.
Nutritional Information & Benefits
Let’s be real — these are cookies, not health food. But they do have a few redeeming qualities worth mentioning.
Each cookie (based on 24 cookies per batch) contains approximately:
- Calories: 130
- Total Fat: 5g
- Saturated Fat: 3g
- Carbohydrates: 20g
- Sugar: 12g
- Fiber: 1g
- Protein: 2g
- Sodium: 85mg
The pumpkin puree adds a small amount of vitamin A and fiber, which is more than you’d get from a regular sugar cookie. And the spices — cinnamon, ginger, nutmeg, cloves — all have anti-inflammatory properties, so you can tell yourself you’re doing something good for your body while you eat three cookies in a row. (I won’t judge.)
These cookies are not gluten-free, vegan, or low-carb as written, but the variations section above includes substitutions for most dietary needs. If you’re watching your sugar intake, you can reduce the sugar in the dough to 1/2 cup total, but the texture will be slightly different — less tender and a bit more crumbly.
Conclusion
These soft and chewy pumpkin snickerdoodle cookies have become my go-to fall recipe for a reason. They’re simple enough for a weekday baking session but impressive enough to bring to any gathering. The combination of warm spices, tender pumpkin-infused dough, and that crackly cinnamon sugar coating is just — well, it’s exactly what a fall cookie should be.
I love that this recipe doesn’t try to reinvent the wheel. It takes something classic and familiar and gives it a seasonal twist that feels natural, not forced. The pumpkin is there, but it doesn’t overwhelm. The snickerdoodle tang is there, but it’s softened by the warmth of the spices. It’s the best of both worlds, and it works.
I’d love to hear how these turn out for you. Did you add any mix-ins? Did you try the espresso powder twist? Did you eat three before they even cooled down? (No judgment here — I’ve definitely done that.) Leave a comment below and let me know. And if you share them on Instagram, tag me so I can see your beautiful cookies. Happy baking, friends!
Frequently Asked Questions
Can I use pumpkin pie filling instead of pumpkin puree?
No, please don’t. Pumpkin pie filling has added sugar and spices, which will throw off the balance of this recipe. Stick with 100% pure pumpkin puree for the best results. Libby’s is my go-to brand, but any pure pumpkin will work.
Why did my cookies turn out flat?
This usually happens for one of three reasons: the butter was too soft or melted, the dough wasn’t chilled long enough, or the baking soda was too old. Make sure your butter is softened but not greasy, chill the dough for at least 30 minutes, and check that your baking soda is fresh (it should fizz when mixed with vinegar).
Can I make these cookies without cream of tartar?
Yes, but they won’t have that classic snickerdoodle tang. You can substitute 1 teaspoon of lemon juice or white vinegar mixed into the wet ingredients, but the texture will be slightly different. If you don’t have cream of tartar, you can also use 1/2 teaspoon more baking soda, but again, the flavor won’t be quite the same.
How do I know when the cookies are done baking?
Look for set edges and puffy, slightly cracked tops. The centers will look soft and a little underdone — that’s exactly what you want. They’ll continue to bake on the hot sheet as they cool. If you’re unsure, err on the side of underbaking — you can always bake them longer next time, but you can’t unbake overdone cookies.
Can I double this recipe?
Absolutely. This recipe doubles beautifully. Just make sure your mixing bowl is big enough to hold everything. The chilling time remains the same, and you may need to bake in additional batches depending on how many baking sheets you have.
Pin This Recipe!
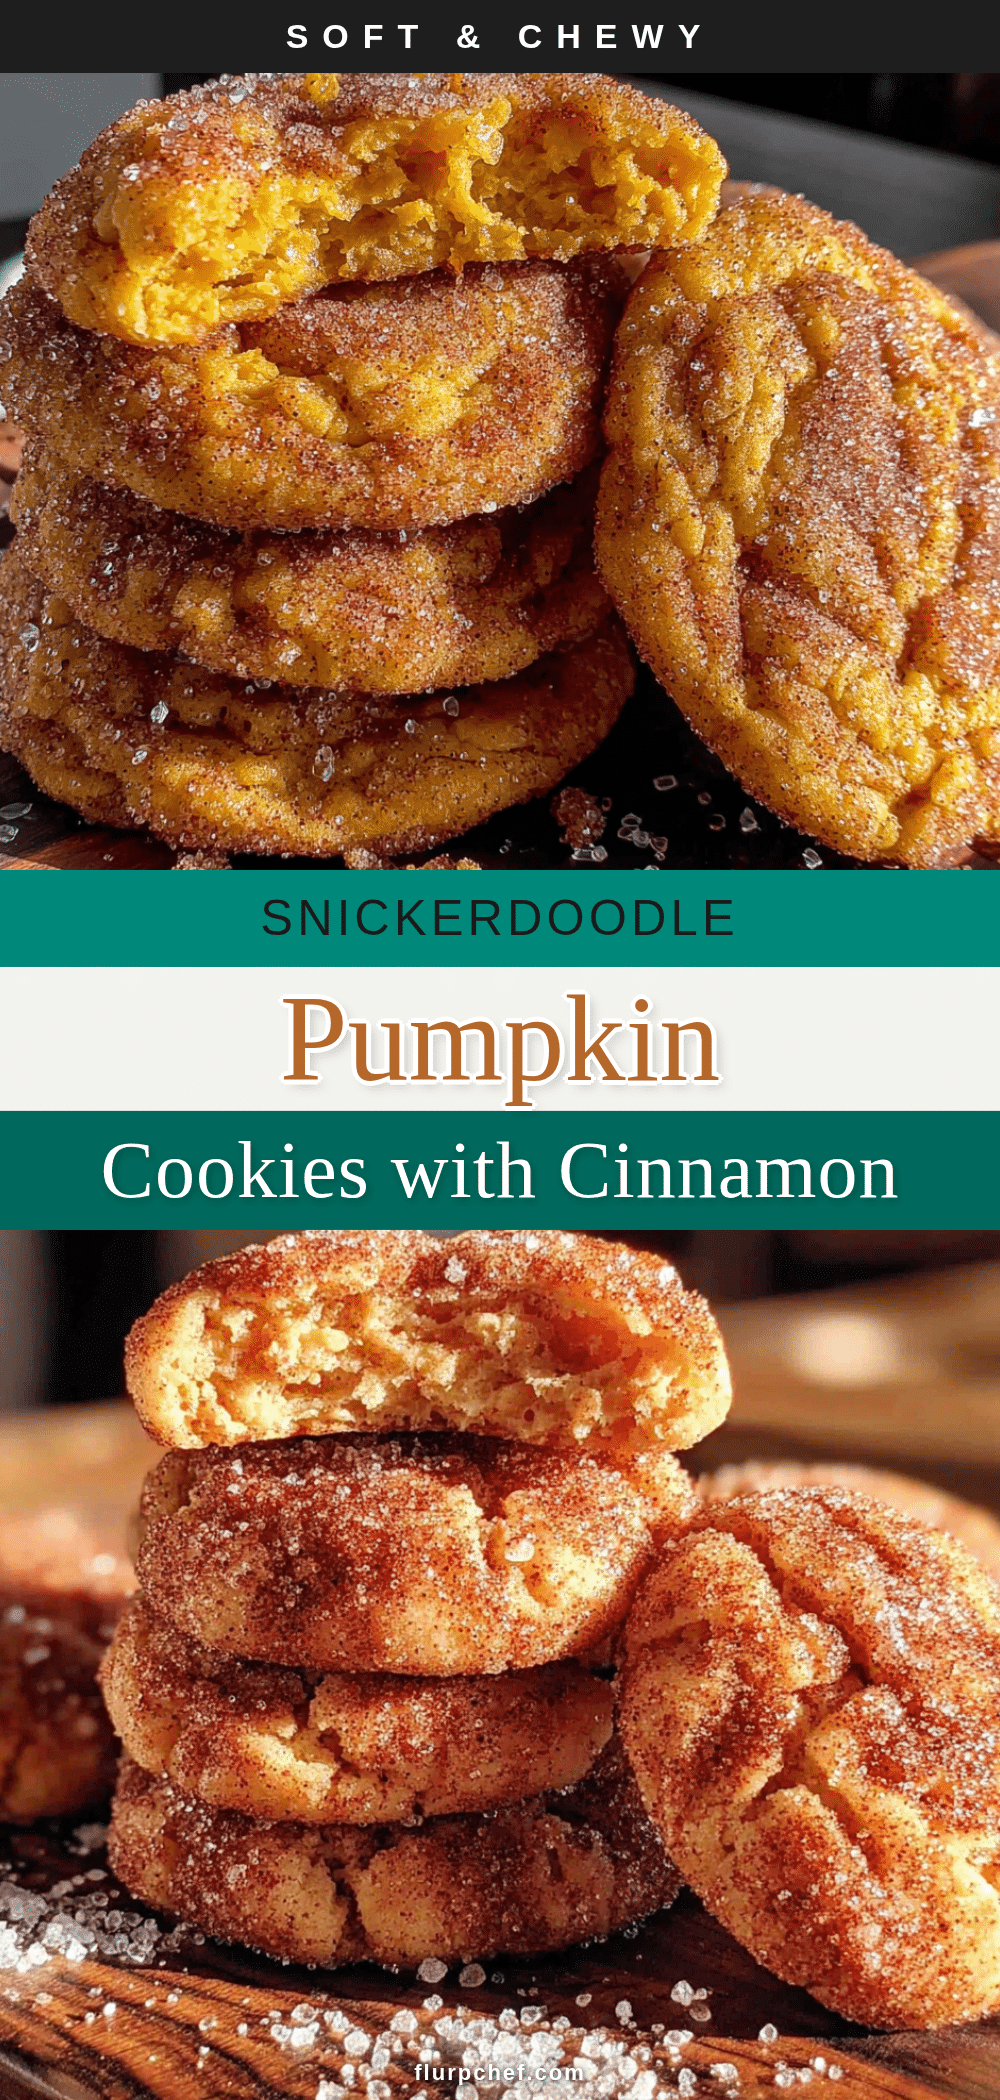
Soft & Chewy Pumpkin Snickerdoodle Cookies – Easy Fall Recipe
These soft and chewy pumpkin snickerdoodle cookies combine the classic snickerdoodle tang with warm pumpkin spices, creating a perfect fall treat that’s soft in the middle, chewy at the edges, and rolled in cinnamon sugar.
- Prep Time: 15 minutes
- Cook Time: 12 minutes
- Total Time: 57 minutes (includes 30 minutes chilling)
- Yield: 24 servings 1x
- Category: Dessert
- Cuisine: American
Ingredients
- 1/2 cup (1 stick) unsalted butter, softened to room temperature
- 3/4 cup granulated sugar
- 1/3 cup packed light brown sugar
- 1/2 cup pumpkin puree (not pumpkin pie filling)
- 1 large egg yolk, room temperature
- 1 teaspoon vanilla extract
- 1 3/4 cups all-purpose flour, spooned and leveled
- 1/2 teaspoon baking soda
- 1/2 teaspoon cream of tartar
- 1/2 teaspoon salt
- 1 teaspoon ground cinnamon
- 1/2 teaspoon ground ginger
- 1/4 teaspoon ground nutmeg
- 1/4 teaspoon ground cloves
- 1/4 cup granulated sugar (for coating)
- 1 1/2 tablespoons ground cinnamon (for coating)
Instructions
- Cream the butter and sugars: In a large bowl, beat the softened butter, granulated sugar, and brown sugar together until light and fluffy — about 2 minutes with a hand mixer or 3 minutes by hand with a spatula. Scrape down the sides of the bowl halfway through.
- Add the wet ingredients: Add the pumpkin puree, egg yolk, and vanilla extract to the butter mixture. Stir until just combined. The mixture will look a little curdled — that’s normal. Don’t overmix.
- Whisk the dry ingredients: In a separate medium bowl, whisk together the flour, baking soda, cream of tartar, salt, cinnamon, ginger, nutmeg, and cloves.
- Combine wet and dry: Gradually add the dry ingredients to the wet ingredients, stirring with a spatula until just combined. Stop as soon as you don’t see any more streaks of flour.
- Chill the dough: Cover the bowl with plastic wrap and refrigerate for at least 30 minutes, or up to 3 days.
- Preheat the oven: About 15 minutes before baking, preheat your oven to 350°F (175°C). Line two baking sheets with parchment paper or silicone mats.
- Make the cinnamon sugar coating: In a small bowl, whisk together the 1/4 cup granulated sugar and 1 1/2 tablespoons cinnamon.
- Shape and coat the cookies: Using a cookie scoop or your hands, portion the chilled dough into 1.5-tablespoon balls (about 25-30 grams each). Roll each ball between your palms until smooth, then roll it generously in the cinnamon sugar mixture. Place the coated dough balls on the prepared baking sheets, spacing them about 2 inches apart.
- Bake: Bake for 10-12 minutes, or until the edges are set and the tops look slightly cracked and puffy. The centers will look soft and slightly underdone.
- Cool: Let the cookies cool on the baking sheet for 5 minutes, then transfer them to a wire rack to cool completely.
Notes
Chilling the dough is essential to prevent spreading. For best results, chill overnight. The double cinnamon-sugar coating is non-negotiable for the signature crackly top. If you don’t have cream of tartar, you can substitute 1 teaspoon of lemon juice or white vinegar mixed into the wet ingredients, but the flavor will be slightly different. For gluten-free, use a 1:1 gluten-free baking flour blend with xanthan gum. For vegan, use plant-based butter and substitute the egg yolk with 1 tablespoon aquafaba or a flax egg.
Nutrition
- Serving Size: 1 cookie
- Calories: 130
- Sugar: 12
- Sodium: 85
- Fat: 5
- Saturated Fat: 3
- Carbohydrates: 20
- Fiber: 1
- Protein: 2
Keywords: pumpkin snickerdoodle cookies, soft chewy pumpkin cookies, fall cookie recipe, easy pumpkin cookies, snickerdoodle recipe


