I made these no-bake chocolate peanut butter energy bites for three straight months before I realized I didn’t actually hate them—I just hated the dry, crumbly versions I kept forcing myself to eat. The first batch came out tasting like sawdust mixed with disappointment. The second batch was so sticky I couldn’t roll them into balls without washing my hands between every single one. By the third attempt, I had peanut butter smeared on my countertops, my phone screen, and somehow, the ceiling fan pull chain. I almost gave up entirely.
But here’s the thing about a good energy bite recipe—it’s supposed to make your life easier, not harder. And I kept coming back to the idea because, honestly, I needed something I could grab at 3 PM when my energy tanked and the coffee wasn’t cutting it anymore. I wanted a snack that tasted like dessert but didn’t leave me crashing an hour later. So I kept tweaking, kept testing, and eventually stopped trying to make them perfect and started making them right.
These easy no-bake chocolate peanut butter energy bites are the result of all that trial and error. They’re soft, not dry. They hold together without being gluey. And they actually taste good—like a Reese’s cup had a baby with a granola bar, if that baby was somehow good for you. No baking, no fancy equipment, and you can make a batch in about five minutes flat.
Why You’ll Love This Recipe
I’ve tested this recipe more times than I care to admit, and every single time I hand one to someone, they look surprised. Surprised that something so simple could taste this good. Surprised that it’s not loaded with refined sugar. Surprised that it actually keeps them full for more than twenty minutes.
- Quick & Easy : Five minutes of mixing, ten minutes of rolling, and you’re done. No oven, no stove, no waiting for anything to cool.
- Simple Ingredients : You probably have everything in your pantry right now. Oats, peanut butter, chocolate chips, honey—that’s basically it.
- Perfect for Meal Prep : Make a batch on Sunday and grab them all week. They’re my go-to for busy mornings when I forgot to eat breakfast.
- Crowd-Pleaser : Kids love them. Adults love them. People who swear they don’t like healthy snacks love them.
- Unbelievably Delicious : The texture is soft and chewy, the chocolate melts in your mouth, and the peanut butter flavor hits just right.
What makes these different from every other energy bite recipe out there is the ratio. I spent weeks adjusting the wet-to-dry balance until I found the sweet spot where the oats absorb just enough moisture without turning into a paste. The result is a bite that holds its shape, doesn’t fall apart in your bag, and still tastes like a treat.
These aren’t just another healthy snack you force yourself to eat. They’re the kind of thing you actually look forward to reaching for. And when you’re standing in front of the fridge at 10 PM wondering if you should eat that leftover cake, having a batch of these in the freezer might just save you.
What Ingredients You Will Need
This recipe uses simple, wholesome ingredients that work together to create a snack that’s both satisfying and good for you. Most of these are pantry staples, but I’ve included notes on what to look for and how to swap things out if needed.
- Rolled oats (1 cup / 90g) – Use old-fashioned rolled oats, not quick oats. They give the bites a better texture and hold up better in the fridge. I prefer Bob’s Red Mill for consistent results.
- Creamy peanut butter (½ cup / 128g) – Natural peanut butter works best here. The kind that separates and you have to stir. Avoid the sugary processed stuff—it makes the bites too sweet and they don’t hold together as well.
- Honey (⅓ cup / 113g) – Raw honey adds natural sweetness and helps bind everything together. Maple syrup works too, but the bites will be slightly softer.
- Mini chocolate chips (⅓ cup / 60g) – I use semi-sweet because it balances the peanut butter nicely. Dark chocolate chips are great too. If you’re dairy-free, Enjoy Life makes excellent mini chips.
- Ground flaxseed (2 tablespoons / 14g) – This is my secret ingredient. It adds fiber, omega-3s, and helps absorb moisture so the bites aren’t sticky. You can skip it, but the texture won’t be as good.
- Unsweetened shredded coconut (¼ cup / 20g) – Optional, but I love the texture it adds. It also helps cut through the richness of the peanut butter and chocolate.
- Vanilla extract (1 teaspoon) – Pure vanilla, not imitation. It makes a difference in how the flavors come together.
- Pinch of sea salt – Don’t skip this. Salt brings out the chocolate and balances the sweetness.
For the peanut butter, I’ve found that Skippy Natural or Justin’s work really well. If your peanut butter is too thick and dry, the bites won’t come together. If it’s too runny, they’ll be greasy. Look for a consistency where the oil is mostly incorporated but the peanut butter is still spreadable.
One substitution I’ve tested: if you’re allergic to peanuts, sunflower seed butter works beautifully. Just know the bites will have a slightly green tint from the chlorophyll reacting with the baking soda (if you add any), but the taste is still great. Almond butter also works, though the texture is a bit softer.
Equipment Needed
You don’t need much for this recipe, which is honestly my favorite part. No stand mixer, no food processor, no special pans.
- Large mixing bowl – Any medium-to-large bowl works. I use a ceramic one because it doesn’t slide around on the counter.
- Rubber spatula or wooden spoon – For mixing everything together. A spatula works better for scraping the sides.
- Measuring cups and spoons – Standard set is fine. I like the metal ones because they don’t warp.
- Cookie scoop or small spoon – For portioning the bites evenly. A 1-tablespoon scoop is perfect.
- Parchment paper or wax paper – For lining a baking sheet or plate while the bites set.
- Baking sheet or large plate – To hold the bites while they chill.
- Air-tight container – For storing the finished bites in the fridge or freezer.
If you don’t have a cookie scoop, just use a regular spoon and your hands. The bites don’t need to be perfectly round—mine never are. I’ve made these with nothing but a bowl and my hands more times than I can count, and they turn out fine every time.
Preparation Method
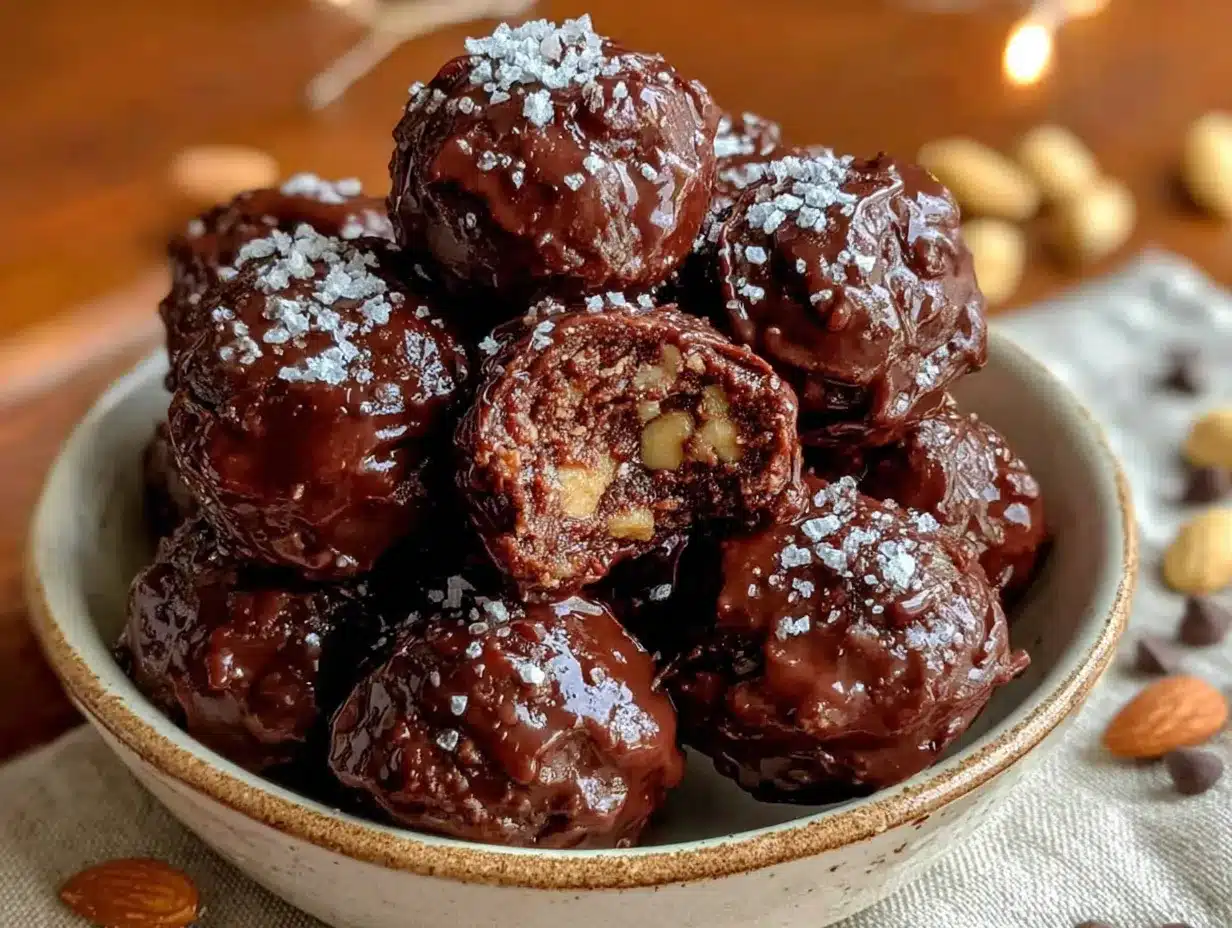
This is the easiest part. No oven, no stove, no complicated techniques. Just mixing and rolling.
- Combine the dry ingredients. In a large mixing bowl, add 1 cup rolled oats, 2 tablespoons ground flaxseed, ¼ cup shredded coconut (if using), and a pinch of sea salt. Stir them together with your spatula so everything is evenly distributed. This takes about 30 seconds.
- Add the wet ingredients. Scoop in ½ cup peanut butter, ⅓ cup honey, and 1 teaspoon vanilla extract. Make sure your peanut butter is well-stirred before you measure it—nobody wants a bite that’s mostly oil.
- Mix until combined. Start stirring with your spatula, pressing down firmly to incorporate everything. At first it’ll look like a dry mess, but keep going. The oats will start absorbing the moisture, and within a minute or two, you’ll have a thick, cohesive mixture. If it seems too dry, add a teaspoon of honey or a splash of water. If it’s too wet, add a tablespoon more oats.
- Fold in the chocolate chips. Add ⅓ cup mini chocolate chips and fold them in gently. Don’t overmix at this point—you want the chips to stay intact, not melt into the mixture.
- Chill the mixture. Cover the bowl and pop it in the fridge for 15-20 minutes. This step is important. Chilling makes the mixture firmer and easier to roll. If you skip this, the bites will be too sticky to shape. I learned this the hard way after spending ten minutes with peanut butter glued to my fingers.
- Roll into balls. Line a baking sheet or large plate with parchment paper. Use a cookie scoop or a spoon to portion out about 1 tablespoon of mixture. Roll it between your palms gently—don’t squeeze too hard or the bites will be dense. Place each ball on the parchment paper. You should get about 18-20 bites.
- Chill again. Put the baking sheet in the fridge for at least 30 minutes to let the bites firm up. If you’re in a hurry, 15 minutes in the freezer works too. This step helps them hold their shape.
- Transfer to storage. Once firm, move the bites to an air-tight container. Layer them with parchment paper if you’re stacking them so they don’t stick together.
A few things I’ve learned from making these over and over: if your hands are warm, the mixture will stick more. Run them under cold water before rolling. Also, if you’re making a double batch, mix everything in two separate bowls—the mixture gets hard to stir when you double the volume.
The texture should feel like a soft cookie dough. If it crumbles when you squeeze it, add a little more honey or peanut butter. If it feels greasy, add more oats. Trust your hands on this one—they know.
Cooking Tips & Techniques
I’ve made enough mistakes with energy bites to fill a small notebook. Here’s what I’ve learned so you don’t have to make the same ones.
Don’t skip the chill time. I know it’s tempting to just mix and eat immediately, but the first chill is crucial for texture. The oats need time to absorb the moisture, and the peanut butter needs to firm up. Without it, your bites will be sticky, messy, and won’t hold their shape. Trust me, I’ve eaten enough misshapen blobs to know.
Use room temperature ingredients. Cold peanut butter straight from the fridge is harder to mix and won’t incorporate evenly. Let it sit out for 15 minutes before you start. Same goes for honey—if it’s crystallized, warm it up gently in a bowl of hot water for a few minutes.
Toast the oats for extra flavor. This is optional, but if you have an extra 5 minutes, spread the oats on a baking sheet and toast them at 350°F for 5-7 minutes. Let them cool completely before using. It adds a nutty depth that takes these bites from good to incredible.
Wet your hands slightly. If the mixture is sticking to your palms, dampen them with a little water. Not too much—just a light mist. It creates a barrier between the sticky mixture and your skin. Works like magic.
Make them uniform in size. Use a cookie scoop if you have one. If not, eyeball it, but try to keep them similar in size so they chill evenly. I’ve had tiny ones freeze solid while the big ones were still soft.
Don’t overpack the mixture. When you roll the balls, use a light touch. Squeezing too hard makes them dense and tough. You want them to be tender and easy to bite into, not like little hockey pucks.
One of my biggest failures: I once tried to make these with crunchy peanut butter because that’s all I had. The chunks of peanuts made the bites fall apart. Stick with creamy unless you want crumbly chaos.
Variations & Adaptations
This recipe is incredibly flexible. I’ve experimented with all kinds of swaps, and most of them turned out great. Here are some of my favorites.
Vegan version : Swap the honey for maple syrup or agave nectar. Use dairy-free chocolate chips. Everything else stays the same. The texture will be slightly softer, so you might need to add an extra tablespoon of oats to compensate.
Gluten-free option : Use certified gluten-free rolled oats. That’s literally the only change. Oats are naturally gluten-free, but they’re often processed in facilities that also process wheat, so check the label if that’s a concern.
Protein boost : Add 1-2 tablespoons of chocolate or vanilla protein powder. Reduce the oats by the same amount to keep the texture balanced. I’ve used Orgain chocolate protein powder and it worked beautifully.
Nut-free version : Replace the peanut butter with sunflower seed butter or WowButter. The flavor changes, obviously, but the texture stays the same. Just be aware that sunflower seed butter can turn green when mixed with other ingredients—it’s totally safe, just a little weird looking.
Seasonal twist : In the fall, add ½ teaspoon pumpkin pie spice and swap the chocolate chips for white chocolate chips. In the summer, add 2 tablespoons freeze-dried strawberries for a fruity kick. I made a batch with cinnamon and chopped pecans last Christmas and they disappeared in two days.
Extra chocolatey : Add 1 tablespoon cocoa powder to the dry ingredients. Reduce the oats by 1 tablespoon to keep the texture right. This turns them into basically healthy brownie bites.
My personal favorite variation: add 2 tablespoons of chia seeds and use dark chocolate chips. The chia seeds add a nice little pop of texture, and the dark chocolate keeps the sweetness in check. I call them my “afternoon slump busters” and they’ve saved me from many a 3 PM coffee run.
Serving & Storage Suggestions
These bites are best served cold, straight from the fridge. The texture is firmer, the chocolate chips are snappy, and they just taste cleaner when they’re chilled. Room temperature is fine too—they soften up a bit and get almost fudge-like in texture. I actually prefer them both ways depending on my mood.
For serving, I like to arrange them on a small plate or in a little bowl. They’re great for parties, potlucks, or just keeping on the counter for grazing. If you’re packing them for lunch, toss a few in a small container and they’ll stay good for hours without refrigeration—though they’ll soften a bit.
They pair beautifully with a hot cup of coffee or a glass of cold milk. I’ve also crumbled them over yogurt for a quick breakfast parfait. If you’re feeling fancy, drizzle a little melted chocolate over the top and sprinkle with sea salt before serving.
Storage : Keep the bites in an air-tight container in the refrigerator for up to 2 weeks. I use a glass container with a tight lid and layer them with parchment paper if I’m stacking. They also freeze beautifully—just place them in a freezer-safe bag or container and they’ll keep for up to 3 months. Grab one straight from the freezer for a cold, chewy treat.
Reheating : You don’t really reheat these, but if they’ve been in the freezer and you want them softer, let them sit at room temperature for 5-10 minutes. They’ll soften up quickly. For a warm treat, pop one in the microwave for 10 seconds—the chocolate gets melty and it’s honestly dangerous how good that is.
One thing I’ve noticed: the flavors actually get better after a day or two in the fridge. The oats continue to absorb moisture, the peanut butter mellows out, and everything just comes together. So don’t be disappointed if they taste a little different on day one—they’ll be perfect by day two.
Nutritional Information & Benefits
These bites are packed with good-for-you ingredients that actually taste like a treat. Here’s the breakdown per bite (based on 20 bites per batch):
| Nutrient | Amount per bite |
|---|---|
| Calories | 110 |
| Protein | 3g |
| Carbohydrates | 14g |
| Fiber | 2g |
| Sugar | 8g |
| Fat | 5g |
| Saturated Fat | 1.5g |
| Sodium | 45mg |
The oats provide slow-release energy and plenty of fiber to keep you full. Peanut butter adds protein and healthy fats that support heart health. The flaxseed is a great source of omega-3 fatty acids, which are anti-inflammatory. And the dark chocolate? It’s rich in antioxidants—so you can feel good about that chocolate fix.
These bites are naturally vegetarian, and with the swaps mentioned above, they can be vegan and gluten-free. They’re also free of refined sugar if you use raw honey or maple syrup. Just be aware that they contain peanuts and coconut, so they’re not suitable for anyone with those allergies.
I personally love that I can grab one of these before a workout or a long walk and have steady energy without the crash. They’re not a meal replacement, but they’re a whole lot better than a granola bar from the gas station.
Conclusion
These easy no-bake chocolate peanut butter energy bites are proof that healthy snacks don’t have to be boring or complicated. Five minutes of work, ten minutes of rolling, and you’ve got a week’s worth of snacks that actually taste like something you’d choose to eat.
I love that I can customize them based on what I have in the pantry or what I’m craving. Some weeks I add shredded coconut, other weeks I double the chocolate chips. The recipe is forgiving enough that you can mess around with it and still end up with something delicious.
If you make these, I’d love to hear how they turned out. Did you add something unexpected? Did your kids love them? Did you eat the entire batch in one sitting (no judgment here)? Drop a comment below and share your version. And if you’re looking for more easy, no-fuss snacks, check out my creamy strawberry cheesecake overnight oats or these healthy chocolate chip pumpkin protein muffins for another great meal-prep option.
Go ahead, make a batch. Your future self at 3 PM will thank you.
Frequently Asked Questions
Can I use quick oats instead of rolled oats?
You can, but the texture will be different. Quick oats are more finely ground, so they absorb moisture faster and create a softer, almost paste-like bite. Rolled oats give you more chew and structure. If you only have quick oats, reduce the honey by a tablespoon so the mixture isn’t too wet.
Why are my energy bites too dry?
This usually happens when the peanut butter is too thick or the oats are extra absorbent. Try adding a tablespoon of honey or a splash of water, then mix again. If that doesn’t work, add another tablespoon of peanut butter. The mixture should feel like soft cookie dough—not crumbly, not sticky.
How long do these last at room temperature?
They’ll stay good for about 24 hours at room temperature, but they’ll soften significantly. If you’re taking them on a road trip or packing them in a lunch, they’ll be fine for the day. For longer storage, keep them in the fridge or freezer.
Can I make these without coconut?
Absolutely. The coconut is completely optional. If you skip it, the bites will be slightly less textured but still delicious. You can replace it with an extra tablespoon of oats or just leave it out entirely.
Can I double this recipe?
Yes, but I recommend mixing in two separate batches. The mixture gets hard to stir when you double the volume, and it’s harder to get even distribution of the ingredients. Make one batch, roll it, then make the second batch. It only takes an extra few minutes and the results are much better.
Pin This Recipe!
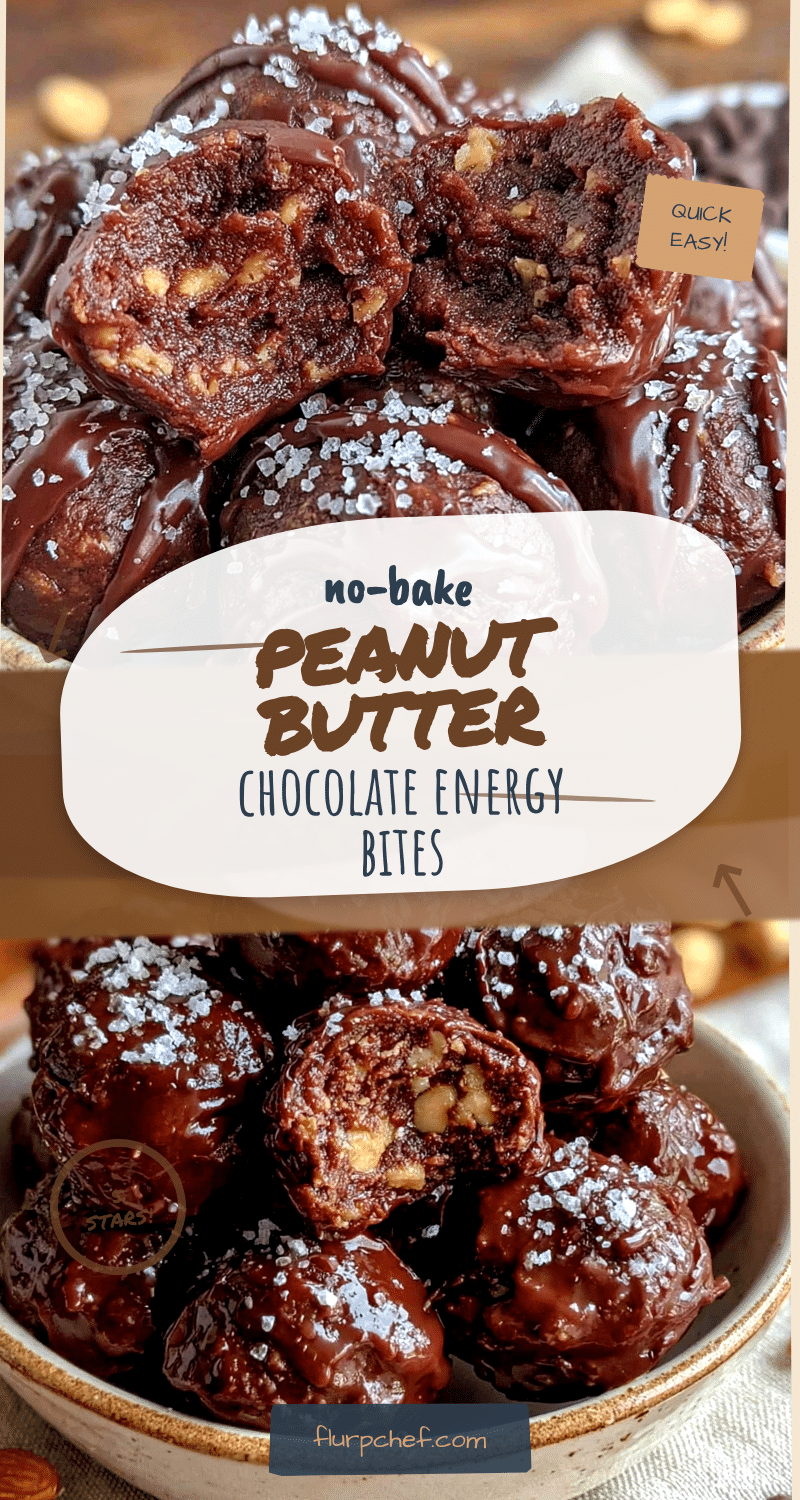
Easy No-Bake Chocolate Peanut Butter Energy Bites: 5-Minute Recipe

These easy no-bake chocolate peanut butter energy bites are soft, chewy, and taste like a Reese’s cup had a baby with a granola bar. Made with simple pantry ingredients, they come together in five minutes and are perfect for meal prep.
- Prep Time: 5 minutes
- Cook Time: 0 minutes
- Total Time: 5 minutes
- Yield: 18-20 bites 1x
- Category: Snack
- Cuisine: American
Ingredients
- 1 cup (90g) rolled oats
- ½ cup (128g) creamy peanut butter
- ⅓ cup (113g) honey
- ⅓ cup (60g) mini chocolate chips
- 2 tablespoons (14g) ground flaxseed
- ¼ cup (20g) unsweetened shredded coconut (optional)
- 1 teaspoon vanilla extract
- Pinch of sea salt
Instructions
- Combine the dry ingredients: In a large mixing bowl, add 1 cup rolled oats, 2 tablespoons ground flaxseed, ¼ cup shredded coconut (if using), and a pinch of sea salt. Stir together with a spatula until evenly distributed.
- Add the wet ingredients: Scoop in ½ cup peanut butter, ⅓ cup honey, and 1 teaspoon vanilla extract. Make sure the peanut butter is well-stirred before measuring.
- Mix until combined: Stir with a spatula, pressing down firmly to incorporate everything. The mixture will become thick and cohesive within a minute or two. If too dry, add a teaspoon of honey or a splash of water; if too wet, add a tablespoon more oats.
- Fold in the chocolate chips: Add ⅓ cup mini chocolate chips and fold gently. Do not overmix.
- Chill the mixture: Cover the bowl and refrigerate for 15-20 minutes to firm up.
- Roll into balls: Line a baking sheet or plate with parchment paper. Using a cookie scoop or spoon, portion about 1 tablespoon of mixture and roll gently between palms. Place on parchment. Makes about 18-20 bites.
- Chill again: Refrigerate for at least 30 minutes (or 15 minutes in the freezer) to firm up.
- Transfer to storage: Once firm, move bites to an airtight container. Layer with parchment paper if stacking.
Notes
Don’t skip the chill time—it’s crucial for texture. Use room temperature ingredients for easier mixing. For extra flavor, toast the oats at 350°F for 5-7 minutes and let cool before using. If mixture sticks to hands, dampen palms slightly with water. Use a light touch when rolling to avoid dense bites.
Nutrition
- Serving Size: 1 bite
- Calories: 110
- Sugar: 8
- Sodium: 45
- Fat: 5
- Saturated Fat: 1.5
- Carbohydrates: 14
- Fiber: 2
- Protein: 3
Keywords: no-bake energy bites, chocolate peanut butter energy bites, healthy snack, meal prep snack, no-bake snack, energy balls


