The PTA Halloween party was in twelve hours and I’d completely forgotten. Not just the potluck sign-up—the entire event. My son had reminded me that morning, his voice dripping with the particular disappointment only a six-year-old can muster. “Mom, you said you’d bring the coolest thing.” I stood in my kitchen at 10 PM, staring into the fridge like it held answers. Everyone else would be bringing those elaborate cake pops shaped like ghosts, or those creepy-crawly cupcakes with gummy worms bursting out of chocolate dirt. I had a bag of clementines, half a bunch of green grapes, and a container of blueberries that were maybe a day past their prime. Honestly, I almost called for backup pizza. But then I spotted the black icing I’d bought for a cookie project we never got around to, and something clicked. I grabbed a large platter, started peeling clementines, and told myself this was either going to be genius or a disaster. There was no in-between.
Let me tell you, there’s a special kind of panic that sets in when you’re racing against a clock and your only weapon is fruit. I mean, fruit at a Halloween party? I felt like I was bringing a salad to a candy convention. But I kept going, arranging those peeled clementines into little eyeball shapes, adding a blueberry pupil, and dotting them with black icing veins. By midnight, I had a platter that looked like a scene from a friendly monster movie. The next day, I walked into that party feeling like a fraud. My tray sat next to a three-tiered haunted house cake and a batch of caramel apples that looked professionally made. I braced for polite pity. But then the kids saw it. They didn’t just eat it—they swarmed it. They grabbed the “eyeballs” by the handful, laughing and comparing whose was the most gruesome. One little girl asked me if the monsters were sad or angry. I told her they were just hungry. That tray was wiped clean in twenty minutes, and three moms asked for the recipe. Maybe you’ve been there—the moment when the simplest thing somehow wins the whole night. That’s why this recipe stayed with me. It’s the underdog that became the hero.
Why You’ll Love This Recipe
Let’s be real—Halloween treats are usually a sugar bomb wrapped in food coloring. This Wholesome Halloween Monster Eyeball Fruit Tray flips that script completely. It’s the snack that parents actually want their kids to eat, and kids actually want to devour. I’ve tested this at three different parties now (my son insists), and it’s never failed to disappear faster than the candy bowl. Here’s why you’ll fall for it too:
- Quick & Easy: Comes together in under 20 minutes, making it perfect for those last-minute school events or panicked party prep the night before.
- Simple Ingredients: No fancy grocery trips needed. You probably have clementines, grapes, and blueberries in your kitchen right now.
- Perfect for Halloween Parties: It hits that spooky vibe without any artificial dyes or processed junk. Great for classroom celebrations, trunk-or-treats, or family movie nights.
- Crowd-Pleaser: I’ve watched toddlers, teenagers, and even picky uncles go back for seconds. The fun factor wins over everyone.
- Unbelievably Wholesome: You get the visual punch of a Halloween treat with the nutrition of fresh fruit. It’s a win-win that feels like cheating.
What makes this different from every other fruit platter out there? It’s the technique. Using a small piping tip for the black icing veins gives each eyeball that creepy, bloodshot look that makes kids squeal. Plus, the blueberry “pupil” creates a perfect contrast against the clementine “white.” It’s not just fruit on a plate—it’s edible art that takes five minutes to assemble. I’ve had nutritionists tell me they recommend this to families who struggle with Halloween sugar overload, and I’ve had kids tell me it’s “way cooler than cupcakes.” Honestly, that’s the kind of feedback that keeps me making this year after year.
What Ingredients You Will Need
This recipe uses simple, wholesome ingredients to deliver that spooky Halloween look without any of the processed junk. Everything here is a pantry staple or a quick grab from the produce section. The magic is in how you put them together.
- Clementines or Mandarin Oranges (about 10-12): These form the base of your eyeballs. Look for ones that are firm and easy to peel without breaking apart. I prefer the Cuties brand for their consistent size and sweetness. (Pro tip: Slightly under-ripe clementines hold their shape better.)
- Fresh Blueberries (about 1 cup): These become the pupils. You want them firm and dry, not mushy. Larger blueberries work best for that dramatic eyeball effect. (Substitute with blackberries cut in half if needed.)
- Green Grapes (about 1 cup): These are optional but add a great texture contrast. I slice them in half and use them as “alien eyeballs” alongside the clementines. (Red grapes work too, but green gives a more monster-like vibe.)
- Black Icing Gel (1 tube): This is the secret weapon for the bloodshot veins. I recommend the Wilton brand—it has a fine tip that gives you control. (Substitute with melted dark chocolate + black food coloring if you prefer a homemade option.)
- Fresh Strawberries (about 1 cup, optional): I sometimes add these halved and carved into “tongues” or “brains” for extra variety. (Use only if you want to expand the monster theme.)
- Large Serving Platter: A white or black platter makes the colors pop. I use a round white platter for that classic “specimen tray” look.
Ingredient selection tip: When picking clementines, avoid any that feel puffy or have loose skin—they’ll fall apart when you try to add the blueberry. For the black icing, test it on a paper towel first to make sure the flow is consistent. I learned this the hard way after a squirt malfunction at a school party. Trust me on this one.
Equipment Needed
You don’t need a professional kitchen to pull this off. Here’s what I use every time:
- Sharp Paring Knife: For making small incisions in the clementines to insert the blueberry pupils. A serrated knife also works if that’s what you have.
- Cutting Board: A stable surface makes all the difference when you’re working with small fruit.
- Small Piping Tip or Toothpick: For applying the black icing veins. A toothpick gives you more control for detailed work, but a piping tip is faster for larger batches.
- Large Serving Platter: Go for something with a slight lip to keep the fruit from rolling off. I found a great one at Target for under $10.
- Paper Towels: You’ll need these to dry the fruit thoroughly. Wet fruit makes the icing slide right off.
- Small Bowl: For holding the blueberries as you work. Keeps them from rolling off the counter.
Budget-friendly tip: Don’t have a piping tip? A clean toothpick works just as well. It actually gives you more precision for those tiny vein details. I’ve used both and honestly prefer the toothpick for this specific recipe.
Preparation Method
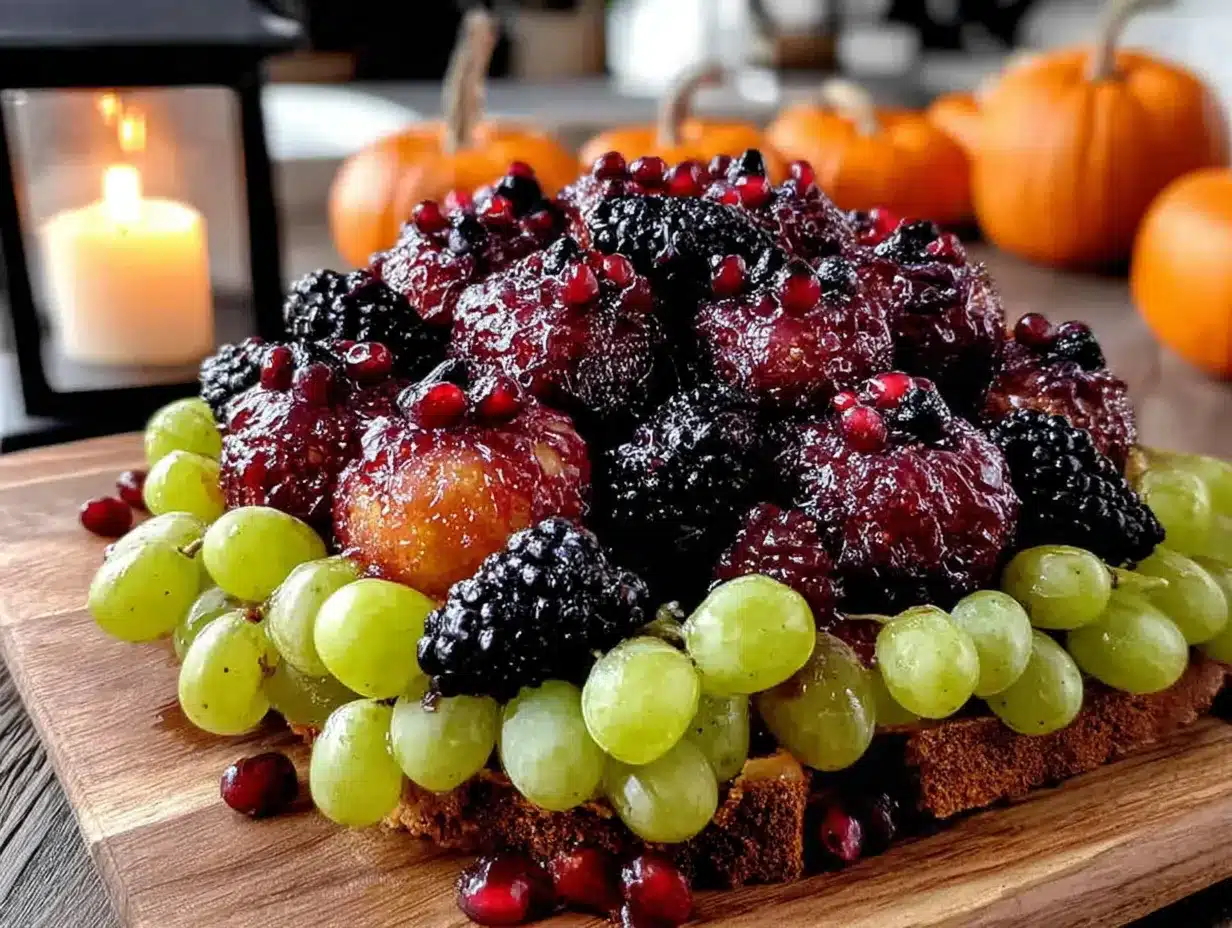
This comes together faster than you’d think. Once you get into the rhythm, you’ll be done in under 20 minutes. Here’s how I do it:
- Prep the Clementines (5 minutes): Peel all the clementines carefully, trying to keep the segments intact. You want each one to look like a little white eyeball. If some break apart, don’t worry—those become “damaged monster eyes” which kids actually love more. Pat each peeled clementine dry with a paper towel. This step is crucial—wet fruit won’t hold the icing.
- Create the Pupil Slits (3 minutes): Using your paring knife, make a small slit in the center of each peeled clementine. The slit should be just big enough to hold a blueberry. Don’t cut all the way through—you want a pocket, not a hole. I usually make the slit about 1/4 inch deep.
- Insert the Blueberries (2 minutes): Gently press a blueberry into each slit. The fruit should hold it in place without any extra help. If the blueberry is too big, slice a tiny piece off the bottom to make it fit. The blueberry should sit flush with the surface of the clementine, looking like a real pupil.
- Add the Bloodshot Veins (5 minutes): Using your black icing gel or toothpick, draw thin, jagged lines radiating outward from the blueberry pupil. Don’t overthink this—messy is actually better. Realistic monster eyes have uneven, chaotic veins. I like to add a few that go all the way to the edge of the clementine for that truly disturbed look.
- Assemble the Platter (3 minutes): Arrange your finished eyeballs on the serving platter. I group them in clusters, leaving some space between each one. If you’re using green grapes, scatter them around like “alien specimens.” For strawberry tongues, slice them in half and arrange them pointing outward from the eyeball clusters.
- Final Touches (2 minutes): Add a few extra blueberries scattered around the platter for contrast. If you want extra creepiness, dot a few clementine segments with tiny black icing dots to look like freckles or warts. Step back and admire your work.
Sensory cue: When you press the blueberry into the clementine, you should feel a slight resistance followed by a soft pop as it settles into place. The clementine should feel firm but give slightly under pressure. If it feels mushy, that fruit is too ripe and will fall apart.
Troubleshooting tip: If the blueberry keeps falling out, you’ve cut the slit too deep. Just add a tiny dab of black icing inside the slit as “glue.” It works perfectly and adds to the creepy factor.
Cooking Tips & Techniques
After making this a dozen times (literally—I counted), I’ve learned a few things the hard way. Here’s what I wish I’d known from the start:
Dry fruit is non-negotiable. The first time I made this, I skipped the paper towel step. The icing slid right off the clementines like they were greased. I ended up with sad, bald eyeballs and a sticky platter. Now I pat each piece dry individually, even if it takes an extra minute. That minute saves you ten minutes of frustration.
Work in an assembly line. Don’t try to finish one eyeball completely before starting the next. Peel all the clementines first, then make all the slits, then insert all the blueberries, then do all the icing. This flow saves you from constantly switching tools and cleaning your hands. I learned this from watching professional cake decorators—efficiency is everything.
Less icing is more. You want thin, spiderweb-like veins, not thick globs. If you’re using a piping tube, practice on a paper towel first to get the pressure right. The veins should look like they were drawn with a fine pen, not a marker. Thick icing also takes forever to dry and will smear when you arrange the platter.
Make extra “damaged” eyeballs. Kids go crazy for the ones that look like they’ve seen things. I purposely break a few clementine segments and add extra icing veins to make them look distressed. One kid at my son’s party asked if that eyeball was “the one that got away.” I said yes. He ate it immediately.
Timing is everything. Assemble this no more than two hours before serving. The clementines start to release juice after a while, which makes the icing run. If you’re prepping the night before, peel the fruit and store it in an airtight container, then assemble the morning of the event.
Variations & Adaptations
This recipe is endlessly customizable. Here are some variations I’ve tried and loved:
Dairy-Free & Vegan: This recipe is already naturally vegan and dairy-free. Just make sure your black icing gel doesn’t contain any animal products (most don’t, but always check the label).
Gluten-Free: All the ingredients here are naturally gluten-free. No adaptations needed—this is safe for celiac-friendly events.
Berry Blast Eyeballs: Swap the blueberry pupils for raspberries or blackberries. The texture is different, but the color contrast is stunning. I did this for a “zombie” themed party and the dark red pupils looked like infected eyes.
Winter Citrus Version: When clementines aren’t in season, use blood oranges or small navel oranges. The red-orange color of blood oranges gives the eyeballs an extra creepy, bruised look. I made this for a Christmas-themed Halloween party (yes, that’s a thing) and it was a hit.
Monster Mouths: Add a slice of strawberry underneath each eyeball to look like a gaping mouth. I carve a small zigzag into the strawberry to look like teeth. This takes the presentation to a whole new level of adorable-terrifying.
Personal Variation: My favorite twist is the “Cyclops Eyeball.” I use a large grapefruit segment as the base, insert a whole blackberry as the pupil, and draw extra-thick veins. It’s massive and ridiculous, and kids lose their minds over it. I serve it in the center of the platter like the boss monster.
Serving & Storage Suggestions
This platter is best served cold, straight from the fridge. The contrast between the cool fruit and the slightly tacky icing is part of the experience. I recommend serving it within two hours of assembly for the best visual effect.
Presentation Tips: Arrange the eyeballs on a black platter for maximum drama. I like to scatter a few loose blueberries around like “eyeball dust.” For a truly spooky effect, place the platter on a bed of dry ice (with a serving dish underneath, of course) so it looks like a mad scientist’s specimen tray. If you’re serving at a classroom party, label the platter with a small sign that says “Monster Eyeballs – Eat if You Dare!”
Complementary Dishes: This pairs beautifully with a Halloween veggie platter for a balanced spread. For drinks, serve with a “Witches’ Brew” punch (green fruit punch with dry ice) or plain water with floating frozen grapes. The simplicity of the fruit tray balances out heavier treats like brownies or cookies.
Storage Instructions: Store any leftovers in an airtight container in the refrigerator for up to 24 hours. The icing will start to bleed into the clementines after that, so don’t expect them to look fresh the next day. They’ll still taste fine, just less photogenic.
Reheating: You don’t reheat this—it’s served cold. But if the fruit has been sitting out for a while and feels warm, pop the platter in the fridge for 10 minutes before serving to refresh it.
Flavor Development: Honestly, the flavors don’t change much over time since there’s no cooking involved. But the clementines do release more juice as they sit, which can make the platter a bit wet. That’s why I always add a final pat-down with paper towels right before serving.
Nutritional Information & Benefits
This is one of the few Halloween treats you can feel genuinely good about. Here’s the breakdown per serving (about 4 eyeballs):
| Nutrient | Amount Per Serving |
|---|---|
| Calories | 85 |
| Total Fat | 0g |
| Sodium | 0mg |
| Total Carbohydrates | 22g |
| Dietary Fiber | 3g |
| Sugars | 16g (natural) |
| Vitamin C | 45% DV |
Health Benefits: Clementines are packed with vitamin C, which supports immune health—perfect for cold and flu season. Blueberries are antioxidant powerhouses that support brain health. This snack is naturally free of added sugars, artificial colors, and preservatives. It’s also low in calories and high in fiber, making it a filling option that won’t spike blood sugar.
Dietary Considerations: This recipe is naturally vegan, gluten-free, dairy-free, nut-free, and soy-free. It’s safe for most common dietary restrictions. The only potential allergen is the black icing gel, which may contain soy lecithin—check the label if you’re serving someone with severe soy allergies.
Personal Wellness Perspective: I love that this recipe lets kids participate in the fun of Halloween without the inevitable sugar crash. My son gets to enjoy a “treat” that’s actually good for him, and I don’t have to play the bad guy by limiting portions. It’s a small win for parents everywhere.
Conclusion
This Wholesome Halloween Monster Eyeball Fruit Tray is proof that you don’t need a culinary degree or a three-hour prep window to steal the show at a party. It’s simple, it’s fun, and it’s genuinely good for you—a rare combination in the world of holiday treats. I’ve made this for school parties, neighborhood gatherings, and even a few adult Halloween dinners (the reactions are always the same: laughter, then devouring).
I hope you’ll try this recipe and make it your own. Maybe you’ll add strawberry tongues or experiment with different fruit combinations. Maybe you’ll discover that your kid loves the “damaged” eyeballs best. That’s the beauty of this recipe—it invites creativity. If you make this, I’d love to hear how it went. Drop a comment below with your monster eyeball creations, or tag me in your photos. And if you have a last-minute party panic story, please share it—I promise I’ll laugh with you, not at you.
Now go forth and make some deliciously creepy eyeballs. Your kids (and their classmates) will thank you.
Frequently Asked Questions
Can I make this recipe ahead of time?
Yes, but with a caveat. You can peel the clementines and wash the blueberries up to 24 hours in advance. Store them separately in airtight containers in the fridge. Assemble the eyeballs with the icing no more than 2 hours before serving for the best visual results.
What can I use instead of black icing gel?
Melted dark chocolate mixed with black food coloring works great. You can also use black decorator’s frosting from a tube. For a healthier option, use thinly sliced black olives as the veins (though this changes the flavor profile significantly).
How do I keep the blueberries from falling out?
Make sure your slit in the clementine is the right depth—about 1/4 inch. If the blueberry is too small, add a tiny dab of black icing inside the slit as adhesive. If it’s too big, slice a thin piece off the bottom of the blueberry to make it fit snugly.
Is this recipe safe for toddlers?
Absolutely. The clementines are soft and easy to chew, and the blueberries are small enough to be safe for little ones. Just make sure to supervise as you would with any fruit. For extra safety, you can slice the blueberries in half lengthwise.
Can I use other fruits for the eyeballs?
Definitely! Try using peeled lychees (canned or fresh) for a translucent, alien-like eyeball. Small apples with the skin removed also work, though they brown faster. For a tropical twist, use peeled kiwi slices as the base with a dark grape pupil.
Pin This Recipe!
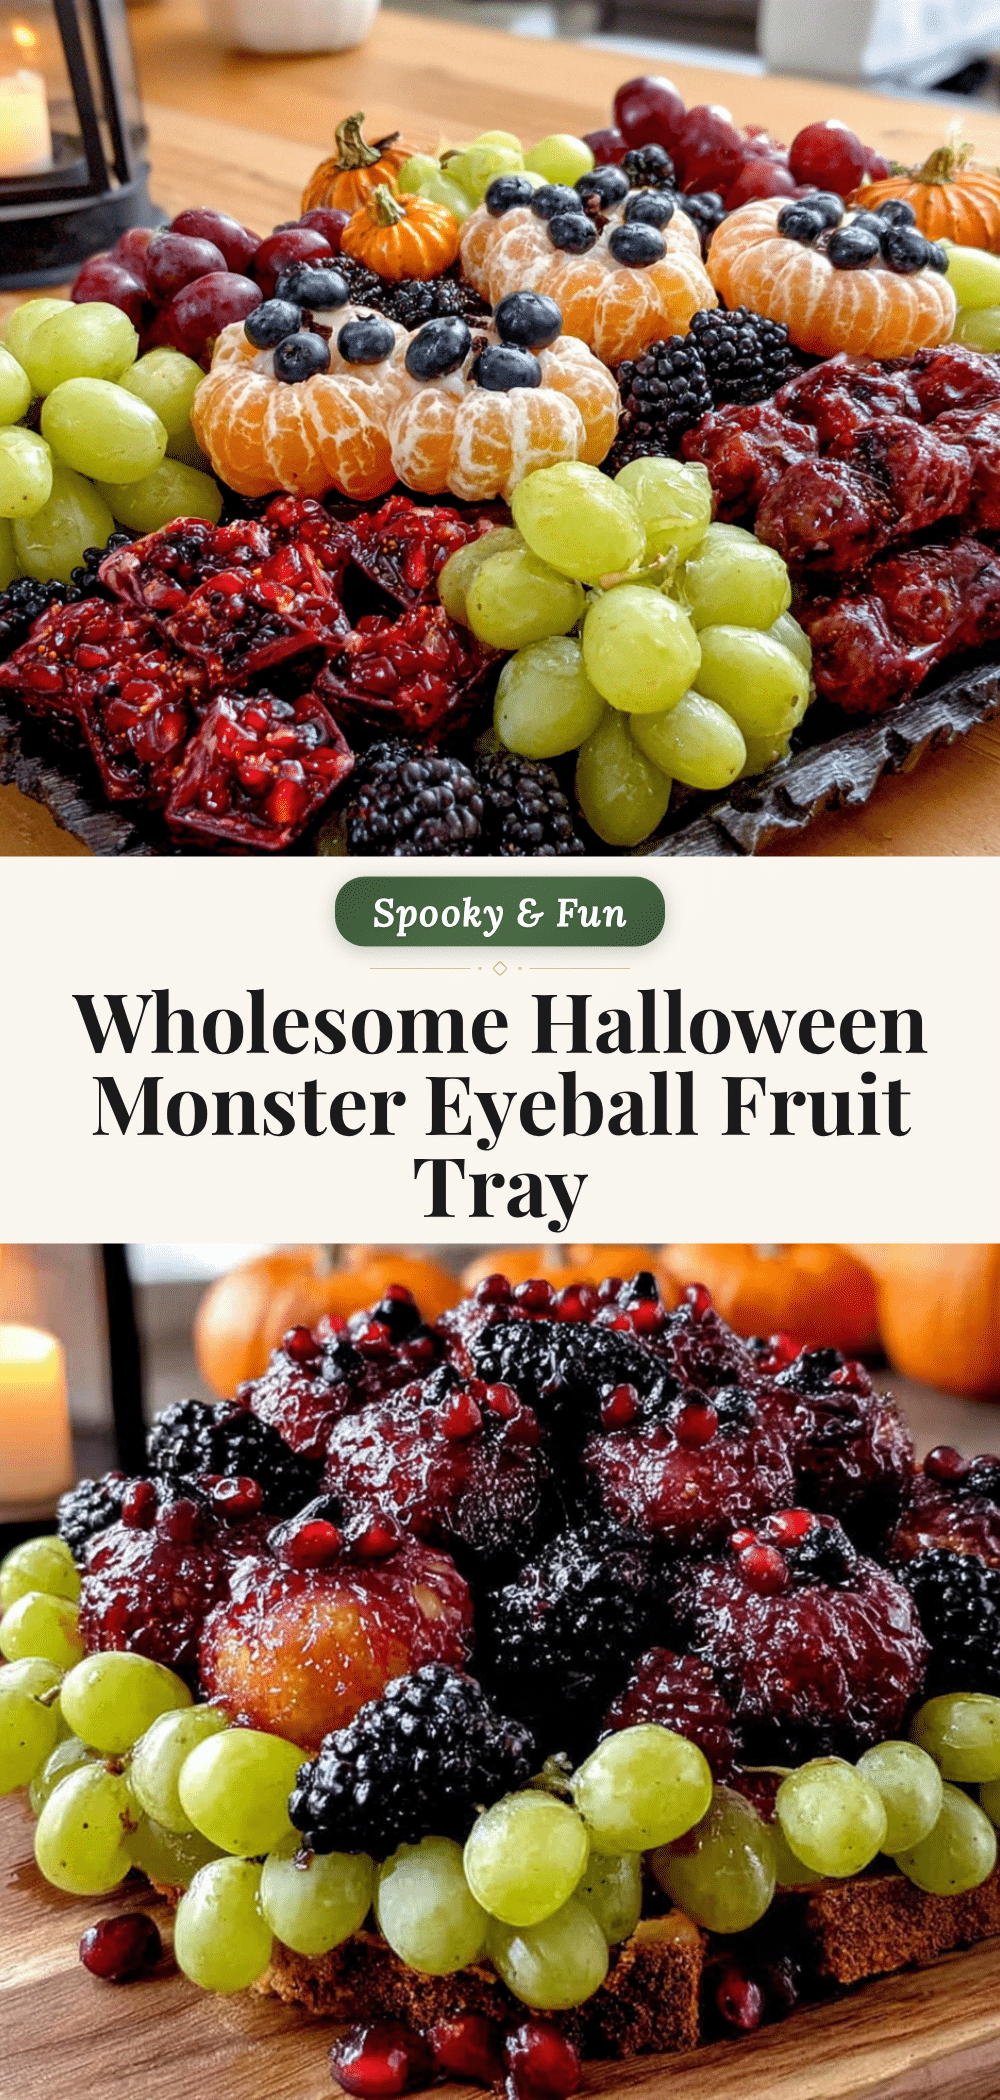
Wholesome Halloween Monster Eyeball Fruit Tray
A fun, healthy Halloween treat made from clementines, blueberries, and black icing that looks like monster eyeballs. Perfect for last-minute parties, this simple fruit platter is a crowd-pleaser that kids love and parents appreciate.
- Prep Time: 20 minutes
- Cook Time: 0 minutes
- Total Time: 20 minutes
- Yield: 8 servings 1x
- Category: Appetizer
- Cuisine: American
Ingredients
- 10–12 clementines or mandarin oranges
- 1 cup fresh blueberries
- 1 cup green grapes (optional)
- 1 tube black icing gel (e.g., Wilton brand)
- 1 cup fresh strawberries (optional)
Instructions
- Peel all clementines carefully, keeping segments intact. Pat each peeled clementine dry with a paper towel.
- Using a paring knife, make a small slit (about 1/4 inch deep) in the center of each peeled clementine to create a pocket for the blueberry.
- Gently press a blueberry into each slit. If the blueberry is too big, slice a tiny piece off the bottom to make it fit flush with the surface.
- Using black icing gel or a toothpick, draw thin, jagged lines radiating outward from the blueberry pupil to create bloodshot veins.
- Arrange finished eyeballs on a large serving platter in clusters. If using green grapes, scatter them around as ‘alien specimens.’ For strawberry tongues, slice strawberries in half and arrange them pointing outward from the eyeball clusters.
- Add a few extra blueberries scattered around the platter for contrast. Optionally, dot a few clementine segments with tiny black icing dots to look like freckles or warts.
Notes
Assemble no more than 2 hours before serving for best visual effect. Dry fruit thoroughly before adding icing to prevent sliding. Work in an assembly line for efficiency. Make extra ‘damaged’ eyeballs for fun. For a healthier option, use melted dark chocolate mixed with black food coloring instead of black icing gel.
Nutrition
- Serving Size: 4 eyeballs
- Calories: 85
- Sugar: 16
- Carbohydrates: 22
- Fiber: 3
- Protein: 1
Keywords: Halloween, fruit tray, monster eyeballs, healthy Halloween snack, kid-friendly, party appetizer, clementine recipe, no-bake


