The neighborhood pie contest was in twelve hours and I’d completely forgotten. I mean, I’d been so busy helping my sister move apartments that the thought of Thanksgiving prep hadn’t even crossed my mind. Everyone else would be bringing their grandmother’s heirloom recipes—the ones with handwritten notes in the margins and stories attached to every single ingredient. I had a can of pumpkin puree in the pantry, some butter that was about to expire, and a serious lack of confidence.
Honestly, I almost just showed up with a store-bought pie and blamed it on the chaos. But there’s something about competition that brings out a stubborn streak in me. So I grabbed my flour, pulled out my cold butter, and decided to make the flakiest homemade pumpkin pie I could manage in the time I had. No pressure, right?
Here’s the thing about this recipe—it’s not complicated. It doesn’t require a dozen special ingredients or hours of chilling time. But somehow, between my frantic rolling and my desperate prayers to the baking gods, this pie turned out absolutely incredible. The crust shattered when you cut into it. The filling was silky and spiced just right. And when they announced the winner? Let me tell you, I was as surprised as everyone else.
That pie taught me something important: you don’t need a perfect kitchen or a family legacy to make something truly memorable. You just need a good recipe and a little bit of panic-induced motivation. Maybe you’ve been there too—scrambling at the last minute, hoping for the best. This flaky pumpkin pie is for those moments.
Why You’ll Love This Recipe
I’ve tested this recipe more times than I care to admit, and here’s what makes it stand out from every other pumpkin pie you’ve tried:
- Unbelievably Flaky Crust: The secret is in the technique—cold butter, minimal handling, and a splash of vodka that evaporates during baking, leaving behind layers of pure flakiness.
- Simple Ingredients: You probably have most of these in your kitchen right now. No trips to specialty stores required.
- Perfect for Thanksgiving: This pie fits right in at any holiday table, but it’s also easy enough for a random Tuesday when you’re craving fall flavors.
- Crowd-Pleaser: I’ve served this to everyone from picky kids to professional chefs, and it always gets the same reaction—quiet appreciation followed by requests for seconds.
- Foolproof Filling: The custard sets perfectly every time, with a smooth texture that’s not too dense and not too runny.
What makes this recipe different is the crust. Most pumpkin pie recipes treat the crust as an afterthought, but not this one. The flaky, buttery layers complement the creamy filling in a way that makes each bite feel special. It’s comfort food reimagined—familiar enough to feel nostalgic, but executed well enough to impress even the toughest critics.
This is the kind of pie that makes you close your eyes after the first bite. It’s the one people will ask you to bring to every gathering. And honestly? It’s the recipe that turned me from a nervous baker into someone who actually looks forward to making pie.
What Ingredients You Will Need
This recipe uses simple, wholesome ingredients to deliver that perfect balance of flaky crust and silky filling. Most of these are pantry staples, which makes this pie accessible even when you’re short on time or energy.
For the Flaky Pie Crust
- All-purpose flour, 2 ½ cups (315g) – I prefer King Arthur Flour for consistent results, but any brand works. Just don’t use bread flour; it’ll make the crust tough.
- Unsalted butter, 1 cup (226g), very cold and cut into small cubes – This is non-negotiable. The butter needs to be straight from the fridge, almost hard. I sometimes pop my cubed butter in the freezer for 10 minutes before starting.
- Ice water, 6-8 tablespoons (90-120ml) – You’ll add this gradually. The amount varies depending on humidity and your flour, so start with less and add more as needed.
- Vodka, 2 tablespoons (30ml) – This is my secret weapon. Vodka adds moisture without developing gluten, which keeps the crust tender. It bakes off completely, so don’t worry about the taste.
- Salt, 1 teaspoon (6g) – Fine sea salt works best. It enhances the butter flavor without making the crust salty.
- Sugar, 1 tablespoon (12g) – Just a touch to balance the savory notes of the butter.
For the Pumpkin Filling
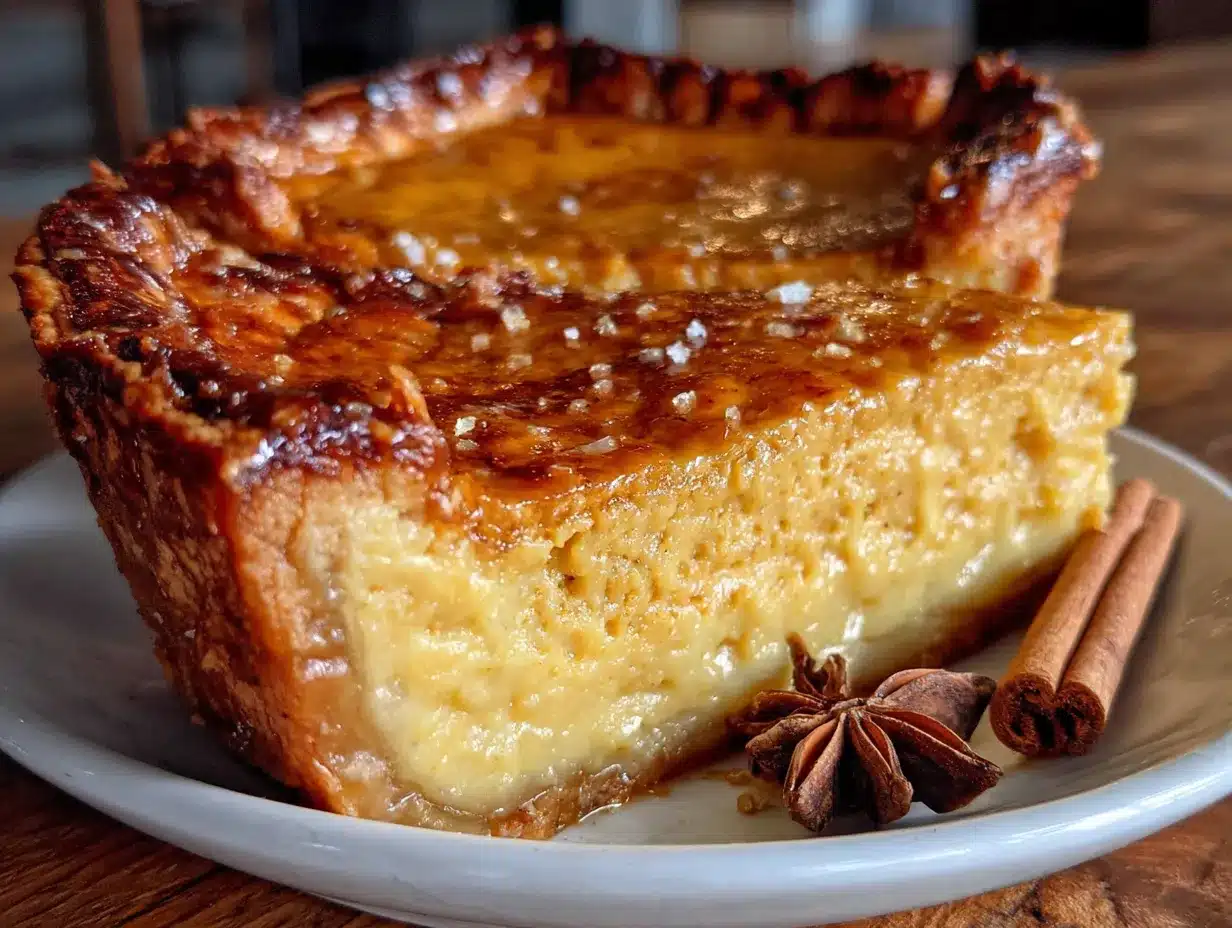
- Pumpkin puree, 1 can (15 oz or 425g) – Make sure you’re buying pure pumpkin puree, not pumpkin pie filling. Libby’s is my go-to brand for consistent texture and flavor.
- Heavy cream, 1 cup (240ml) – This gives the filling that luxurious, silky texture. You can substitute half-and-half if needed, but the filling won’t be quite as rich.
- Brown sugar, ¾ cup (150g), packed – Light or dark brown sugar both work. Dark brown sugar adds a deeper molasses flavor that I personally love.
- Granulated sugar, ¼ cup (50g) – Balances the molasses notes from the brown sugar.
- Large eggs, 2 – Room temperature eggs incorporate more evenly into the filling. If you forgot to take them out ahead of time, place them in a bowl of warm water for 5 minutes.
- Vanilla extract, 1 teaspoon (5ml) – Pure vanilla extract makes a difference here. Skip the imitation stuff if you can.
- Pumpkin pie spice, 2 teaspoons (4g) – I use store-bought for convenience, but you can make your own with cinnamon, ginger, nutmeg, and cloves.
- Cinnamon, 1 teaspoon (2g) – Adds extra warmth to the spice profile.
- Salt, ½ teaspoon (3g) – Don’t skip this. Salt brightens all the other flavors.
For the best results, make sure your butter is extremely cold and your eggs are at room temperature. These small details really do matter when you’re aiming for the flakiest homemade pumpkin pie.
Equipment Needed
You don’t need a professional bakery setup to make this pie, but having the right tools makes the process much smoother. Here’s what I use:
- 9-inch pie dish – Glass or ceramic works best. I prefer a deep-dish ceramic pie plate because it conducts heat evenly and gives you those beautiful golden edges.
- Pastry cutter or food processor – For cutting the butter into the flour. A pastry cutter gives you more control, but a food processor is faster. If you’re using a food processor, pulse in short bursts to avoid overmixing.
- Rolling pin – A standard rolling pin is fine. I have a French rolling pin that I love because it gives me more control over the edges.
- Plastic wrap – For chilling the dough. You can also use reusable beeswax wraps if you’re trying to reduce waste.
- Measuring cups and spoons – Accurate measurements are crucial for baking. I recommend using a kitchen scale for the most consistent results.
- Large mixing bowls – One for the crust and one for the filling.
- Whisk – For combining the filling ingredients smoothly.
- Parchment paper and pie weights – For blind baking the crust. Dried beans or rice work perfectly as substitutes for pie weights.
- Cooling rack – Allows air to circulate around the pie while it cools, preventing a soggy bottom.
If you don’t have a pastry cutter, you can use two knives or even your fingertips. Just work quickly so the butter doesn’t warm up. And if you don’t have pie weights, line your crust with parchment paper and fill it with dried beans—they work just as well and can be reused for years.
Preparation Method
- Make the crust dough. In a large bowl, whisk together the flour, salt, and sugar. Add the cold butter cubes and use a pastry cutter to cut them into the flour until the mixture resembles coarse meal with some pea-sized butter pieces remaining. Drizzle the vodka and 6 tablespoons of ice water over the mixture. Stir with a fork until the dough just comes together. If it seems dry, add more ice water one tablespoon at a time. The dough should feel moist but not sticky.
- Chill the dough. Turn the dough out onto a lightly floured surface and shape it into a disk about 1 inch thick. Wrap it tightly in plastic wrap and refrigerate for at least 1 hour. This rest is crucial—it allows the gluten to relax and the butter to firm up again. I’ve rushed this step before and regretted it every single time.
- Roll out the crust. On a lightly floured surface, roll the chilled dough into a 12-inch circle, about ⅛ inch thick. Rotate the dough occasionally and add more flour as needed to prevent sticking. Don’t worry if the edges crack a little—you can patch them up. Carefully transfer the dough to your pie dish by rolling it around your rolling pin and unrolling it over the dish. Gently press the dough into the bottom and up the sides. Trim the excess dough, leaving about a ½-inch overhang. Fold the overhang under itself and crimp the edges however you like. I prefer a simple fluted edge with my fingers.
- Chill the crust again. Place the shaped crust in the refrigerator for another 30 minutes. This second chill is what guarantees those flaky layers. While the crust chills, preheat your oven to 375°F (190°C).
- Blind bake the crust. Line the chilled crust with parchment paper and fill it with pie weights or dried beans. Bake for 15 minutes, then remove the parchment and weights. Prick the bottom of the crust with a fork to prevent bubbling, and bake for another 10 minutes until the bottom looks dry and lightly golden. Set aside to cool slightly while you make the filling.
- Make the filling. In a large bowl, whisk together the pumpkin puree, heavy cream, brown sugar, granulated sugar, eggs, vanilla extract, pumpkin pie spice, cinnamon, and salt. Whisk until completely smooth and well combined. The mixture should be thick but pourable.
- Pour and bake. Reduce the oven temperature to 350°F (175°C). Pour the filling into the pre-baked crust, spreading it evenly. Bake for 50-60 minutes, until the edges are set but the center still jiggles slightly when you gently shake the pie. The filling will continue to set as it cools.
- Cool completely. Place the pie on a cooling rack and let it cool to room temperature, about 2 hours. Don’t rush this step—cutting into a warm pie will result in a runny mess. I learned this the hard way when I tried to serve a pie after only 30 minutes of cooling.
- Chill before serving. For the cleanest slices, refrigerate the pie for at least 4 hours or overnight. The filling firms up beautifully and the flavors meld together. Serve cold or at room temperature.
Cooking Tips & Techniques
After making this flaky homemade pumpkin pie more times than I can count, I’ve picked up a few tricks that make a real difference:
Keep everything cold. The key to a flaky crust is cold butter that melts in the oven, creating steam pockets that separate the layers. If your hands are warm, run them under cold water before handling the dough. If your kitchen is hot, chill your bowl and flour too. I once made this crust on a 90-degree day without air conditioning—it was a disaster. The butter melted before the dough even hit the oven.
Don’t overwork the dough. Overmixing develops gluten, which makes the crust tough. Mix just until the dough comes together, and handle it as little as possible. A few visible streaks of butter in the dough are a good thing—that’s where the flakiness comes from.
Watch for the jiggle. The filling is done when the edges are set and the center jiggles like Jell-O, not like soup. If the center looks liquid, give it more time. If the crust edges are browning too quickly, cover them with foil or a pie shield halfway through baking.
Use a thermometer for precision. If you want to be extra sure, the internal temperature of the filling should reach 175°F (80°C). This guarantees the eggs are set without being overcooked.
Let it rest overnight. I know it’s hard to wait, but this pie truly tastes better the next day. The spices mellow and meld together, and the texture becomes even silkier. Make it a day ahead and thank yourself later.
One mistake I made early on was skipping the blind baking step. I thought it was unnecessary extra work. But without it, the bottom crust stays soggy and never fully cooks. Trust me, those extra 25 minutes are worth it for a crust that actually stays crispy.
Variations & Adaptations
This recipe is flexible enough to adapt to different dietary needs and flavor preferences. Here are some variations I’ve tried and loved:
Gluten-Free Version: Substitute the all-purpose flour with a gluten-free flour blend that contains xanthan gum. I’ve had good results with Cup4Cup and King Arthur’s gluten-free measure-for-measure flour. The dough will be slightly more delicate, so handle it gently and chill it well.
Dairy-Free Option: Replace the butter with a high-quality vegan butter stick (not margarine) and use full-fat coconut cream instead of heavy cream. The texture won’t be exactly the same, but it’s surprisingly close. I’ve made this for dairy-free friends and they couldn’t tell the difference.
Spice It Up: If you like a more intense spice profile, add a pinch of black pepper or cayenne pepper to the filling. The heat cuts through the sweetness and adds a subtle warmth that’s really lovely. My husband calls this “adult pumpkin pie.”
Maple Pumpkin Pie: Replace the brown sugar with an equal amount of maple sugar, or reduce the granulated sugar by 2 tablespoons and add 3 tablespoons of pure maple syrup. The maple flavor pairs beautifully with the pumpkin.
Individual Tartlets: Instead of a full pie, use a muffin tin to make mini pumpkin pies. Reduce the blind baking time to 10 minutes and the final baking time to 25-30 minutes. These are perfect for parties or portion control.
I once tried making this with a sweet potato puree instead of pumpkin, and honestly? It was delicious. The texture was slightly denser, but the flavor was incredible. Don’t be afraid to experiment with what you have on hand.
Serving & Storage Suggestions
This flaky homemade pumpkin pie is best served cold or at room temperature. I personally prefer it straight from the fridge with a generous dollop of lightly sweetened whipped cream. The contrast between the cold, creamy filling and the flaky crust is absolutely perfect.
For a more decadent presentation, serve slices with a drizzle of caramel sauce, a sprinkle of flaky sea salt, and a few candied pecans. It turns an already impressive pie into something truly special. If you’re serving this at a holiday gathering, I recommend setting out a bowl of whipped cream and letting guests add their own—it keeps the pie from getting soggy.
Storage Instructions: Cover the pie loosely with plastic wrap or aluminum foil and store it in the refrigerator for up to 4 days. The crust will stay flaky for the first 2 days, then gradually soften. I don’t recommend freezing the fully baked pie because the texture changes, but you can freeze the unbaked crust for up to 3 months.
Reheating: If you prefer warm pie, place individual slices on a baking sheet and warm them in a 300°F (150°C) oven for 10-15 minutes. Avoid the microwave—it makes the crust soggy and the filling rubbery.
One thing I’ve noticed is that the flavors actually improve after a day in the fridge. The spices settle down and the filling becomes more cohesive. So if you can plan ahead, make this pie the day before you need it. Your future self will thank you.
Nutritional Information & Benefits
Here’s the estimated nutritional breakdown for one slice of this flaky homemade pumpkin pie (based on 8 servings):
| Nutrient | Amount per Serving |
|---|---|
| Calories | 385 |
| Total Fat | 22g |
| Saturated Fat | 13g |
| Cholesterol | 95mg |
| Sodium | 320mg |
| Total Carbohydrates | 43g |
| Dietary Fiber | 3g |
| Sugars | 24g |
| Protein | 5g |
| Vitamin A | 195% DV |
| Vitamin C | 4% DV |
| Calcium | 6% DV |
| Iron | 10% DV |
Pumpkin is packed with vitamin A, which supports eye health and immune function. The fiber from the pumpkin and flour helps with digestion, and the eggs provide high-quality protein. While this isn’t a health food by any means, it’s a dessert that offers more nutritional value than most.
If you’re watching your sugar intake, you can reduce the granulated sugar to 2 tablespoons without affecting the texture too much. The filling will be less sweet, but the pumpkin flavor will shine through more clearly.
This recipe contains gluten, dairy, and eggs. For allergen-friendly versions, check the variations section above.
Conclusion
This flaky homemade pumpkin pie is more than just a dessert—it’s the recipe that proved to me that simple ingredients and a little technique can create something truly extraordinary. Whether you’re rushing to a last-minute potluck or planning a leisurely Thanksgiving dinner, this pie delivers every single time.
I love how forgiving this recipe is. Even on days when I’m distracted or running behind, it somehow works out. The crust gets flaky, the filling sets perfectly, and everyone asks for the recipe. That’s the kind of reliability you want in a holiday staple.
Now I’d love to hear from you. Have you tried making this pie? Did you add your own twist? Drop a comment below and let me know how it turned out. And if you’re looking for more fall baking inspiration, check out my perfect apple crisp recipe or my pumpkin spice latte cookies. Happy baking, friends!
Frequently Asked Questions
Can I use store-bought pie crust instead of making my own?
Absolutely. While the homemade crust is what makes this the flakiest homemade pumpkin pie, a good quality store-bought crust will still work. Just make sure to blind bake it before adding the filling for the best results.
How do I know when the pumpkin pie is done baking?
The edges should be set and slightly puffed, while the center should jiggle like firm Jell-O when you gently shake the pie. If the center looks liquid, give it another 5-10 minutes. You can also use an instant-read thermometer—the internal temperature should reach 175°F (80°C).
Why did my pie crust shrink during baking?
Pie crust shrinks when the gluten hasn’t relaxed enough. Make sure you’re chilling the dough for at least an hour before rolling, and don’t stretch the dough when fitting it into the pie dish. Let it rest naturally in the dish.
Can I make this pie ahead of time?
Yes! This pie actually tastes better the next day. Make it up to 2 days in advance and store it covered in the refrigerator. The flavors meld and the texture becomes even smoother.
How do I prevent a soggy bottom crust?
Blind baking is the key. Pre-bake the crust with pie weights for 15 minutes, then remove the weights and bake for another 10 minutes. This ensures the bottom is fully cooked before you add the wet filling.
Pin This Recipe!
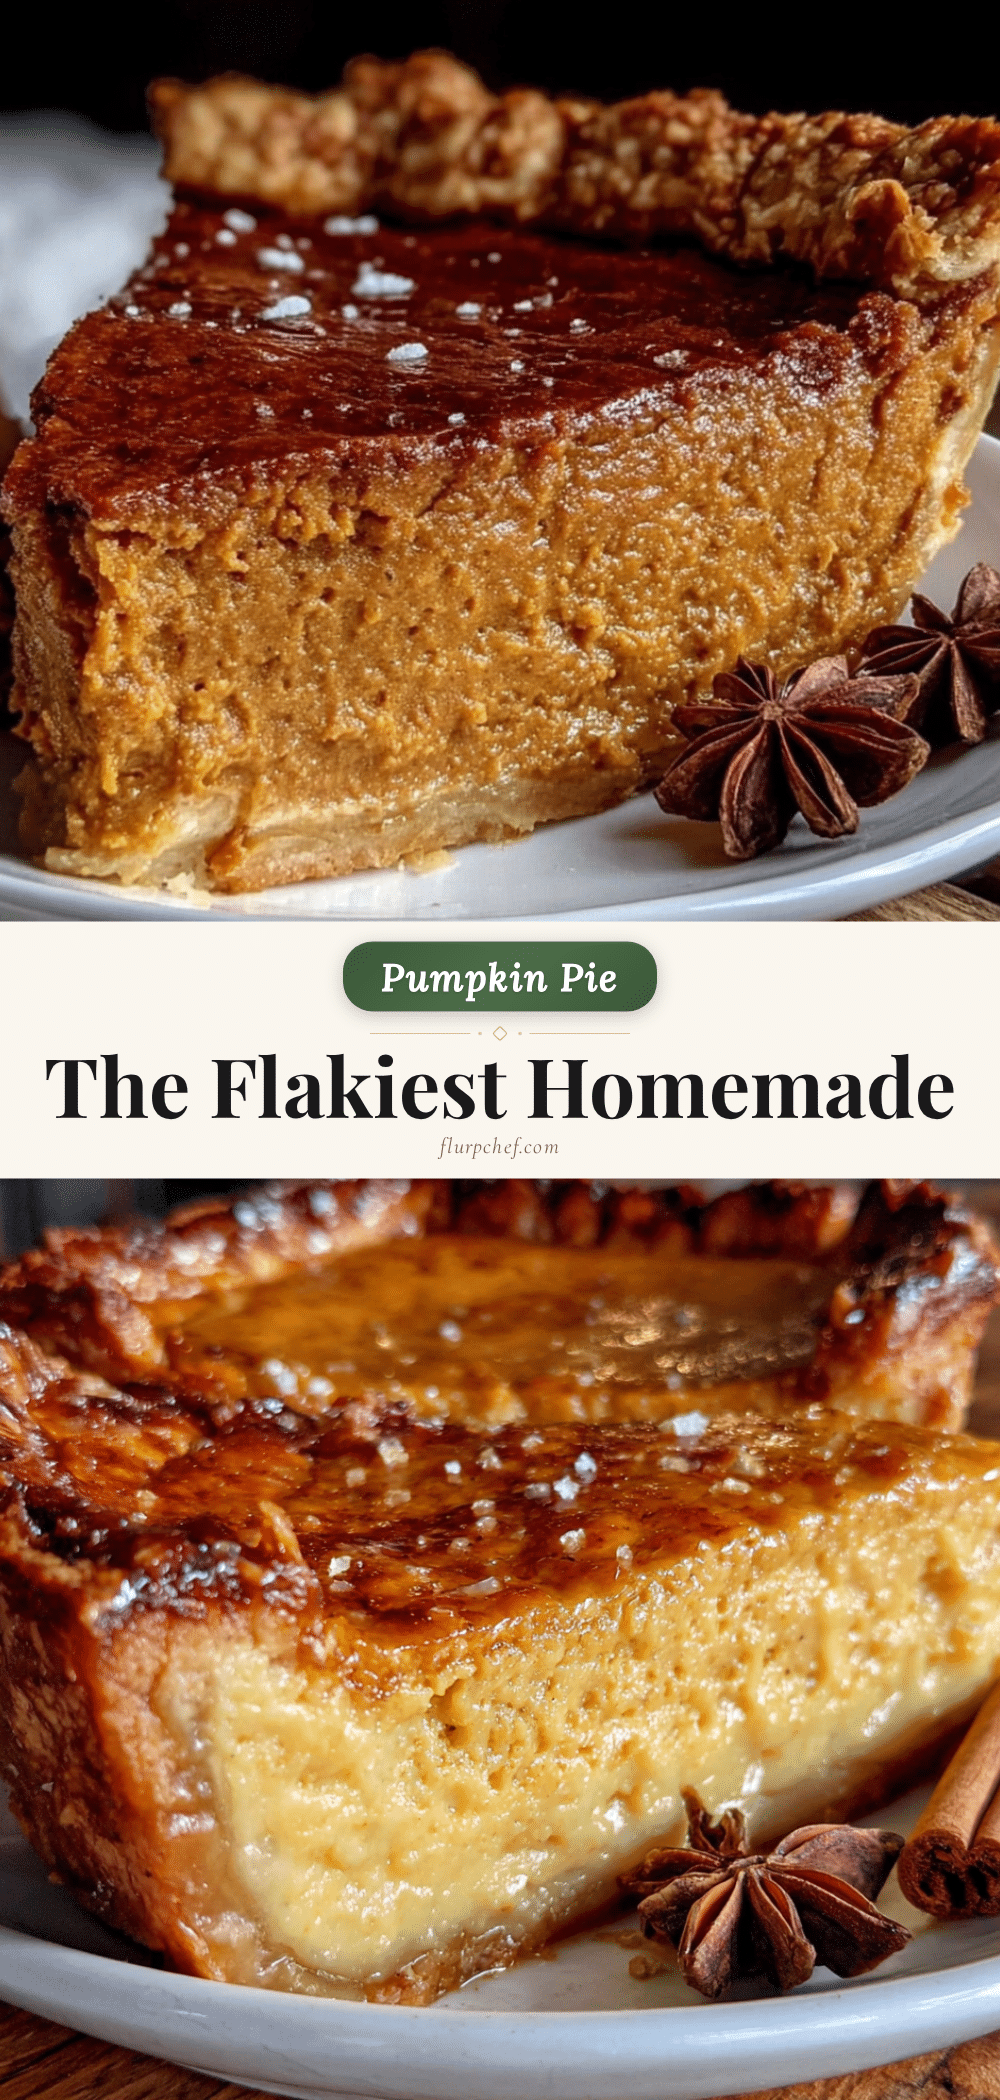
The Flakiest Homemade Pumpkin Pie Recipe (Easy & Perfect)
This flaky homemade pumpkin pie features an incredibly tender, buttery crust and a silky, spiced pumpkin filling. It’s a foolproof recipe that delivers perfect results every time, whether for Thanksgiving or a cozy fall dessert.
- Prep Time: 30 minutes
- Cook Time: 1 hour 10 minutes
- Total Time: 2 hours 40 minutes (plus chilling time)
- Yield: 8 servings 1x
- Category: Dessert
- Cuisine: American
Ingredients
- 2 ½ cups (315g) all-purpose flour
- 1 cup (226g) unsalted butter, very cold and cut into small cubes
- 6–8 tablespoons (90-120ml) ice water
- 2 tablespoons (30ml) vodka
- 1 teaspoon (6g) fine sea salt
- 1 tablespoon (12g) sugar
- 1 can (15 oz or 425g) pumpkin puree
- 1 cup (240ml) heavy cream
- ¾ cup (150g) packed brown sugar
- ¼ cup (50g) granulated sugar
- 2 large eggs, room temperature
- 1 teaspoon (5ml) vanilla extract
- 2 teaspoons (4g) pumpkin pie spice
- 1 teaspoon (2g) cinnamon
- ½ teaspoon (3g) salt
Instructions
- Make the crust dough: In a large bowl, whisk together flour, salt, and sugar. Add cold butter cubes and cut into flour with a pastry cutter until mixture resembles coarse meal with some pea-sized butter pieces. Drizzle vodka and 6 tablespoons ice water over mixture; stir with a fork until dough just comes together. Add more ice water if needed.
- Chill the dough: Turn dough onto a lightly floured surface, shape into a 1-inch thick disk, wrap tightly in plastic wrap, and refrigerate for at least 1 hour.
- Roll out the crust: On a lightly floured surface, roll chilled dough into a 12-inch circle, about ⅛ inch thick. Transfer to a 9-inch pie dish, press into bottom and sides, trim excess, fold overhang under, and crimp edges.
- Chill the crust again: Place shaped crust in refrigerator for 30 minutes. Preheat oven to 375°F (190°C).
- Blind bake the crust: Line chilled crust with parchment paper and fill with pie weights or dried beans. Bake for 15 minutes, remove parchment and weights, prick bottom with a fork, and bake for another 10 minutes until dry and lightly golden. Set aside to cool slightly.
- Make the filling: In a large bowl, whisk together pumpkin puree, heavy cream, brown sugar, granulated sugar, eggs, vanilla extract, pumpkin pie spice, cinnamon, and salt until completely smooth and well combined.
- Pour and bake: Reduce oven temperature to 350°F (175°C). Pour filling into pre-baked crust. Bake for 50-60 minutes until edges are set but center still jiggles slightly.
- Cool completely: Place pie on a cooling rack and let cool to room temperature, about 2 hours.
- Chill before serving: Refrigerate pie for at least 4 hours or overnight for cleanest slices. Serve cold or at room temperature.
Notes
Keep all ingredients cold for flakiest crust. Do not overwork the dough. Blind baking is essential to prevent a soggy bottom. The pie tastes even better the next day. For dairy-free, use vegan butter and coconut cream. For gluten-free, use a gluten-free flour blend with xanthan gum.
Nutrition
- Serving Size: 1 slice
- Calories: 385
- Sugar: 24
- Sodium: 320
- Fat: 22
- Saturated Fat: 13
- Carbohydrates: 43
- Fiber: 3
- Protein: 5
Keywords: pumpkin pie, flaky crust, homemade, Thanksgiving, fall dessert, easy pumpkin pie


