My father-in-law claimed to hate pecans for forty-seven years. Forty-seven years, people. He’d push them aside in salads, pick them out of baked goods, and make this little face like he’d bitten into a lemon. Then last Thanksgiving, I made these Maple Bourbon Pecan Pie Bars “just for myself” — a small pan, really, tucked away on the counter. I found him standing over the kitchen sink at 11 p.m., eating the last piece with his fingers, crumbs all down his flannel shirt. He froze when he saw me, fork halfway to his mouth, and just said, “These aren’t really pecan pie bars. These are something else entirely.”
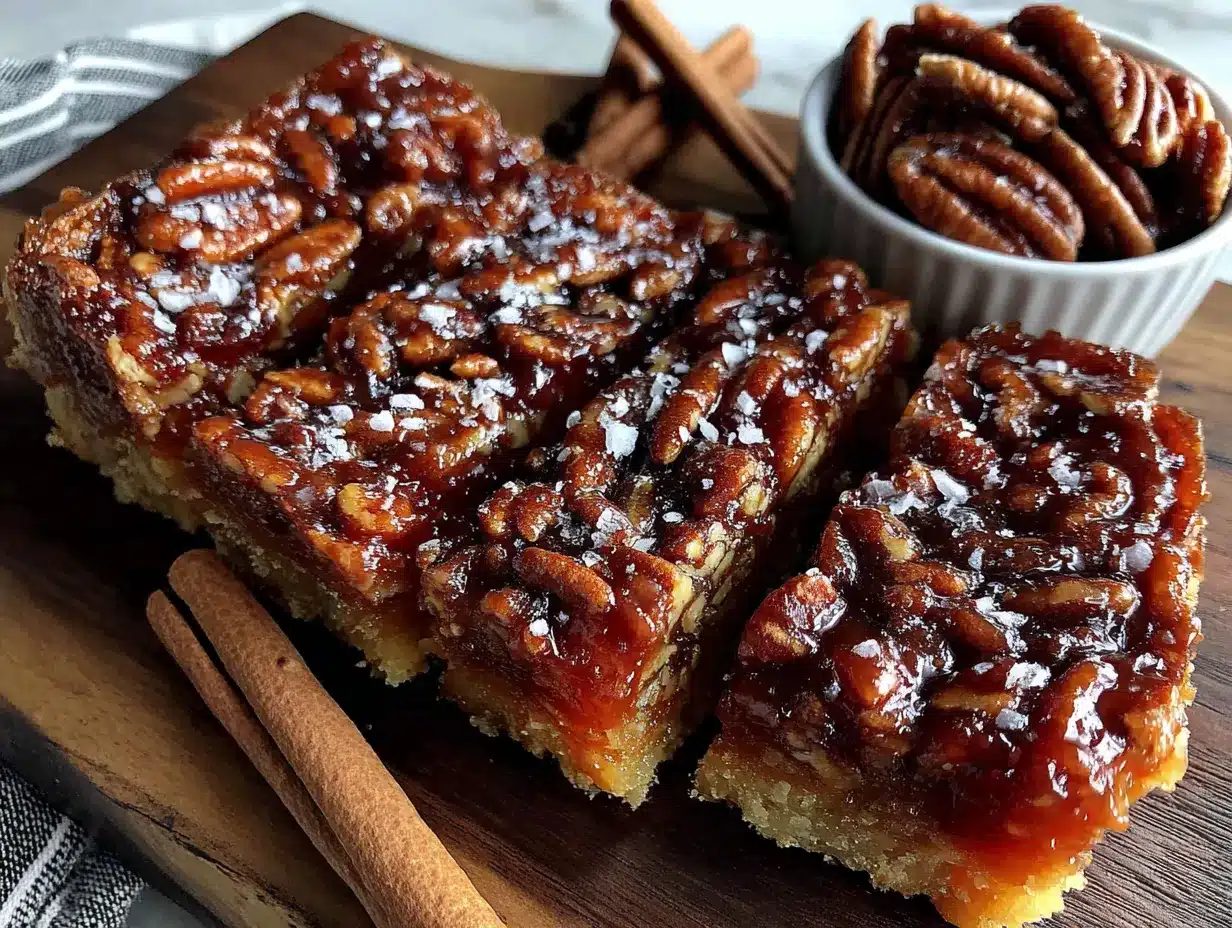
Honestly, I think he’s right. These bars are something else. They take everything you love about classic pecan pie — that gooey, buttery filling, the crunchy nut topping, the sweet satisfaction — and pack it into a handheld bar that doesn’t require wrestling with a pie crust or worrying about soggy bottoms. The maple syrup and bourbon work together like old friends, adding this warm, complex flavor that makes people close their eyes on the first bite. I’ve seen it happen at least a dozen times now.
Maybe you’ve been there — wanting the magic of pecan pie without the fuss of rolling dough or the stress of a crust that shrinks. Or maybe you’re just looking for a dessert that feels special enough for company but simple enough for a Tuesday night. Either way, these bars have a way of changing minds. I mean, if they can convert a forty-seven-year pecan hater, there’s hope for just about anyone. Let me tell you, watching someone prove themselves wrong about food — especially when it’s your food — is a quiet kind of victory I’ll never get tired of.
Why You’ll Love This Recipe
These Maple Bourbon Pecan Pie Bars aren’t just another dessert recipe — they’re the result of about eleven test batches, a few burnt fingers, and one very patient family who didn’t mind eating the “mistakes.” Here’s why I keep coming back to this version, and why I think you will too:
- Quick & Easy: The shortbread crust comes together in about 10 minutes with just your fingertips or a pastry cutter. No chilling, no rolling, no fuss. From start to finish, you’re looking at about an hour, most of which is hands-off baking time.
- Simple Ingredients: Butter, flour, sugar, eggs, maple syrup, bourbon, and pecans. That’s it. Nothing weird, nothing you’ll use once and forget about. You probably have most of these in your pantry right now.
- Perfect for Family Gatherings: These bars travel beautifully, slice cleanly, and disappear fast at potlucks, holiday tables, and Sunday dinners. They’re fancy enough for Christmas but easy enough for a random Tuesday.
- Crowd-Pleaser: I’ve served these to kids, grandparents, and everyone in between. The bourbon bakes off, leaving just warmth and depth — no alcohol taste. Even my picky nephew asked for seconds.
- Unbelievably Delicious: The contrast between the buttery, crisp shortbread and the sticky, rich pecan topping is pure comfort food magic. That first bite — the crunch, the chew, the sweetness — it’s the kind of thing that makes you close your eyes without meaning to.
What makes these bars different from the rest is the balance. Most pecan bars lean too sweet or too sticky. This version uses maple syrup as the backbone, with bourbon cutting through the sweetness and a pinch of salt tying it all together. The shortbread crust isn’t an afterthought — it’s sturdy enough to hold up to the filling, but tender enough to melt in your mouth. It’s my best version, and I’m not just saying that because my father-in-law finally admitted he was wrong about pecans.
What Ingredients You Will Need
This recipe uses simple, honest ingredients to create something that tastes far more complicated than it is. Most of these are pantry staples, and the ones that aren’t — like the bourbon — are easy to find and worth keeping around.
For the Shortbread Crust
- 1 ½ cups all-purpose flour (spooned and leveled — don’t scoop straight from the bag or you’ll get too much)
- ½ cup powdered sugar (adds tenderness and a slightly finer texture than granulated sugar)
- ¾ cup unsalted butter, cold and cut into small cubes (I use Kerrygold for the richness, but any good unsalted butter works)
- ¼ teaspoon salt (balances the sweetness and helps the crust hold together)
For the Pecan Topping
- ½ cup unsalted butter, melted (adds richness and helps the filling set properly)
- ¾ cup pure maple syrup (not pancake syrup — use the real stuff. Grade A dark amber gives the best flavor here)
- ½ cup packed light brown sugar (adds depth and helps create that gooey texture)
- 3 large eggs, room temperature (cold eggs can seize the mixture; let them sit out for 30 minutes first)
- 2 tablespoons bourbon (I use Buffalo Trace or Maker’s Mark — something you’d actually drink, not the bottom shelf stuff)
- 1 teaspoon vanilla extract (pure, not imitation — it makes a difference)
- ¼ teaspoon salt (don’t skip this — it keeps the sweetness in check)
- 2 cups pecan halves or pieces (toasted lightly for extra flavor, though raw works fine too)
Ingredient Notes & Substitutions: If you don’t have bourbon, you can substitute with 2 tablespoons of water plus 1 teaspoon of vanilla extract, or use dark rum for a slightly different flavor profile. For a non-alcoholic version, simply omit the bourbon and add an extra tablespoon of maple syrup. I’ve also made these with gluten-free all-purpose flour (I recommend Cup4Cup) and they turned out beautifully — just make sure to chill the crust for 15 minutes before baking to help it hold together.
For the pecans, I prefer halves for the visual appeal, but pieces work just fine and are often cheaper. If you’re feeding a crowd with nut allergies, you can substitute with toasted pumpkin seeds or even sunflower seeds — it won’t be the same, but it’ll still be delicious in its own way.
Equipment Needed
You don’t need a fancy kitchen to make these bars, but a few specific tools make the process smoother and the results more reliable.
- 9×13-inch baking pan — metal is best for even browning; glass can work but may need a few extra minutes in the oven
- Parchment paper — absolutely essential for easy removal. Let it hang over the edges like handles
- Pastry cutter or food processor — for cutting butter into the flour for the crust. Your fingers work too, but a pastry cutter is faster and keeps the butter cold
- Mixing bowls — one large, one medium
- Whisk — for combining the filling ingredients without overmixing
- Spatula — for spreading the crust evenly and scraping every last bit of filling
- Sharp knife — for clean slices. A chef’s knife works better than a serrated one here
Budget-Friendly Alternatives: If you don’t have a pastry cutter, two butter knives work in a pinch — just cut the butter into the flour in opposite directions until it looks like coarse meal. No food processor? No problem. A bowl and your fingertips do the job; just work quickly so the butter stays cold. I’ve made this crust in a hotel room with a plastic knife and a coffee cup, so trust me, you’ll figure it out.
Preparation Method
Let’s get into the nitty-gritty. I’ve broken this down step by step, with all the little details I wish someone had told me the first time I made these.
Step 1: Preheat and Prep the Pan
Preheat your oven to 350°F (175°C). Line your 9×13-inch baking pan with parchment paper, leaving about 2 inches of overhang on the long sides. These “handles” will let you lift the entire slab of bars out later for clean slicing. Lightly spray the parchment with nonstick spray — just a quick spritz — to ensure nothing sticks.
Step 2: Make the Shortbread Crust
In a large bowl, whisk together the flour, powdered sugar, and salt. Add the cold butter cubes. Using a pastry cutter or your fingertips, work the butter into the flour mixture until it looks like coarse sand with a few pea-sized butter pieces remaining. Don’t overwork it — those little butter bits create flakiness as they melt in the oven. Dump the mixture into your prepared pan and press it firmly into an even layer. I use the bottom of a measuring cup to really pack it down. Bake for 18-20 minutes, until the edges are just starting to turn golden and the surface looks dry and set. Set aside to cool slightly while you make the filling. Don’t turn off the oven — you’ll need it again.
Step 3: Toast the Pecans (Optional but Recommended)
While the crust bakes, spread your pecans on a separate baking sheet and toast them in the oven for 5-7 minutes, watching carefully so they don’t burn. You’ll know they’re done when they smell nutty and look slightly darker. Let them cool while you make the filling. This step isn’t strictly necessary, but it deepens the flavor in a way that makes people ask what your secret is.
Step 4: Make the Filling
In a medium bowl, whisk together the melted butter, maple syrup, brown sugar, eggs, bourbon, vanilla, and salt. Whisk until smooth and well combined — about 30 seconds. Don’t overwhisk or you’ll incorporate too much air, which can cause the filling to puff up and then collapse. You want it smooth, not frothy. Stir in the toasted pecans gently, making sure they’re all coated.
Step 5: Assemble and Bake
Pour the filling over the warm pre-baked crust, spreading it evenly with a spatula. The pecans will float a bit, so use the spatula to distribute them evenly if needed. Bake at 350°F (175°C) for 25-30 minutes, until the filling is set around the edges but still has a slight jiggle in the center. It will continue to set as it cools. Don’t overbake — a dry, crumbly filling is the number one mistake I see with pecan bars.
Step 6: Cool Completely
This is the hardest part. Let the bars cool in the pan on a wire rack for at least 2 hours at room temperature, then refrigerate for another hour before slicing. I know, I know — you want to dig in immediately. But trust me, the filling needs time to set properly. If you cut too early, you’ll get a runny mess. Patience pays off here.
Step 7: Slice and Serve
Using the parchment handles, lift the entire slab onto a cutting board. Use a sharp chef’s knife to cut into squares — I go for 24 bars (4 rows by 6 rows), but you can make them bigger or smaller depending on your crowd. Wipe the knife clean between cuts for the neatest edges. Serve at room temperature or slightly warm.
Cooking Tips & Techniques
I’ve made these bars enough times to know exactly where things can go wrong. Here’s what I’ve learned the hard way so you don’t have to.
Keep the butter cold for the crust. The first time I made these, I used room-temperature butter and ended up with a greasy, tough crust. Cold butter creates steam pockets as it melts, which gives you that tender, flaky texture. If your kitchen is warm, pop the flour mixture in the fridge for 10 minutes before adding the butter.
Don’t overmix the filling. I once got distracted and whisked the filling until it was frothy and light. The bars came out puffy and then sank into a dense, almost rubbery layer. You want the filling to be just combined — smooth but not aerated. Think of it like making a custard, not a cake batter.
Watch the oven like a hawk. Every oven runs differently. My old oven would bake these perfectly in 27 minutes; my new one needs 30. Start checking at 22 minutes — the edges should be set and golden, but the center should still wobble slightly when you gently shake the pan. It will firm up as it cools.
Use a water bath for the filling if you’re nervous. This is a trick I picked up from a pastry chef friend. Place the pan of assembled bars inside a larger baking dish, then pour hot water into the outer dish until it comes about halfway up the sides of the pan. This gentle, even heat prevents the edges from overcooking before the center sets. I don’t always do this, but it’s a great insurance policy if you’re baking for a special occasion.
Let them rest overnight for the best texture. Honestly, these bars are even better the next day. The flavors meld, the filling sets to that perfect fudgy consistency, and the crust softens just slightly. If you can, make them a day ahead and keep them covered at room temperature.
Variations & Adaptations
One of the best things about this recipe is how adaptable it is. I’ve played around with it quite a bit, and here are some of my favorite variations.
Chocolate Maple Bourbon Pecan Bars: Melt ½ cup of semi-sweet chocolate chips and swirl it into the filling just before pouring it over the crust. The chocolate adds a richness that pairs beautifully with the bourbon and maple. I made this version for a Christmas party and people literally fought over the last piece.
Gluten-Free Version: Substitute the all-purpose flour with a good gluten-free flour blend (I like Cup4Cup or King Arthur Measure for Measure). The crust will be slightly more crumbly, so press it firmly into the pan and consider chilling it for 15 minutes before baking. Everything else stays the same.
Bourbon-Free Version: Omit the bourbon and add an extra tablespoon of maple syrup plus ½ teaspoon of vanilla extract. You’ll lose a bit of that warm, boozy depth, but the bars will still be delicious — my kids actually prefer this version.
Spiced Pecan Bars: Add 1 teaspoon of cinnamon, ½ teaspoon of nutmeg, and a pinch of cloves to the filling. This turns them into a cozy fall dessert that pairs perfectly with hot apple cider. I made these for a Halloween party and they were gone before the cupcakes.
Individual Mini Bars: Press the crust into a greased muffin tin (about 2 tablespoons per cup), pre-bake for 10 minutes, then fill and bake for 15-18 minutes. These are perfect for parties or portion control — though I can’t promise you’ll stop at one.
Serving & Storage Suggestions
These bars are versatile enough for just about any occasion, but a few serving tips can take them from good to unforgettable.
Serving Temperature: I prefer these at room temperature — the filling is soft and chewy, and the crust stays firm. If you want to serve them warm, pop individual bars in a 300°F (150°C) oven for 5 minutes. A scoop of vanilla ice cream on top is never a bad idea, especially if you’re serving them as a dessert.
Presentation Ideas: Dust the tops with a light sprinkle of flaky sea salt just before serving — it looks beautiful and balances the sweetness. For holiday gatherings, I sometimes drizzle a little caramel sauce over the top and add a few extra pecan halves for garnish. They also look lovely on a tiered dessert stand alongside cookies and brownies.
Storage: Store leftover bars in an airtight container at room temperature for up to 3 days, or in the refrigerator for up to a week. Layer them with parchment paper between each layer to prevent sticking. The bars actually improve after a day or two as the flavors meld together.
Freezing Instructions: These freeze beautifully. Once the bars are completely cool, wrap the entire slab (or individual bars) tightly in plastic wrap, then in aluminum foil. Freeze for up to 3 months. To thaw, let them come to room temperature on the counter for about 2 hours, or unwrap and warm in a 300°F (150°C) oven for 10 minutes. I always keep a batch in the freezer for unexpected guests or late-night cravings.
Reheating: For that just-baked texture, reheat individual bars in a 350°F (175°C) oven for 5-7 minutes. The microwave works in a pinch — about 15 seconds — but the crust will soften and lose some of its crispness.
Nutritional Information & Benefits
Let’s be real — these are a treat, not a health food. But knowing what’s in them helps you enjoy them mindfully. Here’s the breakdown per bar (based on 24 servings):
- Calories: Approximately 285 per bar
- Fat: 18g (mostly from butter and pecans — the good kind of fat)
- Carbohydrates: 28g
- Sugar: 18g
- Protein: 4g
- Fiber: 2g
Health Highlights: Pecans are packed with healthy monounsaturated fats, antioxidants, and minerals like magnesium and zinc. They’re also one of the best nut sources of vitamin E, which supports skin and immune health. The maple syrup provides a small amount of manganese and zinc, though it’s still sugar, so moderation is key. The eggs add protein and help give the bars their rich, satisfying texture.
Dietary Considerations: This recipe contains gluten, dairy, eggs, and tree nuts. For a dairy-free version, substitute the butter with a high-quality vegan butter (I like Miyoko’s). For a nut-free version, swap the pecans with toasted pumpkin seeds or sunflower seeds — just know the texture and flavor will be different.
My Take: I believe in enjoying dessert without guilt. These bars are special enough to earn a spot at your holiday table but simple enough for a weekend baking project. One bar is satisfying. Two is a celebration. And that’s perfectly okay.
Conclusion
These Maple Bourbon Pecan Pie Bars have become a staple in my kitchen for a reason. They take everything we love about traditional pecan pie — the sticky, sweet filling, the crunchy nuts, the buttery crust — and make it easier, more portable, and honestly, even more delicious. The maple syrup and bourbon add a warmth that feels like a hug in dessert form, and the shortbread crust is sturdy enough to hold up to the filling without getting soggy.
I love that this recipe is forgiving enough for beginners but impressive enough for experienced bakers. I love that it uses simple ingredients I usually have on hand. And I love that it has converted at least one lifelong pecan hater — which, let’s be honest, feels pretty good.
Now I want to hear from you. Have you tried these bars? Did you make any substitutions or add your own twist? Drop a comment below and let me know how they turned out — I read every single one and I love seeing your photos. And if you’re looking for more easy dessert recipes, my crispy garlic chicken is another family favorite that disappears fast. Happy baking, friends!
Frequently Asked Questions
Can I use dark corn syrup instead of maple syrup?
You can, but the flavor will be significantly different. Dark corn syrup is much sweeter and lacks the complex, slightly smoky notes that maple syrup brings. If you’re in a pinch, use ½ cup dark corn syrup plus ¼ cup maple syrup for a closer match. But honestly, the real maple syrup is worth the splurge here.
Do I need to use bourbon, or can I skip it?
You can absolutely skip it. The bourbon adds warmth and depth, but the bars are still delicious without it. Substitute with an extra tablespoon of maple syrup and ½ teaspoon of vanilla extract. The alcohol bakes off completely, so there’s no need to worry about serving these to kids.
Why did my filling turn out runny?
Runny filling usually means one of two things: either the bars weren’t baked long enough, or they were cut before they had time to set. The filling should still jiggle slightly in the center when you pull them from the oven, but it should be firm around the edges. Let them cool completely — at least 2 hours at room temperature, then 1 hour in the fridge — before slicing.
Can I make these bars ahead of time?
Yes, and I actually recommend it. These bars taste even better the next day after the flavors have had time to meld. You can make them up to 3 days ahead and store them in an airtight container at room temperature. They also freeze beautifully for up to 3 months — just wrap tightly in plastic wrap and foil.
How do I get clean, neat slices?
Patience is key. Make sure the bars are completely cooled and chilled before slicing. Use a sharp chef’s knife and wipe it clean with a damp paper towel between each cut. For the cleanest edges, dip the knife in hot water, dry it off, then slice. Repeat this process for each cut. This little trick makes a huge difference in presentation.
Pin This Recipe!
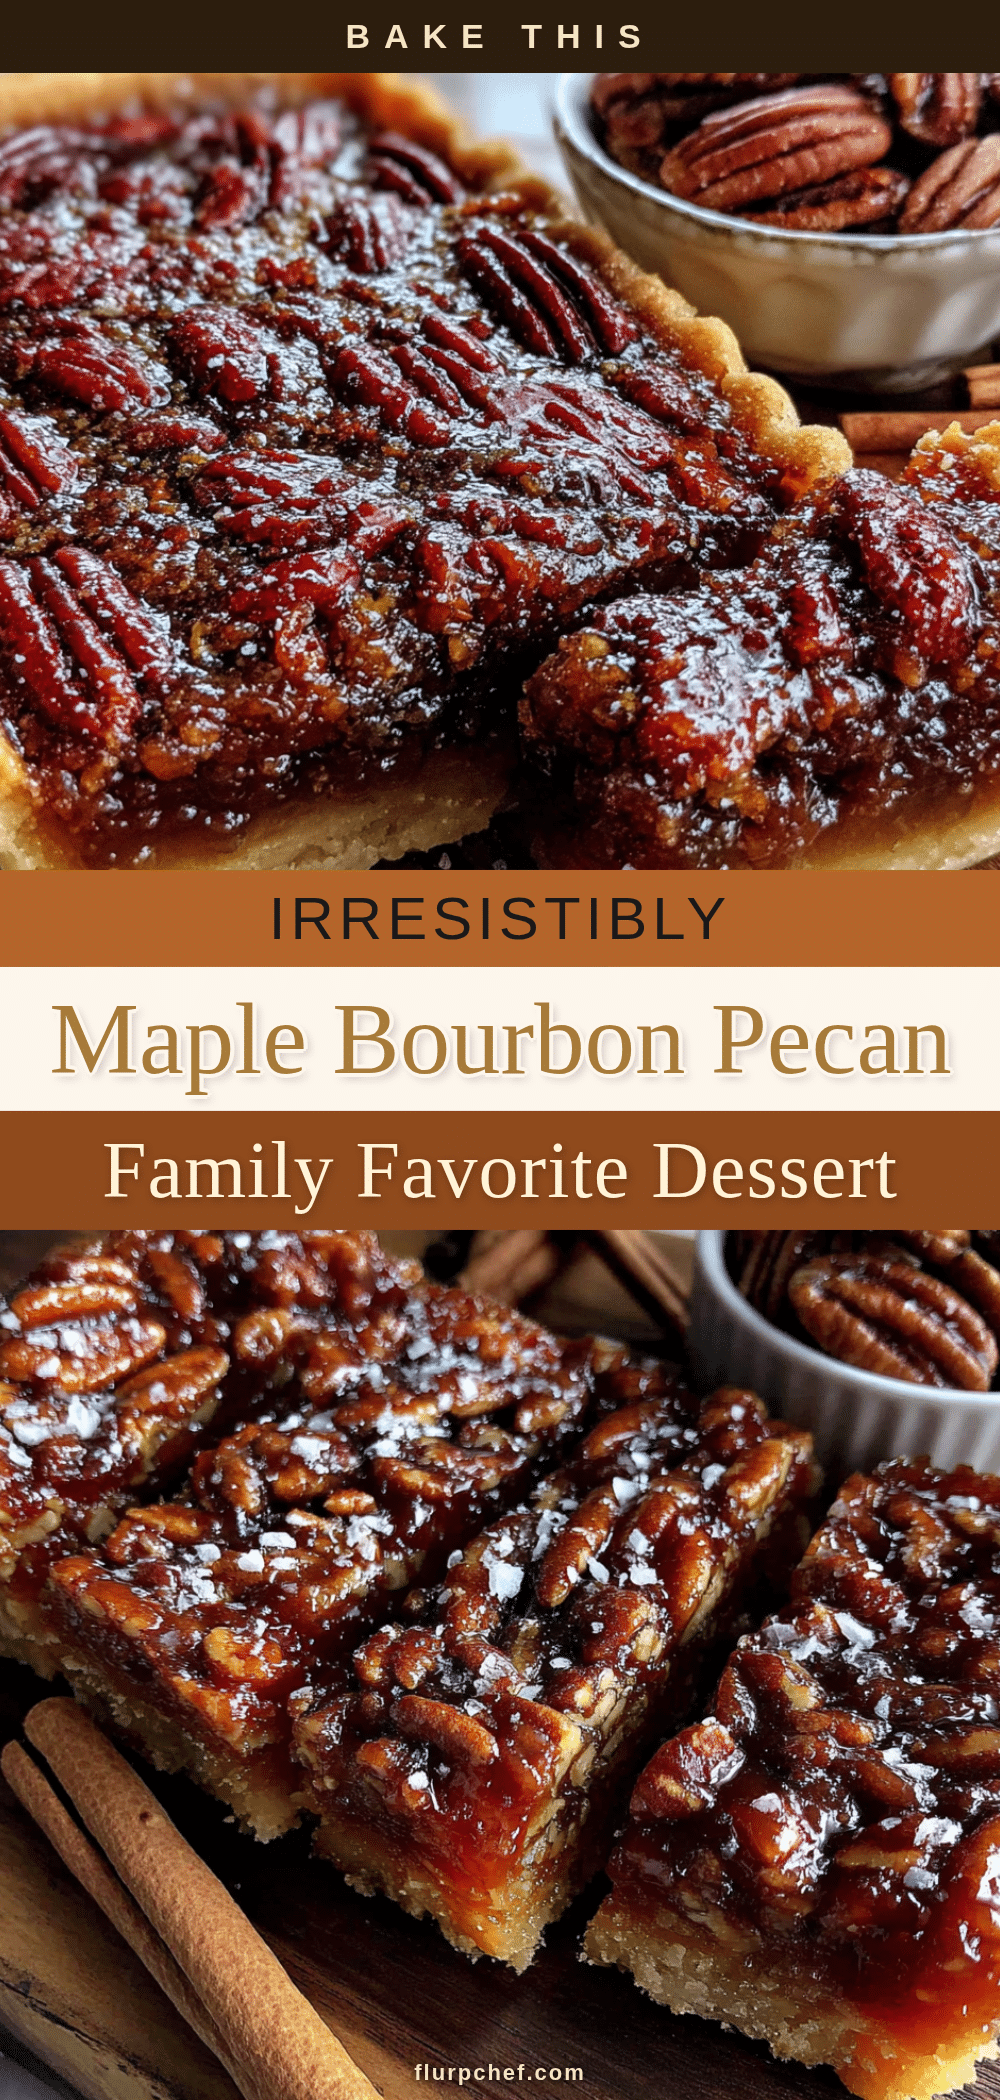
Best Maple Bourbon Pecan Pie Bars (Easy Family Favorite)
These Maple Bourbon Pecan Pie Bars take everything you love about classic pecan pie and pack it into a handheld bar with a buttery shortbread crust, gooey maple-bourbon filling, and crunchy pecans. Easy to make and perfect for family gatherings, they’re a crowd-pleaser that even converts pecan haters.
- Prep Time: 15 minutes
- Cook Time: 30 minutes
- Total Time: 45 minutes
- Yield: 24 bars 1x
- Category: Dessert
- Cuisine: American
Ingredients
- 1 ½ cups all-purpose flour (spooned and leveled)
- ½ cup powdered sugar
- ¾ cup unsalted butter, cold and cut into small cubes
- ¼ teaspoon salt
- ½ cup unsalted butter, melted
- ¾ cup pure maple syrup (Grade A dark amber preferred)
- ½ cup packed light brown sugar
- 3 large eggs, room temperature
- 2 tablespoons bourbon (e.g., Buffalo Trace or Maker’s Mark)
- 1 teaspoon vanilla extract (pure)
- ¼ teaspoon salt
- 2 cups pecan halves or pieces (toasted lightly for extra flavor)
Instructions
- Preheat oven to 350°F (175°C). Line a 9×13-inch baking pan with parchment paper, leaving 2 inches overhang on the long sides. Lightly spray parchment with nonstick spray.
- Make the shortbread crust: In a large bowl, whisk together flour, powdered sugar, and salt. Add cold butter cubes. Using a pastry cutter or fingertips, work butter into flour mixture until it resembles coarse sand with a few pea-sized butter pieces. Press firmly into an even layer in the prepared pan. Bake for 18-20 minutes until edges are golden and surface looks dry. Set aside to cool slightly.
- Toast the pecans (optional): Spread pecans on a baking sheet and toast in the oven for 5-7 minutes until fragrant and slightly darker. Let cool.
- Make the filling: In a medium bowl, whisk together melted butter, maple syrup, brown sugar, eggs, bourbon, vanilla, and salt until smooth and well combined (about 30 seconds). Do not overwhisk. Stir in toasted pecans gently.
- Assemble and bake: Pour filling over warm pre-baked crust, spreading evenly. Bake at 350°F (175°C) for 25-30 minutes until edges are set and center has a slight jiggle. Do not overbake.
- Cool completely: Let bars cool in pan on a wire rack for at least 2 hours at room temperature, then refrigerate for 1 hour before slicing.
- Slice and serve: Using parchment handles, lift slab onto a cutting board. Use a sharp chef’s knife to cut into 24 squares (4 rows by 6 rows). Wipe knife clean between cuts. Serve at room temperature or slightly warm.
Notes
For best texture, let bars rest overnight. Keep butter cold for crust. Do not overmix filling. Start checking doneness at 22 minutes. For clean slices, chill bars and wipe knife between cuts. Bars freeze well for up to 3 months.
Nutrition
- Serving Size: 1 bar
- Calories: 285
- Sugar: 18
- Sodium: 120
- Fat: 18
- Saturated Fat: 8
- Carbohydrates: 28
- Fiber: 2
- Protein: 4
Keywords: maple bourbon pecan pie bars, pecan pie bars, easy pecan bars, holiday dessert, shortbread crust, maple syrup, bourbon, pecan recipe, family favorite


