There used to be a tiny farm-to-table restaurant tucked away on a side street in Portland that made a Thanksgiving stuffing I still dream about. When they closed their doors three years ago—just a handwritten sign on the window saying “Thank you for the memories”—I honestly felt a little lost. That stuffing was the reason I drove forty minutes across town, even in November traffic. It had this incredible texture, studded with fresh herbs and chunks of crusty bread that somehow stayed soft and crisp at the same time. After nine attempts—including one where I accidentally used stale bagels (don’t ask)—I finally cracked the code. And let me tell you, this gluten-free version is even better than the original.
The secret turned out to be simpler than I expected. You know that feeling when you’re chasing a flavor memory and nothing quite measures up? I was so focused on finding the perfect gluten-free bread that I almost missed what actually made that stuffing special. It was the herbs. Fresh, generous, unapologetic herbs. And the way the stock soaked into every nook and cranny without turning the whole thing into a soggy mess. Once I figured out the right bread-to-liquid ratio, everything clicked. Maybe you’ve been there too—that moment when a recipe finally tastes exactly like the memory you’ve been holding onto.
This stuffing is wholesome enough to feel good about serving your family and indulgent enough that nobody will miss the gluten. It’s become my most-requested Thanksgiving dish, and honestly? I’m okay with that. There’s something special about bringing back a taste you thought was gone forever.
Why You’ll Love This Recipe
After testing this stuffing on my family (twice in one week, much to their delight), I can confidently say this recipe earns its place at your holiday table. Here’s what makes it stand out:
- Gluten-Free Without Sacrifice: I tested seven different gluten-free breads to find the one that gives you that perfect chewy-yet-crisp texture. No cardboard here!
- Fresh Herbs Make the Difference: This isn’t your grandmother’s dried-sage stuffing. Fresh rosemary, thyme, and parsley bring brightness that dried herbs just can’t match.
- Perfect for Meal Prep: Assemble it the day before and bake when ready. One less thing to stress about on Thanksgiving morning.
- Crowd-Pleaser Approved: I served this at a potluck where half the guests didn’t know it was gluten-free. Every single person asked for the recipe.
- Wholesome Ingredients: No weird additives or processed mixes. Just real food that happens to be gluten-free.
This isn’t just another stuffing recipe—it’s the one that makes you close your eyes after the first bite. The herbs hit you first, then the warmth of the stock, and finally that satisfying texture that makes stuffing the star of the Thanksgiving plate. It’s comfort food reimagined for everyone, regardless of dietary needs.
What Ingredients You Will Need
This recipe uses simple, wholesome ingredients to deliver bold flavor and satisfying texture without the fuss. Most of these are pantry staples during the holiday season, which makes this recipe incredibly accessible.
For the Bread Base
- 1 large loaf gluten-free bread, cut into 1-inch cubes (about 10 cups) — I recommend Canyon Bakehouse or Schar for best texture
- 4 tablespoons unsalted butter (or dairy-free butter for vegan option)
- 1 large yellow onion, diced (about 1 ½ cups)
- 3 celery stalks, diced (about 1 cup)
- 3 cloves garlic, minced
For the Fresh Herbs
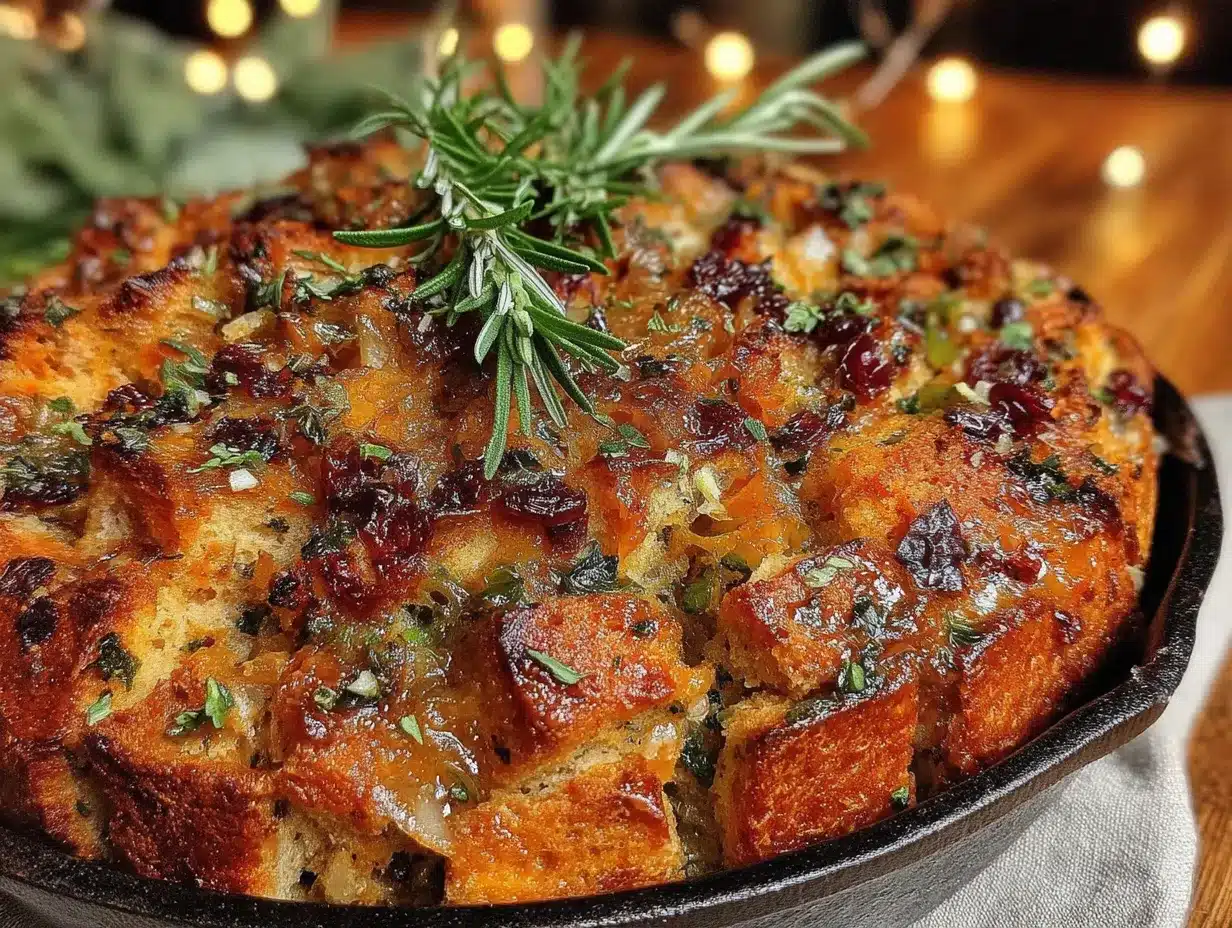
- 2 tablespoons fresh rosemary, finely chopped
- 2 tablespoons fresh thyme leaves
- ¼ cup fresh parsley, chopped
- 1 tablespoon fresh sage, chopped (optional but highly recommended)
For the Liquid Base
- 2 cups low-sodium chicken or vegetable broth — look for brands without added gluten
- 2 large eggs, lightly beaten (use flax eggs for vegan version)
- 1 teaspoon salt
- ½ teaspoon black pepper
The bread is honestly the most important ingredient here. I’ve found that gluten-free breads with a sturdy crumb work best—avoid the super soft sandwich-style loaves because they turn into mush. If you can find a day-old gluten-free artisan loaf from a local bakery, grab it! The slight staleness helps the bread hold its shape during baking.
For the herbs, fresh is non-negotiable in this recipe. Dried herbs will work in a pinch, but you’ll need to reduce the amounts by half and the flavor won’t be as vibrant. I grow my own rosemary and thyme during the summer and freeze them for exactly this purpose.
Equipment Needed
You don’t need anything fancy to make this stuffing, which is part of its charm. Here’s what you’ll want on hand:
- Large baking dish (9×13-inch works perfectly) — glass or ceramic gives the best even heating
- Large skillet for sautéing the vegetables
- Large mixing bowl for combining everything
- Sharp knife and cutting board for dicing vegetables and chopping herbs
- Measuring cups and spoons
- Aluminum foil for covering during the first part of baking
If you don’t have a 9×13 dish, you can use a 10-inch cast iron skillet or even a disposable aluminum pan—just adjust the baking time slightly. I’ve made this in a round casserole dish before and it worked fine, though the edges got a bit more crispy than the center. Honestly, that’s not a bad thing.
Preparation Method
Let me walk you through this step by step. I’ve included all the little details I wish someone had told me the first time I made this.
- Preheat your oven to 350°F (175°C). While it’s heating, spread the cubed gluten-free bread on a large baking sheet in a single layer. Toast for 10-12 minutes, flipping halfway, until the cubes are dry and slightly golden. This step is crucial—wet bread equals soggy stuffing. Let the cubes cool completely.
- Melt the butter in a large skillet over medium heat. Add the diced onion and celery, and cook for 6-8 minutes until softened and translucent. The onions should smell sweet, not burnt. Add the minced garlic and cook for another minute until fragrant. Remove from heat.
- In a large mixing bowl, combine the toasted bread cubes with the sautéed vegetables. Toss gently to distribute everything evenly. Add all the fresh herbs—rosemary, thyme, parsley, and sage if using. Give it another gentle toss. The herbs should look like confetti scattered throughout the bread.
- In a separate small bowl, whisk together the broth, eggs, salt, and pepper. Pour this mixture slowly over the bread mixture, using a spatula to fold everything together. Don’t overmix—you want the liquid distributed, not the bread broken into pieces. Let it sit for 5 minutes so the bread absorbs the liquid.
- Transfer the mixture to your greased 9×13 baking dish and spread it into an even layer. Cover tightly with aluminum foil and bake for 30 minutes. The steam trapped inside will cook the stuffing through while keeping it moist.
- Remove the foil and bake for another 15-20 minutes until the top is golden brown and slightly crispy. The kitchen will smell absolutely incredible at this point—like Thanksgiving morning. Let it rest for 5 minutes before serving.
Here’s a tip I learned the hard way: don’t skip the resting time. The stuffing continues to set as it sits, making it easier to serve without falling apart. I once rushed this step and ended up with a beautiful pile of stuffing crumbs on the table. We still ate it, but presentation wasn’t exactly magazine-worthy.
Cooking Tips & Techniques
After making this stuffing more times than I care to count, I’ve picked up a few tricks that make a real difference. Let me share them so you don’t have to learn the hard way.
Toast the bread twice. I know it sounds excessive, but if your gluten-free bread isn’t completely dry before it hits the liquid, you’ll end up with stuffing that’s more like bread pudding. Toast it, let it cool, then taste a cube. It should be dry but not hard. If it’s still soft, give it another 5 minutes in the oven.
Season in layers. Don’t dump all the salt and pepper into the liquid. Season the vegetables as they cook, add a pinch to the bread cubes before toasting, and let the broth do the rest. This builds depth of flavor that you can’t get from seasoning at the end.
Watch your liquid ratio. Different gluten-free breads absorb liquid at different rates. Start with 1 ½ cups of broth and add more if needed. The mixture should look moist but not soupy. If you see liquid pooling at the bottom of the bowl, you’ve added too much. Don’t panic—just add a few more toasted bread cubes to balance it out.
Don’t overmix. I’m guilty of this one. You want the bread cubes to stay intact so you get those lovely pockets of texture. Fold gently, like you’re handling a delicate cake batter. The stuffing will hold together better in the end.
Make extra herb butter. Before baking, dot the top of the stuffing with small pieces of butter mixed with minced fresh rosemary. It creates a gorgeous golden crust that’s absolutely irresistible. Trust me on this one.
Variations & Adaptations
One of the best things about this stuffing is how adaptable it is. Here are some variations I’ve tried and loved:
Vegan Version: Swap the butter for olive oil or vegan butter, use flax eggs (1 tablespoon ground flaxseed mixed with 3 tablespoons water per egg), and choose vegetable broth. The texture is slightly different but still delicious. My vegan friend Rachel requests this version every year.
Sausage and Apple Stuffing: Brown ½ pound of gluten-free Italian sausage (casings removed) in the skillet before adding the vegetables. Add 1 diced apple (Honeycrisp or Granny Smith) along with the celery. The sweetness of the apple balances the savory sausage beautifully.
Mushroom Lover’s Stuffing: Sauté 8 ounces of sliced cremini or shiitake mushrooms with the onions and celery. The umami flavor deepens the whole dish. I add a splash of tamari (gluten-free soy sauce) to the mushrooms for extra richness.
Herb Swap: Not a fan of rosemary? Use equal amounts of fresh tarragon or dill instead. Both work wonderfully, especially if you’re serving the stuffing alongside fish or a lighter Thanksgiving menu.
Cornbread Variation: Substitute half the gluten-free bread cubes with crumbled gluten-free cornbread. The sweetness and texture contrast is amazing. Make the cornbread a day ahead so it’s slightly stale.
Serving & Storage Suggestions
This stuffing is best served warm, straight from the oven, when the top is still crispy and the inside is tender and fragrant. I like to garnish with a few fresh thyme sprigs and a sprinkle of flaky sea salt right before bringing it to the table. It makes the dish look as good as it tastes.
For a Thanksgiving spread, this stuffing pairs beautifully with roasted turkey, mashed potatoes, and cranberry sauce. It also works as a side for roasted chicken, pork chops, or even a simple holiday salad. Leftovers (if you have any) make an incredible breakfast the next morning—just reheat and top with a fried egg.
Storage: Store leftovers in an airtight container in the refrigerator for up to 4 days. The flavors actually deepen overnight as the herbs continue to meld together. To reheat, place the stuffing in a baking dish, add a splash of broth to prevent drying out, and warm in a 350°F oven for 10-15 minutes. You can also microwave individual portions, though the top won’t be as crispy.
Freezer Instructions: This stuffing freezes beautifully. Assemble the dish completely but don’t bake it. Cover tightly with foil and freeze for up to 3 months. To bake from frozen, add 20 minutes to the covered baking time, then remove the foil and bake until golden. It’s a lifesaver for busy holiday prep.
Nutritional Information & Benefits
This wholesome stuffing is surprisingly nutritious for a holiday favorite. Here’s the estimated breakdown per serving (based on 10 servings):
- Calories: 210
- Total Fat: 8g
- Saturated Fat: 4g
- Carbohydrates: 30g
- Fiber: 3g
- Protein: 6g
- Sodium: 480mg
The fresh herbs in this recipe aren’t just for flavor—they’re packed with antioxidants and anti-inflammatory properties. Rosemary and thyme are particularly rich in compounds that support immune health, which is always welcome during cold and flu season. The celery provides vitamin K and fiber, while the onions offer prebiotics for gut health.
This recipe is naturally gluten-free, can be made dairy-free and vegan with simple substitutions, and contains no refined sugars. It’s a side dish you can feel good about piling onto your plate.
Conclusion
This gluten-free Thanksgiving stuffing with fresh herbs isn’t just a recipe—it’s the one I chased for three years until I got it right. It’s the dish that brings back the memory of that little Portland restaurant every time I make it, but it’s also become something entirely my own. That’s the beauty of cooking, isn’t it? You take a taste you loved, add your own spin, and suddenly it belongs to you.
I hope this stuffing becomes a tradition in your home too. Whether you’re serving it to guests who need gluten-free options or just want a side dish that tastes like pure comfort, this recipe delivers. Don’t be afraid to play with the herbs or add your own twist—that’s how the best recipes are born.
If you make this stuffing, I’d love to hear about it. Drop a comment below with your favorite variation or tag me in your Thanksgiving photos. And if you’re looking for more holiday inspiration, check out my wholesome gluten-free Thanksgiving stuffing with fresh herbs for the full story behind this recipe. Happy cooking, friends!
Frequently Asked Questions
Can I make this stuffing ahead of time?
Absolutely! Assemble the stuffing completely but don’t bake it. Cover and refrigerate for up to 24 hours. When ready to bake, add about 10 minutes to the covered baking time since it starts cold. This is actually my preferred method for Thanksgiving—one less thing to do on the big day.
What’s the best gluten-free bread for stuffing?
I’ve tested this with several brands and my top picks are Canyon Bakehouse’s Heritage Style loaf and Schar’s Artisan Baker White Bread. Both have a sturdy crumb that holds up well to the liquid. Avoid soft sandwich breads as they tend to disintegrate. If you can find day-old gluten-free bread from a local bakery, even better.
Can I use dried herbs instead of fresh?
You can, but the flavor will be noticeably different. Fresh herbs provide brightness and aroma that dried herbs simply can’t replicate. If you must use dried, reduce the amounts by half and add them to the broth rather than tossing with the bread. The liquid helps rehydrate them and distribute the flavor more evenly.
How do I prevent soggy stuffing?
The key is thoroughly toasting the bread cubes until they’re completely dry. Don’t rush this step! Also, let the bread absorb the liquid for exactly 5 minutes before baking—any longer and it can become too soft. If you’re concerned, start with less broth and add more as needed. You can always add liquid, but you can’t take it away.
Is this recipe safe for celiacs?
Yes, as long as you use certified gluten-free bread and check that your broth and any other packaged ingredients are labeled gluten-free. Cross-contamination is a real concern, so I recommend using dedicated utensils and cutting boards if you’re serving someone with celiac disease. When in doubt, choose products certified gluten-free by a third-party organization.
Pin This Recipe!
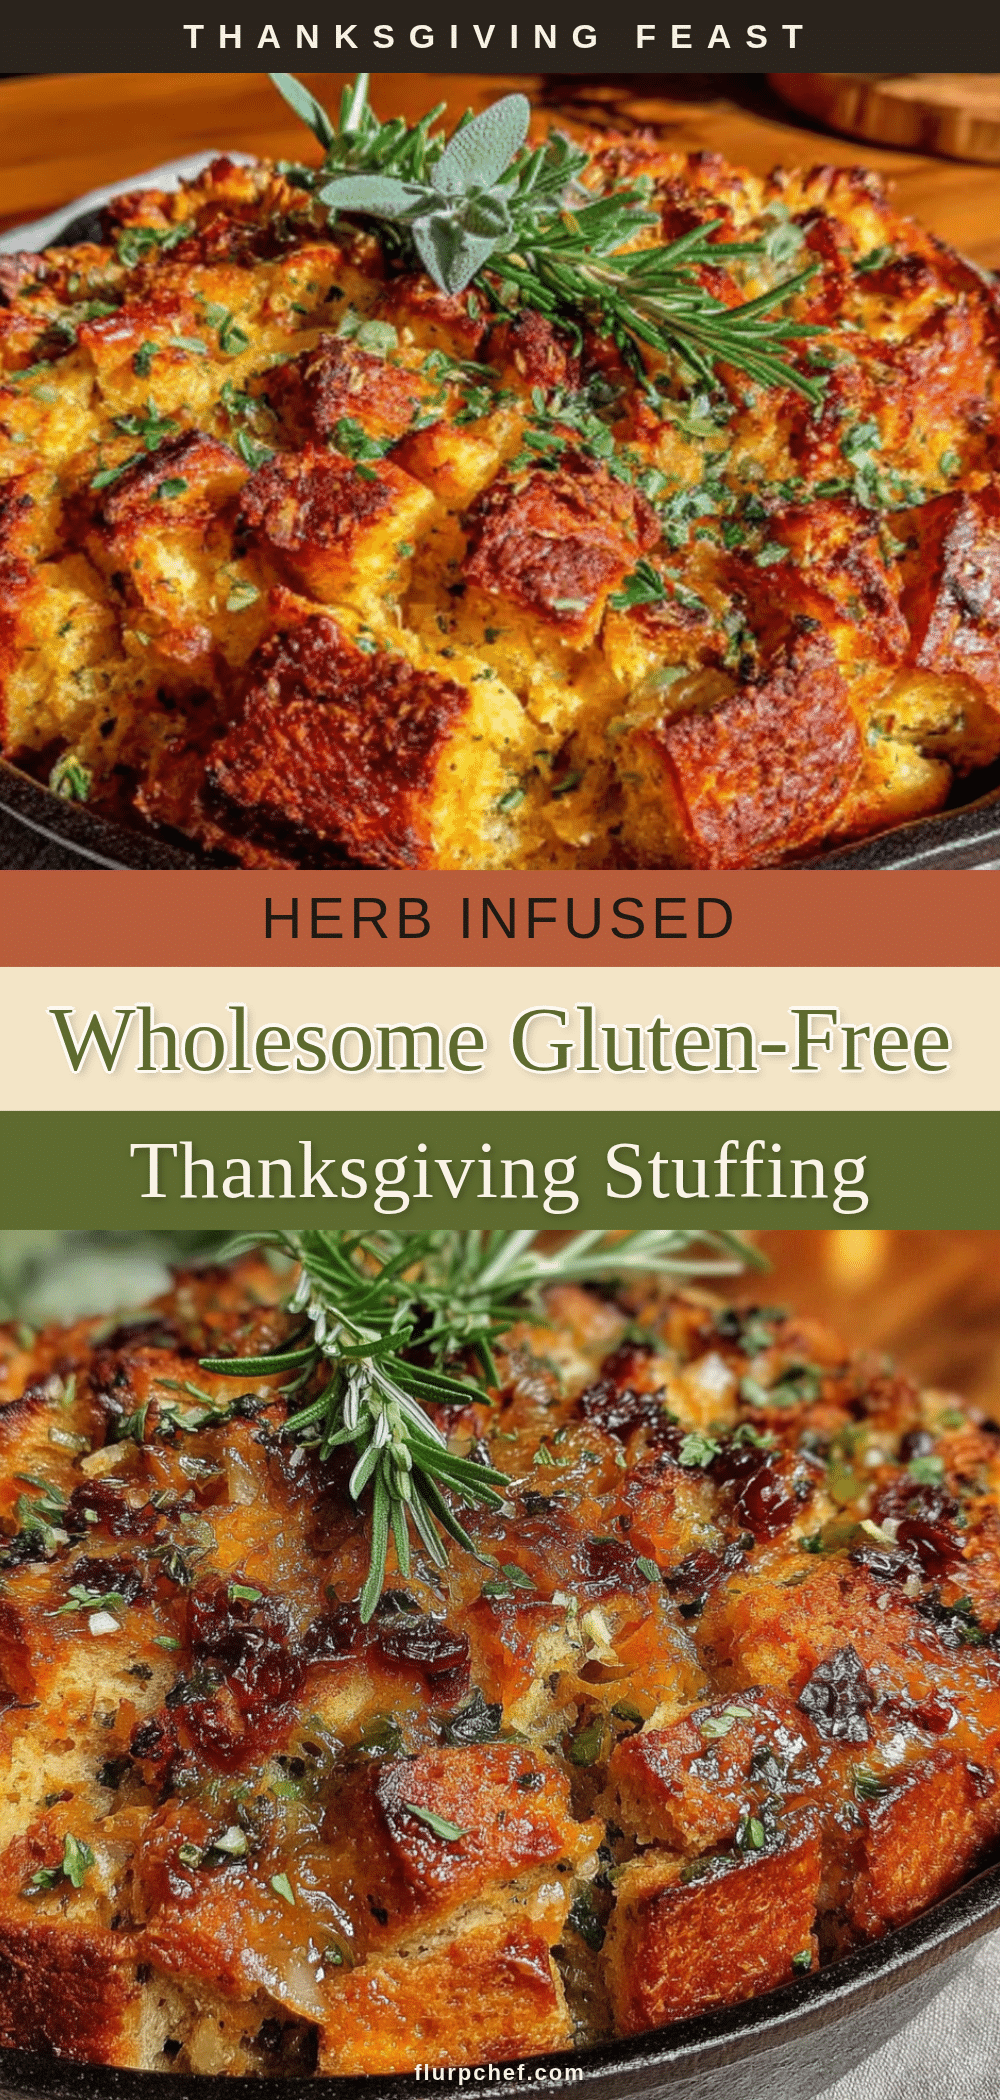
Best Easy Gluten-Free Thanksgiving Stuffing with Fresh Herbs

A gluten-free stuffing with fresh herbs that brings back the memory of a beloved Portland restaurant. This recipe delivers a perfect texture with crusty bread that stays soft and crisp, studded with fresh rosemary, thyme, and parsley.
- Prep Time: 20 minutes
- Cook Time: 45 minutes
- Total Time: 1 hour 5 minutes
- Yield: 10 servings 1x
- Category: Side Dish
- Cuisine: American
Ingredients
- 1 large loaf gluten-free bread, cut into 1-inch cubes (about 10 cups)
- 4 tablespoons unsalted butter (or dairy-free butter for vegan option)
- 1 large yellow onion, diced (about 1 ½ cups)
- 3 celery stalks, diced (about 1 cup)
- 3 cloves garlic, minced
- 2 tablespoons fresh rosemary, finely chopped
- 2 tablespoons fresh thyme leaves
- ¼ cup fresh parsley, chopped
- 1 tablespoon fresh sage, chopped (optional but highly recommended)
- 2 cups low-sodium chicken or vegetable broth
- 2 large eggs, lightly beaten (use flax eggs for vegan version)
- 1 teaspoon salt
- ½ teaspoon black pepper
Instructions
- Preheat your oven to 350°F (175°C). Spread the cubed gluten-free bread on a large baking sheet in a single layer. Toast for 10-12 minutes, flipping halfway, until the cubes are dry and slightly golden. Let cool completely.
- Melt the butter in a large skillet over medium heat. Add the diced onion and celery, and cook for 6-8 minutes until softened and translucent. Add the minced garlic and cook for another minute until fragrant. Remove from heat.
- In a large mixing bowl, combine the toasted bread cubes with the sautéed vegetables. Toss gently to distribute. Add all the fresh herbs—rosemary, thyme, parsley, and sage if using. Toss again.
- In a separate small bowl, whisk together the broth, eggs, salt, and pepper. Pour this mixture slowly over the bread mixture, using a spatula to fold everything together. Don’t overmix. Let it sit for 5 minutes so the bread absorbs the liquid.
- Transfer the mixture to a greased 9×13 baking dish and spread into an even layer. Cover tightly with aluminum foil and bake for 30 minutes.
- Remove the foil and bake for another 15-20 minutes until the top is golden brown and slightly crispy. Let it rest for 5 minutes before serving.
Notes
Toast the bread twice if needed to ensure it’s completely dry. Season in layers for depth of flavor. Watch the liquid ratio—different gluten-free breads absorb differently. Don’t overmix to keep bread cubes intact. For a golden crust, dot the top with herb butter before baking.
Nutrition
- Serving Size: 1 serving
- Calories: 210
- Sodium: 480
- Fat: 8
- Saturated Fat: 4
- Carbohydrates: 30
- Fiber: 3
- Protein: 6
Keywords: gluten-free stuffing, Thanksgiving stuffing, fresh herb stuffing, gluten-free Thanksgiving, holiday side dish