“Mom, can I play with the dough?” That question came up more times than I can count during a particularly rainy week when my kids were restless and screen-time limits had been hit. Honestly, I was skeptical at first—homemade play dough? Edible, even? But I was desperate for a distraction that was both safe and fun. So, I rolled up my sleeves and gave this easy homemade edible play dough recipe a shot. The smell of vanilla and cinnamon filled the kitchen, and before I knew it, my kids were happily squishing and shaping away, safe in the knowledge they wouldn’t get into anything toxic.
What surprised me most was how simple it was to whip up, using ingredients I actually keep around the house. No weird chemicals, no weird textures—just soft, pliable dough that felt just right in little hands. This recipe quickly became our go-to boredom buster, perfect for those messy afternoons when you want to keep the kids engaged but feel a little overwhelmed yourself. Plus, knowing it’s edible means I’m not stressing about curious toddlers sneaking a taste (which, let’s be honest, they always do!).
It’s funny how a rainy day can lead to a favorite family ritual, and now whenever I hear the faint scent of cinnamon, I think of those giggles and sticky fingers. This play dough recipe stuck not just because it’s easy or safe, but because it brings a little magic and calm to chaotic days. It’s one of those simple joys that feels like a secret between me and the kids—a reminder that sometimes the best things come from the most unexpected places.
Why You’ll Love This Recipe
This easy homemade edible play dough recipe isn’t just a craft project; it’s a tested and trusted way to keep little hands busy and minds creative without any worry. I’ve made it countless times, tweaking the ingredients for softness and flavor, and it always comes out just right. Here’s why it stands out:
- Quick & Easy: Ready in under 15 minutes, this play dough is a lifesaver for last-minute activities or rainy day fun.
- Simple Ingredients: Uses pantry staples like flour, salt, and cream of tartar—no special store runs needed.
- Perfect for Kids: Safe for toddlers and older kids alike, it’s gentle on skin and safe if accidentally tasted.
- Multiple Variations: Comes with three fun, kid-friendly twists to keep things exciting and new every time.
- Crowd-Pleaser: Whether it’s a playdate or a classroom activity, it’s always a hit with kids and parents.
- Unbelievably Soft Texture: The dough is smooth, stretchy, and holds shapes well while staying soft enough to squish.
What really makes this recipe special is the balance between safety and fun. Unlike store-bought options loaded with preservatives, this dough is free from artificial ingredients and can even be nibbled on without worries. The little cinnamon and vanilla touches add a lovely scent, making playtime feel cozy and inviting. It’s the kind of recipe that turns a simple day into something memorable—like when you gather around the table and everyone gets their hands messy without a single complaint.
What Ingredients You Will Need
This recipe uses simple, wholesome ingredients to deliver a safe, flavorful, and wonderfully tactile play dough without the fuss. Most of these you probably already have in your kitchen, which is a huge plus when the kids want to start playing NOW.
- All-purpose flour (2 cups / 250 g) – The base of the dough, provides structure and softness.
- Salt (1/2 cup / 120 g) – A natural preservative and adds a bit of texture; use fine salt for best results.
- Cream of tartar (2 tsp) – Helps dough maintain elasticity and prevents it from drying out too quickly (you can find this in most baking aisles).
- Warm water (1 1/2 cups / 355 ml) – Hydrates the dry ingredients and helps form the dough.
- Vegetable oil (2 tbsp) – Adds moisture and keeps the dough soft and pliable.
- Vanilla extract (1 tsp) – Provides a gentle, kid-friendly scent that makes playtime extra nice.
- Cinnamon (1 tsp) – Optional but recommended for a warm, inviting aroma that kids love.
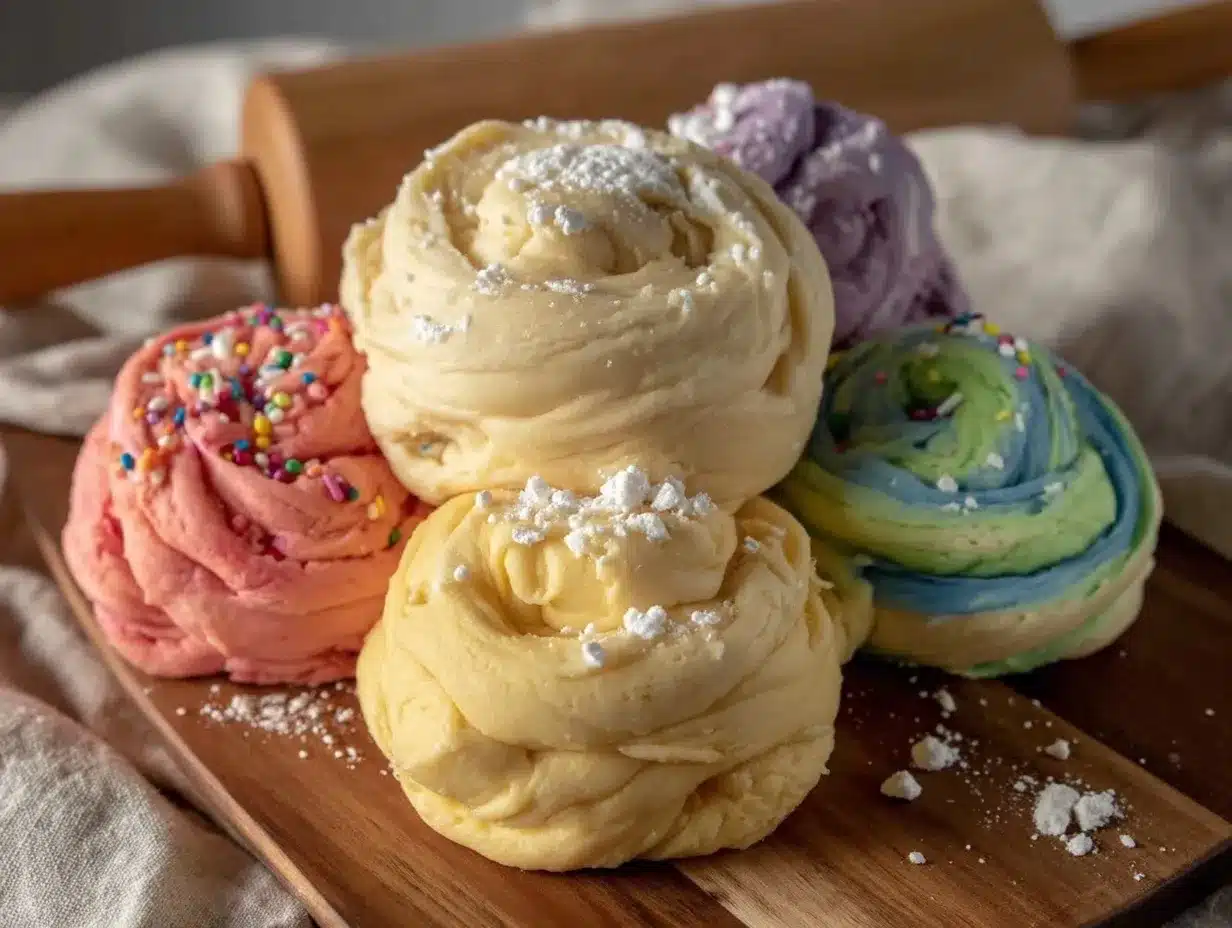
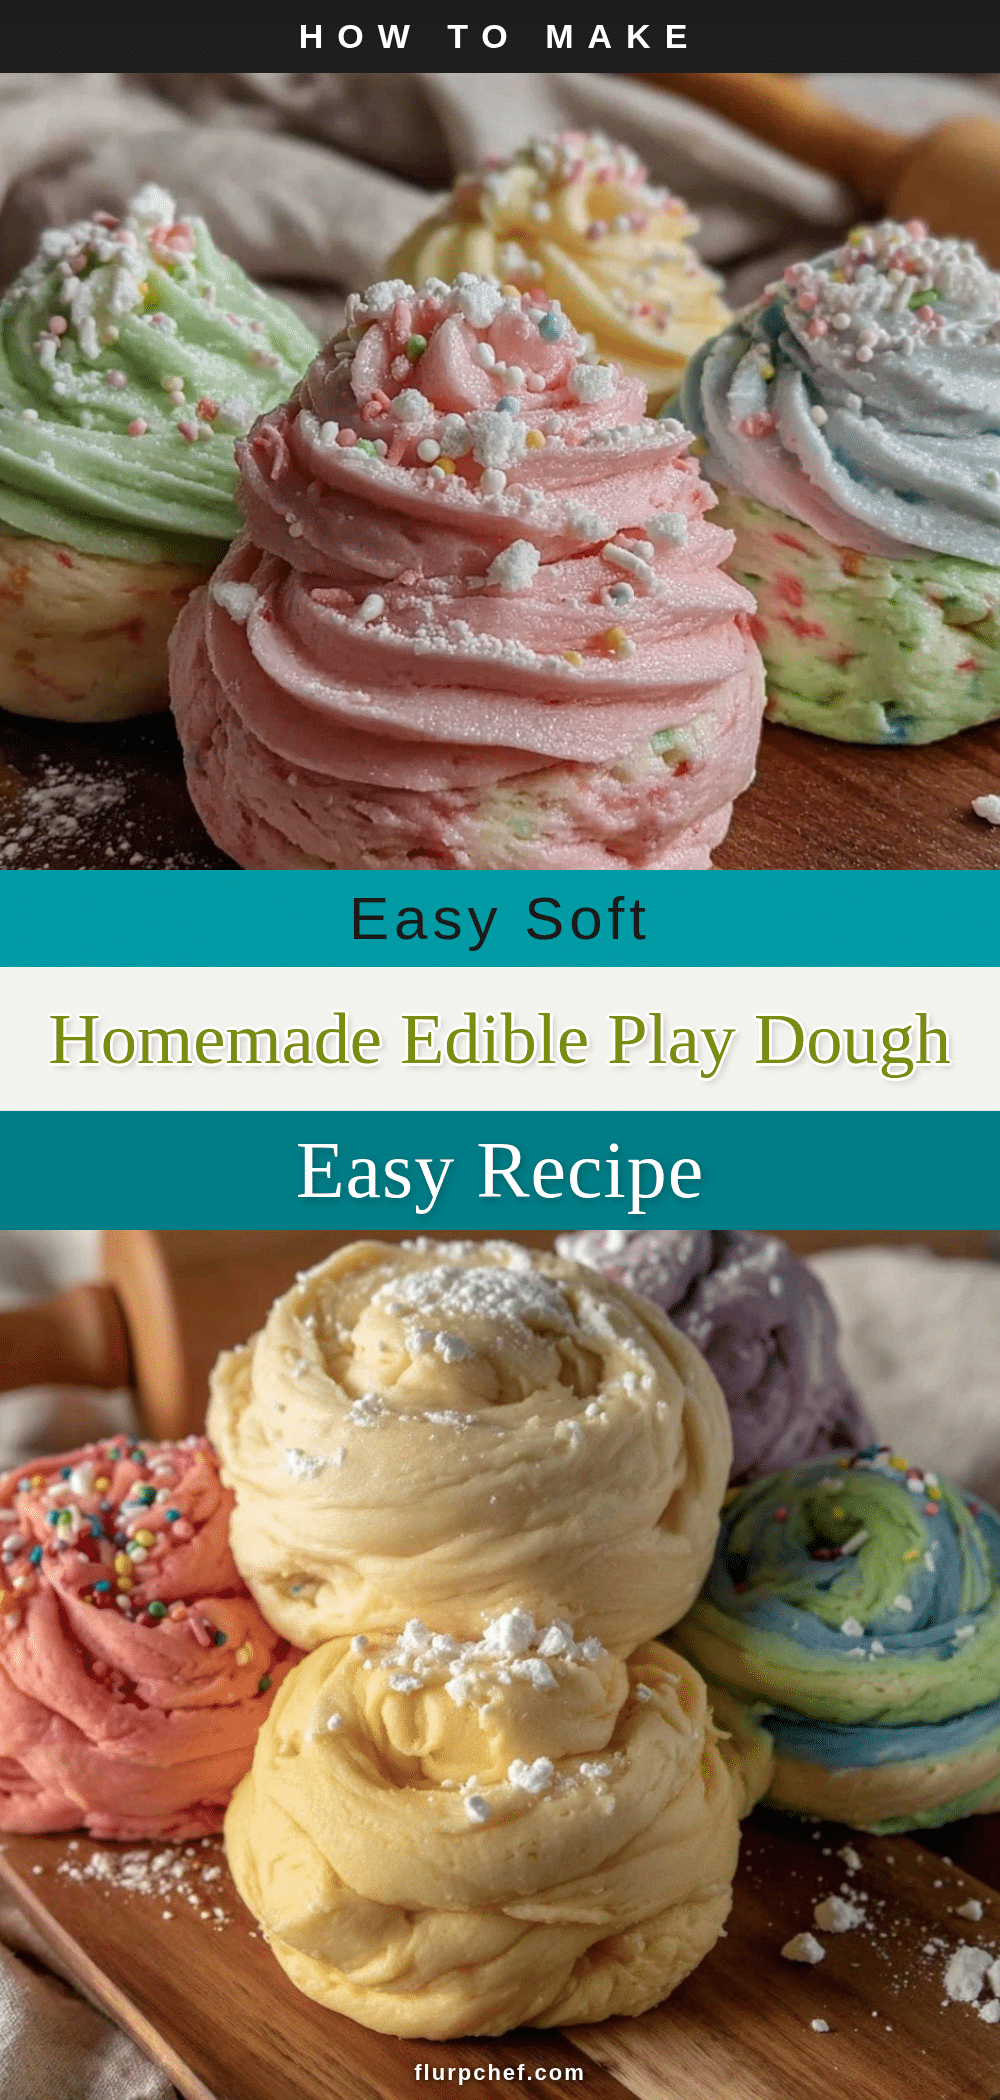
- Food coloring (optional) – Use natural or store-bought colors to create vibrant dough variations; a few drops are enough.
If you want to swap out any ingredients, almond flour can be tried for a gluten-free version, though texture will differ. Coconut oil works well instead of vegetable oil for a subtle scent, and you can skip cinnamon if your kiddos have allergies. For younger toddlers, I prefer omitting food coloring to keep things extra simple and safe.
Equipment Needed
- Large mixing bowl – For combining all the ingredients comfortably.
- Measuring cups and spoons – Accuracy matters for the right dough texture.
- Wooden spoon or spatula – To mix the dough before kneading.
- Clean countertop or silicone mat – For kneading the dough; silicone mats make cleanup easier.
- Storage containers or resealable bags – To keep the dough fresh and moist between play sessions.
If you don’t have a silicone mat, a clean surface sprinkled lightly with flour works just fine. I’ve tried mixing by hand and with an electric mixer; honestly, hand mixing is more satisfying here—you get a better feel for the dough’s texture as it comes together. For storage, airtight containers are best; I use small plastic tubs with lids leftover from takeaway containers, which work great and are budget-friendly.
Preparation Method
- Mix the dry ingredients: In a large bowl, combine 2 cups (250 g) of all-purpose flour, 1/2 cup (120 g) of salt, and 2 teaspoons of cream of tartar. Stir well to distribute everything evenly. This ensures the dough will have the right texture and elasticity.
Tip: Use fine salt rather than coarse for a smoother dough. - Combine the wet ingredients: In a separate container, mix 1 1/2 cups (355 ml) of warm water, 2 tablespoons of vegetable oil, 1 teaspoon of vanilla extract, and 1 teaspoon of cinnamon (if using). The warmth helps the salt and cream of tartar activate, giving the dough a nice stretch.
Note: If the water is too hot, it may cook the flour, so keep it warm, not boiling. - Mix wet into dry: Slowly pour the wet mixture into the dry ingredients, stirring continuously with a wooden spoon or spatula until a sticky dough forms. This usually takes about 2-3 minutes.
Warning: If it feels too wet, sprinkle a little more flour; too dry, add a teaspoon of water at a time. - Knead the dough: Turn the sticky dough onto a floured surface or silicone mat and knead for about 5-7 minutes. The dough should become smooth, soft, and less sticky. This step is crucial for good texture.
Sensory cue: The dough should feel like soft modeling clay but not stick to your hands. - Add color (optional): Divide the dough into portions and add a few drops of food coloring to each. Knead well until the color is evenly distributed. This is a fun step for kids to help with!
Tip: Use gloves to avoid staining your hands. - Store properly: Place the play dough in airtight containers or resealable bags to keep it fresh. It should last up to two weeks stored in the fridge.
Personal note: I always make a double batch to have some tucked away for busy days—works like a charm!
Cooking Tips & Techniques
One of the trickiest parts of homemade play dough is getting the texture just right. From my experience, here are a few things to watch out for:
- Water temperature matters: Warm water helps the cream of tartar activate, giving elasticity to the dough. Too cold, and it might end up crumbly.
- Kneading is key: Don’t rush this step. Kneading for 5-7 minutes develops the gluten, making the dough stretchier and softer. I’ve learned the hard way that skipping this leads to crumbly messes.
- Adjust flour and water carefully: Every kitchen environment is different. If the dough sticks too much, add flour by the teaspoon; if it’s too dry, add water, also by the teaspoon.
- Color mixing tips: Use gel or liquid food coloring sparingly. Too much can make the dough sticky or stain hands excessively.
- Fragrance additions: Vanilla and cinnamon add a cozy scent, but you can experiment with other natural extracts like peppermint or almond for variety.
From my trials, avoiding over-salting is important; too much salt can dry out the dough and make it unpleasant to touch. Also, I recommend making this dough fresh rather than storing it for months—over time, it loses its softness and can dry out even in sealed containers.
Variations & Adaptations
Keeping playtime fresh means mixing it up now and then. Here are some variations I’ve tried with great success:
- Glittery Edible Play Dough: Add a teaspoon of edible glitter to the dough during the kneading phase for sparkly fun. Kids love the extra sparkle without the mess of loose glitter.
- Chocolate-Scented Version: Replace cinnamon with 1 tablespoon of cocoa powder for a rich chocolate aroma. It’s a hit with kids who love chocolate but want to play safely.
- Fruit-Infused Dough: Mash a small ripe banana or mix in 2 tablespoons of pureed pumpkin instead of water for a naturally sweet, soft dough. Note that this version won’t last as long and should be used quickly.
If you’re working with allergies, coconut oil can substitute vegetable oil, and vanilla extract can be swapped for almond or peppermint extracts. For gluten-free options, try using a mix of rice flour and cornstarch, but the texture will be a bit different—more crumbly but still fun.
I once made a batch using fresh pumpkin puree during fall, and the kids loved the seasonal twist. It was a bit messier but smelled amazing and felt extra soft.
Serving & Storage Suggestions
While this edible play dough isn’t really meant for eating as a snack, it’s safe enough that parents don’t have to stress about tiny taste tests (and trust me, there will be some!). Serve it fresh at room temperature for the best pliability and scent. I like to lay down a silicone mat or parchment paper on the table to keep cleanup easy.
For storage, airtight containers or zip-top bags in the refrigerator work best. Keep the dough away from direct sunlight or heat sources to prevent drying out. When you’re ready to play again, let the dough sit at room temperature for 10-15 minutes before kneading to soften it back up.
Pair this play dough activity with a healthy snack like the creamy overnight oats I love making on busy mornings, which you can find in my recipe for creamy overnight oats with peanut butter and banana. It’s a nice balance of play and nourishment!
Nutritional Information & Benefits
While this play dough is technically edible, it’s not meant to replace meals. Here’s a rough estimate per batch of dough:
| Ingredient | Calories | Notes |
|---|---|---|
| Flour (2 cups / 250 g) | 910 | Provides carbs and structure. |
| Salt (1/2 cup / 120 g) | 0 | Trace minerals, used for texture. |
| Cream of tartar (2 tsp) | 0 | Stabilizer, no calories. |
| Vegetable oil (2 tbsp) | 240 | Fat content for softness. |
| Vanilla extract & cinnamon | Negligible | Flavor and aroma. |
This means the dough is relatively calorie-dense but since it’s not intended for eating, the nutritional impact is minimal. Key health benefits come from using natural ingredients without preservatives or artificial chemicals. It’s gluten-containing unless modified; swap flours for gluten-free if needed. No nuts or dairy, which keeps it allergy-friendly for many kids.
Conclusion
This easy homemade edible play dough recipe has become one of my favorite ways to keep kids entertained safely and creatively. It’s simple, smells amazing, and lets little hands explore textures without any worry. The three variations add fresh fun, making it easy to keep playtime exciting week after week.
Whether you’re looking to pass the time on a rainy afternoon or want a safe craft that doubles as sensory play, this recipe fits the bill. I love how it encourages imagination and gives me a little break knowing it’s harmless if tasted. Try it out, tweak it to your family’s taste, and watch those tiny smiles light up.
Don’t forget to share your own spins on this recipe or ask questions—I’m always curious how you make it your own. And if you’re looking for more kid-friendly ideas that combine fun and food, you might enjoy the easy bento box pizza lunchable recipe that pairs perfectly with active little hands!
FAQs About Easy Homemade Edible Play Dough
Is this edible play dough safe if my child eats a lot of it?
Yes, it’s made from common kitchen ingredients and is non-toxic. However, it’s not designed as food, so eating large amounts may cause an upset stomach due to the salt content.
How long does the homemade play dough last?
Stored in an airtight container in the refrigerator, it should last about two weeks. If it dries out, knead in a bit of water to soften.
Can I make this dough without cream of tartar?
You can, but the texture might be less elastic and more prone to drying out. Cream of tartar helps keep the dough soft and stretchy.
What can I use instead of food coloring?
Natural options like beet juice, turmeric, or spinach powder work well, giving subtle, earthy colors without artificial dyes.
Is this recipe gluten-free?
The standard recipe uses all-purpose flour, which contains gluten. For gluten-free versions, substitute with rice flour and cornstarch, although texture will vary.
Pin This Recipe!
Easy Homemade Edible Play Dough Recipe 3 Fun Kid-Friendly Variations

A simple, safe, and edible play dough recipe perfect for keeping kids entertained with natural ingredients and fun variations.
- Prep Time: 10 minutes
- Cook Time: 0 minutes
- Total Time: 10 minutes
- Yield: Multiple servings (depends on portion size)
- Category: Craft / Kids Activity
- Cuisine: N/A
Ingredients
- 2 cups (250 g) all-purpose flour
- 1/2 cup (120 g) salt
- 2 teaspoons cream of tartar
- 1 1/2 cups (355 ml) warm water
- 2 tablespoons vegetable oil
- 1 teaspoon vanilla extract
- 1 teaspoon cinnamon (optional)
- Food coloring (optional)
Instructions
- In a large bowl, combine 2 cups (250 g) all-purpose flour, 1/2 cup (120 g) salt, and 2 teaspoons cream of tartar. Stir well to distribute evenly.
- In a separate container, mix 1 1/2 cups (355 ml) warm water, 2 tablespoons vegetable oil, 1 teaspoon vanilla extract, and 1 teaspoon cinnamon (if using). Keep water warm, not boiling.
- Slowly pour the wet mixture into the dry ingredients, stirring continuously with a wooden spoon or spatula until a sticky dough forms (about 2-3 minutes). Adjust flour or water as needed for texture.
- Turn the dough onto a floured surface or silicone mat and knead for 5-7 minutes until smooth, soft, and less sticky.
- Divide dough into portions and add a few drops of food coloring to each if desired. Knead until color is evenly distributed.
- Store the play dough in airtight containers or resealable bags. It lasts up to two weeks in the refrigerator.
Notes
Use fine salt for smoother dough. Warm water activates cream of tartar for elasticity. Knead dough thoroughly for best texture. Store in airtight containers in the fridge for up to two weeks. Variations include adding edible glitter, cocoa powder, or fruit purees. For gluten-free, substitute flour with rice flour and cornstarch.
Nutrition
- Serving Size: Portion size varies;
- Calories: 1150
- Sugar: 1
- Sodium: 4600
- Fat: 27
- Saturated Fat: 3
- Carbohydrates: 200
- Fiber: 6
- Protein: 25
Keywords: edible play dough, homemade play dough, kid-friendly craft, safe play dough, sensory play, easy play dough recipe


