The nails. That was the whole thing for me. Not the wrinkly knuckles, not the creepy greenish tint, not even the way the almond slice catches the kitchen light like a tiny, polished coffin. It was the nails. I sat on my kitchen floor last October, staring at a bag of slivered almonds, trying to figure out why every batch of witch finger cookies I’d ever made just looked like sad, lumpy breadsticks. And then it hit me—I was thinking about the finger, but I wasn’t thinking about the manicure. A witch without her nails is just a lady with dusty hands. So I grabbed a jar of apricot jam, painted each almond tip a deep, sticky crimson, and pressed them into the dough. Suddenly, these things had personality. They had attitude. They looked like they could scratch the paint off your front door.
I’ve made a mess of Halloween treats over the years—some brown butter pumpkin chocolate chip cookies that disappeared before they even cooled, a few pumpkin cream cheese swirl muffins that felt more cozy than creepy. But these spooky witch finger cookies with almond nails hit different. They’re theatrical. They’re unsettling in the best way. And honestly? They’re the most fun I’ve ever had with a batch of sugar cookie dough.
You don’t need to be a pastry artist for these. You just need to be willing to get a little weird with it.
Why You’ll Love This Recipe
I’ve tested this recipe six times. Six. The first batch looked like deformed grubs. The second batch cracked in the oven and the almond nails slid off like bad press-ons. But by batch five, I had it dialed in. The dough holds its shape. The nails stay put. And the final look is genuinely spooky without being complicated.
- Quick & Easy: From mixing bowl to oven in about 30 minutes, plus chill time. Perfect for a last-minute Halloween party or a rainy October afternoon.
- Simple Ingredients: Butter, sugar, flour, eggs, vanilla, almonds, and a little jam. You probably have most of this in your kitchen right now.
- Perfect for Halloween: These aren’t just cookies—they’re a conversation piece. Set them on a platter at your Halloween gathering and watch people do a double-take.
- Crowd-Pleaser: Kids love the gross factor. Adults love the almond flavor. Everyone loves the theatrical presentation.
- Unbelievably Delicious: Beneath the creepy exterior, these are buttery, tender sugar cookies with a subtle almond crunch. They taste like a bakery cookie that happens to look like a severed digit.
What makes these different from every other witch finger recipe out there? It’s the nail technique. Most recipes just press an almond on top and hope for the best. I use a tiny dab of jam as edible glue, then lightly toast the almond during baking so the nail develops a natural, waxy sheen. It’s a small detail, but it’s the difference between a cookie that looks like a finger and a cookie that looks like a witch’s finger—with a fresh manicure.
This is the kind of recipe that makes you close your eyes after the first bite. It’s Halloween comfort food—playful, buttery, and just the right amount of unsettling.
What Ingredients You Will Need
This recipe uses simple, everyday ingredients to create something that looks like it crawled out of a cauldron. Nothing fancy, just a few pantry staples and a little theatrical flair.
For the Cookie Dough:
- Unsalted butter, softened (1 cup / 2 sticks) – The foundation of the dough. Make sure it’s truly softened, not melted. You want it pliable but not greasy.
- Granulated sugar (1 cup) – Adds sweetness and helps the cookies spread just enough to look natural without losing their shape.
- Large egg (1, room temperature) – Binds the dough. If you forget to set it out, place it in a bowl of warm water for 5 minutes.
- Vanilla extract (1 teaspoon) – Pure vanilla is best. The imitation stuff has a chemical aftertaste that doesn’t play well with the almond.
- Almond extract (½ teaspoon) – The secret weapon. It reinforces the almond flavor from the nails and gives the cookies a subtle marzipan undertone.
- All-purpose flour (2 ½ cups) – Spoon and level it. Scooping directly from the bag packs in too much flour and makes the dough dry.
- Baking powder (1 teaspoon) – Just enough lift to keep the cookies tender without puffing them up.
- Salt (½ teaspoon) – Balances the sweetness and enhances the butter flavor.
For the Fingers & Nails:
- Whole almonds (about 30, one per cookie) – Look for almonds that are relatively uniform in size. Avoid broken or chipped ones—they won’t look like nails.
- Apricot jam or red food gel (2 tablespoons) – This is your nail polish. Apricot jam gives a rich, dark crimson color when baked. Red food gel works too, but the jam adds a subtle fruity sweetness.
- Green or purple food coloring (optional, a few drops) – For tinting the dough. Totally optional, but it adds to the spooky factor. I prefer a pale, sickly green.
For the Finishing Touch:
- Additional flour for dusting – Keeps the dough from sticking when you shape the fingers.
I recommend Blue Diamond whole almonds for the nails—they’re consistently shaped and have a nice, smooth surface that takes the jam color well. For the jam, Bonne Maman apricot is my go-to. It’s thick enough to stay put and doesn’t run during baking.
If you’re making these for a nut-free crowd, you can substitute the almonds with sliced dried apricots or even small pieces of white chocolate tinted with red food coloring. The look won’t be quite the same, but the spooky factor remains.
Equipment Needed
You don’t need a witch’s cauldron for these—just a few basic kitchen tools.
- Mixing bowls (one large, one medium) – For the dry and wet ingredients.
- Electric hand mixer or stand mixer – A hand mixer works perfectly. A stand mixer with the paddle attachment is even easier.
- Baking sheets (2, preferably light-colored) – Dark sheets can cause the bottoms to brown too fast.
- Parchment paper or silicone baking mats – Non-negotiable. These cookies are delicate when warm, and parchment makes removal a breeze.
- Small offset spatula or butter knife – For shaping the knuckle indentations.
- Small pastry brush – For painting the jam onto the almonds. A clean, unused paintbrush works in a pinch.
- Plastic wrap – For chilling the dough.
- Cooling rack – Lets the cookies set without steaming.
I’ve made these with both a hand mixer and a stand mixer, and honestly? The hand mixer is fine. The dough isn’t stiff enough to warrant hauling out the big machine. But if you have a stand mixer, use it—it frees up your hands for the messy stuff.
One tip: if your baking sheets are warped or old, invest in a new pair for these cookies. Even heat distribution is critical for keeping the nails from sliding off. I learned that the hard way when batch three slid right off into the abyss of my oven floor.
Preparation Method
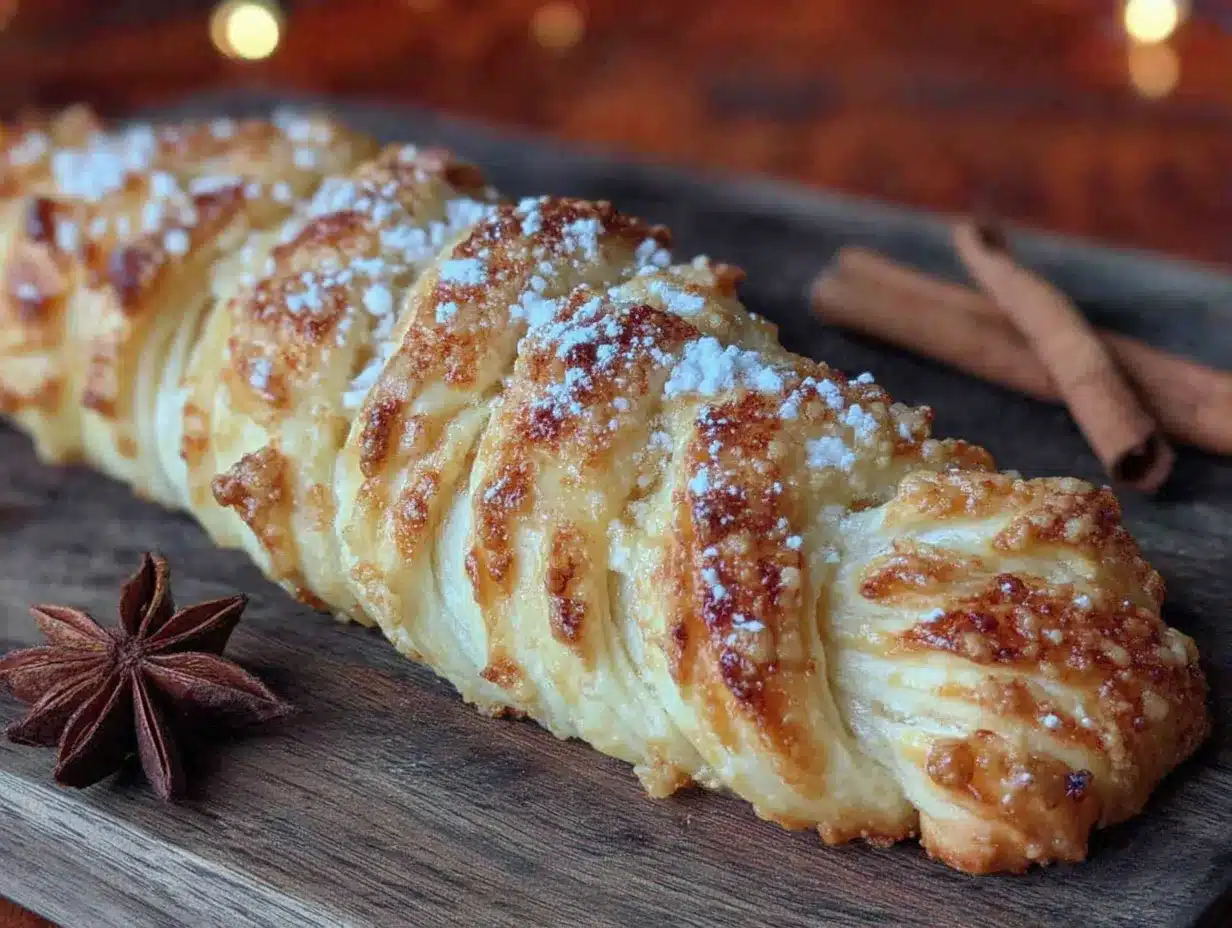
Let’s get creepy. Follow these steps exactly, and you’ll have a platter of witch fingers that would make any Halloween spread proud.
Step 1: Cream the Butter and Sugar
In a large bowl, beat the softened butter and granulated sugar together until light and fluffy, about 3 minutes. You’re looking for a pale, airy texture. Scrape down the sides of the bowl halfway through. If you’re using food coloring, add it now—a few drops of green or purple. Beat until the color is evenly distributed. The dough should look unpleasantly pale, like a hand that hasn’t seen sunlight in centuries.
Step 2: Add the Wet Ingredients
Beat in the egg, vanilla extract, and almond extract until combined. The mixture might look slightly curdled at this point—that’s okay. It will come together once you add the flour.
Step 3: Combine the Dry Ingredients
In a separate bowl, whisk together the all-purpose flour, baking powder, and salt. Gradually add the dry mixture to the wet mixture, mixing on low speed until just combined. Do not overmix. Overworking the dough develops gluten and makes the cookies tough. You want them tender and crumbly, like a real finger bone.
Step 4: Chill the Dough
Wrap the dough in plastic wrap and flatten it into a disc. Refrigerate for at least 30 minutes, or up to 2 hours. Chilling is essential—it firms up the butter and prevents the cookies from spreading too much during baking. Warm dough will turn your witch fingers into witch blobs.
Step 5: Prepare the Almond Nails
While the dough chills, prepare the almonds. Using a small pastry brush, paint a thin layer of apricot jam onto the rounded tip of each almond. Place them on a plate, jam-side up, and let them dry slightly. This creates a tacky surface that will adhere to the dough during baking. If you’re using red food gel instead, dab a small dot on the tip and let it set.
Step 6: Shape the Fingers
Preheat your oven to 350°F (175°C). Line two baking sheets with parchment paper. Remove the dough from the refrigerator. Pinch off a piece of dough about the size of a walnut—roughly 1 ½ tablespoons. Roll it between your palms into a log shape, about 3 to 4 inches long and slightly thicker at one end (the base of the finger) and tapered at the other (the fingertip). Place it on the prepared baking sheet. Repeat with the remaining dough, spacing the fingers about 2 inches apart.
Step 7: Add the Knuckle Details
Using the back of a butter knife or a small offset spatula, gently press two or three horizontal lines into each finger to create knuckles. Don’t press too deep—you want indentations, not cuts. The dough should bulge slightly around the lines, mimicking real knuckles. If the dough feels too soft at this point, pop the baking sheet in the fridge for 10 minutes.
Step 8: Attach the Nails
Take a prepared almond and press it gently into the tapered end of each finger, jam-side down. The almond should sit flush against the dough, covering the tip completely. If the jam has dried, add a tiny fresh dab to the dough before pressing the almond on. This ensures the nail stays attached during baking.
Step 9: Bake
Bake for 12 to 15 minutes, or until the edges are just barely golden. The centers should still look slightly soft. Do not overbake—overbaked fingers lose their tender texture and the nails can slide off. The cookies will continue to set as they cool.
Step 10: Cool and Set
Let the cookies cool on the baking sheet for 5 minutes. During this time, the jam will set and the nails will adhere firmly. Transfer to a cooling rack and let cool completely. The cookies should be firm to the touch but still tender inside.
Step 11: The Final Touch (Optional)
For extra creepiness, you can add a small dab of red jam or gel at the base of each nail, as if the finger has been recently… well, you know. It’s a small detail that makes a big impression at a Halloween party.
Cooking Tips & Techniques
I’ve made every mistake you can make with these cookies so you don’t have to. Here’s what I learned.
The Dough Temperature Is Everything
The number one reason witch fingers fail is warm dough. If the dough is too soft when you shape it, the fingers will spread into shapeless blobs. If it’s too soft when you add the nails, the almonds will sink into the dough like a witch sinking into a bog. Keep the dough cold. If at any point it feels sticky or unworkable, pop it back in the fridge for 15 minutes. I keep a second batch of dough chilling while I shape the first.
The Knuckle Trick
When you press the knuckle lines, use a gentle, rolling motion with the back of the knife. Don’t just press straight down—that creates a flat line. You want a slight bulge on either side of the indentation. Think of it like sculpting. The dough should look like it has joints, not like someone drew lines on it with a ruler.
The Nail Angle
Press the almond onto the fingertip at a slight upward angle, as if the nail is growing out of the finger. If you press it flat, it looks like a fake nail glued on. The slight angle gives it a natural, unsettling realism. Also, make sure the pointed end of the almond is facing away from the finger, like a real nail tip.
The Jam Lesson
I tried batch three with strawberry jam. It was too runny. The color was more pink than bloody, and the nails slid off during baking. Apricot jam is the perfect consistency—thick enough to hold, dark enough to look like dried blood. If you don’t have apricot, try raspberry, but strain out the seeds first. Seeds on a witch’s nail just look like a bad manicure.
The Cooling Patience
Do not move the cookies off the baking sheet immediately. I know you’re excited. I know you want to see them on a platter. But warm cookies are fragile, and the nails are still setting. Let them rest for a full 5 minutes. Use that time to shape the next batch or admire your work from a safe distance.
Variations & Adaptations
These cookies are surprisingly versatile. Here are a few ways to make them your own.
Dietary Variations:
- Gluten-Free: Substitute the all-purpose flour with a 1:1 gluten-free baking flour blend. I’ve used King Arthur’s measure-for-measure blend with good results. Add an extra tablespoon of flour if the dough feels too sticky.
- Vegan: Use vegan butter and a flax egg (1 tablespoon ground flaxseed mixed with 3 tablespoons water, let sit for 5 minutes). The texture will be slightly more crumbly, but the look is identical.
- Nut-Free: Replace the almonds with sliced dried apricots or small pieces of white chocolate. For the chocolate version, use red food gel for the nail color instead of jam.
Flavor Twists:
- Chocolate Witch Fingers: Replace ¼ cup of the flour with unsweetened cocoa powder. The dark brown dough looks like a chocolate finger—perfect for a chocolate lover’s Halloween.
- Spiced Witch Fingers: Add 1 teaspoon of pumpkin pie spice to the dry ingredients. The warm spices pair beautifully with the almond extract and give the cookies a cozy fall flavor. These would fit right in with a batch of cozy pumpkin cream cheese swirl muffins on a Halloween brunch table.
- Bloody Fingers: After baking, drizzle a thin line of red icing or jam from the cuticle area down the finger. It’s a little gruesome, but for a Halloween party, it’s a guaranteed hit.
Different Cooking Methods:
- Air Fryer: Preheat to 325°F (160°C). Cook in batches, 8 to 10 minutes. Check at the 8-minute mark—air fryers run hot and can overbake quickly.
- Freezer-Friendly: Shape the fingers and add the nails, then freeze them on a baking sheet until solid. Transfer to a freezer bag. Bake from frozen, adding 2 to 3 minutes to the baking time.
I tried a chocolate version last year and served them alongside a cozy spiced pumpkin apple cider mocktail. The dark fingers against the warm orange drink made for a stunning Halloween spread. Sometimes the best variations come from just playing around.
Serving & Storage Suggestions
These cookies are at their best when they look like they’re about to crawl off the plate. Presentation is everything.
Serving Temperature:
Serve at room temperature. The cookies are tender and buttery, and the almond nails have a satisfying crunch. If you’ve just baked them, let them cool completely before arranging. Warm cookies are too soft and the nails might shift.
Presentation Ideas:
- Arrange the fingers on a black platter or a dark wooden board. The contrast makes the pale green or purple dough pop.
- Scatter a few loose almonds around the platter, as if the witch lost a few nails in the struggle.
- Place a small bowl of red jam or raspberry sauce in the center for dipping. Call it “witch’s blood.”
- For a full Halloween spread, pair these with a flavorful smoked queso dip with chorizo for a savory-sweet balance that keeps guests coming back.
Complementary Drinks:
These cookies are sweet and buttery, so they pair well with something tart or spicy. A cold glass of apple cider, a warm mug of spiced chai, or even a creamy pumpkin cold brew float (like the one from this site) balances the sweetness beautifully.
Storage Instructions:
- At Room Temperature: Store in an airtight container for up to 5 days. Layer them with parchment paper to prevent the nails from scratching each other.
- In the Refrigerator: They’ll keep for up to a week, but the texture becomes slightly denser. Let them come to room temperature before serving.
- In the Freezer: Baked cookies freeze well for up to 3 months. Wrap them individually in plastic wrap, then place in a freezer bag. Thaw at room temperature for 30 minutes before serving.
Reheating Tips:
If you want to restore the fresh-baked texture, pop the cookies in a 300°F (150°C) oven for 3 to 5 minutes. Let them cool on the baking sheet for a few minutes before serving. Do not microwave—it makes the cookies rubbery and the nails soggy.
One thing I love about these cookies is that the almond flavor actually deepens after a day or two. The extract mellows out and the jam sets into a glossy, almost enamel-like finish. They might look even better on day two than they did fresh out of the oven.
Nutritional Information & Benefits
Let’s be honest—these are Halloween cookies. They’re not health food. But they’re made with real ingredients, and that counts for something.
Estimated Nutritional Values (per cookie, based on 30 cookies):
- Calories: 145
- Total Fat: 8g
- Saturated Fat: 4.5g
- Cholesterol: 25mg
- Sodium: 55mg
- Total Carbohydrates: 17g
- Dietary Fiber: 0.5g
- Sugars: 9g
- Protein: 2g
Health Highlights:
- Almonds: Rich in vitamin E, magnesium, and healthy monounsaturated fats. They’re good for your skin, your heart, and your nails—literally.
- Butter: Contains fat-soluble vitamins A, D, E, and K. It’s not the villain it’s made out to be, especially in moderation.
- Eggs: A good source of high-quality protein and choline, which supports brain health.
Dietary Considerations:
- Contains dairy, eggs, gluten, and tree nuts (almonds).
- Can be made gluten-free, vegan, or nut-free with the substitutions listed above.
- Not suitable for low-carb or keto diets due to the sugar content.
I’m not a nutritionist, and I’m not here to tell you that Halloween cookies are good for you. But I will say this: a treat made from scratch with real butter, real eggs, and real almonds is a far cry from the neon-colored, preservative-laden stuff in the store. And honestly, the joy these cookies bring is its own kind of nourishment.
Conclusion
These spooky witch finger cookies with almond nails are the kind of recipe that makes Halloween feel special. They’re not just cookies—they’re a performance. They’re the thing guests remember. They’re the reason someone says, “Wait, you made those?” and then takes a picture before taking a bite.
I’ve made these for kids’ parties, adult Halloween gatherings, and even a cozy night in with a horror movie marathon. Every time, they get the same reaction: a moment of hesitation, a laugh, and then a satisfied nod. Because underneath the creepy exterior, they’re just really good cookies.
Don’t be afraid to make them your own. Change the color. Swap the jam. Add a little spice. The best part about a recipe like this is that it’s built for play. The witch fingers are just a starting point—what you do with them is up to you.
I’d love to see your versions. Drop a comment below and tell me how yours turned out. Did you go with the classic green? Did you try the chocolate version? Did anyone at your party scream? Share your photos, your stories, and your spooky successes. And if you have a variation I haven’t tried yet, I’m all ears. The cauldron is always open.
Happy Halloween, and happy baking. May your nails stay on, your dough stay cold, and your cookies be just creepy enough.
Frequently Asked Questions
Can I make the dough ahead of time?
Absolutely. You can prepare the dough up to 3 days in advance and keep it wrapped in the refrigerator. Let it sit at room temperature for about 10 minutes before shaping so it’s pliable but still cold.
Why did my almond nails fall off during baking?
This usually happens for one of three reasons: the dough was too warm, the jam was too thin, or the almonds weren’t pressed firmly enough. Make sure your dough is well-chilled, use a thick jam like apricot, and press the almond gently but firmly into the dough.
Can I use a different nut for the nails?
Yes. Sliced almonds work best because of their shape, but you can also use whole macadamia nuts or even large sunflower seeds. Just keep in mind that the look will change. Macadamia nuts give a more rounded, cartoonish nail.
How do I get the dough to look more realistic?
Focus on the knuckles. Take your time pressing those horizontal lines—they’re what makes the fingers look like fingers instead of breadsticks. Also, vary the length and thickness of each finger. Real hands don’t have identical fingers, and neither should your cookie platter.
Can I freeze these cookies after baking?
Yes. Freeze them in a single layer on a baking sheet, then transfer to a freezer bag. They’ll keep for up to 3 months. Thaw at room temperature for 30 minutes before serving. If the nails feel loose after thawing, pop them in a 300°F oven for 3 minutes to re-set the jam.
Pin This Recipe!
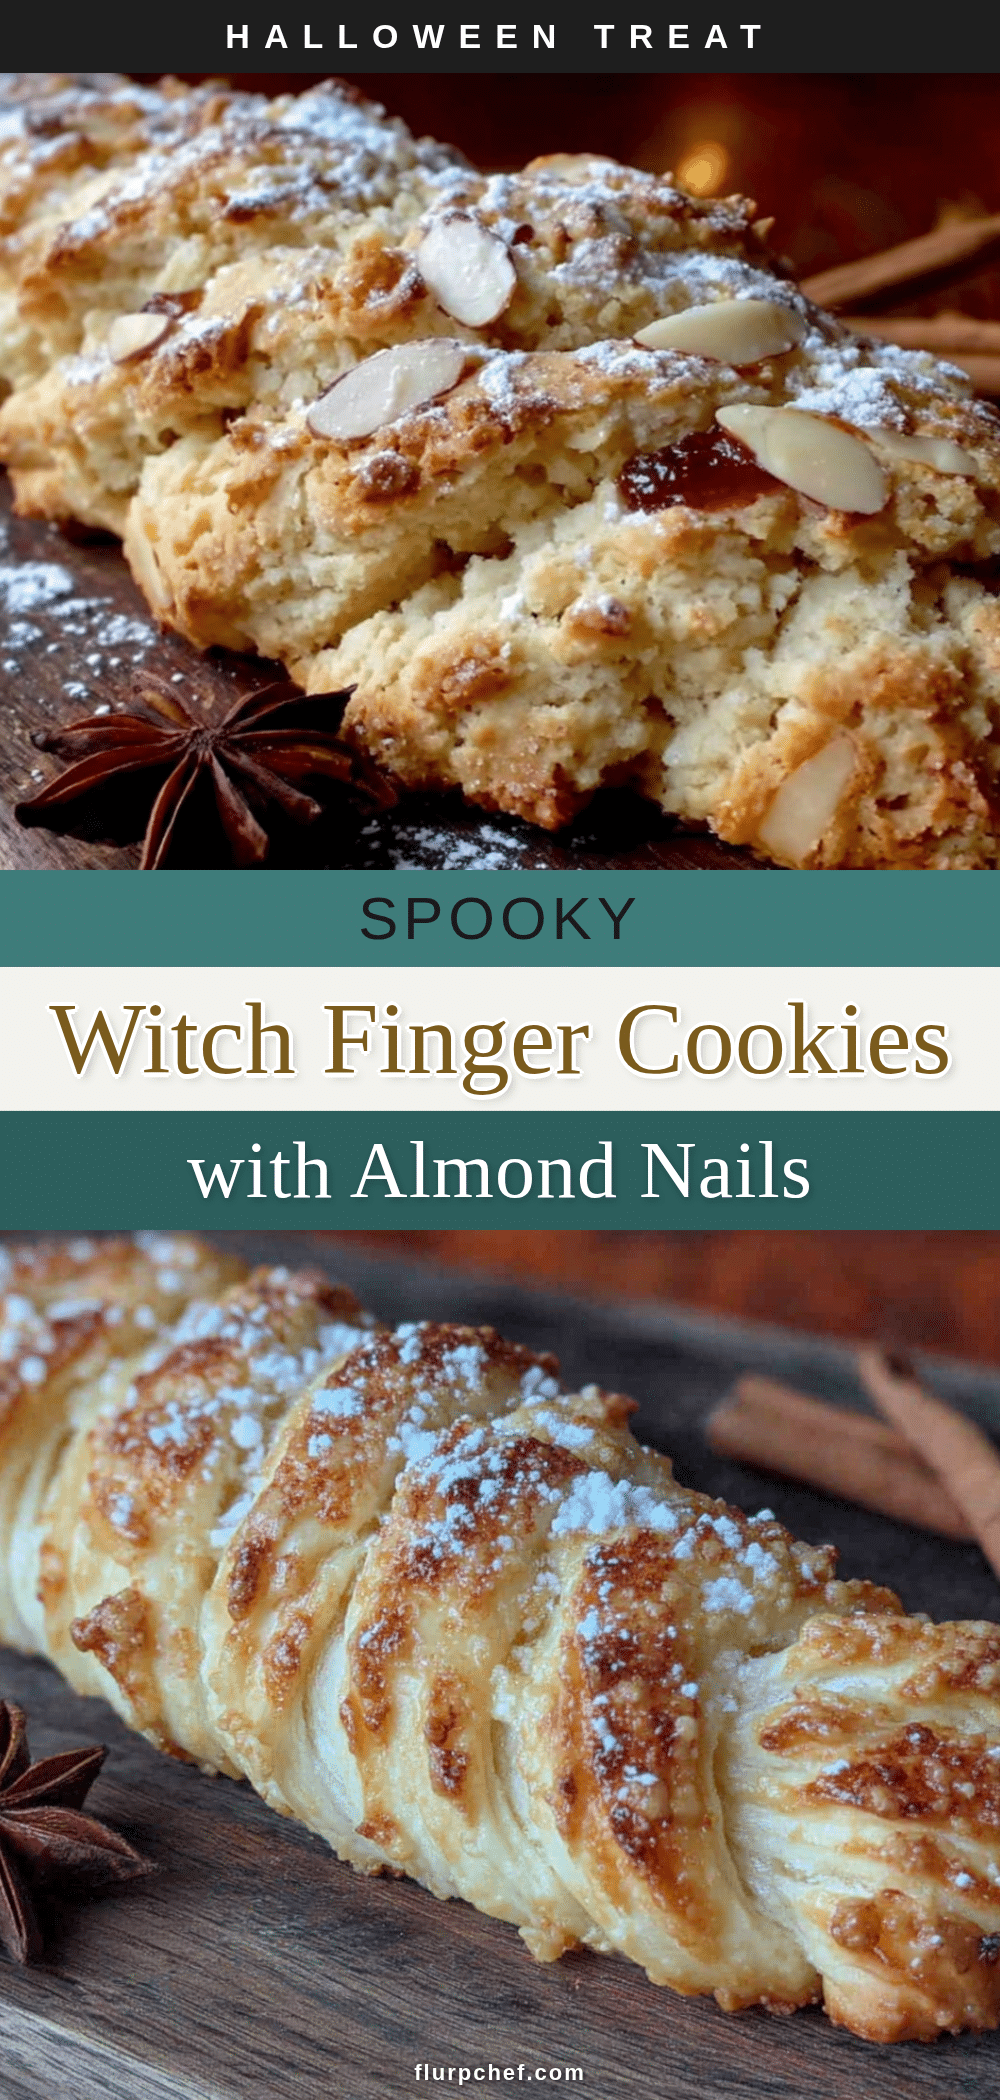
Spooky Witch Finger Cookies with Almond Nails
These spooky witch finger cookies with almond nails are a theatrical Halloween treat that’s both unsettling and delicious. Buttery sugar cookies shaped like fingers with almond ‘nails’ painted with apricot jam for a creepy, realistic look.
- Prep Time: 30 minutes
- Cook Time: 15 minutes
- Total Time: 45 minutes
- Yield: 30 cookies 1x
- Category: Dessert
- Cuisine: American
Ingredients
- 1 cup (2 sticks) unsalted butter, softened
- 1 cup granulated sugar
- 1 large egg, room temperature
- 1 teaspoon vanilla extract
- ½ teaspoon almond extract
- 2 ½ cups all-purpose flour
- 1 teaspoon baking powder
- ½ teaspoon salt
- About 30 whole almonds (one per cookie)
- 2 tablespoons apricot jam or red food gel
- Green or purple food coloring (optional, a few drops)
- Additional flour for dusting
Instructions
- Cream the butter and sugar: In a large bowl, beat the softened butter and granulated sugar together until light and fluffy, about 3 minutes. If using food coloring, add it now and beat until evenly distributed.
- Add the wet ingredients: Beat in the egg, vanilla extract, and almond extract until combined.
- Combine the dry ingredients: In a separate bowl, whisk together the all-purpose flour, baking powder, and salt. Gradually add the dry mixture to the wet mixture, mixing on low speed until just combined. Do not overmix.
- Chill the dough: Wrap the dough in plastic wrap and flatten it into a disc. Refrigerate for at least 30 minutes, or up to 2 hours.
- Prepare the almond nails: While the dough chills, paint a thin layer of apricot jam onto the rounded tip of each almond. Place them on a plate, jam-side up, and let them dry slightly.
- Shape the fingers: Preheat oven to 350°F (175°C). Line two baking sheets with parchment paper. Pinch off a piece of dough about the size of a walnut (roughly 1 ½ tablespoons). Roll it into a log shape, about 3 to 4 inches long, slightly thicker at one end and tapered at the other. Place on prepared baking sheet, spacing about 2 inches apart.
- Add the knuckle details: Using the back of a butter knife or small offset spatula, gently press two or three horizontal lines into each finger to create knuckles. Don’t press too deep.
- Attach the nails: Take a prepared almond and press it gently into the tapered end of each finger, jam-side down. The almond should sit flush against the dough.
- Bake: Bake for 12 to 15 minutes, or until the edges are just barely golden. The centers should still look slightly soft.
- Cool and set: Let the cookies cool on the baking sheet for 5 minutes. Transfer to a cooling rack and let cool completely.
- The final touch (optional): For extra creepiness, add a small dab of red jam or gel at the base of each nail.
Notes
Keep the dough cold throughout the process to prevent spreading. Use a gentle rolling motion when pressing knuckle lines to create realistic bulges. Press the almond at a slight upward angle for a natural look. Apricot jam works best for the nails—it’s thick and dark. Let cookies rest on the baking sheet for 5 minutes after baking to set the nails.
Nutrition
- Serving Size: 1 cookie
- Calories: 145
- Sugar: 9
- Sodium: 55
- Fat: 8
- Saturated Fat: 4.5
- Carbohydrates: 17
- Fiber: 0.5
- Protein: 2
Keywords: witch finger cookies, Halloween cookies, almond nails, spooky cookies, sugar cookies, Halloween treats, creepy cookies


