The Halloween party was in four hours and I’d completely forgotten. Not just forgotten the snack I was supposed to bring — forgotten the party entirely until my phone buzzed with a “can’t wait to see your famous dish!” text from my neighbor, Sarah. Panic hit me like a cold splash of water. Everyone else would be bringing elaborate themed treats, Pinterest-perfect cupcakes with fondant bats, and those creepy finger hot dogs that take an hour to assemble. I had a can of black beans, some tortillas, and a block of cream cheese that was about to expire. Not exactly award-winning material.
I stood there staring into my fridge, honestly ready to text back a lame excuse. But then my six-year-old wandered in asking for a snack, and something clicked. Kids love anything they can dip. And they love Halloween. So why not combine the two? I grabbed the beans, mashed them up with some spices I found in the back of the cabinet, and started layering things in a baking dish. My daughter watched, fascinated, as I cut strips of tortilla and laid them across the top like bandages on a mummy. She giggled and said, “It looks like a monster!” That’s when I knew I was onto something.
The party was chaos, as you’d expect with fifteen hyped-up kids running around in costumes. I set my dish on the table, feeling a little sheepish next to the elaborate spread. But you know what happened? The kids swarmed it. They loved the mummy look, and the moms loved that it was actually filling and not just sugar. I came home with an empty dish and a request for the recipe from three different people. Honestly, I wasn’t trying to win anything that night. I was just trying to survive. But sometimes the best recipes come from that exact kind of pressure, you know?
Why You’ll Love This Recipe
Let me tell you why this black bean mummy taco dip has become my go-to for every Halloween gathering since that frantic afternoon. It solves so many problems at once, and that’s exactly what a busy parent needs.
- Quick & Easy: This comes together in under 20 minutes. No joke. From pantry to table in the time it takes to wrestle your kid into their costume.
- Simple Ingredients: You probably have most of this stuff already. Black beans, cream cheese, salsa, tortillas — all budget-friendly staples.
- Perfect for Halloween Parties: It looks spooky and fun without requiring artistic talent. My mummy design is literally just strips of tortilla. Anyone can do this.
- Crowd-Pleaser: I’ve served this at three different Halloween events now, and kids always go back for seconds. The picky eaters? They eat it too, because it’s basically a deconstructed taco they can dip.
- Unbelievably Delicious: The creamy bean layer with the crunchy tortilla strips and melted cheese? It’s comfort food disguised as a spooky snack.
What makes this different from every other taco dip out there? It’s the texture. Most dips are either all smooth or all chunky. This one has a creamy, seasoned bean base that’s hearty enough to be a mini meal, topped with melty cheese and those crispy tortilla “bandages” that add the perfect crunch. Plus, it’s designed to be eaten with chips, so every bite has that satisfying scoop-and-crunch experience.
This is the kind of recipe that makes you look like a hero parent without any actual stress. It’s warm, it’s filling, it keeps the kids happy while the adults chat, and it won’t blow your grocery budget right before the holiday season hits. I mean, what more could you ask for?
What Ingredients You Will Need
This recipe uses simple, wholesome ingredients to deliver big flavor without the fuss. Most of these are pantry staples, which is exactly what you want when Halloween sneaks up on you.
- For the Bean Layer:
- 1 can (15 oz) black beans, drained and rinsed (I prefer Bush’s or Goya for consistent texture)
- 4 oz cream cheese, softened (full-fat gives the best creamy texture, but Neufchâtel works too)
- 1/2 cup salsa (use your favorite brand — I like Pace or a local chunky variety for texture)
- 1 teaspoon chili powder
- 1/2 teaspoon cumin
- 1/2 teaspoon garlic powder
- 1/4 teaspoon salt (optional, depending on your salsa’s saltiness)
- For the Mummy Topping:
- 4-5 small flour tortillas (corn tortillas work for gluten-free, but they’re more fragile)
- 1 cup shredded Mexican blend cheese (or cheddar, or pepper jack for a kick)
- 2 small candy eyes (optional, but kids love them — find them at craft stores or online)
- For Serving:
- Tortilla chips or scoop-style chips (I love scoop chips for this because they hold the dip perfectly)
Ingredient Tips: For the black beans, I recommend giving them a good rinse to remove any canned taste and excess sodium. If you have time, let the cream cheese sit on the counter for 15 minutes to soften — it makes mixing so much easier. For the salsa, a medium heat works great for most families, but use mild if you’re serving really little ones. I’ve also made this with refried black beans instead of whole, and it works beautifully — just skip the mashing step.
Substitution Guidance: Need it dairy-free? Use dairy-free cream cheese and skip the shredded cheese or use a plant-based alternative. Want more protein? Add a layer of seasoned ground beef or shredded chicken under the bean mixture. For a gluten-free version, use corn tortillas and check your salsa label. The beauty of this recipe is how flexible it is — I’ve thrown in leftover taco meat before and it was fantastic.
Equipment Needed
You don’t need any fancy gadgets for this recipe, which is honestly my favorite kind of cooking. Here’s what you’ll need:
- Small Baking Dish: An 8×8 or 9×9 square dish works perfectly. I use my trusty Pyrex glass dish — it’s survived countless parties and still looks great.
- Mixing Bowl: Medium-sized, for mashing the beans and mixing the filling.
- Fork or Potato Masher: For mashing the black beans. A fork works fine if you don’t have a masher.
- Knife and Cutting Board: For cutting the tortillas into strips. A pizza cutter actually works even better for this.
- Spatula: For spreading the bean mixture evenly.
- Oven or Toaster Oven: For baking until bubbly. A toaster oven works great if you’re making a smaller batch.
Budget-Friendly Options: Don’t have a baking dish? Use a pie plate or even a cast iron skillet. No potato masher? A fork or the bottom of a sturdy cup works in a pinch. The key is just to have something oven-safe that’s about 8 inches wide. I’ve made this in a disposable aluminum pan before for parties, and it worked perfectly — plus, no cleanup!
Preparation Method
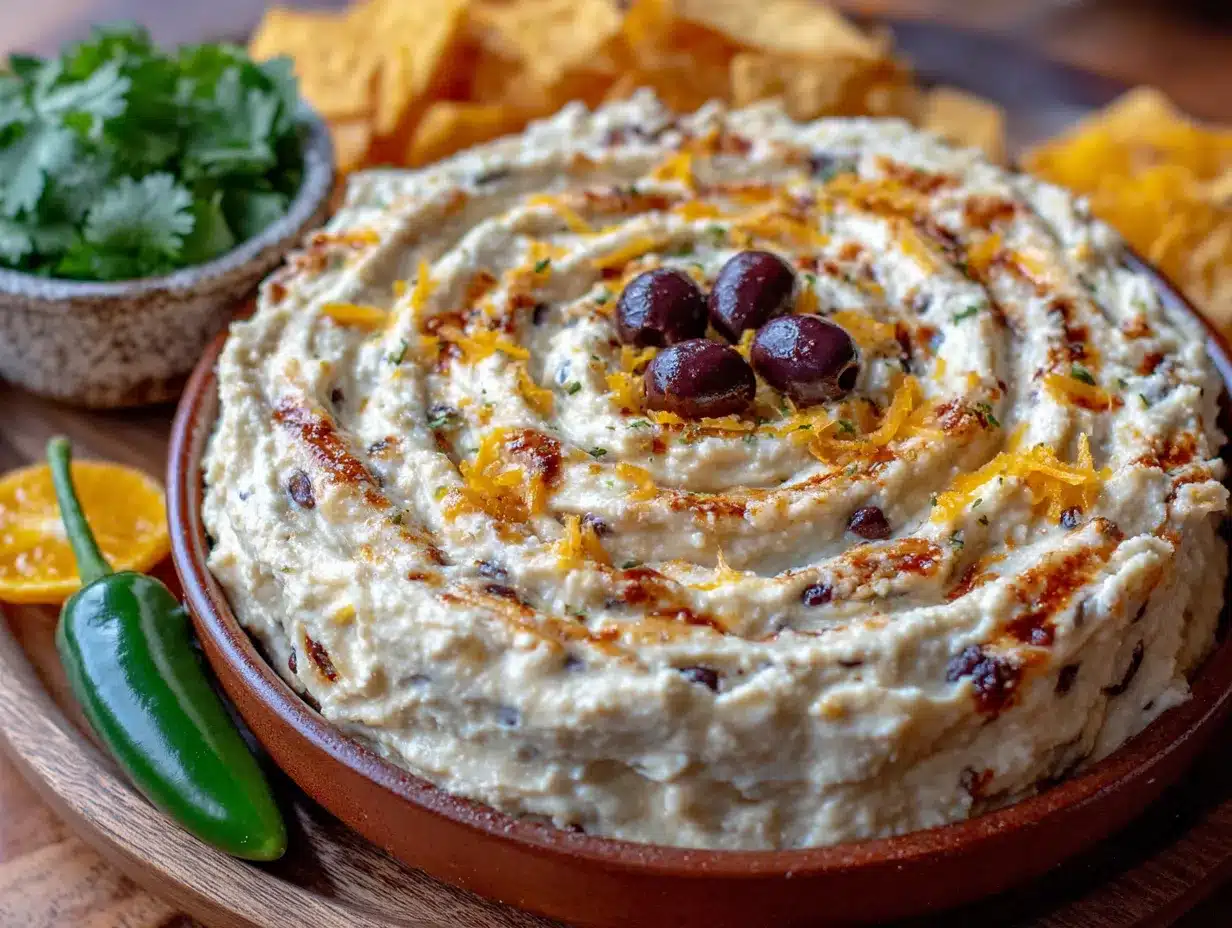
Let me walk you through this step by step. Trust me, it’s simple enough that you can do it while answering “Mom, where’s my costume?” for the fifth time.
- Preheat your oven to 375°F (190°C). This gives it time to come to temperature while you prep everything else.
- Prepare the bean mixture. In your mixing bowl, add the drained black beans, softened cream cheese, salsa, chili powder, cumin, and garlic powder. Mash everything together with a fork or potato masher until it’s mostly smooth but still has some bean chunks for texture. You want it to look like a thick, chunky dip — not baby food. This should take about 2 minutes.
- Taste and adjust. This is important! Grab a clean spoon and taste your bean mixture. Need more salt? Add a pinch. Want more heat? A dash of cayenne works. Remember, the cheese will add some saltiness later, so don’t overdo it.
- Spread the bean mixture. Transfer it to your baking dish and spread it evenly with a spatula. Make sure it reaches the edges so every scoop gets some goodness.
- Add the cheese layer. Sprinkle the shredded cheese evenly over the top of the bean mixture. Don’t skip this — the cheese acts as the “glue” that holds the mummy strips in place.
- Create the mummy strips. Take your tortillas and cut them into strips about 1 inch wide and 3-4 inches long. You want them to look like bandages, so they don’t need to be perfect. A pizza cutter makes quick work of this. I usually cut about 12-15 strips.
- Assemble the mummy. Lay the tortilla strips across the cheese layer in a crisscross pattern, leaving small gaps so you can see the cheese and bean mixture underneath. Think of how a mummy’s bandages look — not too tight, not too loose. Leave a small space near the top for the eyes.
- Bake. Place the dish in the preheated oven and bake for 12-15 minutes, until the cheese is melted and bubbly and the tortilla strips are starting to turn golden brown at the edges. Your kitchen will smell amazing at this point.
- Add the eyes. Once it’s out of the oven, let it cool for 2-3 minutes (it’s hot!). Then press the candy eyes gently into the mummy’s “face” area, right on top of the tortilla strips. The residual heat will help them stick.
- Serve immediately. Place the dish on a trivet or cutting board, surround it with chips, and watch it disappear. I like to put a small spoon next to the dish so people can scoop extra dip onto their chips.
Sensory Cues: When it’s done, you’ll see the edges bubbling gently and the cheese will be fully melted with no dry spots. The tortilla strips should be crispy on the edges but still slightly soft in the middle where they touch the cheese. The smell is warm and savory with that unmistakable taco seasoning aroma. Your kids will probably wander into the kitchen asking what’s for dinner.
Cooking Tips & Techniques
I’ve made this dip more times than I can count, and I’ve learned a few things along the way. Let me share the good stuff so you don’t make the same mistakes I did.
Don’t over-mash the beans. The first time I made this, I went crazy with the masher and ended up with a paste that was too dense. You want some texture — those little bean chunks are what make it feel like real food instead of baby mush. Aim for about 70% mashed, 30% chunky.
Let the cream cheese soften. I know, I know, you’re in a hurry. But cold cream cheese creates lumps that don’t blend well. If you forgot to take it out of the fridge, microwave it for 10-15 seconds on low power. Just don’t overdo it or you’ll have melted cream cheese soup.
Cut tortilla strips while the oven preheats. This is my favorite multitasking trick. Get the oven going, then cut your strips. By the time you’re done, the oven is ready and you’re not standing around waiting.
Watch the bake time. Every oven is different. My old oven took exactly 14 minutes, but my new one runs hot and I have to check at 11 minutes. Start checking at the 10-minute mark. You want bubbly cheese and golden edges, not burnt tortillas.
Make it ahead of time. Here’s a lifesaver for party day: Assemble the entire dip (minus the tortilla strips and eyes) the night before. Cover it with foil and keep it in the fridge. When you’re ready to bake, add the strips and add 5 minutes to the bake time since it’s starting cold. This trick has saved me so many times.
One mistake I made: I once used flavored tortillas (spinach herb) thinking it would be fun. The green color looked weird against the cheese, and the herb flavor clashed with the taco seasoning. Stick with plain white or yellow corn tortillas for the best result.
Variations & Adaptations
This recipe is incredibly flexible, which is perfect for families with different tastes. Here are some variations I’ve tried and loved.
Spicy Mummy Dip: Add 1/4 cup diced jalapeños to the bean mixture, use pepper jack cheese instead of Mexican blend, and add a dash of hot sauce to the salsa. My husband loves this version, and it’s great for adults-only parties.
Veggie-Packed Version: Finely dice 1/4 cup each of bell peppers and onions, sauté them until soft, and mix them into the bean layer. You can also add a handful of fresh spinach to the bean mixture before mashing — it wilts during baking and adds nutrients without changing the flavor much.
Meat Lover’s Mummy: Brown 1/2 pound of ground beef or turkey with taco seasoning, then layer it on the bottom of the dish before adding the bean mixture. This makes it heartier and turns it into a full meal. Perfect for hungry teenagers.
Dairy-Free Adaptation: Use dairy-free cream cheese (Kite Hill or Tofutti work well), skip the shredded cheese or use a plant-based shred, and make sure your tortillas are dairy-free. The flavor is slightly different but still delicious.
Slow Cooker Method: If you’re bringing this to a party, you can make it in a small slow cooker. Mix the bean layer ingredients, spread them in the slow cooker, top with cheese, and cook on low for 2 hours. Add the tortilla strips and eyes just before serving. The strips won’t get as crispy, but it stays warm for hours.
My personal favorite variation: I once added a layer of guacamole between the bean mixture and the cheese. It was incredible. The cool, creamy avocado against the warm, savory beans is a match made in heaven. Just make sure your guacamole is thick enough that it doesn’t get watery during baking.
Serving & Storage Suggestions
This dip is best served warm, right out of the oven. The cheese is gooey, the tortilla strips are crispy, and the bean layer is perfectly creamy. Here’s how to make it shine.
Serving Temperature: Serve it hot, but let it cool for 2-3 minutes after baking so nobody burns their mouth. It stays warm for about 20-30 minutes on the counter, which is usually enough time for it to disappear.
Presentation: Place the baking dish on a wooden cutting board or a festive Halloween platter. Surround it with tortilla chips in a circle, almost like a wreath. I like to use a mix of regular chips and scoop chips so there’s something for everyone. You can also add small bowls of extra salsa, sour cream, or guacamole around the edges for people to customize their scoops.
What to Serve With It: This dip pairs perfectly with a simple side of fresh veggies (carrot sticks, cucumber slices) for a lighter option. For a full Halloween spread, I serve it alongside mini hot dogs wrapped in crescent rolls (they look like mummies too!) and a bowl of Halloween-themed fruit salad.
Storage Instructions: If you somehow have leftovers, store them in an airtight container in the refrigerator for up to 3 days. The tortilla strips will get soft, but the flavor is still great. To reheat, pop it in a 350°F oven for 10 minutes or microwave individual portions for 30-45 seconds.
Freezer Notes: You can freeze the unbaked bean mixture (without the tortilla strips and cheese) for up to 2 months. Thaw it overnight in the fridge, then assemble and bake as directed. The texture is slightly different after freezing, but it’s still delicious.
Flavor Development: Honestly, this dip tastes even better the next day. The flavors meld together overnight, and the bean mixture gets even more flavorful. I’ve been known to make it just for myself as a lazy dinner the next day.
Nutritional Information & Benefits
This dip is surprisingly nutritious for something that feels so indulgent. Here’s the breakdown per serving (about 1/8 of the recipe, with chips):
- Calories: Approximately 280-320 calories per serving
- Protein: 12-15 grams (thanks to the black beans and cheese)
- Fiber: 8-10 grams (black beans are fiber superstars)
- Fat: 14-18 grams (mostly from cheese and cream cheese)
- Carbohydrates: 30-35 grams
Health Benefits: Black beans are packed with fiber, which helps keep kids full and satisfied — perfect for a party where you don’t want them crashing from sugar. They’re also a great source of plant-based protein and iron. The salsa adds a serving of vegetables, and the cheese provides calcium for growing bones.
Dietary Considerations: This recipe is naturally vegetarian and can be made gluten-free with corn tortillas. It’s also nut-free, which is great for school parties. For a lower-fat version, use reduced-fat cream cheese and cheese, though the texture won’t be as creamy.
Potential Allergens: Dairy (cream cheese and shredded cheese) and gluten (flour tortillas). Use the substitutions mentioned earlier to adapt for allergies.
My Perspective: I love that this recipe lets my kids eat something fun and festive that’s also good for them. It’s not a health food, but it’s a whole lot better than a bag of candy. And when they’re running around the house in their costumes, I feel good knowing they have some protein and fiber in their bellies.
Conclusion
This black bean mummy taco dip has become a Halloween tradition in our house, and I hope it becomes one in yours too. It came from a moment of panic and turned into a recipe that’s saved me more times than I can count. It’s proof that you don’t need fancy ingredients or hours of prep to create something that feels special.
What I love most about this recipe is how it brings people together. Kids gather around it, giggling at the mummy face. Parents appreciate that it’s something their kids will actually eat. And everyone loves that it’s warm, cheesy, and satisfying — exactly what you need on a chilly October evening.
So go ahead and make it your own. Add extra spice, pile on the toppings, or keep it simple. The mummy design is easy enough for little hands to help with, so let your kids get involved. Trust me, they’ll be so proud of their creation.
I’d love to hear how yours turns out! Drop a comment below and tell me about your Halloween party, or share a photo of your mummy dip. And if you’ve got a variation that your family loves, please share it — I’m always looking for new ideas. Happy Halloween, and happy dipping!
Frequently Asked Questions
Can I make this black bean mummy taco dip ahead of time?
Absolutely! Assemble the dip (without the tortilla strips and eyes) the night before, cover it with foil, and refrigerate. When you’re ready to bake, add the strips and add 5 extra minutes to the bake time since it’s starting cold.
Can I use refried beans instead of black beans?
Yes, you can! Use one can of refried black beans or traditional refried beans. Skip the mashing step since they’re already smooth. The texture will be slightly different but still delicious.
How do I make this dip spicier?
Add 1/4 cup diced jalapeños to the bean mixture, use pepper jack cheese, or add a teaspoon of hot sauce to the salsa. You can also sprinkle red pepper flakes on top before baking for extra heat.
Can I use a different type of cheese?
Definitely! Cheddar, Monterey Jack, Colby, or a Mexican blend all work great. Pepper jack adds a nice kick. Avoid using pre-shredded cheese from the bag if possible — it has anti-caking agents that prevent it from melting as smoothly.
What can I use instead of candy eyes?
If you don’t have candy eyes, you can make eyes using sliced black olives (two circles), or use small dollops of sour cream with a tiny piece of black olive in the center. Some people use sliced cheese circles with a dot of ketchup in the middle. Get creative!
Pin This Recipe!
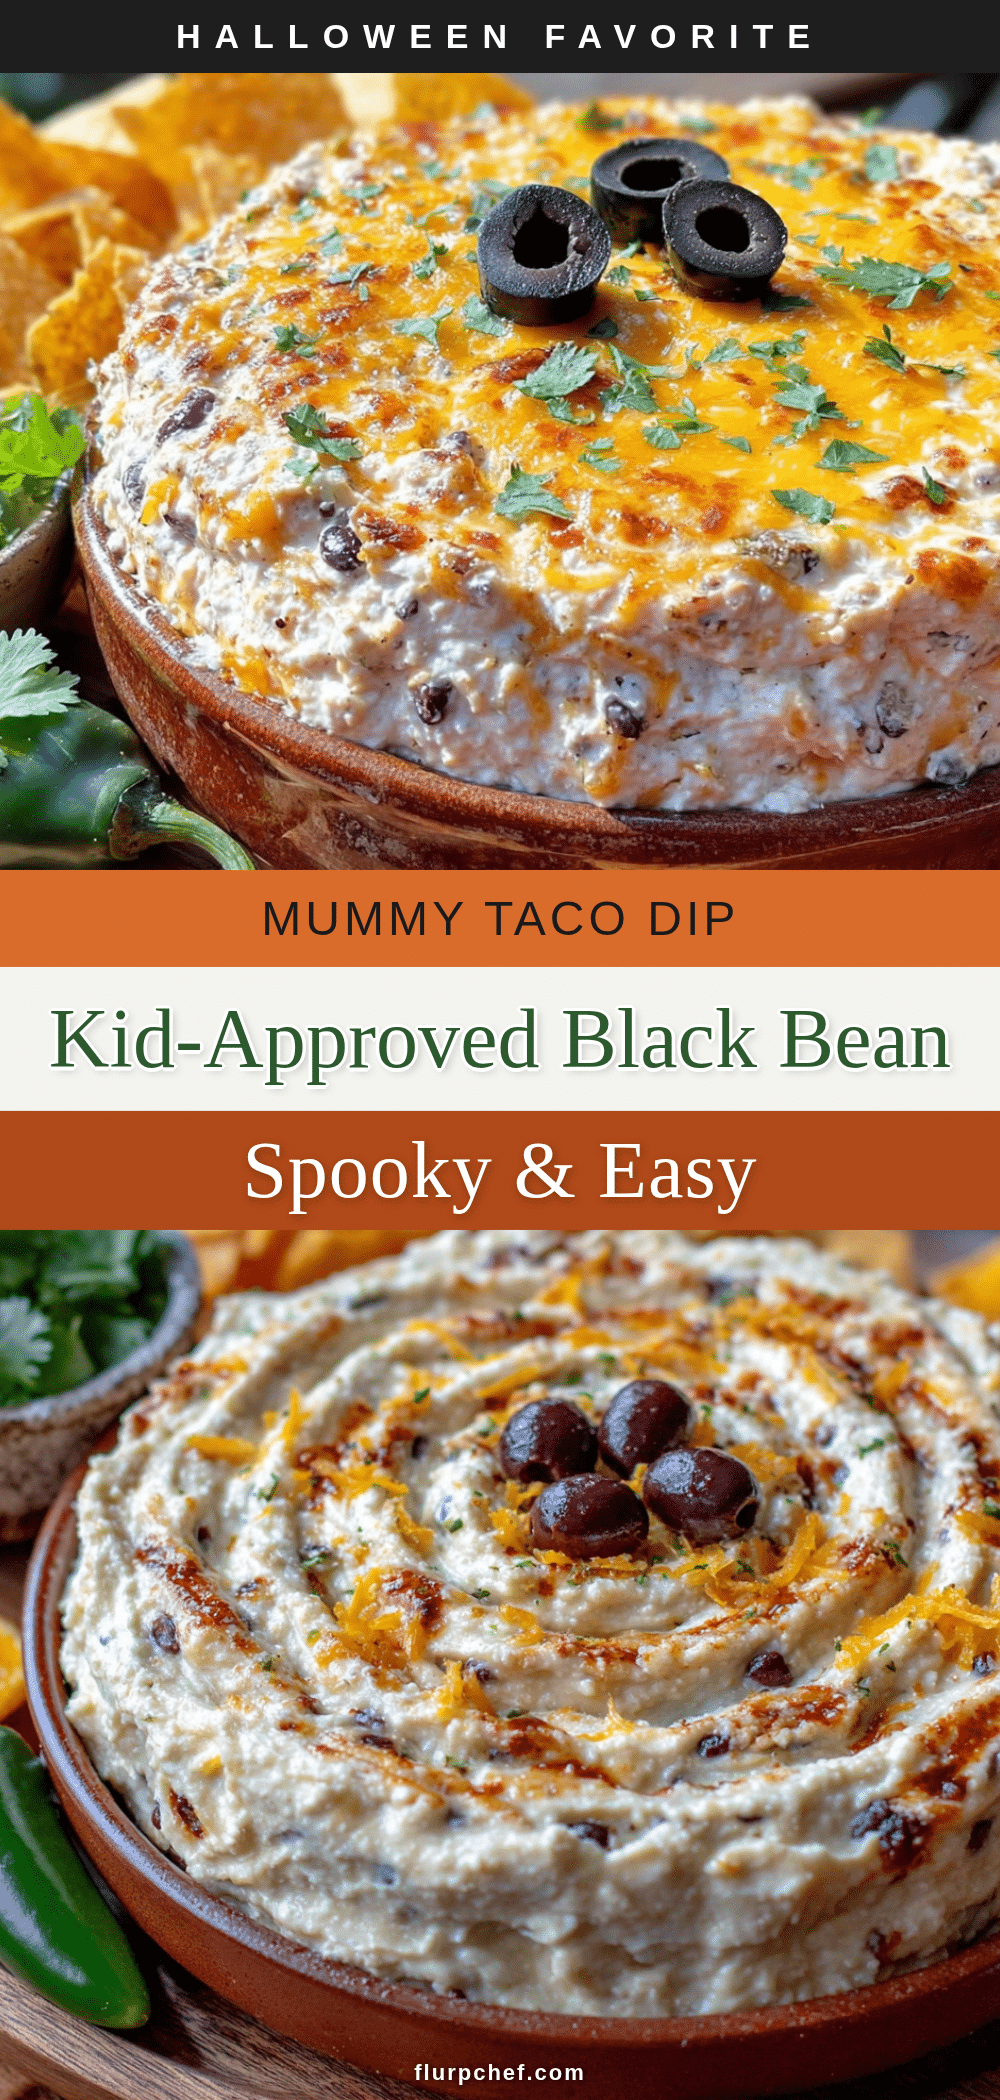
Best Easy Black Bean Mummy Taco Dip

A quick and easy Halloween party dip made with black beans, cream cheese, salsa, and tortilla strips arranged like a mummy. Perfect for last-minute gatherings and a crowd-pleaser for kids and adults alike.
- Prep Time: 10 minutes
- Cook Time: 15 minutes
- Total Time: 25 minutes
- Yield: 8 servings 1x
- Category: Appetizer
- Cuisine: Mexican-American
Ingredients
- 1 can (15 oz) black beans, drained and rinsed
- 4 oz cream cheese, softened
- 1/2 cup salsa
- 1 teaspoon chili powder
- 1/2 teaspoon cumin
- 1/2 teaspoon garlic powder
- 1/4 teaspoon salt (optional)
- 4–5 small flour tortillas
- 1 cup shredded Mexican blend cheese
- 2 small candy eyes (optional)
- Tortilla chips or scoop-style chips for serving
Instructions
- Preheat your oven to 375°F (190°C).
- In a mixing bowl, add the drained black beans, softened cream cheese, salsa, chili powder, cumin, and garlic powder. Mash together with a fork or potato masher until mostly smooth but still with some bean chunks.
- Taste and adjust seasoning if needed.
- Transfer the bean mixture to a small baking dish (8×8 or 9×9) and spread evenly with a spatula.
- Sprinkle the shredded cheese evenly over the top of the bean mixture.
- Cut the tortillas into strips about 1 inch wide and 3-4 inches long.
- Lay the tortilla strips across the cheese layer in a crisscross pattern, leaving small gaps. Leave a small space near the top for the eyes.
- Bake for 12-15 minutes, until the cheese is melted and bubbly and the tortilla strips are starting to turn golden brown at the edges.
- Remove from the oven, let cool for 2-3 minutes, then press the candy eyes gently into the mummy’s ‘face’ area.
- Serve immediately with tortilla chips.
Notes
For a dairy-free version, use dairy-free cream cheese and plant-based shredded cheese. For gluten-free, use corn tortillas. The dip can be assembled the night before (without tortilla strips and eyes) and refrigerated; add 5 minutes to the bake time when baking from cold.
Nutrition
- Serving Size: 1/8 of recipe
- Calories: 300
- Sugar: 3
- Sodium: 520
- Fat: 16
- Saturated Fat: 8
- Carbohydrates: 33
- Fiber: 9
- Protein: 13
Keywords: Halloween, mummy, taco dip, black bean, party dip, easy appetizer, kid-friendly


