My uncle claimed to hate raisins for forty-three years. Not a mild dislike, mind you, but a full-blown, theatrical hatred. He’d pick them out of cookies with surgical precision, push them to the side of his oatmeal, and make a whole production of it at every holiday gathering. Then last St. Patrick’s Day, I made this Irish soda bread with currants “just for myself” and found him standing at the kitchen counter at 11 PM, eating a slice with butter melting down his wrist. “These aren’t raisins,” he said, mouth full. “These are… different.” That’s the thing about currants, I guess. They sneak up on you. And honestly, that moment of catching someone in the act of proving themselves wrong — it never gets old. Maybe you’ve been there with a picky eater in your own house. This is the bread that changes minds, one crumb at a time.
Why You’ll Love This Recipe
This isn’t just another quick bread recipe you’ll forget about by next week. After testing this version about six times (my family was very patient, let me tell you), I landed on something special. The texture is tender but sturdy enough to hold a generous schmear of butter, and the currants add little bursts of sweetness without being overwhelming. Here’s why this one sticks:
- Quick & Easy: From mixing bowl to table in under an hour. No yeast, no rising time, no fuss. Perfect for those afternoons when you suddenly remember it’s your turn to bring something to the school bake sale.
- Simple Ingredients: You probably have everything in your pantry right now. Flour, buttermilk, baking soda, salt, sugar, and currants. That’s it. No trips to the specialty store required.
- Kid-Approved: My nephew, who once declared bread “boring,” ate three slices in one sitting. The currants make it feel like a treat, but it’s sturdy enough for little hands to hold without crumbling everywhere.
- Budget-Friendly: This loaf costs about $3 to make. Compare that to the $7 artisan loaves at the grocery store, and you’ll see why this is a regular in our weekly rotation.
- Forgiving Recipe: Overmix it a little? No problem. Forget to soak the currants? Still turns out great. This bread wants you to succeed.
The magic here is in the technique — cutting the butter into the flour until it looks like coarse meal creates those lovely, tender pockets throughout the bread. And the buttermilk reacts with the baking soda to give you that signature rise without any yeast. It’s comfort food that actually works for real life, you know?
What Ingredients You Will Need
This recipe relies on simple, pantry-friendly ingredients that come together to create something genuinely special. The key is using good-quality buttermilk and fresh baking soda — those two do the heavy lifting here.
- All-purpose flour, 3 cups (360g) — King Arthur Flour is my go-to for consistent results, but any brand works. Spoon and level your flour for the best texture; don’t scoop straight from the bag or you’ll pack in too much.
- Granulated sugar, 3 tablespoons (36g) — Just enough to balance the tang of the buttermilk without making this taste like cake. You can reduce it to 2 tablespoons if you prefer a more savory loaf.
- Baking soda, 1 teaspoon — Make sure it’s fresh! Test it by dropping a pinch into vinegar; if it fizzes vigorously, you’re good to go. Old baking soda is the #1 reason soda bread turns out dense and sad.
- Salt, 1 teaspoon — I use fine sea salt. It enhances all the flavors without making the bread taste salty.
- Cold unsalted butter, 4 tablespoons (56g), cut into small cubes — Keep it cold! This is what gives the bread its tender crumb. If your kitchen is warm, pop the cubed butter in the freezer for 5 minutes before cutting it into the flour.
- Dried currants, 1 cup (160g) — Zante currants are what I use; they’re smaller and tarter than raisins, which means they distribute more evenly throughout the dough. If you can’t find currants, use golden raisins or chopped dried apricots instead.
- Buttermilk, 1 1/4 cups (300ml) — Full-fat buttermilk gives the best flavor and texture. In a pinch, you can make a quick substitute by adding 1 tablespoon of lemon juice or white vinegar to 1 1/4 cups of whole milk and letting it sit for 5 minutes until it curdles.
One thing I learned the hard way — don’t skip soaking the currants. Pour boiling water over them and let them sit for 10 minutes before draining. This plumps them up so they stay juicy in the baked bread instead of turning into little hard pellets. Trust me on this one.
Equipment Needed
Nothing fancy here, which is part of the beauty of this recipe. You probably already own everything you need.
- Large mixing bowl — Any bowl works, but I prefer a wide one that gives me room to work the butter into the flour without making a mess.
- Pastry cutter or two forks — A pastry cutter makes quick work of cutting butter into flour, but two forks work just fine. I’ve even used my fingers in a pinch; just work quickly so the butter doesn’t warm up too much.
- Wooden spoon or rubber spatula — For bringing the dough together. A wooden spoon feels right for this rustic bread, honestly.
- Baking sheet — Line it with parchment paper for easy cleanup. A cast iron skillet also works beautifully if you want a crisper bottom crust.
- Sharp knife or bench scraper — For scoring the cross on top. A serrated knife works best to cut through the dough cleanly without dragging.
- Wire cooling rack — Essential for letting the bread cool properly so the inside finishes cooking and the crust stays crisp instead of getting soggy.
That’s genuinely it. No stand mixer, no bread machine, no special pans. This is the kind of recipe that makes you feel like a magician with minimal effort.
Preparation Method
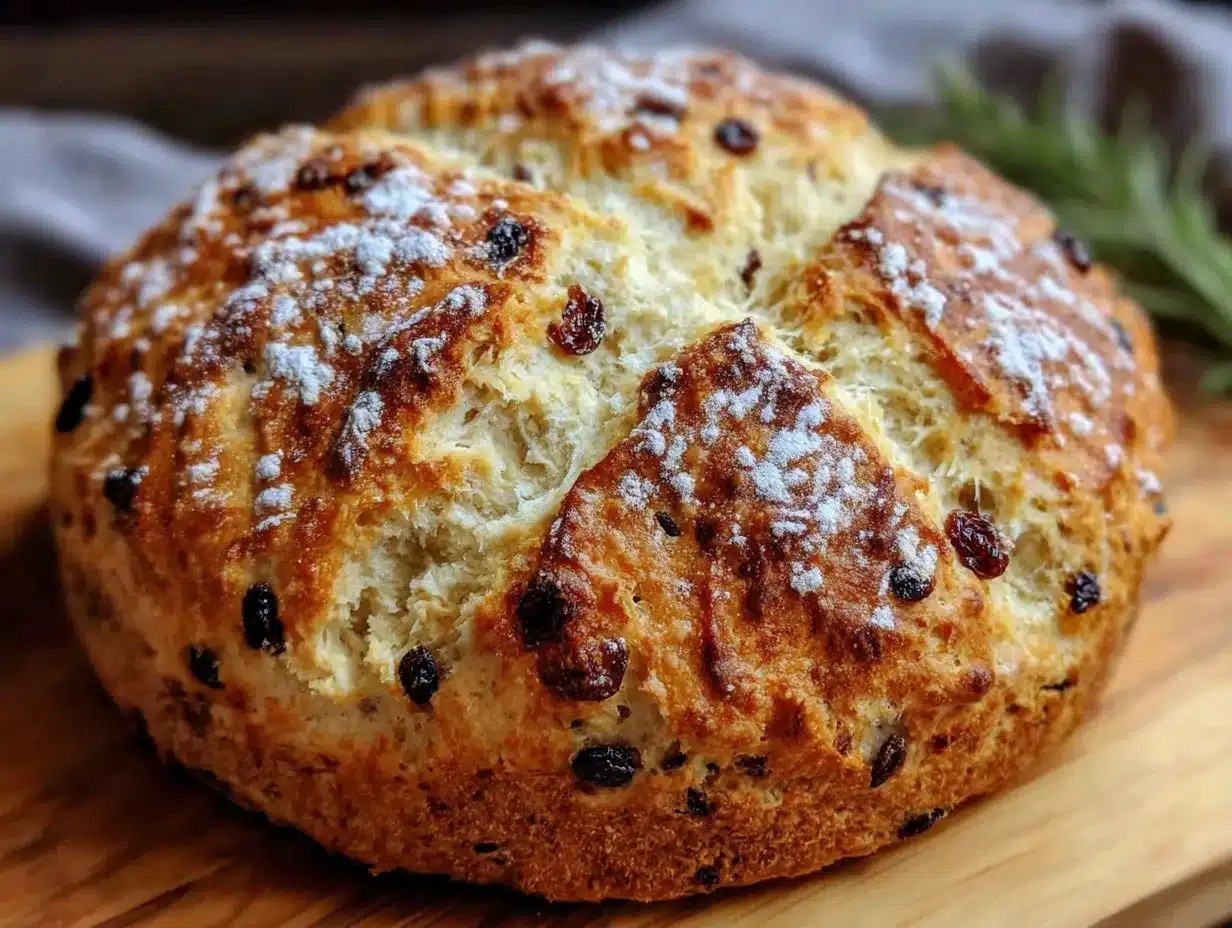
- Preheat your oven to 400°F (200°C) and position the rack in the center. Line a baking sheet with parchment paper. Getting the oven hot before you start mixing is crucial — you want that blast of heat to help the bread rise quickly.
- Soak the currants in a small bowl covered with boiling water for 10 minutes. While they soak, you can prep the dry ingredients. Drain the currants well and pat them dry with a paper towel. This step makes a real difference — plump currants instead of shriveled ones.
- Whisk together the dry ingredients in your large bowl: 3 cups flour, 3 tablespoons sugar, 1 teaspoon baking soda, and 1 teaspoon salt. Make sure the baking soda is evenly distributed; I whisk for a good 15 seconds to be thorough.
- Cut in the cold butter using your pastry cutter or two forks. Work quickly until the mixture looks like coarse meal with some pea-sized butter pieces remaining. You want visible bits of butter — those create steam pockets in the oven that give you a tender, flaky texture. Don’t overwork it into a paste or you’ll lose that effect.
- Toss in the drained currants and stir to coat them with the flour mixture. This prevents them from sinking to the bottom of the dough during baking. I learned this trick after my first loaf had all the currants sitting sadly at the bottom.
- Make a well in the center of the flour mixture and pour in 1 1/4 cups of buttermilk. Use a wooden spoon or rubber spatula to stir just until the dough comes together. It will look shaggy and a bit dry — that’s exactly what you want. If it seems too dry to come together, add another tablespoon of buttermilk. If it’s too sticky, add a tablespoon more flour.
- Turn the dough out onto a lightly floured surface and knead it gently 8 to 10 times, just until it holds together. The key word here is gently. Over-kneading will activate the gluten too much and give you a tough, dense loaf instead of a tender one. This isn’t yeast bread; you’re not trying to develop a smooth, elastic dough.
- Shape the dough into a round loaf about 6 to 7 inches across and place it on your prepared baking sheet. Don’t worry if it’s not perfectly round — rustic is the look we’re going for here.
- Score a deep cross on top using a sharp knife or bench scraper, cutting about 1/2 inch deep. This isn’t just decorative — it helps the bread bake evenly by allowing heat to reach the center, and it’s traditional in Irish folklore to “let the fairies out.” I’m not superstitious, but I’m not taking chances with my bread either.
- Bake for 35 to 40 minutes, until the bread is golden brown and sounds hollow when you tap the bottom. If you have an instant-read thermometer, the internal temperature should read 190°F (88°C) when done. Halfway through baking, rotate the pan for even browning.
- Transfer to a wire rack to cool for at least 20 minutes before slicing. I know, the smell is torture, but cutting into it too early will give you a gummy interior. Use that time to make tea and get the butter to room temperature.
One thing I want to mention — if your kitchen is particularly humid, you might need a little less buttermilk. I learned this the summer my air conditioner broke and my dough turned into a sticky mess. Add the buttermilk gradually and stop when the dough looks shaggy but holds together when pressed.
Cooking Tips & Techniques
After making this bread more times than I can count (and a few spectacular failures along the way), here’s what I’ve learned that actually matters:
Keep everything cold. The butter, the buttermilk, even your hands if you’re using them to cut in the butter. Warm ingredients create a dense, greasy loaf. I once made the mistake of leaving my butter on the counter while I prepped everything else, and the bread came out flat and sad. Never again.
Don’t twist the cutter when scoring the cross. I read this tip in an old Irish cookbook and it stuck with me. Twisting the knife drags the dough and deflates it. A clean, straight cut gives you that beautiful cracked top that soda bread is famous for.
Check your baking soda’s freshness. This is the number one mistake people make with quick breads. Baking soda loses potency over time, especially if your container has been open for more than six months. If your bread isn’t rising properly, it’s almost always the baking soda’s fault.
Let it rest before slicing. I ruined my first three loaves by cutting into them too soon. The steam needs time to redistribute, and the starches need to set. Twenty minutes feels like forever when your kitchen smells like butter and warm bread, but it’s worth the wait.
Toast leftovers for a second life. Day-old soda bread makes incredible toast. The crumb firms up overnight, and toasting it brings back that crispy exterior and soft interior. It’s honestly better the next day for breakfast with jam.
Variations & Adaptations
This recipe is wonderfully flexible, which is great when you’re feeding a family with different tastes. Here are some variations I’ve tried and loved:
Whole Wheat Version: Swap 1 cup of the all-purpose flour for whole wheat flour. You’ll need to add an extra 2 tablespoons of buttermilk since whole wheat absorbs more liquid. The bread will be denser and nuttier, perfect for sandwiches the next day.
Cheese & Herb Soda Bread: Omit the sugar and currants, and add 1 cup of sharp cheddar cheese (grated), 2 tablespoons of fresh chives, and 1 tablespoon of fresh rosemary. This savory version is incredible alongside soup or stew. My kids actually prefer this one for after-school snacks.
Gluten-Free Adaptation: Use a good quality 1-to-1 gluten-free flour blend that contains xanthan gum. Add an extra tablespoon of buttermilk since gluten-free flours tend to be thirstier. The texture won’t be exactly the same — a bit more crumbly — but the flavor is still spot-on.
Dairy-Free Option: Substitute the butter with coconut oil or vegan butter (keep it cold!), and use a dairy-free buttermilk by adding 1 tablespoon of lemon juice to 1 1/4 cups of unsweetened oat milk or almond milk. Let it sit for 5 minutes before using.
Add Some Spice: Add 1 teaspoon of cinnamon and 1/2 teaspoon of cardamom to the flour mixture for a warming twist. This pairs beautifully with the currants and makes the bread feel like a special occasion treat.
My personal favorite variation? I make a double batch around the holidays and give mini loaves as gifts. Everyone thinks I spent hours on them, and I just smile and nod.
Serving & Storage Suggestions
This bread is best served warm, but let’s be honest — it’s good at any temperature. Here’s how to make the most of it:
Serving temperature: Warm with a generous pat of salted butter is the classic way, and for good reason. The butter melts into the nooks and crannies, and the salt balances the sweetness of the currants. For an extra treat, try it with Irish butter — it’s richer and creamier.
What to serve with it: This bread is perfect alongside a bowl of soup or stew. It’s also wonderful for breakfast with a cup of tea and some orange marmalade. For an afternoon snack, my kids love it with a smear of cream cheese and a drizzle of honey.
Storage instructions: Wrap the cooled bread tightly in plastic wrap or aluminum foil and store at room temperature for up to 3 days. Do not refrigerate — it will dry out faster. If your kitchen is humid, store it in a paper bag instead to prevent the crust from getting soft.
Freezing instructions: This bread freezes beautifully. Wrap it tightly in plastic wrap, then in foil, and freeze for up to 3 months. Thaw at room temperature for about 2 hours, then warm in a 300°F (150°C) oven for 10 minutes to refresh the crust.
Reheating tips: For individual slices, pop them in the toaster. For a whole loaf, wrap it in foil and warm in a 350°F (175°C) oven for 10 to 15 minutes. The flavors actually develop overnight, so day-old bread often tastes even better than fresh.
Nutritional Information & Benefits
Here’s the approximate nutritional breakdown per slice (based on 8 slices per loaf):
| Nutrient | Amount per slice |
|---|---|
| Calories | 245 |
| Total Fat | 7g |
| Saturated Fat | 4g |
| Carbohydrates | 40g |
| Fiber | 2g |
| Sugar | 12g |
| Protein | 6g |
| Sodium | 380mg |
This bread offers some surprising nutritional benefits. Currants are packed with antioxidants and iron, which is great for energy levels. The buttermilk provides calcium and probiotics (if you use cultured buttermilk), which support bone health and digestion. And since this bread has no preservatives or artificial ingredients, you’re getting real, whole food with every slice.
For those watching their sugar intake, you can reduce the sugar to 2 tablespoons without affecting the texture much. And if you’re avoiding dairy, the dairy-free version mentioned above works beautifully while still delivering on taste and texture.
Frequently Asked Questions
Can I use raisins instead of currants?
Absolutely! Golden raisins work especially well because they’re milder and plumper than regular raisins. Just soak them in hot water for 10 minutes first, just like you would with currants, to ensure they stay juicy in the baked bread.
Why did my soda bread turn out dense and heavy?
This usually happens for one of three reasons: your baking soda was old and not active enough, you over-kneaded the dough (remember, just 8 to 10 gentle turns), or you used too much flour. Spoon and level your flour rather than scooping directly from the bag.
Can I make this bread without buttermilk?
Yes! Make a quick buttermilk substitute by adding 1 tablespoon of lemon juice or white vinegar to 1 1/4 cups of whole milk. Let it sit for 5 minutes until it curdles and thickens. It won’t be quite as rich, but it works in a pinch.
How do I know when the bread is fully baked?
The bread should be deep golden brown on top and sound hollow when you tap the bottom. For the most accurate test, use an instant-read thermometer — the internal temperature should reach 190°F (88°C). If you don’t have a thermometer, insert a thin knife into the center; it should come out clean or with just a few moist crumbs.
Can I double this recipe?
Yes, but don’t try to make one giant loaf — it won’t bake evenly. Instead, divide the dough into two separate loaves and bake them on separate baking sheets. You may need to add a few extra minutes to the baking time since the oven will be more crowded.
Conclusion
This Irish soda bread with currants has become a staple in our house, and I think it will in yours too. It’s the kind of recipe that feels special enough for holidays but simple enough for a random Tuesday when you just want something warm and comforting. The currants add little bursts of sweetness that make it feel like a treat, but the whole thing comes together with ingredients you probably already have on hand.
I love that this bread doesn’t demand perfection. It forgives over-mixing, it tolerates substitutions, and it still tastes wonderful even when it’s not picture-perfect. That’s real food, you know? The kind that feeds your family without stressing you out.
Give it a try this week, and don’t be surprised if you find someone standing at the counter at 11 PM, eating a slice with butter dripping down their wrist. It happens more often than you’d think.
Have you tried this recipe? I’d love to hear how it turned out for you! Drop a comment below and let me know if your family loved it as much as mine does. And if you came up with a fun variation, definitely share that too — I’m always looking for new ideas to try.
Pin This Recipe!
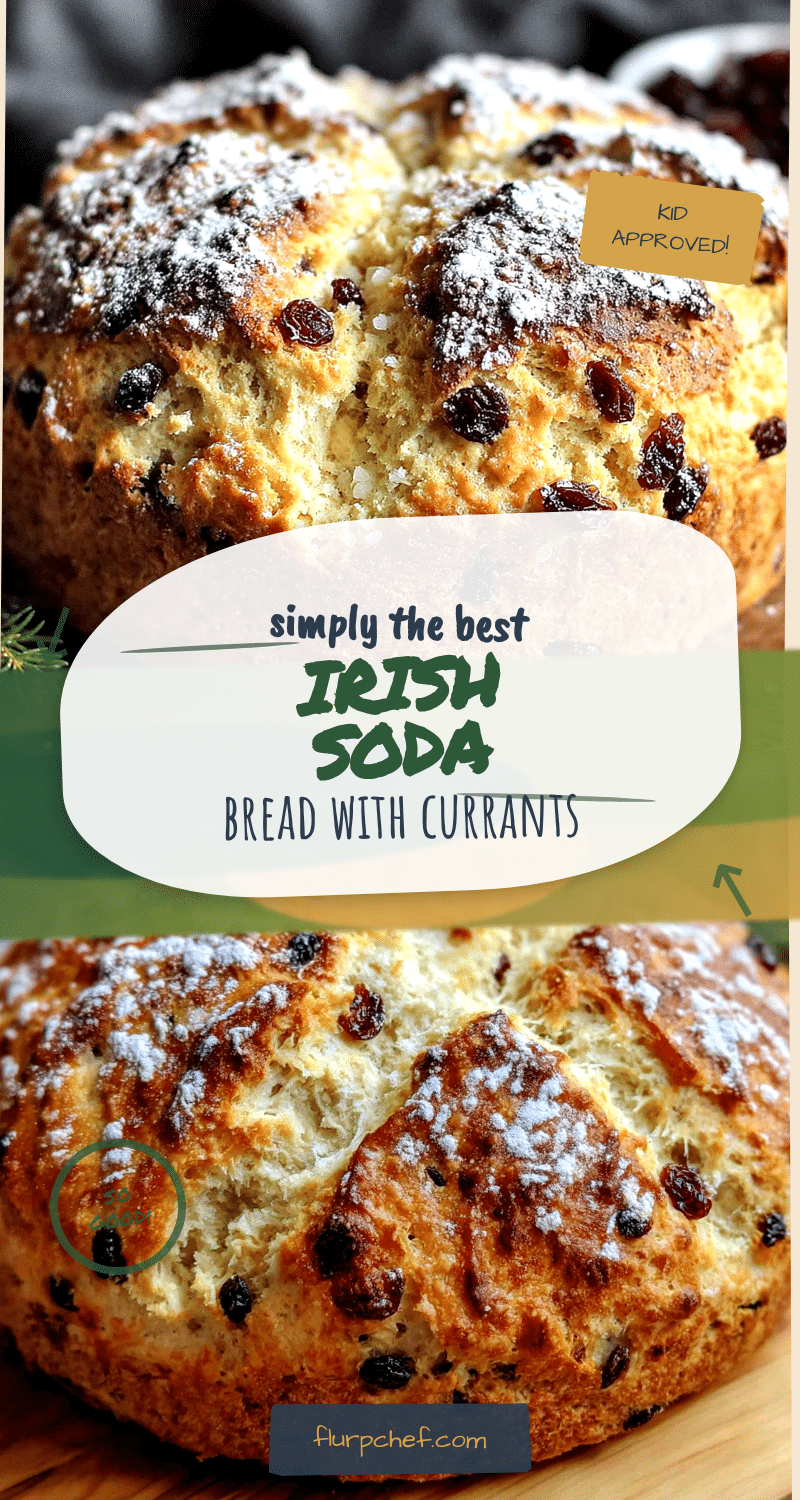
Best Easy Irish Soda Bread with Currants
This tender, buttery Irish soda bread is studded with plump currants and comes together in under an hour with no yeast required. It’s the perfect quick bread for St. Patrick’s Day or any day you crave a warm, comforting loaf.
- Prep Time: 15 minutes
- Cook Time: 35 minutes
- Total Time: 50 minutes
- Yield: 8 servings 1x
- Category: Bread
- Cuisine: Irish
Ingredients
- 3 cups (360g) all-purpose flour
- 3 tablespoons (36g) granulated sugar
- 1 teaspoon baking soda
- 1 teaspoon fine sea salt
- 4 tablespoons (56g) cold unsalted butter, cut into small cubes
- 1 cup (160g) dried currants (Zante currants recommended)
- 1 1/4 cups (300ml) buttermilk (full-fat preferred)
Instructions
- Preheat oven to 400°F (200°C) and position rack in the center. Line a baking sheet with parchment paper.
- Soak currants in a small bowl covered with boiling water for 10 minutes. Drain well and pat dry with a paper towel.
- In a large bowl, whisk together flour, sugar, baking soda, and salt until evenly distributed (about 15 seconds).
- Cut in cold butter using a pastry cutter or two forks until mixture resembles coarse meal with some pea-sized butter pieces remaining.
- Toss in drained currants and stir to coat with flour mixture.
- Make a well in the center and pour in buttermilk. Stir with a wooden spoon or rubber spatula just until dough comes together (it will look shaggy and slightly dry).
- Turn dough out onto a lightly floured surface and knead gently 8 to 10 times, just until it holds together.
- Shape dough into a round loaf about 6 to 7 inches across and place on prepared baking sheet.
- Score a deep cross on top using a sharp knife or bench scraper, cutting about 1/2 inch deep.
- Bake for 35 to 40 minutes, until golden brown and hollow-sounding when tapped on the bottom (internal temperature should reach 190°F/88°C). Rotate pan halfway through.
- Transfer to a wire rack to cool for at least 20 minutes before slicing.
Notes
For best results, keep butter and buttermilk cold. Do not over-knead; 8 to 10 gentle turns is enough. Soaking currants in hot water plumps them for a juicier texture. If dough seems too dry, add another tablespoon of buttermilk; if too sticky, add a tablespoon more flour. Let bread cool at least 20 minutes before slicing to avoid a gummy interior.
Nutrition
- Serving Size: 1 slice
- Calories: 245
- Sugar: 12
- Sodium: 380
- Fat: 7
- Saturated Fat: 4
- Carbohydrates: 40
- Fiber: 2
- Protein: 6
Keywords: Irish soda bread, currant bread, quick bread, St. Patrick's Day, easy bread recipe, no yeast bread


