My sister-in-law Rachel wasn’t trying to impress anyone that Tuesday afternoon. I’d stopped by to drop off a library book she’d lent me, and the smell hit me before I even got through the side door. Something warm and spicy, like autumn had decided to move into her kitchen and set up camp. She was bent over the counter, scooping batter into a tiny muffin tin, and she barely looked up when I walked in. “Oh good, you’re here. Taste test these for me before the kids get home.”
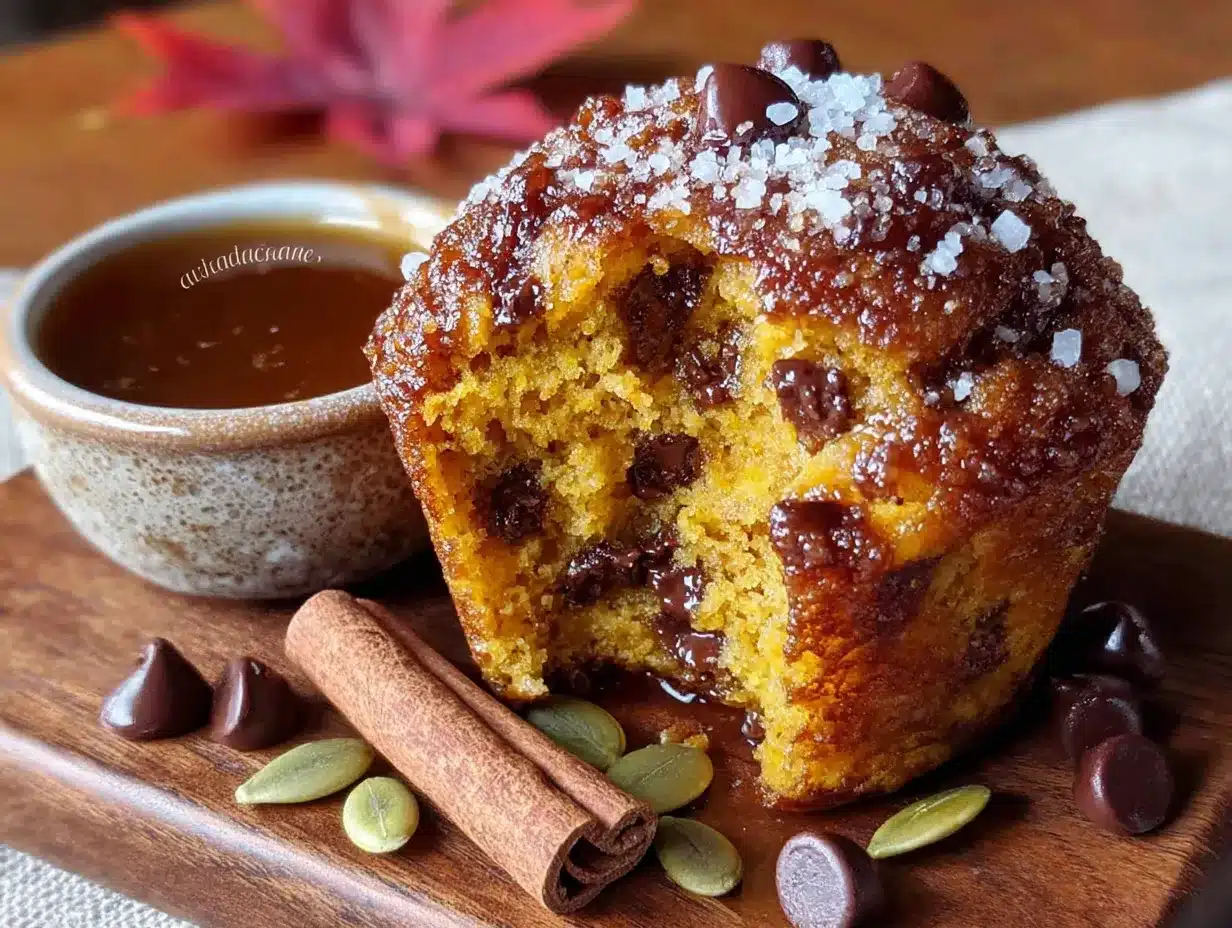
Honestly, I thought she was making a full batch. The kitchen smelled like a bakery, but there were only six little muffins cooling on the rack. Six. She laughed at my confused face and said, “That’s all we need. Any more and I’d eat them all myself.” I grabbed one while it was still warm, and let me tell you, that first bite was something else. The pumpkin made it impossibly moist, and the chocolate chips were still a little melty, like they knew exactly what they were doing. I mean, I’ve had pumpkin muffins before, but this was different. This was the kind of muffin that makes you close your eyes without meaning to.
Rachel is one of those cooks who doesn’t think she’s doing anything special. She just throws things together, uses whatever’s in the pantry, and somehow ends up with something that tastes like you spent hours on it. That day, she was using the last of a can of pumpkin puree and a handful of chocolate chips left over from cookie baking. She wasn’t following a fancy recipe—she was just making sure her kids had something good after school. And that’s the thing, you know? The best recipes often come from people who aren’t trying to be impressive. They’re just trying to feed the people they love.
I stood there in her messy kitchen, eating a second muffin (she insisted), and I knew I had to figure out how she did it. The muffins were perfectly domed, not too sweet, with just enough pumpkin spice to feel cozy without overwhelming everything. And the chocolate chips—well, they were the star. Every bite had a little pocket of melted chocolate, and it made the whole thing feel like a treat. Rachel shrugged when I asked for the recipe. “I don’t really measure,” she said. “I just go by feel.”
So I watched. I asked questions. And after a few tries in my own kitchen, I got it down. These small-batch pumpkin chocolate chip muffins are exactly what I needed in my life—and maybe you’ve been there too, wanting something homemade but not wanting a dozen muffins staring at you from the counter, begging to be eaten. These are just right. Six muffins. No leftovers to tempt you. Just pure, simple, kid-approved goodness.
Why You’ll Love This Recipe
Let me be real with you for a second. I’ve tested this recipe about seven times, and I’m not even exaggerating. My family has been very willing participants in this research, and they’ve made it clear that this version is the winner. Here’s why I think you’ll love it too:
- Quick & Easy: These muffins come together in about 30 minutes from start to finish. Mix the dry ingredients, mix the wet ingredients, combine, scoop, bake. That’s it. No stand mixer required, no complicated techniques.
- Simple Ingredients: You probably already have most of these in your kitchen. Pumpkin puree, flour, sugar, eggs, chocolate chips—nothing fancy. And the best part? You only need half a can of pumpkin, so no leftover pumpkin sitting in the fridge wondering what to do with itself.
- Perfect for After-School Snacks: These muffins are just the right size for little hands. They’re not too sweet, so you can feel good about handing one to your kid when they come home hungry. Plus, they’re packed with pumpkin, which is basically a vegetable, right?
- Crowd-Pleaser: I’ve made these for playdates, school events, and just regular Tuesday afternoons. Kids love them because of the chocolate chips. Adults love them because they taste like fall without being overly spiced. Everyone wins.
- Unbelievably Delicious: The texture is what gets me every time. These muffins are so moist they practically melt in your mouth. The pumpkin keeps them tender, and the chocolate chips add little bursts of richness. It’s comfort food at its finest.
What makes this recipe different from all the other pumpkin muffin recipes out there? It’s the small-batch thing, honestly. Most recipes make a dozen or more, and unless you’re feeding a crowd, that’s a lot of muffins. This recipe makes exactly six—perfect for a small family or for when you’re craving something homemade but don’t want to commit to a week’s worth of baked goods. Plus, I’ve tweaked the proportions so that every single muffin comes out perfectly domed and tender. No flat tops, no dry edges. Just perfect little muffins every time.
And here’s the emotional part: this recipe is the kind that makes you feel like a good parent or a good friend. When you pull these out of the oven and the kitchen smells like pumpkin and chocolate, and your kids come running because they know something good is happening—that’s a moment worth having. It’s not about being a fancy baker. It’s about making something simple that brings a little joy to your day.
What Ingredients You Will Need
This recipe uses simple, everyday ingredients to create something that tastes anything but ordinary. Most of these are pantry staples, so you probably won’t need to make a special trip to the store. Here’s what you’ll need:
For the Muffins
- 1 cup all-purpose flour (120 grams) – I use Gold Medal or King Arthur Flour for consistent results. Spoon and level your flour for the best texture; don’t scoop directly from the bag or you’ll end up with dense muffins.
- 1/2 cup granulated sugar (100 grams) – Regular white sugar works perfectly. If you want a slightly less sweet muffin, you can reduce this to 1/3 cup, but I find 1/2 cup is just right for balancing the pumpkin and chocolate.
- 1 teaspoon baking powder – Make sure your baking powder is fresh. If it’s been sitting in your cabinet for over a year, test it by dropping a little in hot water. If it fizzes, you’re good.
- 1/2 teaspoon baking soda – This helps the muffins rise and gives them that nice domed top.
- 1/2 teaspoon pumpkin pie spice – You can use store-bought or make your own by mixing cinnamon, nutmeg, ginger, and cloves. I prefer the pre-mixed kind for convenience, but homemade is lovely if you have it.
- 1/4 teaspoon salt – Just a pinch to balance the sweetness and enhance all the flavors.
- 1 large egg – Room temperature is best. If you forgot to take it out of the fridge, place it in a bowl of warm water for 5 minutes.
- 1/2 cup pumpkin puree (120 grams) – Not pumpkin pie filling! Make sure you’re getting 100% pure pumpkin. Libby’s is my go-to brand because it’s consistent and not too watery.
- 1/4 cup vegetable oil (60 ml) – Canola oil or any neutral oil works great. You can substitute melted coconut oil if you prefer, but make sure it’s cooled slightly before adding.
- 1/4 cup milk (60 ml) – Whole milk gives the richest texture, but 2% or even almond milk works fine. If using almond milk, go for unsweetened to keep the sugar balance right.
- 1 teaspoon vanilla extract – Pure vanilla extract is worth the splurge here. It adds a warmth that complements the pumpkin beautifully.
- 1/2 cup semi-sweet chocolate chips (85 grams) – I use Ghirardelli or Toll House. You can use milk chocolate if your kids prefer it, but semi-sweet balances the pumpkin spice better without being too sugary.
Ingredient Tips from My Kitchen
Let me share a few things I’ve learned the hard way. First, don’t overmix your batter. I know, everyone says that, but it’s really important here. Overmixing develops the gluten and makes your muffins tough instead of tender. Mix just until you don’t see any more streaks of flour, and then stop. A few lumps are totally fine.
Second, if you’re using a different brand of pumpkin puree, check the consistency. Some brands are more watery than others. If your puree looks thin, you can drain it slightly by placing it in a fine-mesh strainer for a few minutes. This helps prevent soggy muffins.
And third, feel free to play with the chocolate chips. Dark chocolate chips add a grown-up twist. White chocolate chips make it extra sweet and festive. Or you can do a mix if you’re feeling adventurous. Just keep the total amount the same so the batter consistency stays right.
Equipment Needed
You don’t need a lot of fancy equipment for these muffins, which is part of the beauty. Here’s what you’ll need:
- One 6-cup muffin tin – This is the star of the show. A standard 12-cup tin works too, but you’ll only fill half the cups. I actually prefer using a small-batch tin because it feels more intentional, you know?
- Paper muffin liners – These make cleanup so much easier. Plus, they help the muffins stay moist. If you don’t have liners, you can grease the tin well with butter or cooking spray.
- Two mixing bowls – One medium bowl for dry ingredients and one larger bowl for wet ingredients. Any bowls you have will work.
- Whisk – For mixing the dry ingredients together. A fork works in a pinch, but a whisk is faster.
- Rubber spatula – For folding everything together without overmixing. A wooden spoon works too, but a spatula lets you scrape the sides better.
- Measuring cups and spoons – Accurate measurements matter in baking. I use dry measuring cups for flour and sugar, and liquid measuring cups for the oil and milk.
- Kitchen scale (optional but helpful) – If you have one, use it. Weighing your ingredients is more accurate than measuring by volume, and it makes a difference in the final texture.
- Cooling rack – Letting the muffins cool in the tin for 5 minutes, then transferring them to a rack, prevents soggy bottoms. If you don’t have a cooling rack, a clean dish towel works as a temporary solution.
I’ll be honest, I’ve made these muffins with just one bowl and a fork before, and they still turned out great. The key is not to overthink the equipment. Use what you have, and don’t stress about having the perfect tools.
Preparation Method
Alright, let’s get to the good part. Here’s how to make these muffins step by step. I’ve included all my little tricks and observations so you can avoid the mistakes I made along the way.
Step 1: Preheat and Prep
Preheat your oven to 350°F (175°C). Line your 6-cup muffin tin with paper liners or grease it well. I like to do this first so the oven is ready when I am. Trust me, there’s nothing worse than having batter sitting around while you wait for the oven to heat up.
Step 2: Mix the Dry Ingredients
In a medium bowl, whisk together the flour, sugar, baking powder, baking soda, pumpkin pie spice, and salt. Whisk for about 15 seconds to make sure everything is evenly distributed. This step is important because it aerates the flour and ensures your muffins rise evenly. I once skipped this step and ended up with a muffin that had a pocket of baking soda in the middle. Not great.
Step 3: Mix the Wet Ingredients
In a larger bowl, whisk together the egg, pumpkin puree, oil, milk, and vanilla extract. Whisk until everything is smooth and well combined. The mixture should be a beautiful orange color and smell amazing already. If your pumpkin puree seems thick, don’t worry—that’s normal. Just keep whisking until it’s smooth.
Step 4: Combine Wet and Dry
Pour the dry ingredients into the wet ingredients. Use your rubber spatula to fold everything together gently. And I mean gently. Stir just until you don’t see any more streaks of flour. It’s okay if there are a few lumps—they’ll bake out. Overmixing at this stage will make your muffins tough, so resist the urge to keep stirring.
Step 5: Fold in the Chocolate Chips
Add the chocolate chips to the batter and fold them in with a few gentle strokes. Make sure they’re evenly distributed, but don’t overmix. If you want a few chocolate chips on top of the muffins for looks, reserve about a tablespoon and sprinkle them on top before baking. It makes them look extra pretty.
Step 6: Fill the Muffin Cups
Divide the batter evenly among the 6 muffin cups. Each cup should be about 3/4 full. I use a cookie scoop for this, but a spoon works fine. The batter will be thick, so just spoon it in and smooth the tops a little if needed. Don’t worry if they’re not perfect—they’ll even out as they bake.
Step 7: Bake
Bake for 15 to 18 minutes, or until a toothpick inserted into the center of a muffin comes out clean or with just a few moist crumbs. The tops should be golden and spring back when lightly touched. Every oven is different, so start checking at 15 minutes. My oven runs a little hot, so I usually pull them out at 16 minutes.
Step 8: Cool
Let the muffins cool in the tin for 5 minutes. This allows them to set and makes them easier to remove. Then transfer them to a cooling rack to cool completely. If you try to eat them right away, the chocolate chips will be lava-hot. I speak from experience. Wait at least 10 minutes before digging in.
My personal tip: While the muffins are still warm, I like to press a few extra chocolate chips into the tops. It makes them look bakery-style and gives you that first visual hit of chocolate. Plus, the warmth melts them slightly so they stick. It’s a small thing, but it makes a difference.
Cooking Tips & Techniques
I’ve made these muffins enough times to have a few tricks up my sleeve. Here are some things I’ve learned that might save you some trouble:
Don’t overmix the batter. I know I’ve said this already, but it’s worth repeating. Overmixing creates tough, dense muffins. You want tender, fluffy ones. Mix until just combined, and then walk away. The batter should look a little shaggy—that’s the sign you’ve done it right.
Use room temperature ingredients. Cold eggs and cold milk can make the batter lumpy and affect how the muffins rise. Take them out of the fridge about 20 minutes before you start baking. If you’re in a hurry, you can warm the milk in the microwave for 10 seconds and place the egg in a bowl of warm water for a few minutes.
Measure your flour correctly. This is a big one. If you scoop your flour directly from the bag with your measuring cup, you’ll pack in too much flour and end up with dry muffins. Instead, spoon the flour into your measuring cup and level it off with a knife. Or use a kitchen scale for the most accurate results.
Let the muffins cool properly. I know it’s tempting to eat them right away, but letting them cool in the tin for 5 minutes and then on a rack for at least 10 more makes a difference. The texture sets, the flavors meld, and the chocolate chips cool down to the perfect warm-but-not-burning temperature.
One mistake I made: The first time I made these, I used pumpkin pie filling instead of pumpkin puree. Big mistake. The muffins were way too sweet and had a weird texture. Always check the label—you want 100% pumpkin puree, not pre-sweetened pie filling. It’s an easy mistake to make, but now you know better.
Timing tip: If you’re making these for after-school snacks, mix the dry ingredients the night before. Then in the morning, all you have to do is mix the wet ingredients, combine, and bake. It takes less than 30 minutes total, and your kitchen will smell amazing when the kids get home.
Variations & Adaptations
One of the best things about this recipe is how easy it is to adapt. Here are some variations I’ve tried and loved:
Gluten-Free Version
Substitute the all-purpose flour with a 1:1 gluten-free baking flour blend. I’ve used Bob’s Red Mill Gluten-Free 1-to-1 Baking Flour with great results. The texture is slightly more delicate, but the muffins still come out tender and delicious. Make sure your baking powder and baking soda are also gluten-free if that’s a concern.
Dairy-Free Version
Use a dairy-free milk like almond milk or oat milk, and swap the semi-sweet chocolate chips for dairy-free ones. Enjoy Life makes great dairy-free chocolate chips that melt beautifully. The muffins will still be moist and flavorful—no one will know the difference.
Less Sugar Option
If you’re watching your sugar intake, you can reduce the granulated sugar to 1/3 cup. The muffins will be slightly less sweet, but the chocolate chips add enough sweetness to keep them satisfying. You can also use a sugar substitute like monk fruit sweetener, but I haven’t tested that myself, so proceed with caution.
Add-In Variations
Don’t feel limited to just chocolate chips. Here are some fun swaps:
- White chocolate chips and dried cranberries – This combo is festive and perfect for fall.
- Chopped pecans or walnuts – Add a crunchy texture that pairs beautifully with the soft muffin.
- Mini chocolate chips – These distribute more evenly and give you chocolate in every bite.
- Cinnamon chips – If you can find them, they add an extra layer of warm spice.
Spice Adjustments
Feel free to play with the spices. If you love cinnamon, add an extra 1/2 teaspoon. If you’re not a fan of nutmeg, reduce the pumpkin pie spice and add a pinch of ginger instead. I once added a pinch of cardamom, and it was amazing—earthy and warm.
Serving & Storage Suggestions
These muffins are best served warm, but they’re delicious at room temperature too. Here’s how I like to enjoy them:
Serving Ideas
- Warm with butter: Split a muffin in half, spread a little butter on it, and watch it melt into the warm crumb. Pure heaven.
- With a glass of milk: Classic for a reason. The cold milk balances the warm, spiced muffin perfectly.
- As a breakfast treat: Pair with a cup of coffee or tea for a cozy morning. They’re not too sweet, so they work well with your morning brew.
- For after-school snacks: Hand one to your kid when they come home hungry. It’s a treat that feels special but isn’t loaded with sugar.
Storage Instructions
Store leftover muffins in an airtight container at room temperature for up to 3 days. If your kitchen is warm, you can store them in the fridge, but let them come to room temperature before eating for the best texture.
Freezer instructions: These muffins freeze beautifully. Let them cool completely, then place them in a freezer-safe bag or container. They’ll keep for up to 3 months. To thaw, just leave one on the counter for about 30 minutes, or microwave it for 15-20 seconds for that fresh-from-the-oven warmth.
Reheating tip: If your muffins are a day or two old, pop them in a 300°F (150°C) oven for 5 minutes. They’ll come out tasting almost as good as fresh. The microwave works too, but it can make them a little soggy, so use it sparingly.
One thing I love about these muffins is that the flavors actually develop over time. Day-old muffins are still delicious, and the pumpkin spice seems to mellow and deepen after a day. So don’t worry if you have leftovers—they’ll still be great tomorrow.
Nutritional Information & Benefits
Here’s a rough estimate of the nutritional content per muffin (based on the standard recipe with semi-sweet chocolate chips):
| Nutrient | Amount per Muffin |
|---|---|
| Calories | ~290 |
| Total Fat | 13g |
| Saturated Fat | 4g |
| Carbohydrates | 40g |
| Fiber | 2g |
| Sugar | 22g |
| Protein | 4g |
These numbers are estimates and will vary based on the specific brands and substitutions you use.
Health Benefits
Pumpkin is a nutritional powerhouse. It’s packed with vitamin A, which is great for eye health, and it’s high in fiber, which helps keep you full. Plus, pumpkin is low in calories, so you’re getting a lot of nutrition without a lot of guilt. The chocolate chips add a little bit of antioxidants, too—so there’s that.
These muffins are also a good source of energy, making them a great pre-workout snack or a quick breakfast on busy mornings. And because they’re made with simple ingredients, you know exactly what’s going into them. No preservatives, no weird additives—just real food.
Dietary considerations: As written, this recipe contains gluten, dairy, and eggs. But with the substitutions I mentioned earlier, you can easily make it gluten-free or dairy-free. It’s not suitable for a vegan diet as written, but you could experiment with a flax egg and plant-based milk if you’re feeling adventurous.
Conclusion
These small-batch pumpkin chocolate chip muffins have become a staple in my kitchen, and I think they’ll become one in yours too. They’re simple, they’re quick, and they deliver that cozy, homemade feeling without a lot of fuss. Whether you’re making them for your kids after school, for a quiet weekend breakfast, or just because you’re craving something warm and sweet, they never disappoint.
What I love most about this recipe is how forgiving it is. You don’t have to be a perfect baker to get perfect results. The batter comes together in minutes, the muffins bake up beautifully every time, and the combination of pumpkin and chocolate is just unbeatable. It’s the kind of recipe that makes you feel like you know what you’re doing in the kitchen—even on days when you’re not so sure.
So go ahead and give these a try. Customize them with your favorite add-ins, make them with your kids, or keep them all to yourself (no judgment here). And when you do, I’d love to hear how they turned out. Drop a comment below and let me know if you made any fun variations or if your family loved them as much as mine does. Happy baking!
Frequently Asked Questions
Can I use a different type of flour?
Yes, you can substitute whole wheat flour for up to half of the all-purpose flour without changing the texture too much. For a gluten-free version, use a 1:1 gluten-free baking flour blend. I wouldn’t recommend coconut flour or almond flour without adjusting the liquid ratios, as they absorb moisture differently.
Can I make these muffins ahead of time?
Absolutely. You can make them a day ahead and store them in an airtight container. They’ll stay moist and delicious for up to 3 days at room temperature. You can also freeze them for up to 3 months—just thaw and reheat when you’re ready to enjoy them.
Why are my muffins flat instead of domed?
Flat muffins usually mean your baking powder or baking soda is old. Check the expiration dates and make sure they’re fresh. Another reason could be overmixing the batter, which deflates the air bubbles. Mix just until combined, and you should get nice domed tops.
Can I double this recipe to make 12 muffins?
Yes, you can easily double all the ingredients to make a full dozen. Just use a 12-cup muffin tin and bake for the same amount of time. The recipe scales perfectly, so go ahead and make a bigger batch if you’re feeding a crowd.
Can I use fresh pumpkin instead of canned?
You can, but you’ll need to cook and puree it first. Fresh pumpkin has more water than canned, so you’ll want to drain it well after pureeing. I recommend placing the puree in a cheesecloth or fine-mesh strainer for about 30 minutes to remove excess moisture. Canned pumpkin is more consistent, so I usually stick with that for baking.
Pin This Recipe!
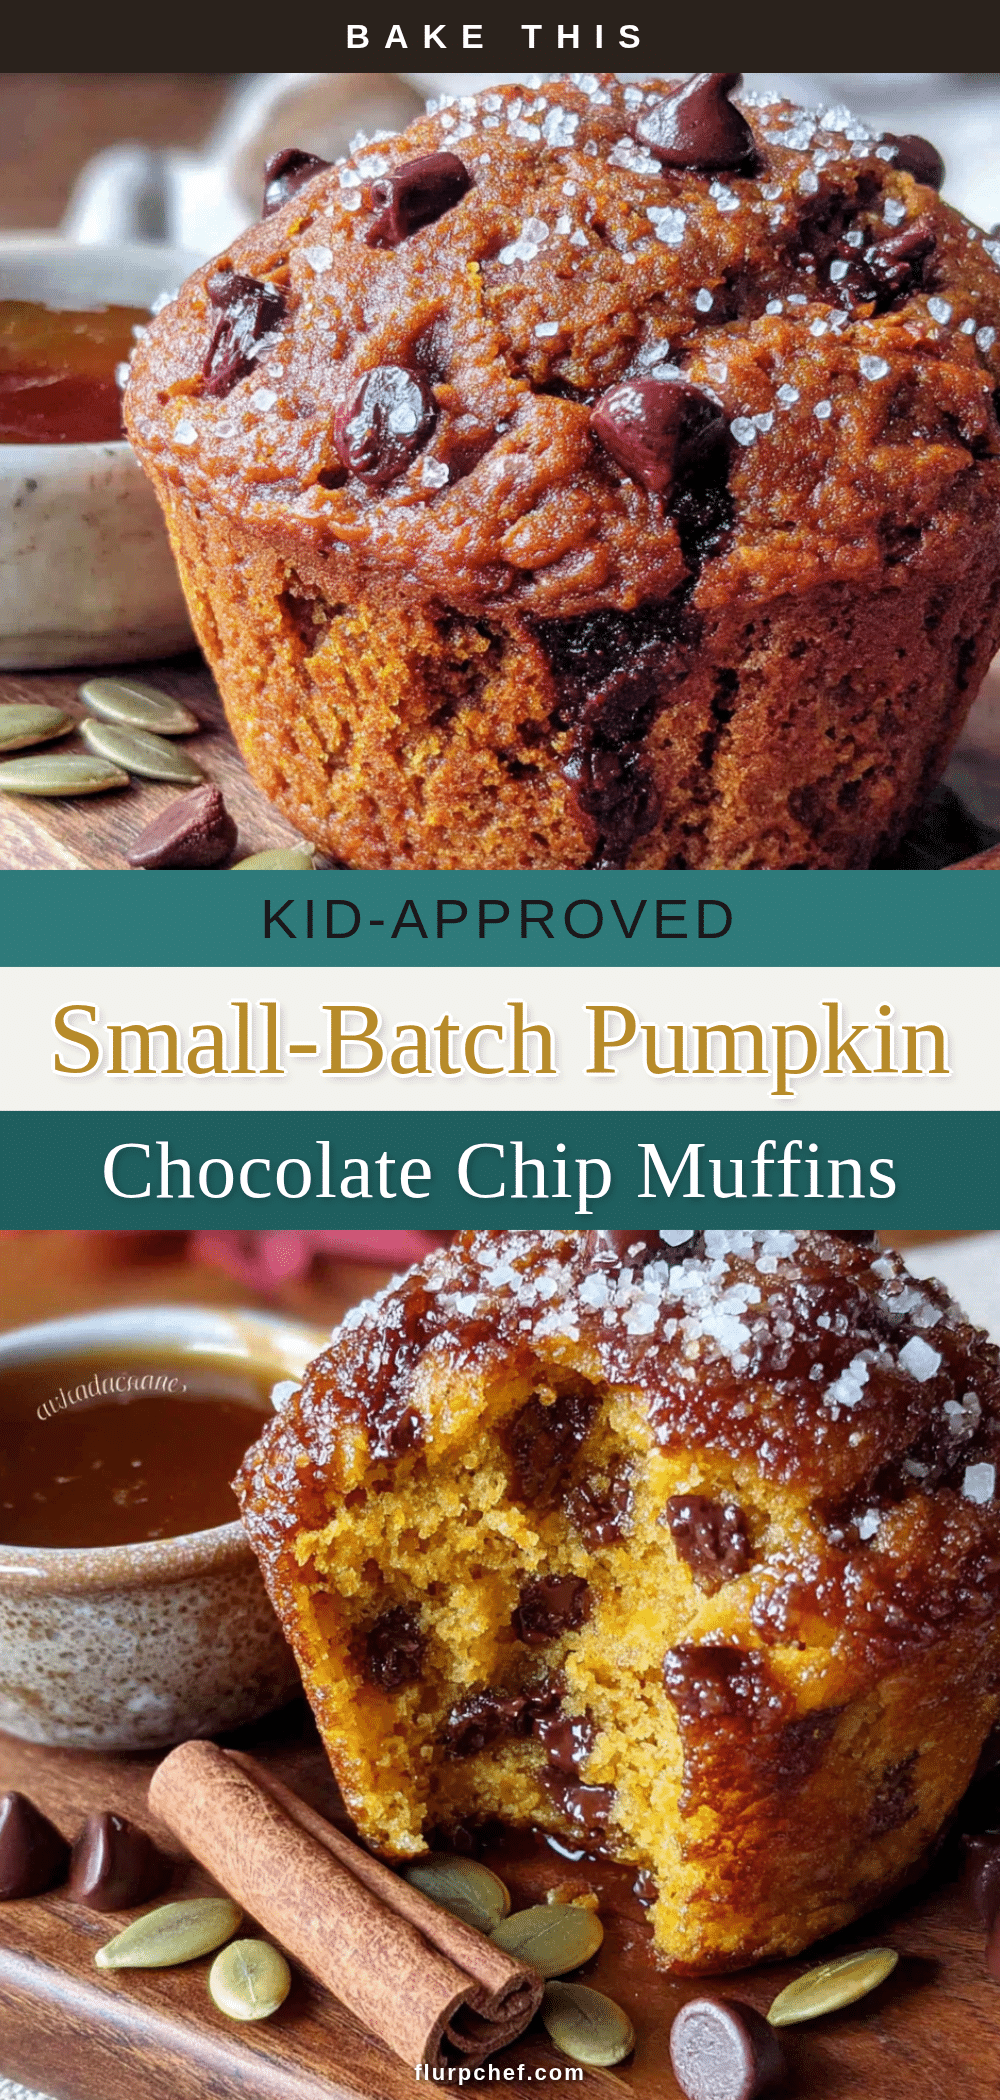
Best Small-Batch Pumpkin Chocolate Chip Muffins
These small-batch pumpkin chocolate chip muffins are perfectly moist, tender, and packed with melty chocolate chips. Made with simple ingredients, they yield just six muffins—ideal for a cozy treat without leftovers.
- Prep Time: 10 minutes
- Cook Time: 18 minutes
- Total Time: 28 minutes
- Yield: 6 muffins 1x
- Category: Dessert
- Cuisine: American
Ingredients
- 1 cup all-purpose flour (120 grams)
- 1/2 cup granulated sugar (100 grams)
- 1 teaspoon baking powder
- 1/2 teaspoon baking soda
- 1/2 teaspoon pumpkin pie spice
- 1/4 teaspoon salt
- 1 large egg, room temperature
- 1/2 cup pumpkin puree (120 grams), not pumpkin pie filling
- 1/4 cup vegetable oil (60 ml)
- 1/4 cup milk (60 ml), whole milk preferred
- 1 teaspoon vanilla extract
- 1/2 cup semi-sweet chocolate chips (85 grams)
Instructions
- Preheat oven to 350°F (175°C). Line a 6-cup muffin tin with paper liners or grease well.
- In a medium bowl, whisk together flour, sugar, baking powder, baking soda, pumpkin pie spice, and salt for about 15 seconds.
- In a larger bowl, whisk together egg, pumpkin puree, oil, milk, and vanilla extract until smooth.
- Pour dry ingredients into wet ingredients. Fold gently with a rubber spatula until just combined—do not overmix; a few lumps are fine.
- Fold in chocolate chips with a few gentle strokes. Reserve 1 tablespoon of chips to sprinkle on top if desired.
- Divide batter evenly among the 6 muffin cups, filling each about 3/4 full.
- Bake for 15 to 18 minutes, or until a toothpick inserted into the center comes out clean or with a few moist crumbs. Tops should be golden and spring back when lightly touched.
- Let muffins cool in the tin for 5 minutes, then transfer to a cooling rack to cool completely. Wait at least 10 minutes before serving.
Notes
Do not overmix the batter to avoid tough muffins. Use room temperature ingredients for best results. Measure flour by spooning and leveling, not scooping. For a bakery-style look, press a few extra chocolate chips into the tops of warm muffins after baking. Store in an airtight container at room temperature for up to 3 days, or freeze for up to 3 months.
Nutrition
- Serving Size: 1 muffin
- Calories: 290
- Sugar: 22
- Sodium: 220
- Fat: 13
- Saturated Fat: 4
- Carbohydrates: 40
- Fiber: 2
- Protein: 4
Keywords: pumpkin chocolate chip muffins, small batch muffins, easy pumpkin muffins, fall baking, after school snacks


