My brother-in-law, Mark, had claimed to hate chili for fifteen years. Fifteen years. Every Super Bowl party, every tailgate, every cold-weather family gathering—he’d show up with a store-bought sub and a bag of chips, watching the rest of us ladle bowls of the stuff with this look of mild disgust. I’d tried everything over the years. The classic beef-and-bean number. The turkey version my sister swore by. Even a white chicken chili that won a local competition. Nothing. He’d just shrug and say, “It’s a texture thing.” Then last November, I caught him. I’d made this venison chili on a whim—mostly because a hunter friend had dropped off a cooler of ground venison and I was running out of ideas. I set a bowl on the counter for myself and walked away to answer my phone. When I came back, Mark was standing at the stove, spoon in hand, mid-bite. “This isn’t chili,” he said, mouth half-full. “This is something else entirely.”
The thing is, he wasn’t wrong. This isn’t your standard chili. The dark beer gives it this deep, almost smoky richness that you don’t get from broth or water alone. The venison keeps it lean but not dry—honestly, I think it actually takes on flavor better than beef here. And the spices? Let me tell you, there’s something about letting them bloom in the pan before you add the liquid that changes everything. I’m not saying I converted Mark through sheer stubbornness. I’m saying I found the one version that made his fifteen-year streak finally break. Maybe you’ve been there with a recipe that everyone in your house claims to hate. Maybe chili has been a hard sell at your table too. This version changed things for us, and I keep making it because it’s the kind of meal that makes you slow down. That makes you sit. That makes you actually taste what’s in front of you.
Why You’ll Love This Recipe
This isn’t just another chili recipe floating around the internet. I’ve tested this one about six times in the last two months—once at a friend’s cabin with a questionable stovetop, once in my own kitchen with a Dutch oven that’s seen better days, and once for a small dinner party where nobody knew they were eating venison until after they’d asked for seconds. Every single time, it worked. Here’s why this one stands out:
- Deep, Complex Flavor Without the Fuss: The dark beer does the heavy lifting here. You don’t need to simmer for hours to get that layered, rich taste—though it certainly doesn’t hurt if you do.
- Leaner Than Beef Chili: Venison is naturally lower in fat, which means you get all the hearty texture without that greasy mouthfeel that some beef chilis leave behind.
- Perfect for Cold Weather: There’s something about the combination of dark beer, smoked paprika, and venison that just screams “cozy Sunday afternoon.” It’s made for the season.
- Crowd-Pleaser: My brother-in-law is living proof that even self-proclaimed chili haters will come around for this version. It’s that good.
- Freezes Beautifully: Make a double batch. You’ll thank yourself on a random Tuesday night when you don’t feel like cooking.
What makes this recipe different from the rest? It’s the technique of toasting the spices with the tomato paste before adding any liquid. That little step—two minutes, tops—unlocks a depth of flavor that usually requires hours of simmering. Plus, the venison stays tender and never gets tough, which is a common complaint I hear from folks who’ve tried cooking with it before. This is comfort food that feels special but comes together without any stress. The kind of meal that makes you close your eyes after the first bite and just breathe.
What Ingredients You Will Need
This recipe uses simple, hearty ingredients that come together to create something far greater than the sum of their parts. Most of these are pantry staples or easy to find at any grocery store—the venison might require a trip to a butcher or a friendly hunter, but ground beef works beautifully as a substitute if you need it.
- Ground venison, 2 pounds: Look for ground venison that’s been mixed with a small amount of pork fat (about 10-15%) for best texture. Pure venison can be very lean and may dry out during cooking. If you’re buying from a butcher, ask about their grind blend.
- Dark beer, 12 ounces: I recommend a stout or a porter—something with roasted malt flavors. Guinness works perfectly, but any dark beer you enjoy drinking will work here. Avoid anything too hoppy or bitter.
- Yellow onion, 1 large, diced: About 1.5 cups. The onion provides the aromatic base and sweetens as it cooks down. Don’t rush this step—properly softened onions make a difference.
- Garlic cloves, 4, minced: Fresh garlic is non-negotiable here. The pre-minced stuff in jars won’t give you the same punch.
- Tomato paste, 3 tablespoons: This is the secret weapon. Cooking it with the spices before adding liquid deepens the entire dish. I prefer the tube-style tomato paste so I can use just what I need.
- Canned diced tomatoes, 14.5 ounces: Fire-roasted if you can find them. They add a subtle smokiness that complements the beer beautifully.
- Beef broth, 1 cup: Low-sodium is best so you can control the salt level. Chicken broth works in a pinch.
- Canned kidney beans, 15 ounces, drained and rinsed: Dark red kidney beans hold up well to the long simmer. Feel free to swap with black beans or pinto beans if that’s what you have.
- Chili powder, 2 tablespoons: Use a good-quality chili powder blend. I’ve had good results with the Penzeys brand, but any grocery store brand works.
- Smoked paprika, 1 tablespoon: This is what gives the chili that subtle campfire note. Regular paprika won’t give you the same depth.
- Ground cumin, 1 teaspoon: Cumin adds warmth and earthiness. Toast it briefly in the pan for extra flavor.
- Dried oregano, 1 teaspoon: Mexican oregano is ideal if you have it, but Mediterranean oregano works fine too.
- Salt and black pepper, to taste: Start with 1 teaspoon of salt and 1/2 teaspoon of pepper, then adjust at the end.
- Olive oil, 2 tablespoons: For browning the meat and sautéing the vegetables. Avocado oil works well too.
- Optional toppings: Shredded cheddar cheese, sour cream, diced avocado, fresh cilantro, sliced jalapeños, and lime wedges. These aren’t just garnish—they add brightness and contrast to the rich chili.
Equipment Needed
You don’t need a fancy kitchen to make this chili work. Here’s what you’ll actually use:
- Large Dutch oven or heavy-bottomed pot (6-quart or larger): This is my go-to for chili. The heavy bottom distributes heat evenly and prevents scorching. If you don’t have a Dutch oven, any large soup pot with a thick base will work. I’ve made this in a cheap stockpot before—just stir more frequently to avoid burning.
- Wooden spoon or spatula: For breaking up the meat and scraping up the browned bits from the bottom of the pot. A metal spatula works too, but wooden won’t scratch your enameled cookware.
- Chef’s knife and cutting board: You’ll be dicing an onion and mincing garlic. A sharp knife makes this go much faster.
- Measuring cups and spoons: Chili is forgiving, but measuring helps keep the spice balance consistent.
- Can opener: For the diced tomatoes and beans. Not glamorous, but necessary.
- Ladle: For serving. A 1/2-cup ladle works well for portioning.
That’s it. No immersion blender, no slow cooker (though I’ll cover how to adapt this for one later), no specialty gadgets. This is a one-pot meal designed for real kitchens with real constraints.
Preparation Method
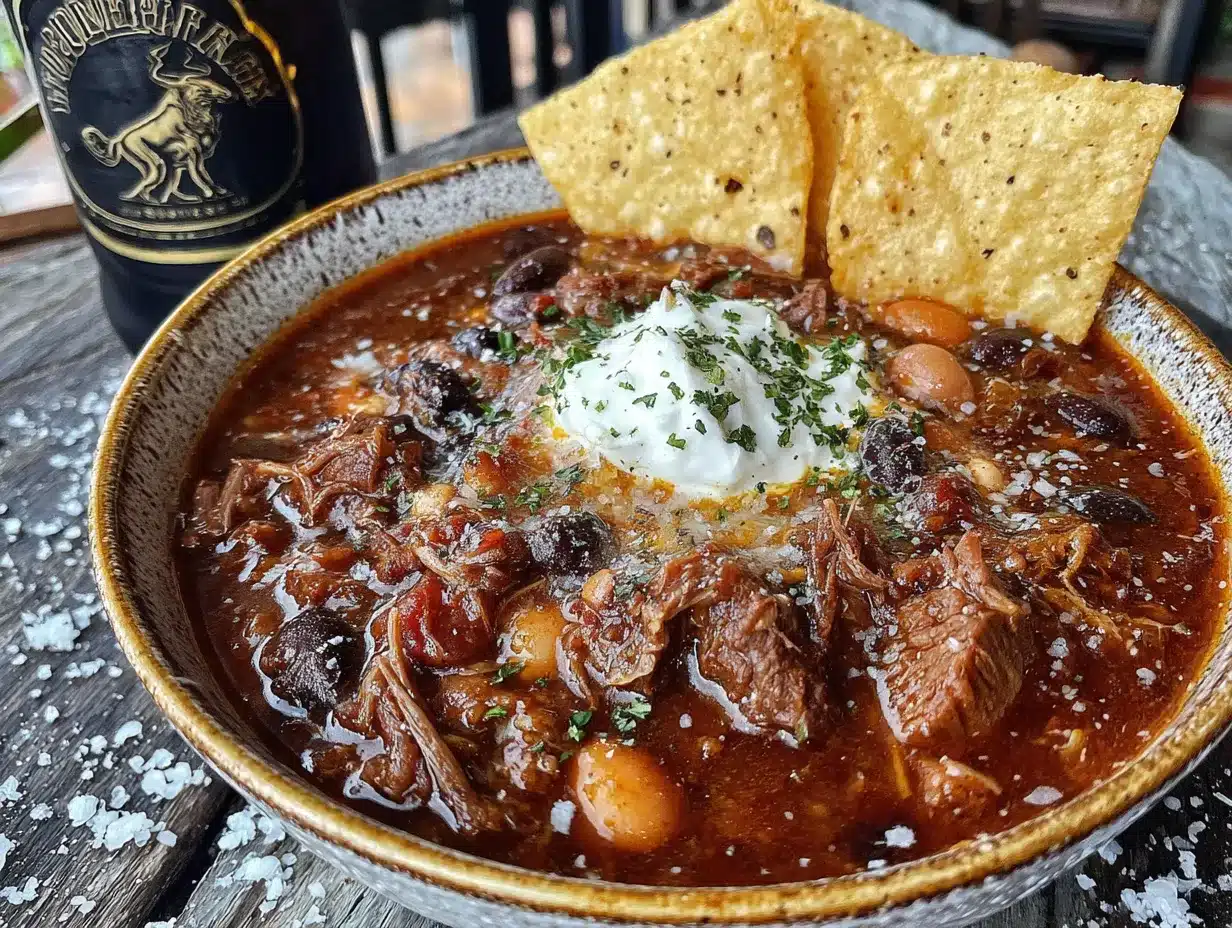
Let me walk you through this step by step. I’ve made this enough times to know exactly where things can go sideways, so I’ll point those out as we go.
Step 1: Brown the Venison
Heat 1 tablespoon of olive oil in your Dutch oven over medium-high heat. Add the ground venison and break it apart with your wooden spoon. Cook for 6-8 minutes, stirring occasionally, until the meat is browned and any liquid has evaporated. Don’t crowd the pan—if your pot is on the smaller side, brown the meat in two batches. Venison is lean, so it won’t release as much fat as beef. If the pot looks dry, add another splash of oil. Once browned, transfer the meat to a bowl using a slotted spoon, leaving any rendered fat in the pot.
Step 2: Sauté the Aromatics
Reduce the heat to medium. Add the remaining 1 tablespoon of olive oil to the pot. Toss in the diced onion and cook for 5-6 minutes, stirring occasionally, until it’s soft and translucent. You want it to smell sweet, not burnt. Add the minced garlic and cook for another 30 seconds—just until fragrant. Garlic burns fast, so keep stirring.
Step 3: Bloom the Spices and Tomato Paste
This is the step that makes the difference. Add the tomato paste, chili powder, smoked paprika, cumin, and dried oregano to the pot. Stir everything together and cook for 2 minutes, stirring constantly. The tomato paste will darken and the spices will become incredibly fragrant. Your kitchen will smell amazing right about now. If the paste starts sticking to the bottom, that’s okay—those browned bits are flavor.
Step 4: Deglaze with Dark Beer
Pour in the dark beer and use your wooden spoon to scrape up all those browned bits from the bottom of the pot. This is called deglazing, and it’s where a lot of the flavor lives. Let the beer simmer for 2-3 minutes, stirring occasionally, until it reduces slightly. The alcohol will cook off, leaving behind that deep, malty richness.
Step 5: Add Tomatoes, Broth, and Beans
Return the browned venison to the pot. Add the diced tomatoes (with their juices), beef broth, and drained kidney beans. Stir everything together until well combined. The chili will look a bit soupy at this point—that’s fine. It will thicken as it simmers.
Step 6: Simmer
Bring the chili to a gentle boil, then reduce the heat to low. Cover the pot with the lid slightly ajar and let it simmer for 45 minutes to 1 hour. Stir occasionally to prevent sticking. The chili should be bubbling gently, not furiously. After 45 minutes, taste it and adjust the salt and pepper. The flavors will have melded beautifully by now.
Step 7: Rest and Serve
Remove the pot from the heat and let the chili rest for 10-15 minutes before serving. This resting time allows the flavors to settle and the chili to thicken slightly. Ladle into bowls and top with your favorite garnishes. I’m partial to a dollop of sour cream and a generous sprinkle of sharp cheddar, but go with what makes you happy.
Sensory Cue Check: At the end of simmering, the chili should be thick enough to coat the back of a spoon. The color should be a deep, dark reddish-brown. The aroma should be rich and smoky with a hint of sweetness from the beer. If it smells flat, add another pinch of salt.
Cooking Tips & Techniques
I’ve made my share of mistakes with chili over the years. Here’s what I’ve learned so you don’t have to repeat them:
Don’t skip the browning step. I know it’s tempting to just dump everything in the pot and let it simmer, but browning the venison first creates Maillard reaction—those browned bits that translate into deep, savory flavor. Take the extra 8 minutes. It’s worth it.
Watch the salt. Venison is leaner than beef, which means it can taste drier if oversalted. Start with less salt than you think you need and adjust at the end. The canned tomatoes and broth already contain salt, so taste before adding more.
Let it rest. Chili is one of those dishes that genuinely tastes better the next day. The flavors continue to meld and deepen as it sits. If you have the time, make this chili a day ahead and reheat it gently. Your patience will be rewarded.
Beer matters. I once used a cheap lager because it was all I had, and the chili came out thin and watery. Dark beer adds body and richness that lighter beers just can’t replicate. If you don’t drink beer, you can substitute an equal amount of beef broth with 1 tablespoon of molasses stirred in for depth.
Multitasking strategy: While the chili simmers, clean your cutting board and knife, wipe down the counters, and set out your toppings. That way, when the chili’s ready, you’re not scrambling to find the cheese grater.
Variations & Adaptations
This recipe is flexible. Here are some ways to make it your own:
Swap the Meat: If venison isn’t available, ground beef (80/20 blend) works beautifully. You can also use ground bison, elk, or even a mix of ground pork and beef. Each meat brings its own character—bison is lean and slightly sweet, while pork adds richness.
Make It Spicier: Add 1-2 diced jalapeños with the onions, or stir in 1 teaspoon of chipotle powder with the other spices. For serious heat, add a minced habanero—but wear gloves when handling it.
Slow Cooker Adaptation: Brown the venison and sauté the aromatics on the stovetop first, then transfer everything to a slow cooker. Cook on low for 6-8 hours or on high for 3-4 hours. Add the beans during the last 30 minutes so they don’t turn mushy.
Vegetarian Version: Skip the meat and add an extra can of beans (black beans or chickpeas work well) plus 8 ounces of cremini mushrooms, finely chopped. Sauté the mushrooms with the onions until they release their liquid and start browning. The dark beer and spices will carry the flavor.
Smokier Flavor: Add 1 chipotle pepper in adobo sauce, finely minced, along with the tomatoes. This adds heat and a wonderful smoky depth that pairs perfectly with the dark beer.
Serving & Storage Suggestions
This chili is at its best served piping hot in deep bowls. I like to set up a little topping bar so everyone can customize their own bowl. Here’s what I usually put out:
- Shredded sharp cheddar cheese
- Sour cream or Greek yogurt
- Diced avocado tossed with lime juice
- Fresh cilantro, roughly chopped
- Sliced jalapeños
- Lime wedges
- Crumbled tortilla chips or Fritos for crunch
What to serve alongside: A slice of crusty buttered bread or warm cornbread is perfect for sopping up the last bits of chili from the bowl. A simple side salad with a bright vinaigrette cuts through the richness nicely. And honestly? A cold beer alongside a bowl of this chili is a beautiful pairing.
Storage: Let the chili cool completely before transferring to airtight containers. It will keep in the refrigerator for up to 5 days. The flavors actually improve after a day or two, so don’t hesitate to make it ahead.
Freezing: This chili freezes beautifully. Portion it into freezer-safe bags or containers, leaving a little room for expansion. It will keep for up to 3 months. Thaw overnight in the refrigerator before reheating.
Reheating: Reheat gently on the stovetop over medium-low heat, stirring occasionally. Add a splash of broth or water if the chili has thickened too much. You can also reheat individual portions in the microwave—cover the bowl with a damp paper towel to prevent splattering.
Nutritional Information & Benefits
Here’s the thing about venison: it’s one of the leanest red meats you can eat. A 3-ounce serving of ground venison has about 150 calories and 7 grams of fat, compared to ground beef which can have 250 calories and 18 grams of fat for the same serving. It’s also packed with iron, zinc, and B vitamins—nutrients that support energy levels and immune function.
Estimated per serving (based on 8 servings, without toppings):
- Calories: 320
- Protein: 28g
- Fat: 12g
- Carbohydrates: 22g
- Fiber: 6g
- Iron: 25% of daily value
Dietary Considerations: This recipe is naturally gluten-free (check your beer and broth labels to be sure). It’s also dairy-free as written, though many common toppings contain dairy. For a lower-carb version, skip the beans and add extra vegetables like bell peppers or zucchini.
Potential Allergens: None of the main ingredients are common allergens, but always check labels on packaged items like broth and beans for hidden ingredients.
Conclusion
This venison chili with dark beer has become my cold-weather go-to for all the right reasons. It’s the kind of meal that fills your kitchen with that cozy, slow-cooked aroma before you’ve even done much work. It’s forgiving enough for a weeknight but impressive enough for company. And yes, it’s the recipe that finally broke my brother-in-law’s fifteen-year chili boycott—which, honestly, might be my proudest cooking achievement to date.
I hope you’ll give this one a try, especially as the weather turns cool and you’re craving something warm and satisfying. Play around with the toppings, adjust the spice level to your liking, and don’t be afraid to make a double batch. The leftovers are a gift to your future self. If you make it, I’d love to hear how it turned out. Drop a comment below or tag me in your photos—I genuinely read every single one. Happy cooking, friends.
Frequently Asked Questions
Can I use ground beef instead of venison?
Absolutely. Use an 80/20 blend for the best flavor and texture. The cooking time and method remain exactly the same. Just note that beef has a higher fat content, so you may want to drain off some of the rendered fat after browning.
What if I don’t have dark beer?
You can substitute beef broth with 1 tablespoon of molasses or brown sugar stirred in for depth. The flavor won’t be identical, but it will still be delicious. Avoid using light beers or lagers—they don’t have enough body to contribute to the chili.
Can I make this in an Instant Pot?
Yes. Use the sauté function to brown the meat and cook the aromatics, then add the remaining ingredients. Pressure cook on high for 15 minutes, then let the pressure release naturally for 10 minutes before quick-releasing. The chili will be slightly thinner than the stovetop version, so you can simmer it on sauté mode for a few minutes to thicken.
How can I thicken the chili?
If your chili is too thin after simmering, mash some of the beans against the side of the pot with a spoon and stir them in. Alternatively, mix 1 tablespoon of cornstarch with 2 tablespoons of cold water to make a slurry, then stir it into the simmering chili. Let it cook for 5 more minutes to thicken.
Can I leave out the beans?
Of course. This is a matter of personal preference. If you skip the beans, consider adding an extra 1/2 cup of beef broth to maintain the liquid level, and maybe toss in some diced bell peppers or zucchini for texture. The chili will still be hearty and satisfying.
Pin This Recipe!
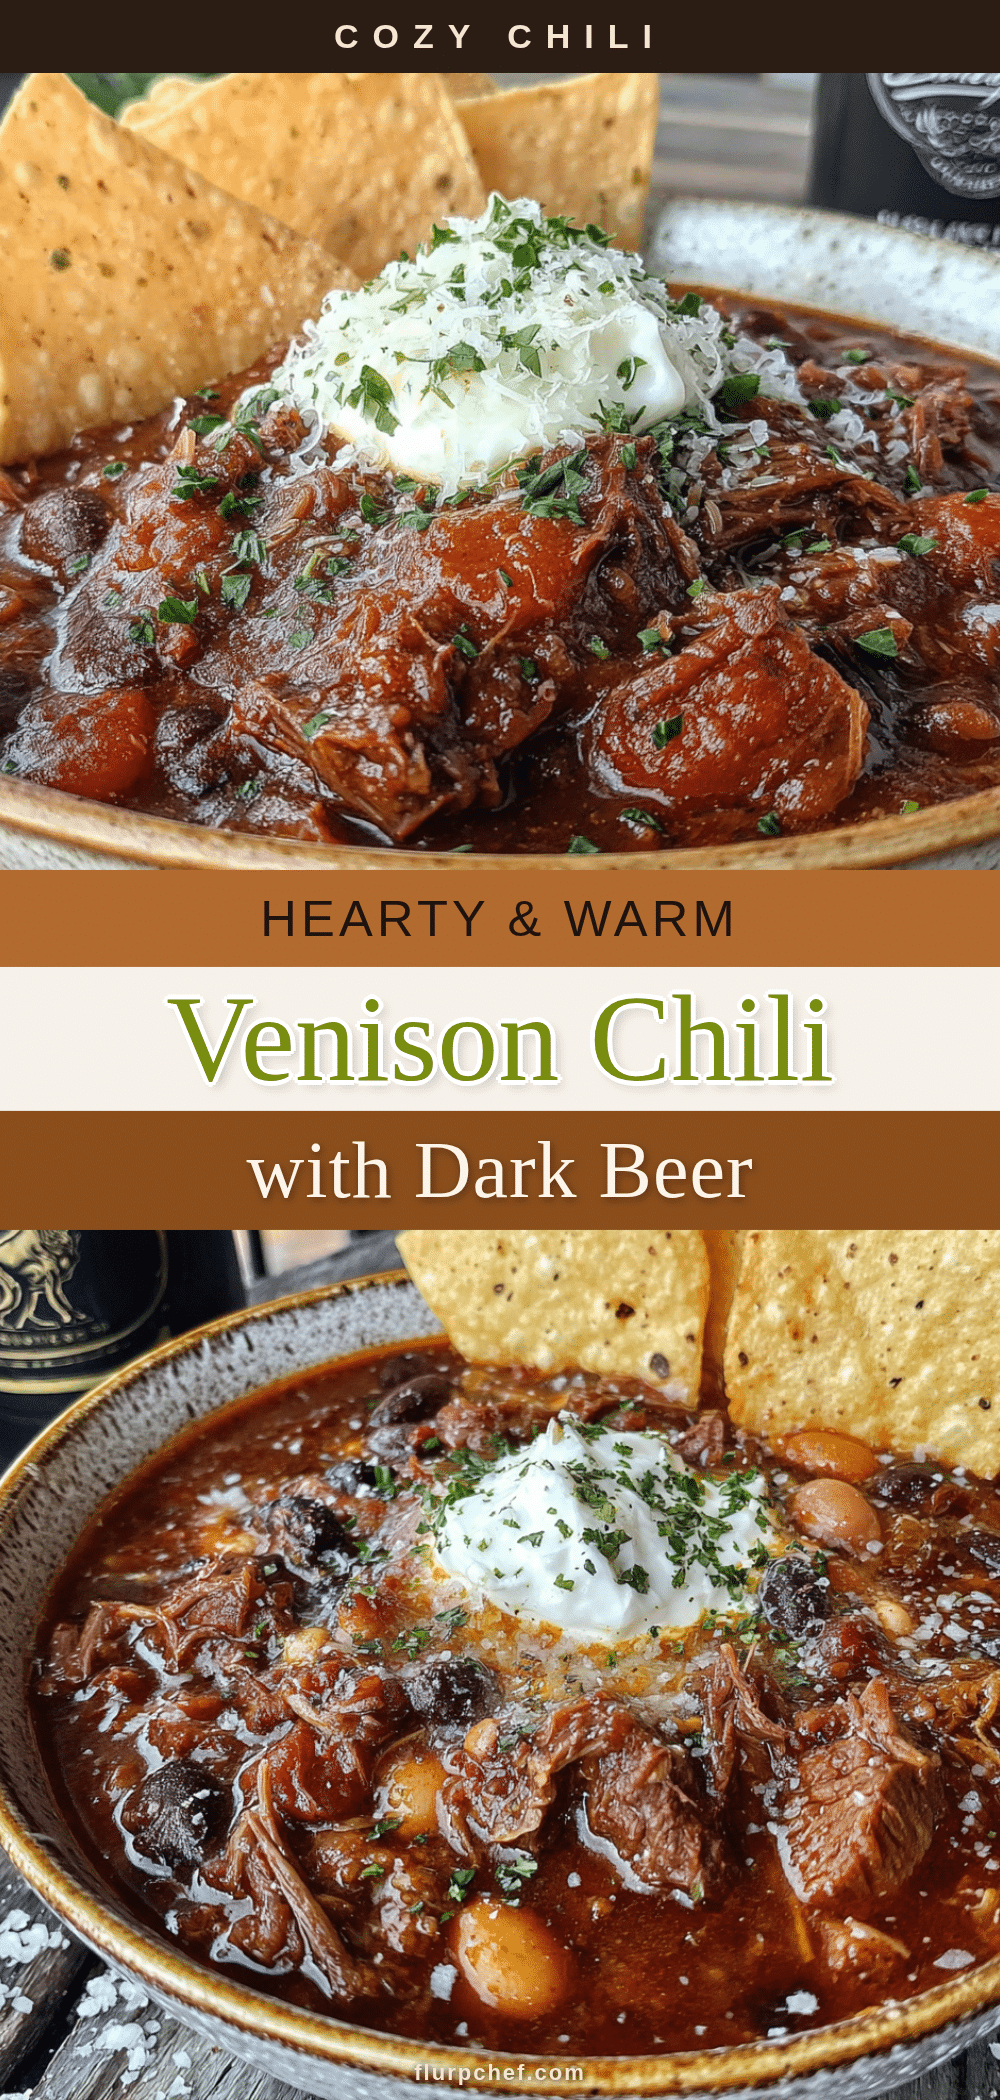
Cozy Venison Chili with Dark Beer: Best Easy Recipe

This venison chili with dark beer is a deep, smoky, and hearty one-pot meal that even self-proclaimed chili haters will love. Lean venison, rich stout, and a technique of blooming spices create complex flavor without hours of simmering.
- Prep Time: 15 minutes
- Cook Time: 1 hour 15 minutes
- Total Time: 1 hour 30 minutes
- Yield: 8 servings 1x
- Category: Main Course
- Cuisine: American
Ingredients
- 2 pounds ground venison (mixed with 10-15% pork fat if possible)
- 12 ounces dark beer (stout or porter, such as Guinness)
- 1 large yellow onion, diced (about 1.5 cups)
- 4 garlic cloves, minced
- 3 tablespoons tomato paste
- 14.5 ounces canned diced tomatoes (fire-roasted preferred)
- 1 cup low-sodium beef broth
- 15 ounces canned kidney beans, drained and rinsed
- 2 tablespoons chili powder
- 1 tablespoon smoked paprika
- 1 teaspoon ground cumin
- 1 teaspoon dried oregano (Mexican oregano preferred)
- 1 teaspoon salt (plus more to taste)
- 1/2 teaspoon black pepper (plus more to taste)
- 2 tablespoons olive oil
- Optional toppings: shredded cheddar cheese, sour cream, diced avocado, fresh cilantro, sliced jalapeños, lime wedges
Instructions
- Heat 1 tablespoon olive oil in a large Dutch oven over medium-high heat. Add the ground venison and cook for 6-8 minutes, breaking it apart, until browned and liquid has evaporated. Transfer meat to a bowl with a slotted spoon, leaving rendered fat in the pot.
- Reduce heat to medium. Add remaining 1 tablespoon olive oil and the diced onion. Cook for 5-6 minutes until soft and translucent. Add minced garlic and cook for 30 seconds until fragrant.
- Add tomato paste, chili powder, smoked paprika, cumin, and oregano. Stir constantly and cook for 2 minutes until the paste darkens and spices are fragrant.
- Pour in the dark beer and scrape up browned bits from the bottom of the pot. Let simmer for 2-3 minutes until slightly reduced.
- Return the browned venison to the pot. Add diced tomatoes (with juices), beef broth, and drained kidney beans. Stir to combine.
- Bring to a gentle boil, then reduce heat to low. Cover with lid slightly ajar and simmer for 45 minutes to 1 hour, stirring occasionally. Taste and adjust salt and pepper.
- Remove from heat and let rest for 10-15 minutes before serving. Ladle into bowls and top with desired garnishes.
Notes
For best flavor, make the chili a day ahead and reheat. To thicken, mash some beans against the pot or use a cornstarch slurry. For a vegetarian version, skip the meat and add extra beans and finely chopped cremini mushrooms. The chili freezes well for up to 3 months.
Nutrition
- Serving Size: 1 bowl (about 1.5 cu
- Calories: 320
- Sugar: 6
- Sodium: 680
- Fat: 12
- Saturated Fat: 3
- Carbohydrates: 22
- Fiber: 6
- Protein: 28
Keywords: venison chili, dark beer chili, easy chili recipe, venison recipe, winter chili, one-pot chili, gluten-free chili


