My roommate Leo asked why I couldn’t just throw everything on one big board instead of making separate platters for our Friendsgiving. I started to explain why that wouldn’t work — the meats would get mixed up, the cheeses would get crowded, it just wasn’t how you’re supposed to do it. Then I stopped. I honestly had no good reason, other than that’s what every fancy blog and cookbook told me to do. I was being a snob about a potluck dinner in our cramped apartment with a card table as the main serving station. So I said fine, let’s try it your way. And let me tell you, watching that mismatched collection of budget salamis, store-brand crackers, and whatever cheese was on sale come together on one cutting board was humbling. The whole thing looked abundant and inviting in a way my careful, separated platters never did. People just gathered around it, grabbing and chatting, and I realized I’d been overcomplicating things for years. Maybe you’ve been there too, stressing about presentation when really, the whole point is everyone grazing together. This crowd-pleasing Friendsgiving charcuterie board on a budget became our tradition that night, and I keep making it because it proves you don’t need fancy ingredients or perfect plating to feed the people you love.
Why You’ll Love This Recipe
This isn’t just another charcuterie board. It’s a strategy for feeding a crowd without wrecking your wallet. I’ve tested this approach through three different Friendsgivings, and it works every single time.
- Budget-Friendly : We’re talking under $50 for a board that feeds 8-10 people. Skip the fancy imported cheeses and expensive cured meats — the grocery store deli counter and a block of cheddar work beautifully.
- Simple Ingredients : No hunting down obscure ingredients. Everything comes from your regular grocery store, and you probably already have some of it in your pantry.
- Perfect for Friendsgiving : This is made for casual gatherings where everyone wants to graze and chat. No need for individual plates or complicated serving pieces.
- Crowd-Pleaser : I’ve watched picky eaters and foodies alike hover around this board. The variety means there’s something for everyone — even your friend who claims they don’t like cheese.
- Unbelievably Delicious : When you pair a good honey with a sharp cheddar and some salted crackers, it’s honestly better than any fancy cheese plate I’ve paid $40 for at a restaurant.
What makes this different from other charcuterie board recipes is the intentional budget strategy. I’m not just throwing cheap ingredients together — I’m showing you where to splurge a little (good honey, one nice cheese) and where to save (everything else). The result is a board that looks and tastes expensive without the price tag. This is comfort food reimagined for real people with real budgets, and it’s the kind of spread that makes you feel like you’re hosting a magazine-worthy gathering without the stress or the credit card bill.
What Ingredients You Will Need
This recipe uses simple, affordable ingredients that come together to create an impressive spread. The key is choosing items that offer variety in flavor, texture, and color without breaking the bank.
- For the Meats (choose 2-3):
- 8 oz salami, sliced (store-brand works great — look for hard salami or genoa)
- 8 oz pepperoni, sliced (the kind from the deli counter is cheaper than pre-packaged)
- 6 oz prosciutto (this is your one splurge — ask for ends at the deli counter for a discount)
- 8 oz deli ham, thick sliced and cut into strips (budget-friendly and familiar)
- For the Cheeses (choose 2-3):
- 8 oz sharp cheddar, cubed (adds bold flavor — I recommend Tillamook or store brand)
- 8 oz pepper jack, sliced (brings a little heat and color)
- 4 oz brie or camembert (one soft cheese makes the board feel fancy — Aldi has great prices on these)
- 4 oz goat cheese log (creamy and tangy, a little goes a long way)
- For the Crackers and Bread (choose 2-3):
- 1 box water crackers (neutral and affordable)
- 1 box wheat crackers (adds nutty flavor)
- 1 baguette, sliced and lightly toasted (homemade croutons basically)
- 1 box pretzel thins (salty crunch that pairs with everything)
- For the Fruits and Vegetables:
- 1 cup red grapes, washed and stemmed (adds sweetness and color)
- 1 apple, sliced (toss in lemon water to prevent browning)
- 1 cup cherry tomatoes (adds acidity and freshness)
- 1 cup baby carrots or cucumber slices (crunchy and hydrating)
- For the Extras (the budget magic makers):
- 1/2 cup mixed nuts (salted or unsalted — store brand is fine)
- 1/4 cup honey or fig jam (this is your second splurge — good honey makes everything better)
- 1/4 cup olives or pickles (adds briny pop of flavor)
- 1/4 cup dried cranberries or apricots (sweet chewy bits)
I personally prefer grabbing the store brand salami and pepperoni — they taste just as good as the fancy stuff when sliced thin. For cheese, I always pick up a block of sharp cheddar from the deli section and cut it myself — it’s cheaper than pre-cubed and stays fresh longer. If you can find a small wheel of brie at Aldi or Lidl, grab it. It makes the board look so impressive for under $4.
Equipment Needed
You don’t need a fancy wooden board or expensive cheese knives for this. Here’s what actually works:
- Large cutting board or baking sheet : A 12×18 inch board is ideal, but a clean baking sheet lined with parchment paper works perfectly. I’ve used a cookie sheet more times than I’d like to admit.
- Small bowls or ramekins : For the honey, jam, olives, and nuts. Mismatched ones add charm.
- Cheese knife or butter knife : One sharp knife for cutting cheese is all you need.
- Serving spoons and toothpicks : Small spoons for the jam and honey, toothpicks for easy grabbing.
- Parchment paper : Optional, but makes cleanup a breeze.
I bought a big wooden cutting board at a thrift store for $5, and it’s my favorite charcuterie board. Don’t overthink the equipment — the food is the star here.
Preparation Method
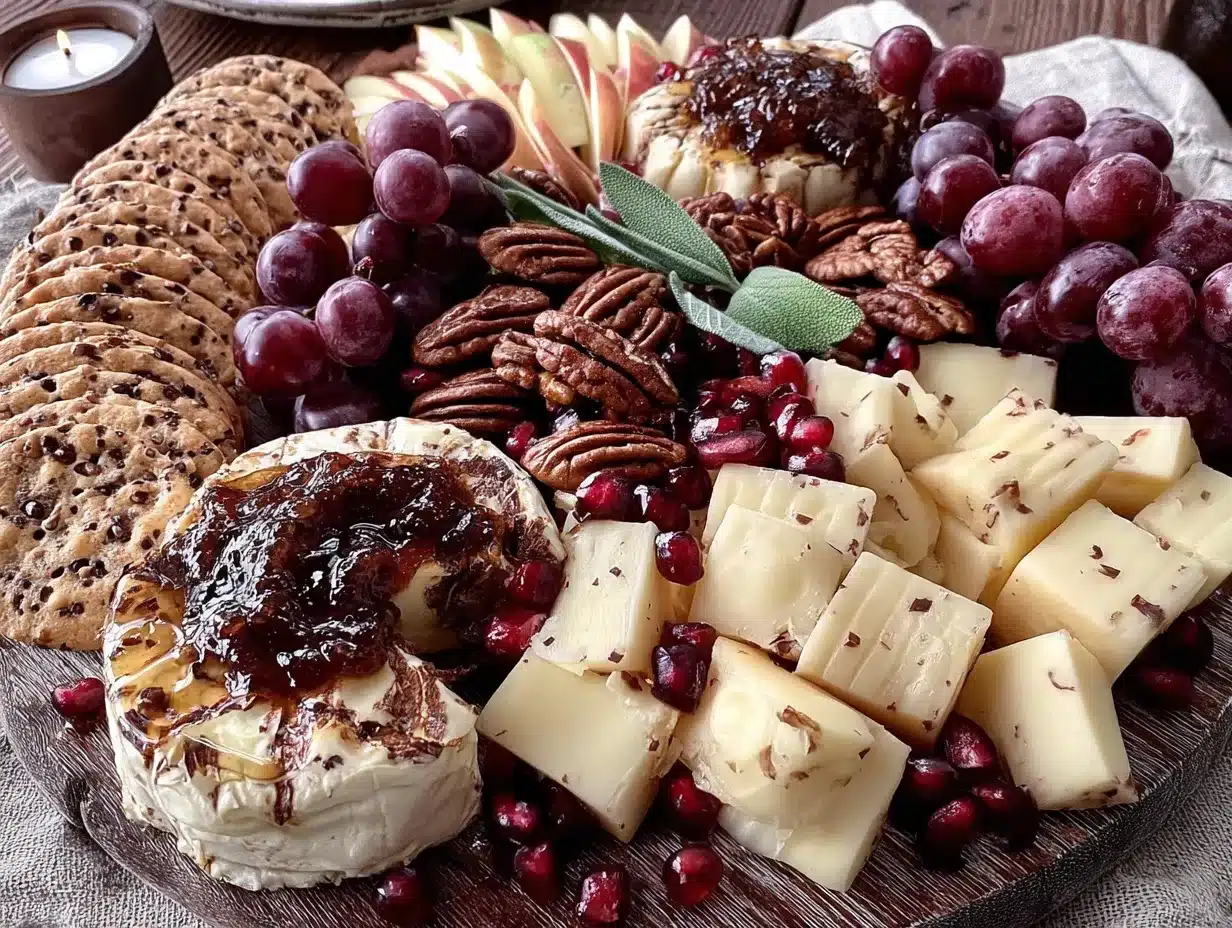
This comes together in about 20 minutes, and most of that is just arranging things nicely. Let’s get started.
- Prep your ingredients (5 minutes): Wash and dry the grapes, cherry tomatoes, and any other produce. Slice the apple and toss it with a little lemon juice to keep it from browning. Cut the hard cheeses (cheddar, pepper jack) into 1-inch cubes. Slice the baguette into thin rounds and lightly toast them in the oven at 350°F for 5 minutes if you want extra crunch.
- Set out your bowls (2 minutes): Place your small bowls or ramekins on the board first. Fill one with honey, one with jam, one with olives or pickles, and one with nuts. This creates anchors for the rest of the arrangement.
- Add the cheeses (3 minutes): Place the cheese in different areas of the board, not all clustered together. Put the brie on one side, the cheddar cubes near the middle, and the goat cheese on the opposite end. This encourages people to move around the board and try everything.
- Layer the meats (3 minutes): Fold or roll the sliced salami and pepperoni and place them near the cheeses. I like to make little salami roses by folding slices in half, then rolling them up. For prosciutto, just drape it in loose ribbons — it looks elegant with zero effort.
- Fill in with crackers and bread (3 minutes): Arrange crackers and baguette slices in small clusters around the board. Don’t spread them evenly — group them in little piles so it looks intentional and abundant.
- Add fruits and vegetables (2 minutes): Tuck the grapes, apple slices, cherry tomatoes, and baby carrots into the empty spaces. This fills out the board visually and adds freshness.
- Finish with dried fruit and garnishes (2 minutes): Sprinkle dried cranberries or apricots over the board. If you have fresh herbs like rosemary or thyme, tuck a few sprigs in for color. Drizzle a little honey over the brie or goat cheese for a beautiful finish.
- Serve immediately or chill briefly (30 minutes max): This board is best at room temperature, so if you’ve made it ahead, let it sit out for 20 minutes before serving. The cheese softens, the flavors meld, and everything just tastes better.
A note on timing: If you’re making this for a party, prep all the ingredients the night before and just arrange the board when guests arrive. It takes less than 15 minutes to assemble, and you can chat with people while you do it.
Cooking Tips & Techniques
I’ve made plenty of mistakes with charcuterie boards, and I’m sharing them so you don’t have to learn the hard way.
Don’t overcrowd the board. I know it’s tempting to pile everything on, but people need space to grab things. Leave a little breathing room between items. If you have too much food, use a second board or a plate — it’s better than a messy pile.
Room temperature is your friend. Take the cheese out of the fridge 30 minutes before serving. Cold cheese is bland and hard. Let it soften up, and the flavors will really shine. I’ve ruined more than one board by serving cheese straight from the refrigerator.
Balance flavors and textures. You want a mix of salty (meats, olives), sweet (honey, grapes, dried fruit), creamy (brie, goat cheese), and crunchy (crackers, nuts). If everything is the same texture, the board falls flat. I learned this when I made a board with all soft cheese and no crunch — it was a sad, mushy mess.
Use the “rule of three” for colors. Aim for at least three different colors on the board — red (pepperoni, tomatoes, grapes), yellow (cheddar, honey), and green (cucumbers, herbs, apple slices). It makes the board visually appealing and more appetizing.
Prep in stages. Don’t try to do everything at once. Cut all the cheese first, then the meats, then the produce. It keeps your workspace organized and your stress levels low.
Variations & Adaptations
This board is endlessly customizable. Here are some variations I’ve tried and loved:
- Vegetarian Version : Skip the meats entirely and double up on cheese and vegetables. Add hummus, roasted red peppers, marinated artichoke hearts, and stuffed grape leaves for extra protein and flavor. I made this for a vegetarian friend and she said it was the best board she’d ever had.
- Gluten-Free Version : Use gluten-free crackers (like rice crackers or nut thins) and skip the baguette. Add extra vegetables and nuts for crunch. Most cheeses and meats are naturally gluten-free, so this is an easy swap.
- Seasonal Fruit Swap : In fall, use sliced pears and figs instead of grapes. In summer, add fresh berries and peach slices. In winter, try pomegranate seeds and citrus slices. The fruit should match the season for the best flavor and price.
- Spicy Twist : Add pickled jalapeños, spicy honey, and pepper jack cheese. Swap the salami for chorizo if you can find it cheap. This version is always a hit with my friends who love heat.
- Breakfast Board : Use this same concept for a brunch gathering — swap the meats for bacon and sausage, add mini pancakes or waffles, and include yogurt and granola. It’s a fun twist that works surprisingly well.
My personal favorite variation is the fall version with sliced pears, sharp cheddar, and a drizzle of honey. It tastes like Thanksgiving in every bite.
Serving & Storage Suggestions
Serve this board at room temperature for the best flavor. Arrange everything on a large board or platter and let people graze freely. It’s perfect for a Friendsgiving where everyone is mingling and chatting.
For presentation, I like to place the board in the center of the table with small plates and napkins nearby. Add a few small spoons for the jam and honey, and some toothpicks for easy grabbing. If you’re feeling fancy, label the cheeses with little flags or toothpick tags — it helps people know what they’re eating.
Storage is simple: If you have leftovers (which honestly, you might not), separate the components into airtight containers. Cheese stays good for a week, meats for 3-4 days, and crackers for weeks. The fruit and vegetables will last a day or two, but they’ll get soft after that. Do not store the assembled board — take everything apart and store separately.
Reheating isn’t really necessary for this board, but if you have leftover baguette slices, you can toast them again in the oven at 350°F for 3 minutes to crisp them up. The honey and jam don’t need reheating — just bring them to room temperature.
One thing I’ve noticed: the flavors actually get better after a few hours at room temperature. The cheese softens, the meats release their oils, and everything melds together. So if you’re making this ahead, assemble it an hour before serving and let it sit out (covered with a clean kitchen towel) until guests arrive.
Nutritional Information & Benefits
This board is packed with protein from the meats and cheeses, healthy fats from the nuts and olive oil, and fiber from the fruits and vegetables. It’s a balanced snack that keeps you full and satisfied without weighing you down.
Here’s an approximate breakdown per serving (assuming 10 servings):
- Calories: 350-450 per serving
- Protein: 15-20g
- Fat: 20-25g
- Carbohydrates: 25-30g
- Fiber: 3-5g
- Sugar: 10-15g (mostly from fruit and honey)
Key ingredients and their benefits:
- Cheese : Rich in calcium and protein. Cheddar and brie are good sources of vitamin B12 and phosphorus.
- Nuts : Packed with healthy fats, vitamin E, and magnesium. A handful a day is linked to heart health.
- Grapes and apples : High in antioxidants and fiber. The natural sweetness satisfies cravings without added sugar.
- Olives : Full of monounsaturated fats and vitamin E. They add a briny flavor that balances the richness of the cheese.
This board is naturally gluten-free if you choose gluten-free crackers, and it can be made dairy-free by using vegan cheese (I like the brand Miyoko’s for a creamy option). It’s also low-carb friendly if you skip the crackers and bread and focus on the meats, cheeses, and vegetables.
From a wellness perspective, I love that this board encourages mindful eating — you can pick and choose what you want, control your portions, and enjoy a variety of flavors and textures. It’s social eating at its best.
Conclusion
This crowd-pleasing Friendsgiving charcuterie board on a budget is proof that you don’t need to spend a fortune to feed your people well. It’s simple, flexible, and always a hit — whether you’re hosting a Friendsgiving, a game day gathering, or just a casual night in with friends.
I love this recipe because it’s forgiving. If you forget an ingredient or swap something out, it still works. The whole point is abundance and variety, not perfection. So don’t stress about getting it exactly right — just throw everything on a board and let people enjoy it.
I’d love to hear how your board turns out! Leave a comment below and tell me what ingredients you used, or tag me in your photos on social media. Did you try a fun variation? Did your friends fight over the last piece of brie? Share it all — I read every comment and I love seeing your creations.
Now go make that board and feed your people. You’ve got this.
Frequently Asked Questions
How far in advance can I make a charcuterie board?
You can prep all the ingredients a day ahead — wash and cut the produce, cube the cheese, and store everything separately in airtight containers in the fridge. Assemble the board no more than 2 hours before serving to keep everything fresh. If you assemble it too early, the crackers get soft and the fruit starts to brown.
How much food do I need per person for a charcuterie board?
For a main course board (like at a Friendsgiving), plan for about 4-6 ounces of meat and 3-4 ounces of cheese per person. For a snack board, cut those amounts in half. Add about 2-3 ounces of crackers per person and a generous handful of fruits and vegetables. It’s always better to have a little extra than to run out.
What’s the best way to arrange a charcuterie board so it looks full?
Start with the bowls for dips and spreads, then add the largest items (cheese blocks, meat piles) in different areas. Fill in the gaps with crackers, fruits, and vegetables. Use small items like nuts and dried fruit to fill any empty spaces. The key is to layer everything so nothing is sitting flat — fold meats, stack crackers, and let things overlap naturally.
Can I make this board vegetarian or vegan?
Absolutely! For a vegetarian board, skip the meats and add more cheese, hummus, roasted vegetables, marinated artichokes, and stuffed grape leaves. For a vegan board, use vegan cheese (like cashew-based brie or almond cheese), add extra nuts and seeds, and include items like olives, pickles, and fresh fruit. The same arrangement principles apply — just swap the proteins.
How do I keep the crackers from getting soggy?
Keep crackers and bread separate from moist items like grapes, tomatoes, and jam until just before serving. If you’re assembling ahead of time, place the crackers in a small bowl or on a separate plate and add them to the board right before guests arrive. For the same reason, don’t put wet fruits directly on top of crackers — give them their own space on the board.
Pin This Recipe!
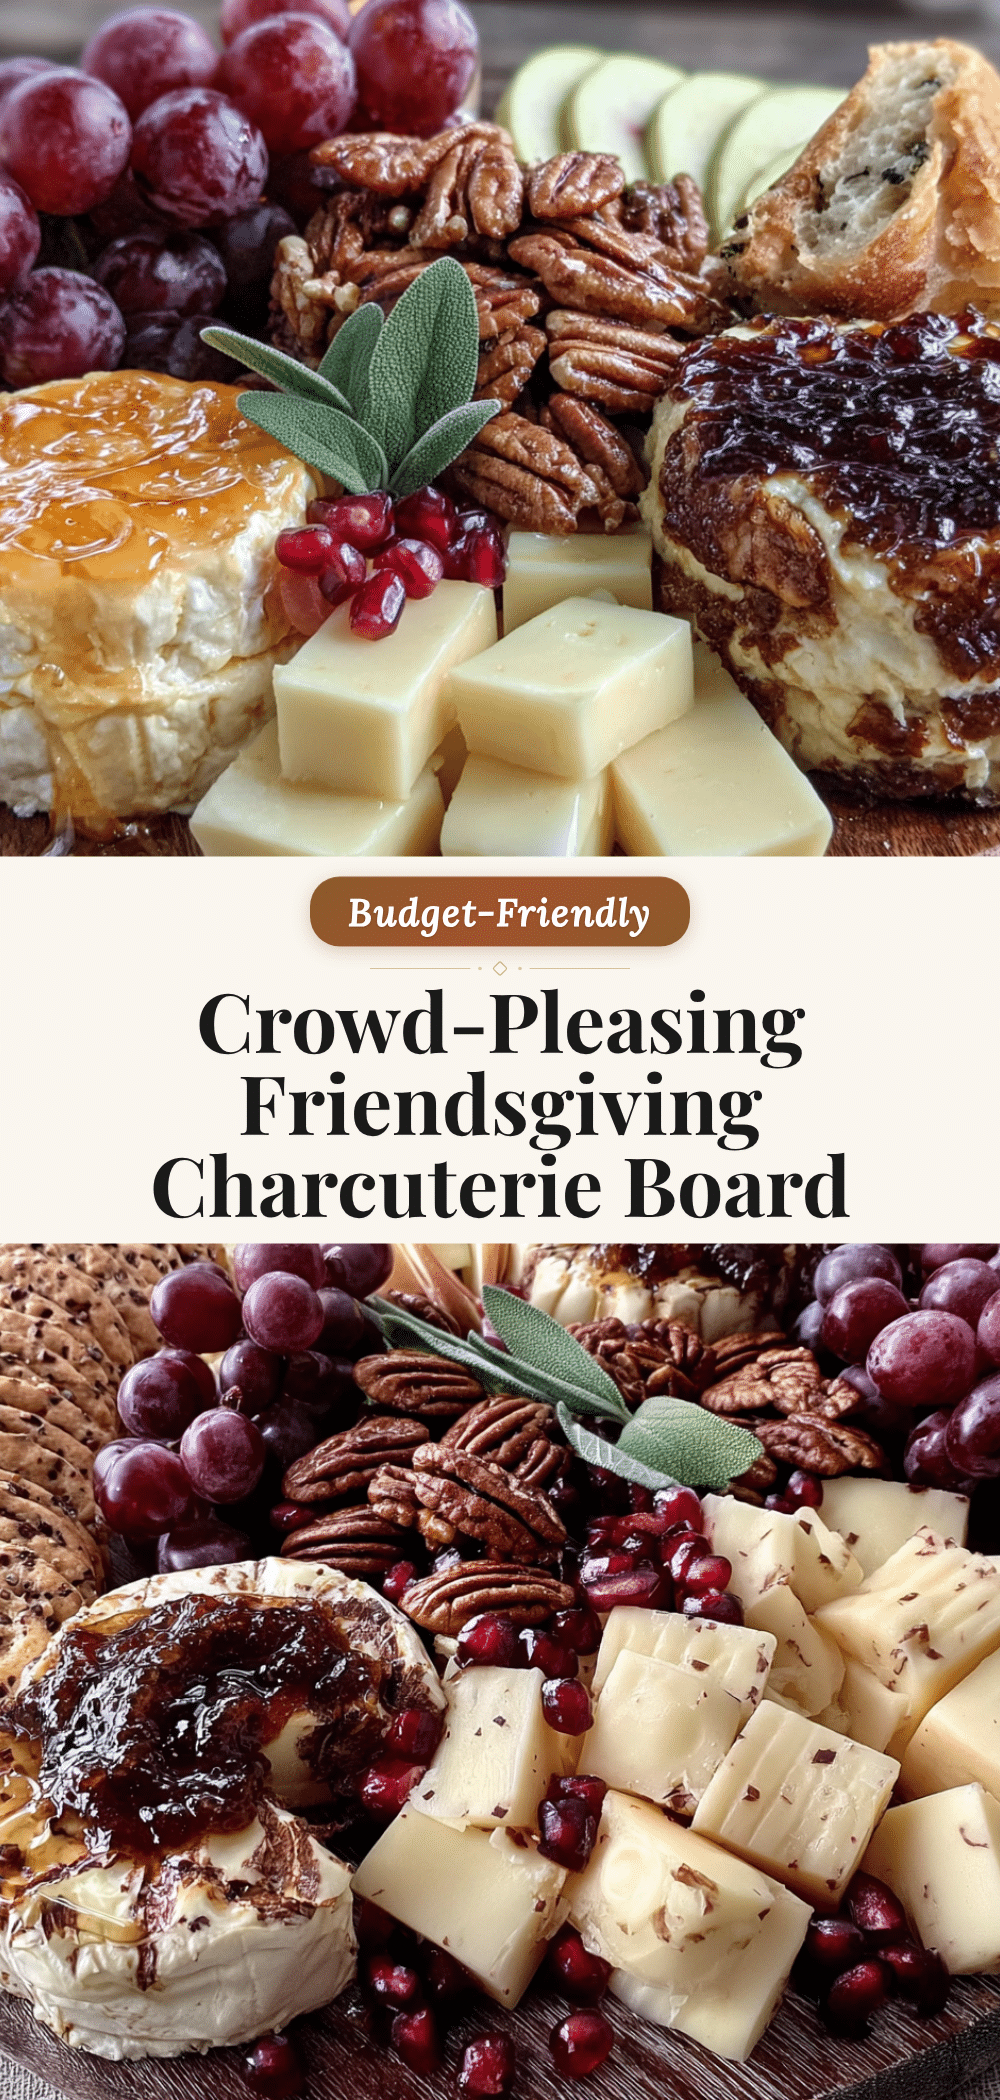
Crowd-Pleasing Friendsgiving Charcuterie Board on a Budget

A budget-friendly charcuterie board perfect for Friendsgiving, featuring affordable meats, cheeses, crackers, fruits, and vegetables arranged on a single board for easy grazing. This recipe proves you don’t need fancy ingredients or perfect plating to feed the people you love.
- Prep Time: 20 minutes
- Cook Time: 5 minutes
- Total Time: 25 minutes
- Yield: 10 servings 1x
- Category: Appetizer
- Cuisine: American
Ingredients
- 8 oz salami, sliced (store-brand hard salami or genoa)
- 8 oz pepperoni, sliced (from deli counter)
- 6 oz prosciutto (ask for ends at deli counter for discount)
- 8 oz deli ham, thick sliced and cut into strips
- 8 oz sharp cheddar, cubed
- 8 oz pepper jack, sliced
- 4 oz brie or camembert
- 4 oz goat cheese log
- 1 box water crackers
- 1 box wheat crackers
- 1 baguette, sliced and lightly toasted
- 1 box pretzel thins
- 1 cup red grapes, washed and stemmed
- 1 apple, sliced (tossed in lemon water to prevent browning)
- 1 cup cherry tomatoes
- 1 cup baby carrots or cucumber slices
- 1/2 cup mixed nuts (salted or unsalted)
- 1/4 cup honey or fig jam
- 1/4 cup olives or pickles
- 1/4 cup dried cranberries or apricots
Instructions
- Prep your ingredients (5 minutes): Wash and dry the grapes, cherry tomatoes, and any other produce. Slice the apple and toss it with a little lemon juice to keep it from browning. Cut the hard cheeses (cheddar, pepper jack) into 1-inch cubes. Slice the baguette into thin rounds and lightly toast them in the oven at 350°F for 5 minutes if you want extra crunch.
- Set out your bowls (2 minutes): Place your small bowls or ramekins on the board first. Fill one with honey, one with jam, one with olives or pickles, and one with nuts. This creates anchors for the rest of the arrangement.
- Add the cheeses (3 minutes): Place the cheese in different areas of the board, not all clustered together. Put the brie on one side, the cheddar cubes near the middle, and the goat cheese on the opposite end. This encourages people to move around the board and try everything.
- Layer the meats (3 minutes): Fold or roll the sliced salami and pepperoni and place them near the cheeses. I like to make little salami roses by folding slices in half, then rolling them up. For prosciutto, just drape it in loose ribbons — it looks elegant with zero effort.
- Fill in with crackers and bread (3 minutes): Arrange crackers and baguette slices in small clusters around the board. Don’t spread them evenly — group them in little piles so it looks intentional and abundant.
- Add fruits and vegetables (2 minutes): Tuck the grapes, apple slices, cherry tomatoes, and baby carrots into the empty spaces. This fills out the board visually and adds freshness.
- Finish with dried fruit and garnishes (2 minutes): Sprinkle dried cranberries or apricots over the board. If you have fresh herbs like rosemary or thyme, tuck a few sprigs in for color. Drizzle a little honey over the brie or goat cheese for a beautiful finish.
- Serve immediately or chill briefly (30 minutes max): This board is best at room temperature, so if you’ve made it ahead, let it sit out for 20 minutes before serving. The cheese softens, the flavors meld, and everything just tastes better.
Notes
Prep all ingredients the night before and assemble just before serving. Take cheese out of fridge 30 minutes before serving for best flavor. Keep crackers separate from moist items until serving to prevent sogginess. For a vegetarian version, skip meats and double up on cheese and vegetables. For a gluten-free version, use gluten-free crackers and skip the baguette.
Nutrition
- Serving Size: 1 serving (approxima
- Calories: 400
- Sugar: 12.5
- Sodium: 800
- Fat: 22.5
- Saturated Fat: 10
- Carbohydrates: 27.5
- Fiber: 4
- Protein: 17.5
Keywords: charcuterie board, Friendsgiving, budget-friendly, appetizer, party food, grazing board, cheese board, meat and cheese platter


