The fall bake sale was in two days and I’d completely forgotten. Everyone else would be bringing those fancy layered cakes with perfect buttercream rosettes, or those intricate French pastries that take three days to make. I had a half-can of pumpkin puree, some brown sugar that was starting to clump, and about forty-five minutes of free time before my kid needed picking up from soccer practice. Honestly, I almost just bought a tray of store-bought cookies and called it a day. But then I remembered my grandmother’s snickerdoodle recipe—the one with the crackly cinnamon top—and I wondered if I could mess with it just enough to make it “fall-ish” without ruining it.
I dumped the butter and both sugars into my mixer, crossed my fingers, and threw in the pumpkin. The dough looked weird at first—way too soft, almost like a thick batter. I added a bit more flour, then a bit more, until it felt like something I could actually scoop. I rolled them in a mix of cinnamon and sugar, popped them in the oven, and prayed. When the timer went off, the whole kitchen smelled like a pumpkin spice candle had exploded—in the best way. I took them to the bake sale feeling a little sheepish next to the elaborate displays. And you know what? My tray was empty in an hour. People kept coming back asking for the “pumpkin cookie with the crunch.” I just smiled and said it was nothing. But honestly? It was everything.
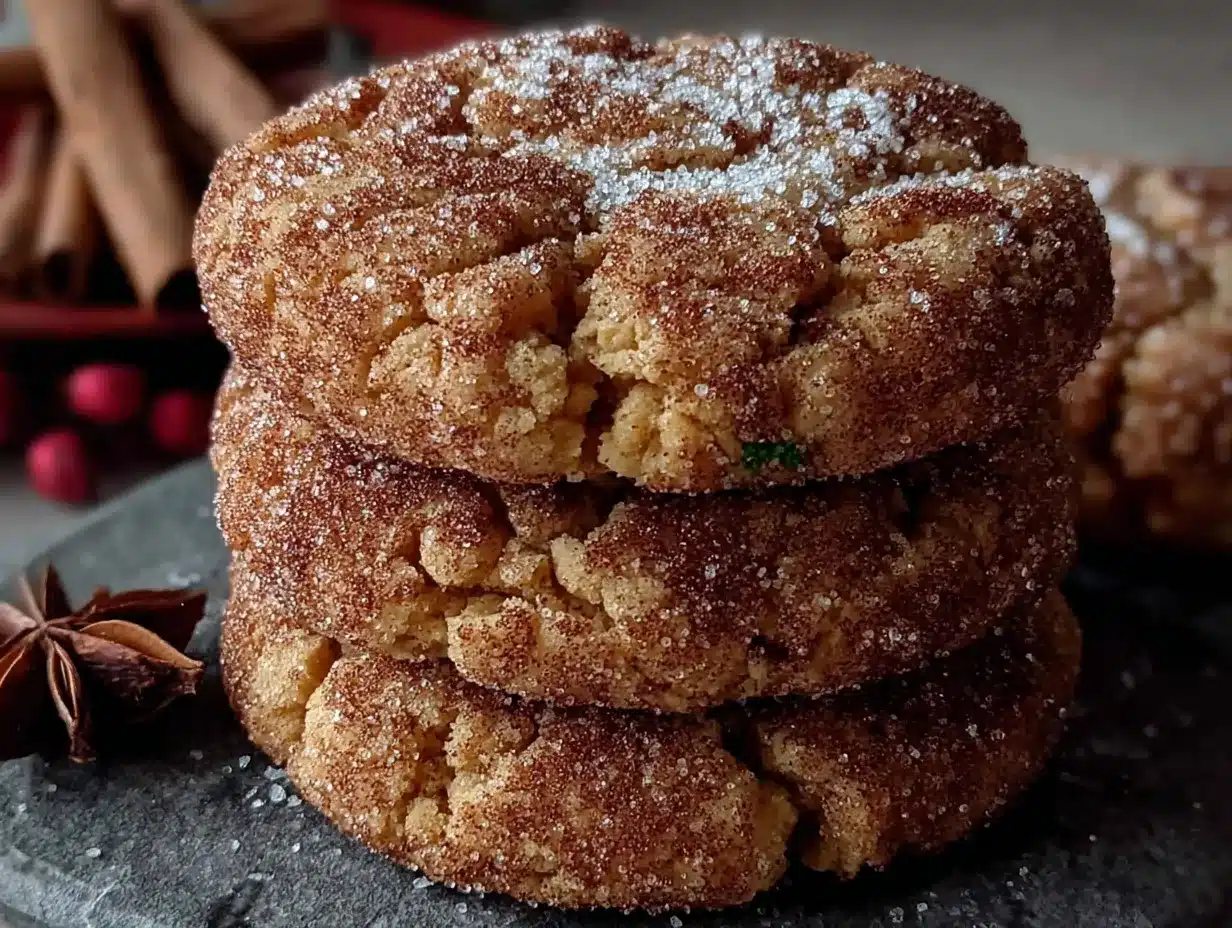
Maybe you’ve been there—needing something good, fast, and impressive without the stress. That’s exactly what these Easy Brown Sugar Pumpkin Snickerdoodle Cookies are. They’ve got that classic snickerdoodle tang from the cream of tartar, but the brown sugar and pumpkin make them impossibly soft and almost caramel-like. The cinnamon-sugar coating gives them that signature crackle, and the pumpkin keeps them moist for days. I’ve made them for everything from last-minute book club snacks to Thanksgiving dessert tables, and they always, always disappear. Let me show you how simple they are.
Why You’ll Love This Recipe
These aren’t just another pumpkin cookie. I tested this recipe six times before I got the texture exactly right—not too cakey, not too flat, with that perfect soft-baked center and slightly crisp edge. After years of recipe development, I can tell you that getting pumpkin cookies to hold their shape without turning into little muffin tops is a genuine challenge. But these? They nail it.
- Quick & Easy: From start to finish, you’re looking at about 25 minutes. Mix the dough, scoop, roll, bake. That’s it. Perfect for a Tuesday night craving.
- Simple Ingredients: You probably have most of this in your pantry right now. Pumpkin puree, brown sugar, basic baking staples. No weird extracts or hard-to-find spices.
- Perfect for Fall Gatherings: Whether it’s a potluck, a Halloween party, or just a cozy weekend at home, these cookies scream autumn without being overbearing.
- Crowd-Pleaser: I’ve served these to kids who hate pumpkin and adults who swear they don’t like sweets. They all go back for seconds. The snickerdoodle element makes them familiar enough that even pumpkin skeptics give them a try.
- Unbelievably Delicious: The brown sugar adds this deep, almost molasses-like richness that pairs perfectly with the pumpkin. And that cinnamon-sugar coating? It creates a little crunchy shell that gives way to the softest, most tender cookie inside.
What makes this recipe different from the rest is the balance. Most pumpkin cookies are either too dense or too fluffy, and they often lose their flavor after a day. The cream of tartar here is the secret weapon—it gives that classic snickerdoodle tang that cuts through the sweetness and makes the pumpkin flavor pop. Plus, using brown sugar instead of just white sugar adds moisture and depth that white sugar alone can’t touch. This is comfort food perfected—faster, simpler, but with all the soul-soothing satisfaction of something that took hours.
What Ingredients You Will Need
This recipe uses simple, wholesome ingredients to deliver that soft, spiced, perfectly sweet cookie without any fuss. Most of these are pantry staples, which is exactly what you want on a busy weeknight when you need a baking fix fast.
- Unsalted butter, softened (1 cup / 2 sticks / 226g) — I always use unsalted so I can control the salt level. Let it sit out for about 30 minutes before you start. If you’re in a hurry, cut it into small cubes and microwave for 10-second intervals until soft but not melted.
- Brown sugar, packed (1 cup / 200g) — Light or dark brown sugar both work here. Dark brown sugar gives a deeper, more molasses-forward flavor. Pack it firmly into the measuring cup for accuracy.
- Granulated sugar (1/2 cup / 100g) — This adds a bit of structure and sweetness. Don’t skip it—the combination of both sugars is what gives these cookies their texture.
- Pumpkin puree (1/2 cup / 120g) — Make sure you’re using pure pumpkin puree, not pumpkin pie filling. The pie filling has added sugar and spices that will throw off the balance. I prefer Libby’s brand for consistent texture.
- Large egg (1) — Room temperature is best. If you forgot to take it out, place it in a bowl of warm water for 5 minutes.
- Vanilla extract (1 teaspoon) — Pure vanilla extract adds warmth. Imitation works in a pinch, but pure is noticeably better here.
- All-purpose flour (2 1/2 cups / 315g) — Spoon and level your flour—don’t scoop directly from the bag or you’ll end up with dense cookies. Fluff the flour first, spoon it into the cup, then level with a knife.
- Cream of tartar (1 teaspoon) — This is the magic ingredient that gives snickerdoodles their signature tang. Don’t skip it. If you don’t have it, you can substitute 2 teaspoons of lemon juice or white vinegar, but the flavor will be slightly different.
- Baking soda (1 teaspoon) — Make sure it’s fresh. If it doesn’t fizz when you drop it in vinegar, get new stuff.
- Salt (1/2 teaspoon) — Fine sea salt or table salt. It balances the sweetness and enhances the pumpkin flavor.
- Ground cinnamon (1 teaspoon in the dough) — Use a good quality cinnamon. I like Saigon cinnamon for its warmth and intensity.
- Ground nutmeg (1/4 teaspoon) — Freshly grated if you have it, but ground works perfectly.
- Ground ginger (1/4 teaspoon) — Adds a little warmth without being spicy.
- Ground cloves (1/8 teaspoon) — Just a pinch. Cloves are strong, so go easy.
For the coating:
- Granulated sugar (1/4 cup / 50g)
- Ground cinnamon (1 tablespoon) — This generous amount ensures every bite has that crackly, spiced coating.
Substitution note: For a dairy-free version, use plant-based butter sticks (like Earth Balance). For a gluten-free option, swap the all-purpose flour with a 1:1 gluten-free baking blend that contains xanthan gum. I’ve tested this with King Arthur Measure for Measure and it works beautifully.
Equipment Needed
You don’t need a fancy kitchen for these cookies. Here’s what you’ll need:
- Electric mixer (stand or hand-held) — A hand mixer works perfectly fine. I’ve made these with a whisk and some elbow grease before, and it’s doable, but the mixer makes it much easier to cream the butter and sugar properly.
- Large mixing bowls (at least 2) — One for the wet ingredients, one for the dry.
- Measuring cups and spoons — For accuracy, especially with the flour and spices.
- Kitchen scale (optional but recommended) — Weighing your ingredients is more precise and gives consistent results every time. I use it for the flour especially.
- Rubber spatula — For scraping down the bowl and folding in the dry ingredients.
- Cookie scoop (1.5 tablespoon size) — This makes uniform cookies that bake evenly. If you don’t have one, use two spoons.
- Baking sheets (2) — Light-colored, rimmed baking sheets work best. Dark sheets can cause the bottoms to brown too quickly.
- Parchment paper or silicone baking mats — Non-stick is essential here since the cookies are soft and delicate.
- Cooling rack — For letting the cookies set properly after baking.
I’ve been using the same set of Nordic Ware baking sheets for years—they’re affordable, durable, and bake evenly. If you’re just starting out, don’t worry about having everything. A bowl, a whisk, and a baking sheet are really all you need.
Preparation Method
-
Preheat your oven to 350°F (175°C). Line two baking sheets with parchment paper or silicone baking mats. This ensures the cookies don’t stick and makes cleanup a breeze.
-
In a medium bowl, whisk together the dry ingredients: 2 1/2 cups (315g) all-purpose flour, 1 teaspoon cream of tartar, 1 teaspoon baking soda, 1/2 teaspoon salt, 1 teaspoon ground cinnamon, 1/4 teaspoon nutmeg, 1/4 teaspoon ginger, and 1/8 teaspoon cloves. Whisk until everything is evenly distributed. Set aside.
-
In a large bowl, cream the butter and sugars: Using your electric mixer, beat 1 cup (226g) softened unsalted butter, 1 cup (200g) packed brown sugar, and 1/2 cup (100g) granulated sugar together on medium speed until light and fluffy—about 2-3 minutes. Scrape down the sides of the bowl with a rubber spatula halfway through. The mixture should look pale and airy.
-
Add the pumpkin, egg, and vanilla: Beat in 1/2 cup (120g) pumpkin puree, 1 large egg, and 1 teaspoon vanilla extract. Mix on low speed until just combined. The mixture will look a little curdled at this point—that’s normal! The pumpkin and butter aren’t fully emulsified yet, but the flour will bring everything together.
-
Gradually add the dry ingredients: With the mixer on low, add the flour mixture in three additions, mixing just until each addition disappears. Don’t overmix—stop as soon as you don’t see any more streaks of flour. Overmixing develops gluten and makes the cookies tough. The dough will be soft and slightly sticky, but it should hold together when you scoop it.
-
Chill the dough (optional but recommended): Cover the bowl with plastic wrap and refrigerate for 30 minutes. This step firms up the dough so the cookies don’t spread too much in the oven. If you’re in a rush, you can skip it—just know your cookies will be a bit flatter. I usually chill it while I clean up the dishes.
-
Make the cinnamon-sugar coating: In a small shallow bowl, whisk together 1/4 cup (50g) granulated sugar and 1 tablespoon ground cinnamon. Set aside.
-
Scoop and roll the cookies: Using a 1.5-tablespoon cookie scoop, portion out the dough. Roll each portion into a smooth ball between your palms. Then roll each ball generously in the cinnamon-sugar mixture, coating all sides. Place the coated dough balls on the prepared baking sheets, spacing them about 2 inches apart. They will spread, so give them room.
-
Bake for 10-12 minutes: Bake one sheet at a time in the center of the oven. The cookies should look puffed, slightly cracked on top, and the edges should be set but the centers will still look soft and slightly underdone. That’s exactly what you want—they’ll continue to set as they cool. For softer cookies, bake for 10 minutes. For slightly crispier edges, go to 12 minutes.
-
Cool on the baking sheet for 5 minutes: This is crucial. The cookies are very delicate when they come out of the oven. Let them rest on the hot baking sheet for exactly 5 minutes—this allows them to finish setting without drying out. Then transfer them to a wire cooling rack to cool completely. If you try to move them too soon, they’ll fall apart.
Pro tip: For perfectly round cookies, use a round cookie cutter (slightly larger than the cookie) to gently scoot the edges into shape while they’re still warm on the baking sheet. This is a little trick I picked up from a bakery I worked at—it makes them look store-bought perfect.
Cooking Tips & Techniques
I’ve made these cookies more times than I can count, and I’ve made every mistake in the book so you don’t have to. Here’s what I’ve learned:
Don’t overmix the dough. I know I already said this, but it’s worth repeating. When you overmix, you develop gluten, and gluten makes cookies tough and cakey instead of tender and soft. Mix just until the flour disappears. A few streaks are fine—they’ll work themselves out when you scoop.
Measure your flour correctly. This is probably the most common mistake home bakers make. If you scoop your measuring cup directly into the flour bag, you can pack in up to 25% more flour than the recipe calls for. That means dry, dense cookies. Instead, fluff the flour with a fork, spoon it into the measuring cup, and level it off with a knife. Or better yet, use a kitchen scale. I promise it makes a difference.
Watch the baking time closely. Every oven runs a little differently. My old oven used to run hot, and I’d burn the bottoms of these cookies before the tops even looked done. Invest in an oven thermometer—they’re cheap and they’ll save you from ruined batches. When in doubt, pull the cookies out when the edges are set but the centers still look soft. They’ll continue to bake on the hot sheet.
Let the dough chill if you have time. I know we’re all busy, but even 15 minutes in the fridge makes a difference. Chilled dough spreads less, which means thicker, softer cookies with a better texture. If you’re baking for a special occasion, definitely don’t skip this step.
Use room temperature ingredients. Cold butter doesn’t cream properly with sugar, and cold egg can make the batter seize up. Take your butter and egg out of the fridge about 30 minutes before you start. If you forgot, cut the butter into small cubes and let it sit for 15 minutes, and place the egg in a bowl of warm water for 5 minutes.
Variations & Adaptations
One of the things I love about this recipe is how versatile it is. Here are some ways to make it your own:
Pumpkin Chocolate Chip Snickerdoodles: Fold in 1 cup of semi-sweet chocolate chips or white chocolate chips after the flour is incorporated. The chocolate adds a nice richness that pairs beautifully with the pumpkin and cinnamon. I did this for a holiday party once and they were gone in ten minutes.
Gluten-Free Version: Substitute the all-purpose flour with a 1:1 gluten-free baking blend that contains xanthan gum. I’ve tested this with King Arthur Measure for Measure and Bob’s Red Mill 1-to-1, and both work perfectly. The texture is slightly more delicate, so handle the dough gently. Chill the dough for at least 30 minutes—it really helps the gluten-free flour absorb the moisture.
Vegan Adaptation: Use plant-based butter sticks (not the spreadable kind in a tub) and replace the egg with a flax egg (1 tablespoon ground flaxseed mixed with 3 tablespoons water, let sit for 5 minutes). The cookies will be slightly less tender, but still delicious. I’d recommend chilling the dough for at least an hour to firm it up.
Spice It Up: Add 1/4 teaspoon of cardamom or allspice to the dough for a more complex spice profile. Cardamom adds this lovely floral note that’s really unexpected and wonderful. Or try using pumpkin pie spice instead of the individual spices—use 2 teaspoons total.
Make Them Bigger: For jumbo bakery-style cookies, use a 3-tablespoon cookie scoop and bake for 13-15 minutes. You’ll get about 18 larger cookies instead of 36. They’re perfect for gifting or when you just want a really satisfying cookie experience.
Serving & Storage Suggestions
These cookies are best served slightly warm, when the centers are still soft and the cinnamon-sugar coating is at its crackliest. If you’re serving them at a gathering, arrange them on a pretty platter and dust with a little extra cinnamon sugar for presentation. They look gorgeous on a rustic wooden board or a white ceramic plate.
What to serve with them: A cold glass of milk is the classic pairing, but they’re also amazing with a hot cup of coffee, spiced chai latte, or even a scoop of vanilla ice cream for dessert. I’ve crumbled them over vanilla yogurt for a quick breakfast treat—no judgment here.
Storage: Store the cookies in an airtight container at room temperature for up to 5 days. Place a slice of bread in the container to keep them soft—the cookies will absorb the moisture from the bread and stay tender. Change the bread slice every couple of days if they last that long.
Freezing instructions: You can freeze the baked cookies for up to 3 months. Place them in a single layer on a baking sheet and freeze until solid, then transfer to a freezer-safe bag or container. Thaw at room temperature for about 30 minutes before serving. Or, freeze the unbaked dough balls (coated in cinnamon sugar) on a baking sheet, then transfer to a freezer bag. Bake from frozen, adding 2-3 minutes to the baking time. This is my favorite way to have fresh cookies on demand—just bake what you need.
Flavor development: These cookies actually taste better the next day. The spices have time to meld together, and the texture becomes even softer and more tender. Don’t be surprised if you find yourself sneaking one for breakfast the next morning.
Nutritional Information & Benefits
Here’s the approximate nutritional breakdown for one cookie (based on 36 cookies):
| Nutrient | Amount |
|---|---|
| Calories | 125 |
| Total Fat | 6g |
| Saturated Fat | 3.5g |
| Cholesterol | 20mg |
| Sodium | 85mg |
| Total Carbohydrates | 17g |
| Dietary Fiber | 1g |
| Sugars | 10g |
| Protein | 2g |
While these are definitely a treat, they do have some redeeming qualities. Pumpkin is rich in vitamin A and fiber, and the cinnamon has anti-inflammatory properties. The brown sugar provides a touch of molasses, which contains small amounts of minerals like calcium and iron. Plus, using real butter means you’re getting some vitamin A and healthy fats.
Dietary considerations: This recipe contains gluten, dairy, and eggs. For gluten-free and vegan adaptations, see the variations section above. These cookies are nut-free as written, making them safe for school events and parties where nut allergies are a concern.
I’m not a nutritionist, but I believe in balance. A cookie like this—made from scratch with real ingredients—is infinitely better than anything processed. Enjoying one with your afternoon coffee is a small pleasure that makes life a little sweeter.
Conclusion
These Easy Brown Sugar Pumpkin Snickerdoodle Cookies are everything I want in a fall recipe—simple, forgiving, and absolutely delicious. They came out of a moment of panic and turned into something I genuinely look forward to making every year. The brown sugar adds a warmth that regular snickerdoodles just don’t have, and the pumpkin keeps them soft for days. Honestly, they might be my favorite cookie I’ve ever developed.
I hope you give them a try. Don’t worry about making them perfect—the slightly imperfect ones with the cracked tops and the soft centers are always the best ones anyway. If you make them, I’d love to hear how they turned out. Leave a comment below and let me know if you tried any fun variations. And if you’re looking for another quick fall dessert, you might want to try my easy pumpkin bread or these brown butter chocolate chip cookies—they’re both weeknight-friendly and always a hit.
Happy baking, friends. 🍂
Frequently Asked Questions
Can I use pumpkin pie filling instead of pumpkin puree?
No, I wouldn’t recommend it. Pumpkin pie filling has added sugar, spices, and sometimes thickeners that will change the texture and sweetness of the cookies. Stick with 100% pure pumpkin puree for the best results. If you accidentally bought pie filling, you can still use it—just reduce the sugar in the recipe by about 1/4 cup and skip the added spices in the dough.
Why did my cookies turn out flat?
Flat cookies usually mean one of three things: your butter was too soft or melted, your dough wasn’t chilled, or you used too much sugar. Make sure your butter is softened but not melted, chill the dough for at least 30 minutes, and measure your ingredients accurately. Also, check that your baking soda is fresh—old baking soda won’t give the cookies enough lift.
Can I make the dough ahead of time?
Absolutely! You can refrigerate the dough for up to 3 days. Just wrap it tightly in plastic wrap or store it in an airtight container. When you’re ready to bake, let it sit at room temperature for about 10 minutes to soften slightly, then scoop and roll as usual. You can also freeze the dough balls for up to 3 months—see the storage section above for details.
Can I use pumpkin spice instead of the individual spices?
Yes, you can substitute 2 teaspoons of pumpkin pie spice for the cinnamon, nutmeg, ginger, and cloves called for in the dough. The flavor will be slightly different—pumpkin pie spice usually has a bit more nutmeg and allspice—but it’s still delicious. Just don’t use it in the coating; stick with cinnamon and sugar for that.
How do I get that perfect crackly top?
The crackly top comes from rolling the dough balls generously in the cinnamon-sugar mixture and then baking them at the right temperature. Make sure each ball is fully coated, and don’t press them down before baking—they should be round balls. The cracks form naturally as the cookies spread and rise in the oven. Also, don’t overbake them; pulling them out when the centers are still soft ensures that beautiful crackly texture.
Pin This Recipe!
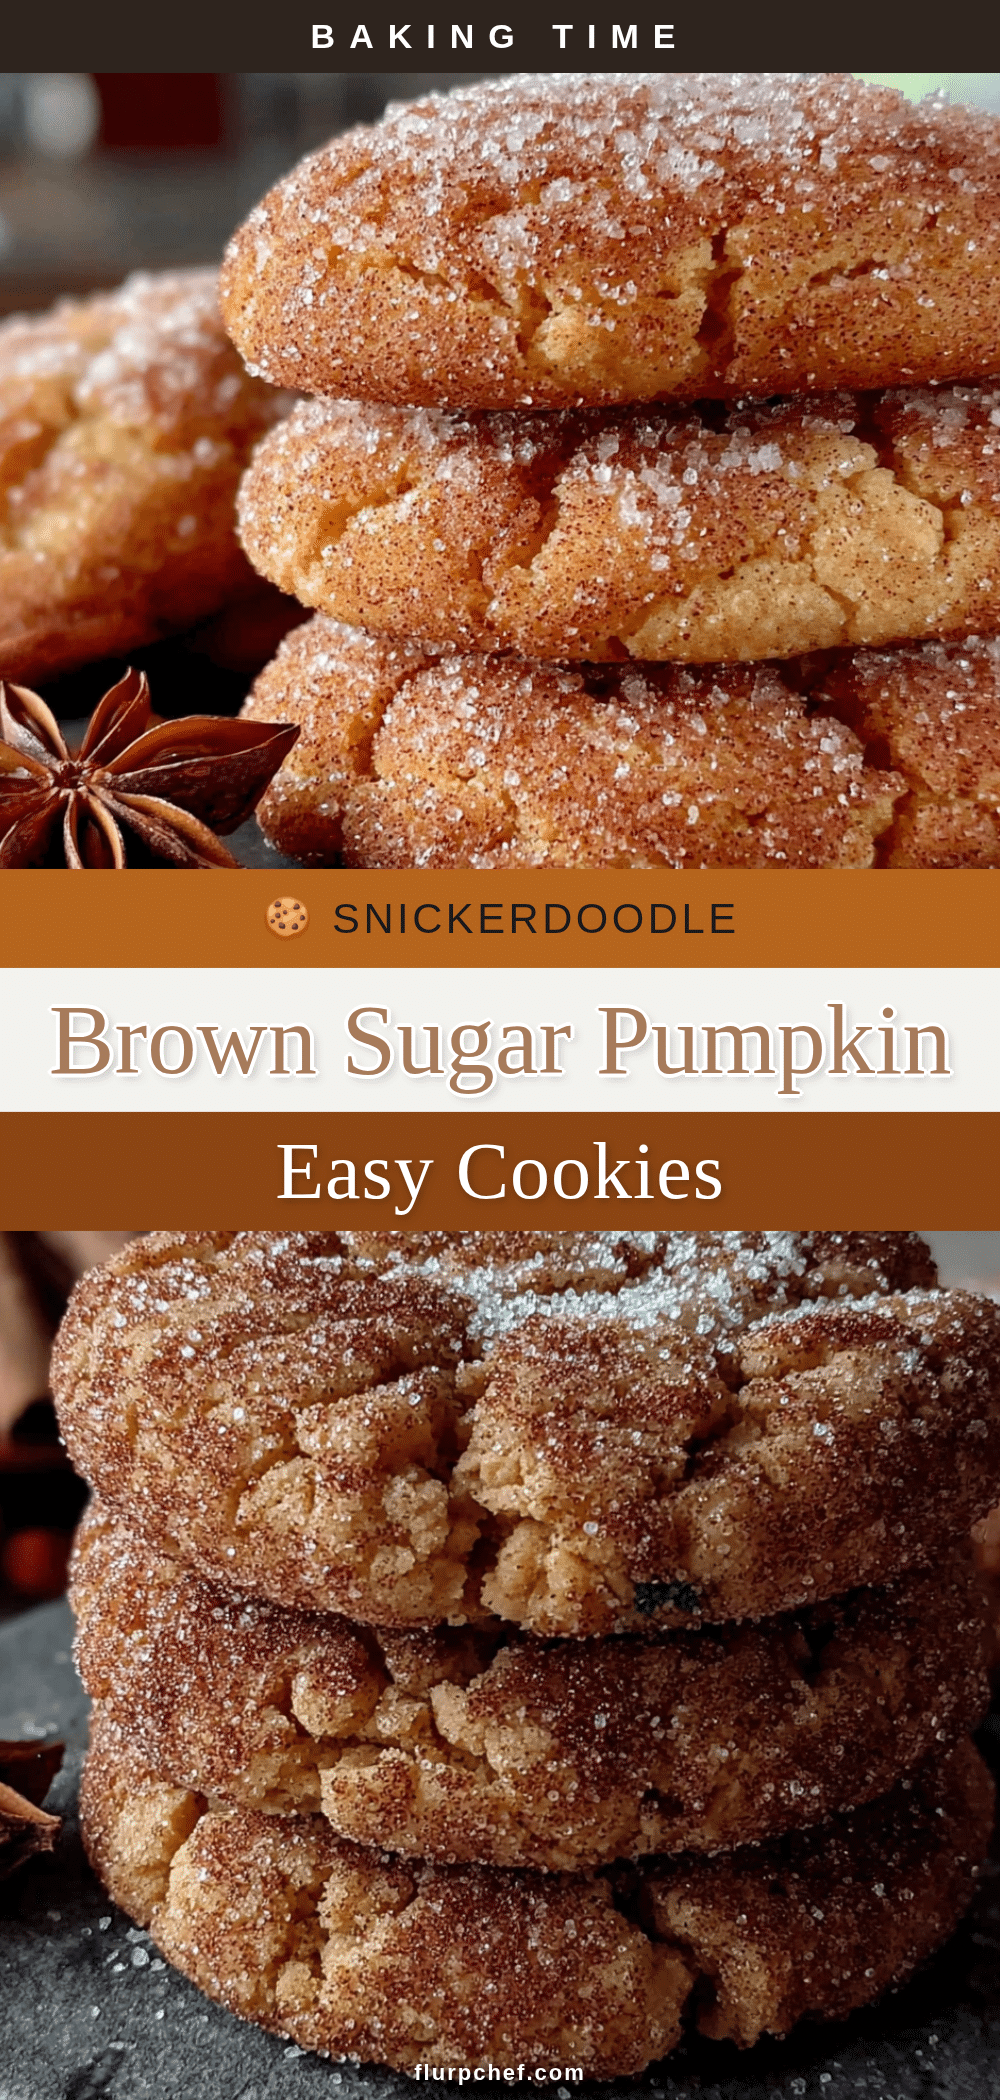
Easy Brown Sugar Pumpkin Snickerdoodle Cookies
These soft, spiced pumpkin snickerdoodles with a crackly cinnamon-sugar coating are quick, easy, and perfect for fall gatherings. Made with brown sugar and pumpkin puree, they stay moist for days and are a guaranteed crowd-pleaser.
- Prep Time: 15 minutes
- Cook Time: 12 minutes
- Total Time: 27 minutes (plus optional 30 minutes chilling)
- Yield: 36 cookies 1x
- Category: Dessert
- Cuisine: American
Ingredients
- 1 cup (2 sticks / 226g) unsalted butter, softened
- 1 cup (200g) brown sugar, packed
- 1/2 cup (100g) granulated sugar
- 1/2 cup (120g) pumpkin puree (not pumpkin pie filling)
- 1 large egg, room temperature
- 1 teaspoon vanilla extract
- 2 1/2 cups (315g) all-purpose flour, spooned and leveled
- 1 teaspoon cream of tartar
- 1 teaspoon baking soda
- 1/2 teaspoon salt
- 1 teaspoon ground cinnamon
- 1/4 teaspoon ground nutmeg
- 1/4 teaspoon ground ginger
- 1/8 teaspoon ground cloves
- For the coating:
- 1/4 cup (50g) granulated sugar
- 1 tablespoon ground cinnamon
Instructions
- Preheat oven to 350°F (175°C). Line two baking sheets with parchment paper or silicone baking mats.
- In a medium bowl, whisk together flour, cream of tartar, baking soda, salt, cinnamon, nutmeg, ginger, and cloves. Set aside.
- In a large bowl, using an electric mixer, beat butter, brown sugar, and granulated sugar on medium speed until light and fluffy, about 2-3 minutes. Scrape down sides as needed.
- Beat in pumpkin puree, egg, and vanilla extract on low speed until just combined. Mixture may look slightly curdled.
- Gradually add dry ingredients to wet mixture in three additions, mixing on low just until each addition disappears. Do not overmix. Dough will be soft and slightly sticky.
- Cover bowl with plastic wrap and refrigerate for 30 minutes (optional but recommended for thicker cookies).
- In a small shallow bowl, whisk together 1/4 cup granulated sugar and 1 tablespoon cinnamon for coating.
- Using a 1.5-tablespoon cookie scoop, portion dough and roll into smooth balls. Roll each ball generously in cinnamon-sugar mixture. Place 2 inches apart on prepared baking sheets.
- Bake one sheet at a time in center of oven for 10-12 minutes. Cookies should look puffed and slightly cracked on top, with edges set but centers still soft.
- Cool on baking sheet for 5 minutes, then transfer to a wire rack to cool completely.
Notes
For perfectly round cookies, use a round cookie cutter slightly larger than the cookie to gently scoot edges into shape while warm. Cookies taste even better the next day as flavors meld. Store in an airtight container at room temperature for up to 5 days; place a slice of bread in container to keep them soft. Freeze baked cookies for up to 3 months or unbaked dough balls for up to 3 months.
Nutrition
- Serving Size: 1 cookie
- Calories: 125
- Sugar: 10
- Sodium: 85
- Fat: 6
- Saturated Fat: 3.5
- Carbohydrates: 17
- Fiber: 1
- Protein: 2
Keywords: pumpkin snickerdoodle, brown sugar cookies, fall cookies, easy pumpkin cookies, snickerdoodle recipe, pumpkin dessert, soft pumpkin cookies


