My husband had refused pumpkin pie for years. A solid decade, at least. He’d make a face every time it showed up on the Thanksgiving table, muttering something about “that weird, slimy texture” and “why ruin a good meal with sweet squash?” I honestly thought he was just being dramatic.
Then I caught him. Last November, around 10 PM on a random Tuesday. I’d made a test batch of this quick homemade pumpkin pie from scratch — just for myself, you know, for “recipe development purposes.” I’d left one slice on the counter while I ran to grab my laptop. When I came back, he was standing there, fork in hand, with this look on his face. Caught. Red-handed.
“I was just tasting it,” he said, crumbs on his chin. “To make sure it wasn’t poisoned.”
That was the moment I knew I had something special. This isn’t your grandma’s all-day project pumpkin pie. It’s the kind you can whip up on a weeknight when the craving hits — no fuss, no complicated pastry techniques, no waiting around. The filling comes together in about ten minutes, and the whole thing goes from your pantry to your plate in under an hour. Maybe you’ve been there — standing in your kitchen at 8 PM, desperately wanting that cozy, spiced flavor but thinking you don’t have the time or energy. I promise you, this recipe fixes that.
Why You’ll Love This Recipe
Let me tell you why this quick homemade pumpkin pie from scratch has become my most-requested dessert — even beating out my chocolate cake, which hurt a little, honestly.
- Quick & Easy: We’re talking 30 minutes of active time, start to finish. The filling takes 10 minutes to mix, and the crust? We’re using a simple press-in method. No rolling pins, no chilled butter cubes, no stress.
- Simple Ingredients: You probably have most of these in your pantry right now. One can of pumpkin puree, some eggs, sugar, spices, and a few pantry staples. No weird specialty items you’ll use once and forget about.
- Perfect for Weeknight Cravings: This isn’t just a holiday pie. It’s for those random Tuesday nights when you need something warm and comforting. It’s for the “I just want pie” moments that don’t care what month it is.
- Crowd-Pleaser: I’ve served this to pumpkin pie purists and pumpkin pie skeptics (hi, husband). Everyone goes back for seconds. The texture is silky, not slimy — I think that’s the key.
- Unbelievably Delicious: The secret is browning the butter first. It adds this nutty, caramelized depth that makes the spices sing. Trust me on this one — it’s a game-changer.
What makes this different from other recipes? It’s the technique. Most quick pumpkin pies use store-bought crust or skip steps. Not this one. We’re making a proper crust from scratch — but a forgiving one that doesn’t require pastry skills. And we’re toasting the spices in the browned butter, which wakes them up in a way that just dumping them in doesn’t. This is comfort food reimagined — faster, yes, but with the same soul-soothing satisfaction that makes you close your eyes after that first bite.
What Ingredients You Will Need
This recipe uses simple, wholesome ingredients to deliver that classic pumpkin pie flavor without the fuss. Most of these are pantry staples, which is exactly what you want on a busy weeknight.
For the Crust:
- 1 ½ cups all-purpose flour (spooned and leveled — don’t scoop directly from the bag or you’ll get too much)
- ½ teaspoon salt
- 1 tablespoon granulated sugar (just a touch of sweetness in the crust)
- ½ cup unsalted butter, melted and slightly cooled (this is the shortcut — no cutting cold butter into flour)
- 3-4 tablespoons ice-cold water (start with 3, add more only if needed)
For the Filling:
- 1 (15-ounce) can pumpkin puree (not pumpkin pie filling — we’re making our own seasoning here. I prefer Libby’s for consistent texture)
- ¾ cup granulated sugar
- ¼ cup packed light brown sugar (adds moisture and a deeper flavor)
- 2 large eggs (room temperature if you remember — if not, pop them in warm water for 5 minutes)
- 1 teaspoon vanilla extract
- 1 ½ cups heavy cream (or half-and-half for a lighter version — but honestly, the cream makes it luxurious)
- 2 teaspoons pumpkin pie spice (or make your own: 1 tsp cinnamon, ½ tsp ginger, ¼ tsp nutmeg, ¼ tsp cloves)
- ½ teaspoon salt
A quick note on the butter: I use salted butter sometimes if that’s all I have — just reduce the added salt in the crust to ¼ teaspoon. And for the pumpkin puree, make sure you’re getting 100% pumpkin, not the pre-sweetened pie mix. I learned that one the hard way, let me tell you. My first attempt was way too sweet and weirdly spiced.
Equipment Needed
You don’t need a fancy kitchen for this. Here’s what you’ll actually use:
- 9-inch pie dish (glass or ceramic works best — metal can sometimes make the crust cook unevenly)
- Large mixing bowl (for the crust)
- Medium mixing bowl (for the filling)
- Whisk (a fork works in a pinch for the crust, but a whisk is better for the filling)
- Measuring cups and spoons
- Spatula (for scraping every last bit of filling into the crust)
- Small saucepan (for browning the butter — this step is worth the extra dish)
- Cooling rack (or just a trivet — something to let the pie breathe after baking)
If you don’t have a pie dish, you can use a 9-inch tart pan with a removable bottom. Just keep an eye on the baking time — it might cook a few minutes faster. And if you’re really in a pinch, an 8×8 square baking dish works too. I’ve done it. The pie is a little thicker, so you’ll need to add 5-10 minutes to the bake time. No judgment here — we’re all just trying to get pie into our faces.
Preparation Method
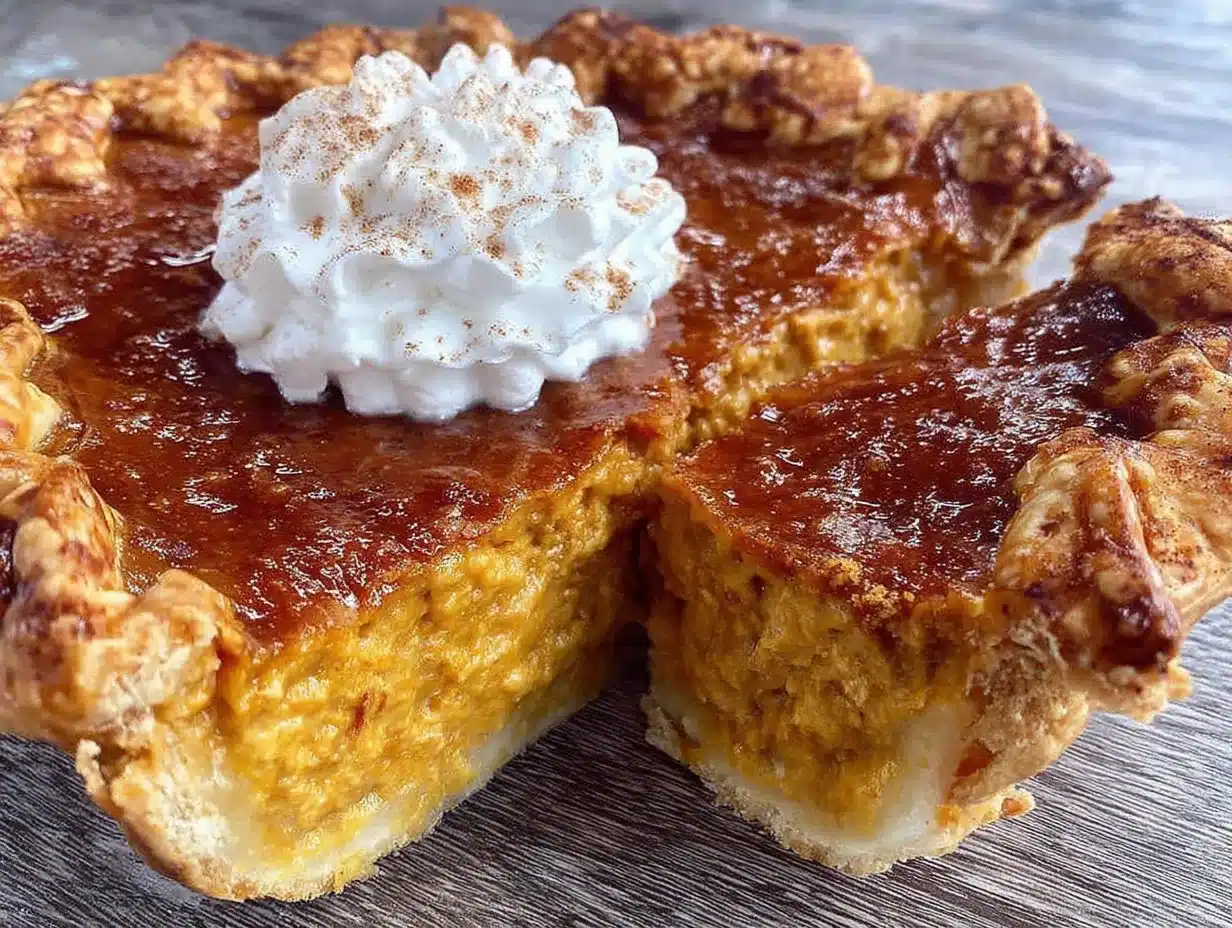
Let’s get to it. I’ve broken this down so you can follow along without feeling overwhelmed. Trust the process — it’s simpler than it sounds.
Step 1: Make the Crust (5 minutes active)
Preheat your oven to 375°F (190°C). In a large bowl, whisk together the flour, salt, and sugar. Pour in the melted butter and stir with a fork until the mixture looks like coarse crumbs. Add 3 tablespoons of ice water and mix until a dough forms. If it seems too dry, add the fourth tablespoon. Don’t overmix — you want it just combined. Press the dough evenly into your pie dish, going up the sides. Prick the bottom with a fork a few times. Bake for 12 minutes, then set aside to cool slightly. (I forgot to prick mine once — it bubbled up like a balloon. Learn from my mistakes.)
Step 2: Brown the Butter (3 minutes)
While the crust bakes, melt the butter for the filling in a small saucepan over medium heat. Swirl it occasionally. It’ll foam up, then settle down, and you’ll start seeing brown specks at the bottom. The smell will be nutty and amazing. Remove it from heat immediately — burnt butter is not what we want. Pour it into a heatproof bowl to stop the cooking.
Step 3: Mix the Filling (10 minutes)
In a medium bowl, whisk together the pumpkin puree, both sugars, eggs, and vanilla until smooth. Slowly pour in the browned butter while whisking — this tempers the mixture so the eggs don’t scramble. Add the heavy cream, pumpkin pie spice, and salt. Whisk until everything is completely combined and silky. Taste it. I always do. It should be sweet, spiced, and slightly rich. If it tastes flat, add a pinch more salt.
Step 4: Assemble and Bake (45 minutes)
Pour the filling into the pre-baked crust. Smooth the top with a spatula. Bake at 375°F (190°C) for 40-45 minutes. The edges should be set and slightly puffed, but the center should still jiggle a little when you gently shake the pan. That jiggle is important — it means the filling will set to a silky texture, not a rubbery one.
Step 5: Cool Completely (2 hours — I know, but trust me)
Place the pie on a cooling rack and let it cool to room temperature. This takes about 2 hours. Do not rush this step. If you cut into it warm, the filling will be runny and sad. I’ve done it. It was heartbreaking. Once cool, you can refrigerate it for at least 4 hours or overnight. Cold pie slices cleaner.
Cooking Tips & Techniques
Here are the things I wish someone had told me before I made my first dozen pumpkin pies:
Don’t overmix the filling. Whisk until just combined. Overmixing incorporates too much air, which can cause the filling to puff up and crack during baking. A few cracks are fine — they add character — but we’re going for smooth here.
Use a kitchen scale if you have one. Measuring flour by weight (180g for 1 ½ cups) is way more accurate than scooping. I once made a crust so dry it crumbled into dust. My husband called it “pie gravel.” Not my finest moment.
Let the crust cool before adding the filling. A hot crust + cold filling = soggy bottom. Give it 10 minutes. Use that time to clean up or make the filling.
Bake on the bottom rack. This helps the crust cook through and get golden. If the edges of the crust start browning too fast, cover them with foil strips.
Check for doneness with the jiggle test. A knife inserted in the center should come out mostly clean, but a little jiggle is perfect. The pie continues to set as it cools.
Variations & Adaptations
This quick homemade pumpkin pie from scratch is forgiving. Here are some ways to make it your own:
Gluten-Free Version: Swap the all-purpose flour for a 1:1 gluten-free baking blend. I’ve used Bob’s Red Mill with great success. The crust will be a little more crumbly, but the flavor is spot on.
Dairy-Free Version: Use coconut cream (the solid part from a can of full-fat coconut milk) instead of heavy cream. Brown the butter with vegan butter — Miyoko’s works beautifully. The coconut adds a subtle tropical note that pairs surprisingly well with pumpkin spice.
Spice It Up: Add ¼ teaspoon of cardamom or allspice for a more complex flavor profile. I did this once on a whim and now I can’t go back. It’s like pumpkin pie’s sophisticated cousin.
No-Bake Variation: Use a store-bought graham cracker crust and skip the crust baking step. The filling still needs to bake, but you save 12 minutes. Sometimes that’s the difference between making pie and ordering takeout.
Serving & Storage Suggestions
This pie is best served chilled or at room temperature. I prefer it straight from the fridge with a generous dollop of whipped cream — the contrast of cold, silky filling and light, airy cream is perfection.
What to Serve With It:
- Whipped cream (obviously — homemade is worth the 2 minutes)
- A scoop of vanilla ice cream (the classic pairing)
- A drizzle of caramel sauce (for when you’re feeling extra)
- A cup of hot coffee or spiced chai (the warmth balances the cold pie beautifully)
Storage: Cover the pie loosely with plastic wrap or foil and refrigerate for up to 4 days. The flavors actually get better after day one — the spices meld and mellow out. You can freeze the baked, cooled pie for up to 3 months. Wrap it tightly in plastic wrap, then foil. Thaw overnight in the fridge before serving.
Reheating: If you prefer warm pie, pop individual slices in the microwave for 15-20 seconds. Not the whole pie — that would be a disaster. Just enough to take the chill off.
Nutritional Information & Benefits
Per slice (assuming 8 servings):
- Calories: 380
- Fat: 24g
- Carbohydrates: 38g
- Protein: 5g
- Fiber: 2g
- Sugar: 22g
Pumpkin is packed with vitamin A (over 200% of your daily needs per serving), which is great for eye health and immune function. It’s also a good source of fiber, which helps keep you full. The cinnamon in the spice blend has anti-inflammatory properties, and the eggs provide high-quality protein. Is this a health food? No. But it’s not junk either. It’s a balanced indulgence — something that feels special without being completely over the top.
Conclusion
Look, I get it. Making pie from scratch on a weeknight sounds like something only influencers with perfect kitchens do. But this quick homemade pumpkin pie from scratch is different. It’s honest. It’s forgiving. It’s the kind of recipe that meets you where you are — tired, hungry, and craving something real.
That first bite, with the buttery crust and the silky, spiced filling — it’s worth every minute. And honestly, it’s not even that many minutes. Thirty minutes of active time, and you have a pie that tastes like you spent all day in the kitchen. That’s the kind of magic we all need on a Tuesday.
I’d love to hear how it goes for you. Did you add your own twist? Did your skeptical family member get caught eating it at midnight? Drop a comment below and let me know. And if you share it on social media, tag me — I want to see your beautiful pies.
Happy baking, friend. You’ve got this.
Frequently Asked Questions
Can I use fresh pumpkin instead of canned?
Absolutely, but it changes the texture. Fresh pumpkin has more water content, so you’ll need to roast and puree it, then drain it in a cheesecloth-lined sieve for at least an hour. Canned pumpkin is more consistent and saves time — which is the whole point of this recipe.
Why did my pie crack on top?
Cracks happen when the filling is overbaked or overmixed. The center should still jiggle slightly when you pull it out. If it’s already cracked, don’t worry — cover it with whipped cream and no one will ever know. That’s my official food blogger advice.
Can I make this pie ahead of time?
Yes! This pie actually tastes better the next day. Make it up to 2 days in advance and keep it covered in the fridge. The spices have time to meld and the texture sets perfectly.
How do I know when the crust is done?
It should be lightly golden and firm to the touch. If it’s still pale and soft, give it another 2-3 minutes. The edges will brown first — that’s normal. If they’re browning too fast, tent them with foil.
Can I use a store-bought crust?
You can, but you’ll lose some of that homemade magic. If you’re short on time, a refrigerated pie crust (like Pillsbury) works fine. Just blind bake it first so it doesn’t get soggy. But honestly, this press-in crust is so easy, it’s worth the extra 5 minutes.
Pin This Recipe!
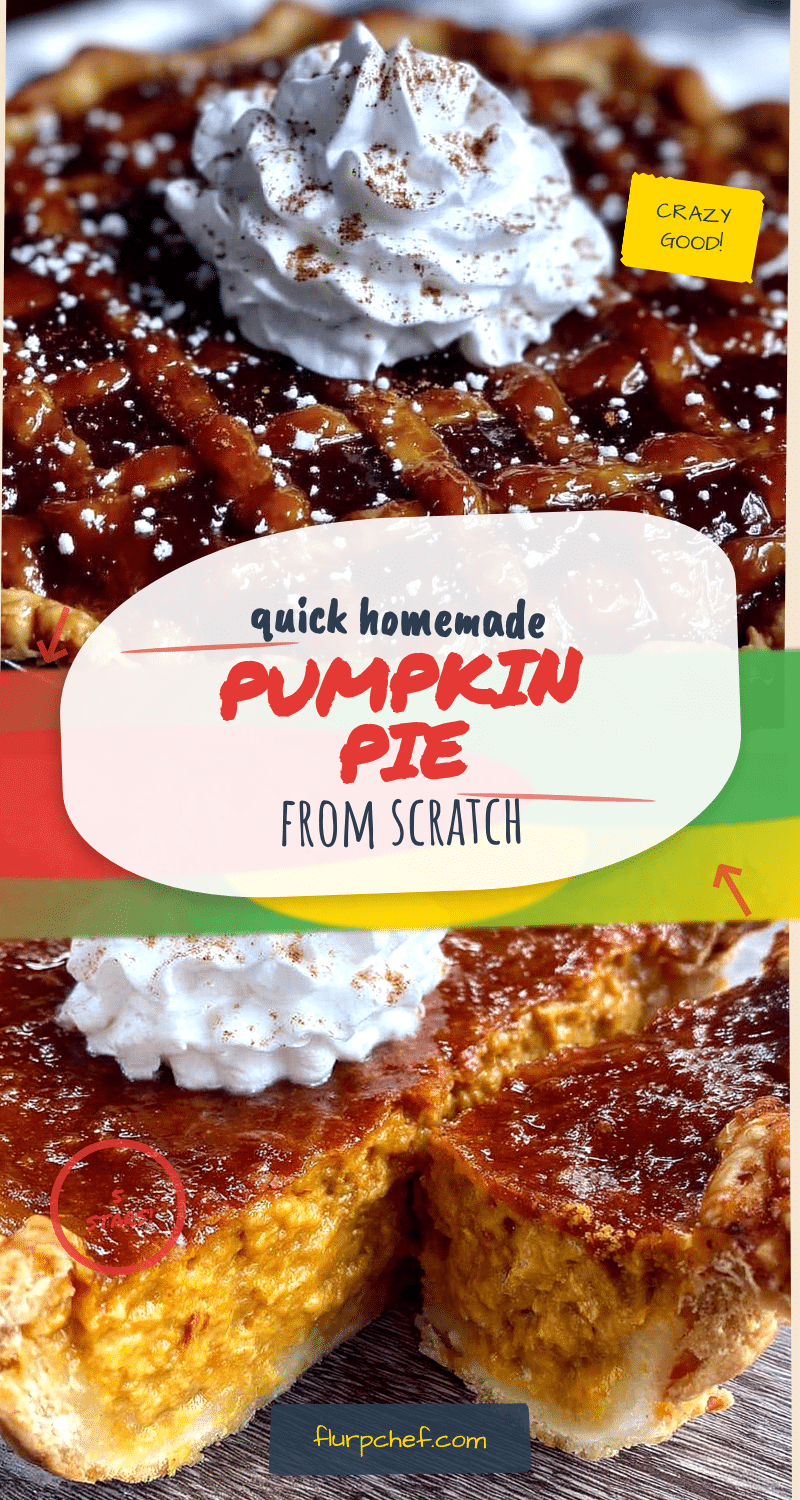
Easy Homemade Pumpkin Pie from Scratch in 30 Minutes
A quick and easy homemade pumpkin pie that comes together in just 30 minutes of active time, with a press-in crust and silky, spiced filling. Perfect for weeknight cravings or holiday gatherings.
- Prep Time: 15 minutes
- Cook Time: 45 minutes
- Total Time: 1 hour (plus cooling time)
- Yield: 8 servings 1x
- Category: Dessert
- Cuisine: American
Ingredients
- 1 ½ cups all-purpose flour (spooned and leveled)
- ½ teaspoon salt
- 1 tablespoon granulated sugar
- ½ cup unsalted butter, melted and slightly cooled
- 3–4 tablespoons ice-cold water
- 1 (15-ounce) can pumpkin puree (not pumpkin pie filling)
- ¾ cup granulated sugar
- ¼ cup packed light brown sugar
- 2 large eggs (room temperature preferred)
- 1 teaspoon vanilla extract
- 1 ½ cups heavy cream (or half-and-half)
- 2 teaspoons pumpkin pie spice (or homemade blend: 1 tsp cinnamon, ½ tsp ginger, ¼ tsp nutmeg, ¼ tsp cloves)
- ½ teaspoon salt
Instructions
- Preheat oven to 375°F (190°C). In a large bowl, whisk together flour, salt, and sugar. Pour in melted butter and stir with a fork until mixture resembles coarse crumbs. Add 3 tablespoons ice water and mix until dough forms; add fourth tablespoon if needed. Press dough evenly into a 9-inch pie dish, prick bottom with fork, and bake for 12 minutes. Set aside to cool slightly.
- While crust bakes, melt butter for filling in a small saucepan over medium heat. Swirl occasionally until it foams, then brown specks appear and it smells nutty. Remove from heat immediately and pour into a heatproof bowl to stop cooking.
- In a medium bowl, whisk together pumpkin puree, both sugars, eggs, and vanilla until smooth. Slowly pour in browned butter while whisking. Add heavy cream, pumpkin pie spice, and salt; whisk until completely combined and silky.
- Pour filling into pre-baked crust. Smooth top with spatula. Bake at 375°F (190°C) for 40-45 minutes, until edges are set and slightly puffed but center still jiggles slightly when shaken.
- Place pie on a cooling rack and cool to room temperature (about 2 hours). Do not cut while warm. Refrigerate for at least 4 hours or overnight before serving.
Notes
For best results, use canned pumpkin puree (not pumpkin pie filling). Brown the butter for extra depth. Let crust cool before adding filling to avoid soggy bottom. Bake on bottom rack for even cooking. The center should jiggle slightly when done; it will set as it cools. Pie tastes even better the next day.
Nutrition
- Serving Size: 1 slice (1/8 of pie)
- Calories: 380
- Sugar: 22
- Sodium: 320
- Fat: 24
- Saturated Fat: 14
- Carbohydrates: 38
- Fiber: 2
- Protein: 5
Keywords: pumpkin pie, easy pumpkin pie, homemade pumpkin pie, quick pumpkin pie, from scratch, fall dessert, Thanksgiving


