The kitchen is quiet except for the faint hum of the refrigerator. Sunlight peeks through the curtains, dust motes floating lazily in the soft glow. I slip into the ritual of spreading peanut butter—thick, creamy, with just a hint of salt—onto the soft white bread. A generous dollop of strawberry jam follows, its sweet-tart aroma promising a familiar comfort. I press two slices together and carefully use a round cutter to seal the edges, trapping the flavors inside a perfect little pocket.
It’s not about rushing or impressing anyone. This is a slow, private pleasure, a small joy that feels like a secret between me and the quiet morning. The way the jam peeks out just a bit from the sealed crust, the way the bread gives way to the sticky sweetness inside—it all reminds me why these simple sandwiches hold a special place in my kitchen.
I learned how to make these homemade uncrustables after losing track of store-bought versions that always seemed too dry or filled with too much sugar. Making them myself means controlling exactly what goes in. Plus, it’s a soothing task, like folding laundry or brewing tea. And honestly, it’s one of those recipes that sticks—because it’s quick enough to whip up for a last-minute snack but thoughtful enough to feel homemade.
There’s a quiet trust in this recipe, a feeling that when life feels a little messy, these sandwiches are just right. I don’t need to say much about it—they speak for themselves.
Why You’ll Love This Recipe
Having tested this Easy Homemade Uncrustable Peanut Butter and Strawberry Jam Sandwiches recipe more times than I can count, I’m comfortable saying it’s a keeper. It’s the kind of snack that’s just as good for a nostalgic lunchbox treat as it is for a quick bite between errands. Here’s why it shines:
- Quick & Easy: You can have a batch ready in about 15 minutes—perfect for those moments when you need a fuss-free snack.
- Simple Ingredients: No obscure pantry items here. Just good bread, natural peanut butter, and quality strawberry jam (I like Smucker’s for a classic flavor).
- Perfect for Any Occasion: Whether it’s a school lunch, a picnic, or a cozy afternoon treat, these sandwiches fit right in.
- Crowd-Pleaser: Kids adore them, and adults find themselves sneaking bites too.
- Unbelievably Delicious: The sealed edges keep the sandwich neat, locking in that satisfying combo of creamy, sweet, and soft textures.
This isn’t just another peanut butter and jelly sandwich. The secret lies in the sealing technique that mimics the nostalgic uncrustable shape, keeping mess to a minimum and making them portable. Plus, you control the thickness of peanut butter and jam, so each bite tastes just right. I remember the first time I made these for an afternoon snack—it felt like rediscovering a classic comfort food on my own terms.
These sandwiches offer a quiet kind of satisfaction—the kind that makes you pause mid-bite and appreciate the simple things.
What Ingredients You Will Need
This recipe uses simple, wholesome ingredients to deliver bold flavor and satisfying texture without the fuss. Most are pantry staples, and you can easily swap a few depending on your taste or dietary needs.
- White sandwich bread: Soft and fresh, preferably without preservatives. I usually choose a loaf with a tight crumb for easy sealing.
- Natural creamy peanut butter: Smooth texture works best for spreading evenly. Try to pick one with no added sugars or oils for a clean taste.
- Strawberry jam: I recommend a jam with visible fruit pieces for texture, like Bonne Maman. If you prefer, homemade jams such as apricot preserves with vanilla bean (similar to this recipe) make a lovely alternative.
- Butter or margarine (optional): A thin layer on the bread before peanut butter can prevent sogginess if you plan to store sandwiches in the fridge.
- Round sandwich cutter or cookie cutter: About 3 inches (7.5 cm) in diameter for perfectly sized sandwiches.
Ingredient tips: If you’re gluten-free, almond or oat bread works well, though sealing might be trickier. For a dairy-free alternative, swap regular butter with vegan margarine or skip it entirely. In summer, fresh strawberry preserves can replace jam for a fresher twist.
Equipment Needed
- Round sandwich or cookie cutter (3-inch diameter): Ideal for creating the classic uncrustable shape. If you don’t have one, a sharp knife can do the job, but the edges won’t seal as neatly.
- Mixing bowl and spatula: For spreading peanut butter and jam smoothly.
- Baking sheet or tray: Useful for lining up sandwiches before sealing or freezing.
- Plastic wrap or airtight containers: For storing sandwiches without drying out.
Personally, I find investing in a good-quality sandwich cutter makes the process much more satisfying (and fun). The edges seal better, and the sandwiches look uniform—perfect for packing school lunches. If you’re on a budget, a clean glass rim can substitute in a pinch, but just be careful with the edges.
Maintenance for cutters is simple—wash with warm soapy water immediately after use to avoid sticky jams hardening on the edges.
Preparation Method
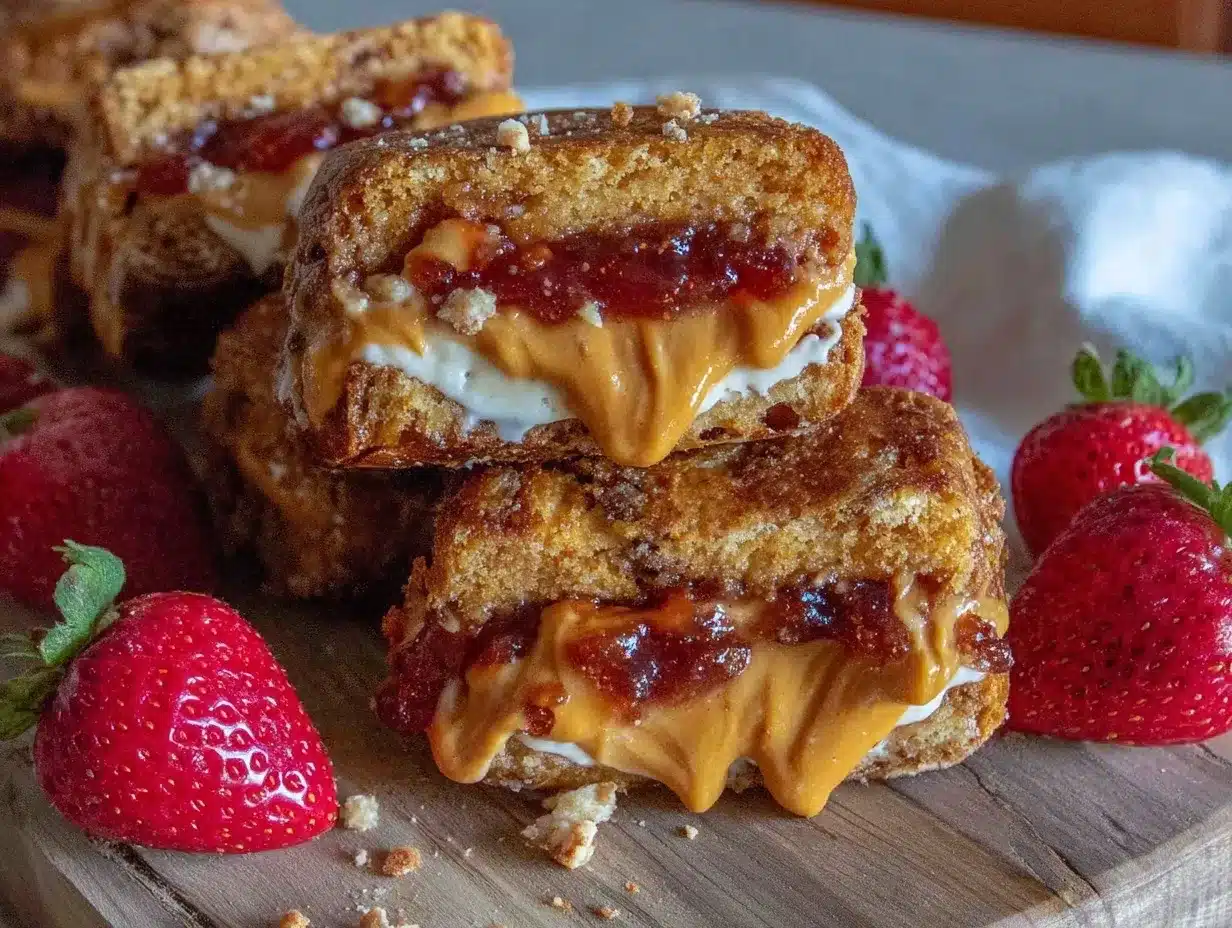
- Prepare your ingredients: Lay out fresh white sandwich bread slices on a clean surface. Make sure bread is soft and not stale for easy sealing.
- Optional butter layer (10 minutes): Lightly spread softened butter on one side of each bread slice. This step helps prevent sogginess if you plan to store sandwiches longer. It’s a small detail I picked up from a lunch-packing pro—it makes a difference!
- Spread peanut butter (5 minutes): Using a spatula, spread a thick but even layer of peanut butter on half of the bread slices. I usually use about 2 tablespoons (30 grams) per slice. The creamy texture helps with sealing.
- Add strawberry jam (5 minutes): On the slices with peanut butter, spread about 1 to 1.5 tablespoons (15-22 grams) of strawberry jam. Avoid overfilling, or the jam will leak out when sealed.
- Assemble sandwiches (2 minutes): Place the plain bread slices on top of the jam-covered slices, butter side down if you used butter.
- Cut and seal (15 minutes): Press the round sandwich cutter firmly down through the sandwich to cut out the circular shape and seal the edges. If you want extra sealing, press the edges with the back of a spoon or a fork—but be gentle to avoid tearing the bread.
- Store or serve: Place sandwiches on a baking sheet lined with parchment paper. If not eating right away, wrap each sandwich tightly in plastic wrap and refrigerate or freeze for longer storage.
Tips: If the bread is too fresh, it may compress oddly when cutting—slightly stale bread works better here. If your jam is too runny, try chilling it briefly before spreading. When freezing, sandwiches last up to 2 months wrapped well.
The first time I made these, I accidentally overfilled the jam, and it oozed out during cutting—lesson learned. Now, I keep a consistent amount and the sandwiches turn out neat every time.
Cooking Tips & Techniques
One key to success with this Easy Homemade Uncrustable Peanut Butter and Strawberry Jam Sandwiches recipe is in the sealing. A solid seal means no mess and a perfect handheld snack. Here are some pro tips to keep in mind:
- Use slightly stale bread: It compresses better and seals more cleanly without tearing.
- Don’t overfill: Too much jam or peanut butter will make sealing tricky and cause leaks. Sticking to about 1-2 tablespoons each works best.
- Chill your jam: If your strawberry jam is very runny, refrigerate it first to thicken it slightly for easier spreading and less mess.
- Press firmly but gently: When cutting with your sandwich cutter, press firmly for a good seal, but avoid squashing the sandwich.
- Wrap sandwiches individually: This prevents them from drying out and keeps the edges sealed during storage.
I remember rushing through the sealing once, and the sandwich fell apart before I could even pack it for a picnic. Now, I always take my time with this step—the difference is night and day. Also, if you want to get a little creative, try using a crimped pastry wheel instead of a plain cutter for a decorative edge.
For a twist on portability, these sandwiches freeze beautifully and thaw quickly—ideal for busy mornings. Just plan ahead and pull them out a few hours before eating.
Variations & Adaptations
While the classic peanut butter and strawberry jam combo is timeless, this recipe lends itself well to customization. Here are some ideas to mix things up:
- Dietary swaps: Try almond butter or sunflower seed butter for a nut-free option. Use gluten-free bread to accommodate dietary needs.
- Seasonal fruit jams: Swap strawberry jam with homemade peach jam from this recipe or apricot preserves for a fresh seasonal twist.
- Flavor boosts: Add a thin layer of honey for extra sweetness or sprinkle a pinch of cinnamon inside for warmth.
- Cooking method adaptations: While these sandwiches are typically served cold or at room temperature, you can lightly toast them in a pan for a warm, melty snack reminiscent of a grilled cheese but with peanut butter and jam.
Personally, I once tried a version with a swirl of cream cheese inside—it added a creamy tang that balanced the sweetness beautifully. If you have adventurous kids or guests, this variation might surprise them in a good way.
Serving & Storage Suggestions
These sandwiches are best served at room temperature or slightly chilled, especially if packed for lunch. The sealed edges make them ideal for on-the-go snacking without the mess.
Pair them with fresh fruit, crunchy veggie sticks, or a cold glass of milk for a balanced snack. For a picnic, they sit nicely alongside light salads or simple finger foods like the firecracker chicken skewers.
To store, wrap each sandwich tightly in plastic wrap or place in an airtight container. They keep fresh in the refrigerator for up to 3 days. For longer storage, freeze wrapped sandwiches up to 2 months. Thaw in the fridge or at room temperature before eating.
Over time, the flavors meld wonderfully—the peanut butter softens slightly, and the jam spreads evenly inside. This slow flavor development is a subtle bonus, especially if you make them ahead of time for busy days.
Nutritional Information & Benefits
Each homemade uncrustable sandwich contains roughly:
| Nutrition | Per Sandwich |
|---|---|
| Calories | 290-320 kcal |
| Protein | 8-10 grams |
| Fat | 12-15 grams (mostly from peanut butter) |
| Carbohydrates | 30-35 grams |
| Sugar | 10-12 grams (from jam and peanut butter) |
Peanut butter provides healthy fats and protein, supporting sustained energy. Strawberry jam adds natural sweetness and a bit of vitamin C, especially if you opt for preserves with real fruit. Using natural peanut butter and quality jam reduces unnecessary additives and excess sugar, making this snack a better choice than many prepackaged options.
For those with nut allergies, sunflower seed butter is a nutritious alternative. This recipe also fits well within a balanced diet when paired with fruits or veggies.
Conclusion
Easy Homemade Uncrustable Peanut Butter and Strawberry Jam Sandwiches are a simple pleasure that’s worth making from scratch. They’re quick to prepare, use everyday ingredients, and bring a quiet comfort that’s just right for any time of day. Whether you’re packing lunches, prepping snacks, or just craving a nostalgic bite, these sandwiches deliver.
Feel free to tweak the fillings or bread type to suit your taste. I love that this recipe invites creativity while still keeping things easy and familiar. Honestly, these sandwiches have become my go-to when I want something that feels homemade but hassle-free.
Give them a try and see how a little homemade care can make a classic snack feel special.
Frequently Asked Questions
How long can I store homemade uncrustable sandwiches?
Wrap them tightly and refrigerate for up to 3 days. For longer storage, freeze up to 2 months. Thaw in the fridge before eating.
Can I use other nut butters instead of peanut butter?
Absolutely. Almond butter, cashew butter, or sunflower seed butter work well and are great for nut allergies.
What is the best bread to use for sealing sandwiches?
Soft white sandwich bread with a tight crumb seals best. Slightly stale bread works better than very fresh to avoid tearing.
Can I make these sandwiches ahead for school lunches?
Yes! They freeze nicely, so you can prepare a batch in advance and thaw as needed for quick lunchbox snacks.
Is it okay to toast these sandwiches?
Yes, a light toasting in a pan adds a warm, melty texture that’s quite delicious, similar to a grilled peanut butter and jam sandwich.
Pin This Recipe!
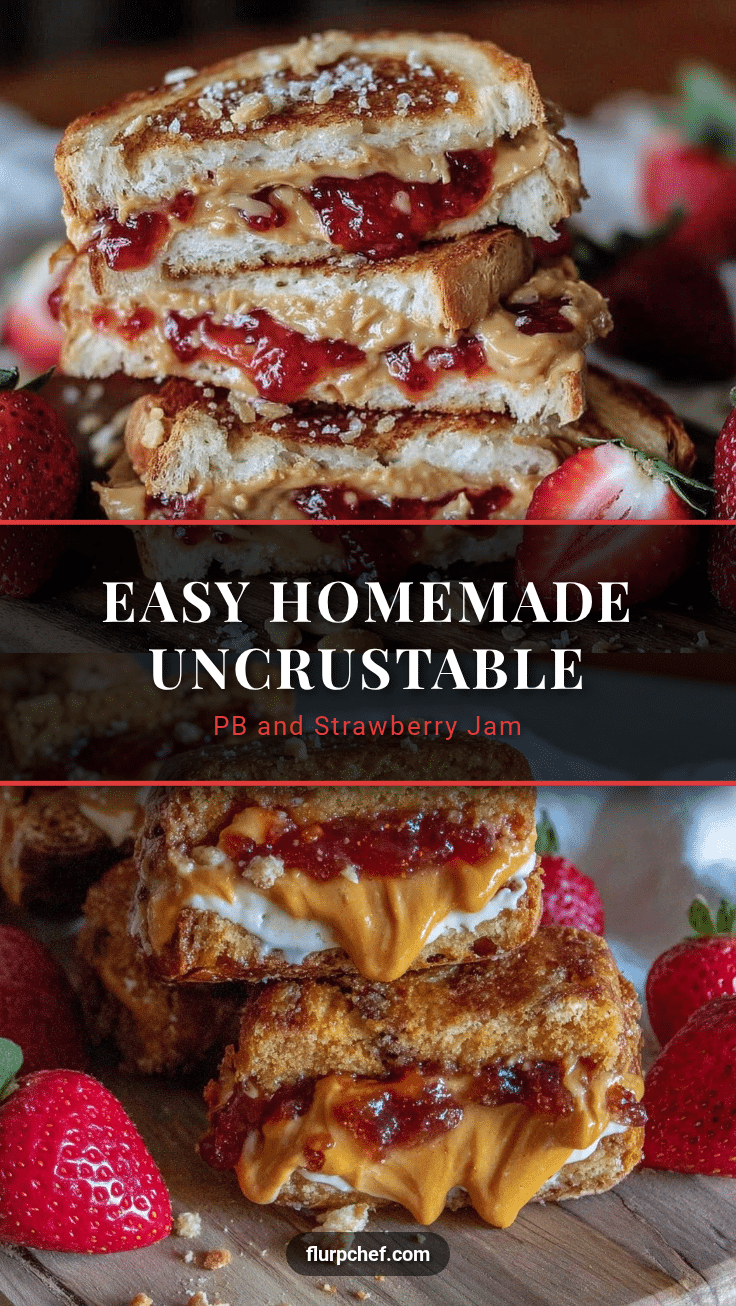
Easy Homemade Uncrustable Peanut Butter and Strawberry Jam Sandwiches
A quick and easy recipe for homemade uncrustable peanut butter and strawberry jam sandwiches that are perfect for snacks, lunchboxes, or picnics. These sandwiches feature a sealed edge to keep the filling neat and mess-free.
- Prep Time: 10 minutes
- Cook Time: 5 minutes
- Total Time: 15 minutes
- Yield: 4 sandwiches
- Category: Snack
- Cuisine: American
Ingredients
- White sandwich bread (soft and fresh, preferably without preservatives)
- Natural creamy peanut butter (smooth texture, no added sugars or oils)
- Strawberry jam (preferably with visible fruit pieces)
- Butter or margarine (optional, for preventing sogginess)
- Round sandwich cutter or cookie cutter (about 3 inches in diameter)
Instructions
- Lay out fresh white sandwich bread slices on a clean surface.
- Optional: Lightly spread softened butter on one side of each bread slice to prevent sogginess if storing sandwiches.
- Spread about 2 tablespoons (30 grams) of natural creamy peanut butter evenly on half of the bread slices.
- Spread about 1 to 1.5 tablespoons (15-22 grams) of strawberry jam on the peanut butter-covered slices, avoiding overfilling.
- Place plain bread slices on top of the jam-covered slices, butter side down if butter was used.
- Press the round sandwich cutter firmly down through the sandwich to cut out the circular shape and seal the edges.
- Optionally, press the edges with the back of a spoon or fork gently to enhance sealing without tearing the bread.
- Place sandwiches on a baking sheet lined with parchment paper.
- Wrap each sandwich tightly in plastic wrap and refrigerate or freeze for longer storage.
Notes
Use slightly stale bread for better sealing. Avoid overfilling with jam or peanut butter to prevent leaks. Chill runny jam before spreading. Sandwiches can be frozen up to 2 months and thawed before eating. Optional toasting adds a warm, melty texture.
Nutrition
- Serving Size: 1 sandwich
- Calories: 305
- Sugar: 11
- Sodium: 200
- Fat: 13.5
- Saturated Fat: 2
- Carbohydrates: 32.5
- Fiber: 2
- Protein: 9
Keywords: uncrustable, peanut butter sandwich, strawberry jam, homemade snack, lunchbox, easy recipe, kid-friendly


