The neighborhood block party was in six hours and I’d completely forgotten I was supposed to bring the main dish for the kids’ table. Everyone else would be bringing their signature dishes—smoked brisket that had been marinating for two days, homemade mac and cheese with a secret blend of three cheeses, grilled salmon with a fancy herb butter. I had a package of chicken breasts, a bag of panko breadcrumbs that was about to expire, and an air fryer I’d bought on a whim three months ago and barely used.
Honestly, I almost just ordered pizza. But then I remembered my sister-in-law, the one who always brings those perfectly golden chicken tenders that disappear in minutes. She’d spent years perfecting her recipe, and here I was with zero time and a growing sense of panic. I mean, I couldn’t show up with store-bought nuggets. That would be a disaster.
So I did what any reasonable person would do when backed into a corner—I started experimenting. I cut the chicken into bite-sized pieces, raided my pantry for seasonings, and prayed the air fryer wouldn’t set off the smoke alarm. The power went out halfway through the first batch, which forced me to finish them in the oven, and let me tell you, I was ready to throw in the towel. But I kept going, figuring even mediocre homemade nuggets had to beat the frozen kind.
When I finally walked over to the block party with my slightly-too-warm container, I felt like I was bringing a pop gun to a bazooka fight. But then the kids descended. And then the adults started sneaking them off the kids’ plates. By the end of the night, someone actually asked me for the recipe. I almost laughed. The nuggets I’d thrown together in a panic? The ones I’d almost given up on?
That’s when I realized I’d stumbled onto something good. These Light & Crispy Air Fryer Chicken Nuggets from Scratch weren’t just a last-minute save—they were genuinely delicious. The coating stayed crunchy, the chicken stayed juicy, and they didn’t leave you feeling weighed down like the greasy fast-food version. Maybe you’ve been there, staring at your pantry with the clock ticking down and wondering if you can pull off a miracle. Trust me, this recipe is that miracle.
Why You’ll Love This Recipe
Let’s be honest—there are a million chicken nugget recipes out there. But this one is different, and I’m not just saying that because I’m the one who wrote it. I’ve tested this recipe more times than I care to admit, burning my fingers on hot air fryer baskets and tweaking the seasoning until it was just right. Here’s what makes these nuggets stand out:
- Quick & Easy: From start to finish, these nuggets come together in under 25 minutes. That’s faster than waiting for takeout, and way more satisfying.
- Simple Ingredients: You probably already have everything in your kitchen. No weird specialty flours or hard-to-find spices—just real food that tastes great.
- Perfect for Busy Nights: Whether it’s a Tuesday dinner or a last-minute party snack, these nuggets fit right in. Kids love them, adults love them, and nobody has to know how easy they were to make.
- Crowd-Pleaser: I’ve served these at birthday parties, game nights, and casual dinners, and they always get the same reaction—people reaching for seconds before they’ve finished their first serving.
- Unbelievably Light: The air fryer does something magical here. You get that satisfying crunch without the greasy heaviness of deep frying. It’s comfort food that doesn’t leave you feeling sluggish.
What makes this recipe different from the rest? It’s the technique. Instead of a heavy batter that gets soggy, I use a light coating of seasoned flour and panko breadcrumbs that crisps up perfectly in the air fryer. The chicken stays tender and juicy on the inside while the outside gets that golden, crunchy texture you crave. It’s not just another version of chicken nuggets—it’s the version you’ll come back to again and again.
I remember the first time I made these for my family after that block party success. My husband looked at me and said, “These are better than the restaurant ones.” And honestly? He was right. There’s something about making them from scratch that just tastes better. You control the quality of the ingredients, the amount of salt, the level of crispiness. It’s comfort food reimagined—healthier, faster, but with the same soul-soothing satisfaction.
What Ingredients You Will Need
This recipe uses simple, wholesome ingredients to deliver bold flavor and satisfying texture without the fuss. Most of these are pantry staples, so you can whip up a batch whenever the craving hits.
For the Chicken
- 1 ½ pounds boneless, skinless chicken breasts (about 2-3 breasts) — Look for evenly sized breasts so they cook at the same rate. I prefer organic when I can find it on sale, but regular works just fine.
- 1 teaspoon salt — I use fine sea salt for even distribution. You can also use kosher salt, but you might need a bit more.
- ½ teaspoon black pepper — Freshly ground is always better, but pre-ground works in a pinch.
- ½ teaspoon garlic powder — This adds a subtle savory note without being overpowering.
- ½ teaspoon onion powder — Balances the garlic and adds depth.
- ¼ teaspoon paprika — I use sweet paprika for color and mild flavor. Smoked paprika works too if you want a deeper, smokier taste.
For the Coating
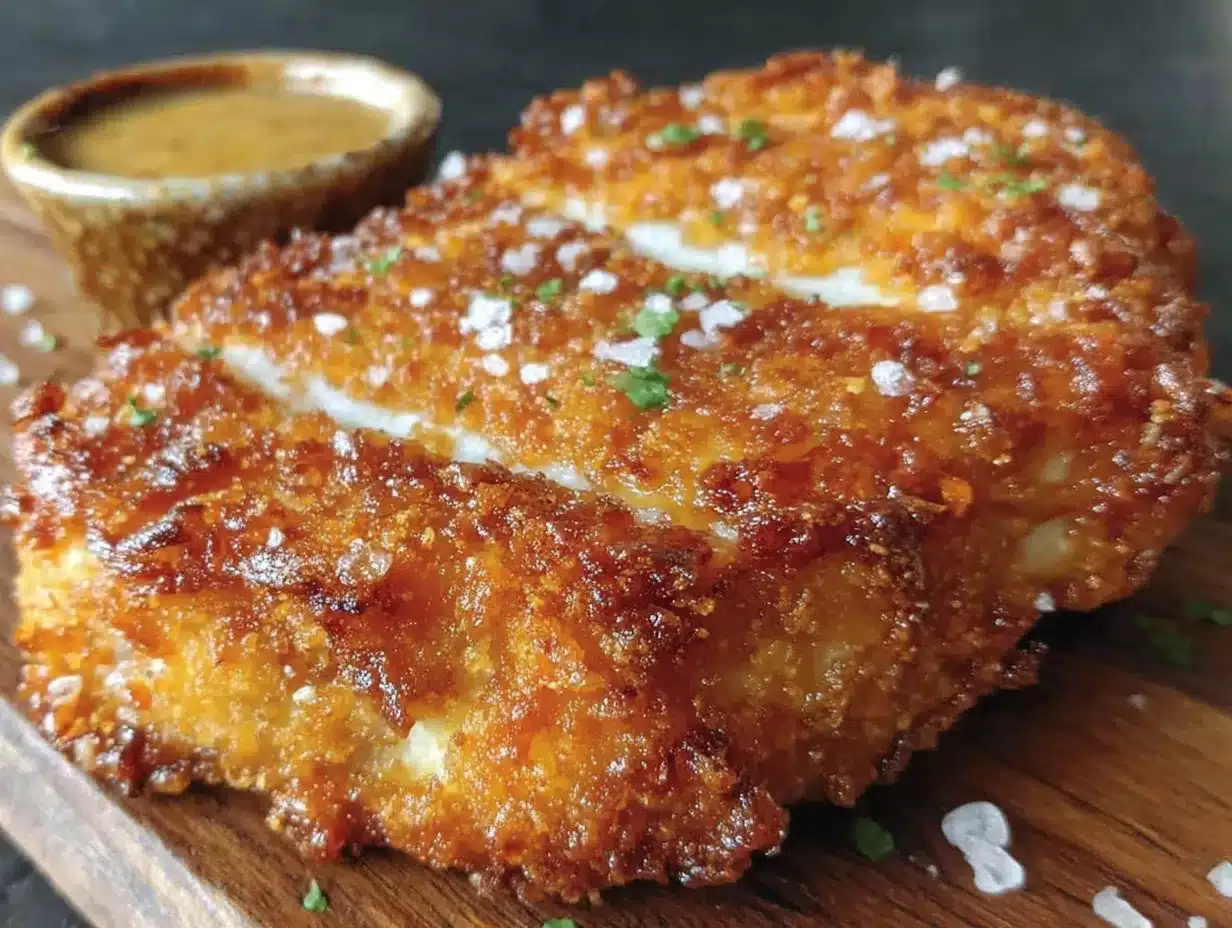
- ½ cup all-purpose flour — This helps the egg wash stick and creates that first layer of crunch. For a gluten-free option, use almond flour or a gluten-free all-purpose blend.
- 2 large eggs — Room temperature eggs work best for an even coating. If you’re in a rush, place them in a bowl of warm water for 5 minutes.
- 1 tablespoon water — This thins the egg wash slightly, making it easier to coat the chicken evenly.
- 1 ½ cups panko breadcrumbs — Panko is the secret to that extra-crispy texture. Regular breadcrumbs will work, but they won’t give you the same light, airy crunch. I recommend Kikkoman or Ian’s brand for the best results.
- 2 tablespoons grated Parmesan cheese — This is optional, but it adds a wonderful savory flavor and helps the coating brown beautifully. Use the real stuff, not the green can.
- ½ teaspoon Italian seasoning — A little herbaceous note that makes these nuggets feel a bit more special.
- ¼ teaspoon cayenne pepper (optional) — For those who like a little heat. I usually skip this when making them for kids, but I add it when it’s just for adults.
For Spraying
- Avocado oil spray — This is my go-to for air frying because it has a high smoke point and neutral flavor. Olive oil spray works too, but avoid butter spray as it can burn in the air fryer.
See how simple that is? No buttermilk marinades, no complicated spice blends, no ingredients you have to hunt down at a specialty store. Everything here is designed to be accessible and easy to work with.
Equipment Needed
You don’t need a professional kitchen to make these nuggets, but having the right tools makes the process smoother. Here’s what you’ll need:
- Air Fryer: Any model works, but I use a 5.8-quart Cosori and love it. If you have a smaller basket, you’ll need to cook in batches to avoid overcrowding.
- Cutting Board and Sharp Knife: A good chef’s knife makes cutting the chicken into uniform pieces much easier. I learned this the hard way after struggling with a dull knife for years.
- Three Shallow Bowls: You need one for flour, one for the egg wash, and one for the breadcrumb mixture. I use wide soup bowls, but pie plates work great too.
- Tongs: For transferring the coated chicken from bowl to bowl without making a huge mess. Silicone-tipped tongs are gentle on the coating.
- Baking Sheet or Large Plate: To hold the coated nuggets before they go into the air fryer. Line it with parchment paper for easy cleanup.
- Spray Bottle: If you don’t have avocado oil spray in a can, you can use a reusable oil sprayer. Just make sure it’s clean and sprays evenly.
- Instant-Read Thermometer (optional but recommended): Chicken is safe to eat at 165°F, and a thermometer takes the guesswork out of cooking. I use a Thermapen, but any reliable digital thermometer works.
If you don’t have an air fryer, you can still make these nuggets in a regular oven. Just preheat to 425°F, place the nuggets on a wire rack set over a baking sheet, and bake for 12-15 minutes, flipping halfway through. The texture won’t be quite as crispy, but they’ll still be delicious.
Preparation Method
Alright, let’s get cooking. This process is straightforward, but I’ve included some tips I’ve picked up along the way to make sure your nuggets turn out perfect every time.
- Preheat your air fryer to 400°F (200°C). Most air fryers need about 3-5 minutes to preheat. I like to do this first so it’s ready when I am. If your air fryer doesn’t have a preheat setting, just run it empty for 3 minutes.
- Prepare the chicken. Pat the chicken breasts dry with paper towels. This is important—excess moisture will make the coating slide off. Cut the chicken into 1-inch cubes. Try to make them all the same size so they cook evenly. I usually get about 24-30 pieces from 1 ½ pounds of chicken. Season the chicken pieces with salt, pepper, garlic powder, onion powder, and paprika. Toss to coat evenly.
- Set up your breading station. In the first shallow bowl, add the all-purpose flour. In the second bowl, whisk together the eggs and water until well combined. In the third bowl, mix the panko breadcrumbs, grated Parmesan cheese (if using), Italian seasoning, and cayenne pepper (if using).
- Coat the chicken. Working with a few pieces at a time, dredge the chicken in the flour, shaking off any excess. Then dip it into the egg wash, letting any excess drip off. Finally, press it into the panko mixture, making sure it’s fully coated. Place the coated nuggets on the prepared baking sheet or plate. Repeat with the remaining chicken. Your fingers will get messy—that’s normal. I’ve found that using one hand for the dry ingredients and the other for the wet ingredients helps keep the mess under control.
- Spray the air fryer basket. Lightly spray the basket with avocado oil to prevent sticking. Arrange the nuggets in a single layer in the basket, leaving a little space between each piece for air circulation. Don’t overcrowd—if you cram them in, they’ll steam instead of crisp up. Depending on the size of your air fryer, you’ll likely need to cook in 2-3 batches.
- Spray the nuggets. Lightly spray the tops of the nuggets with avocado oil. This is what gives them that golden, crispy finish. Don’t skip this step—the oil helps the panko brown and crisp up beautifully.
- Air fry for 10-12 minutes. Cook at 400°F for 10 minutes, then flip each nugget with tongs and spray the other side lightly with oil. Cook for another 2-4 minutes, or until the nuggets are golden brown and the internal temperature reaches 165°F. The exact time depends on the size of your nuggets and your air fryer model. The first time I made these, I checked them at 8 minutes and they weren’t quite done, so don’t be afraid to peek.
- Rest before serving. Let the nuggets rest for 2-3 minutes after cooking. This allows the juices to redistribute and the coating to set. I know it’s tempting to dig in right away, but trust me, this short wait makes a difference.
A few troubleshooting tips: If your coating is falling off, you might be skipping the flour step or not pressing the panko firmly enough. If the nuggets are browning too quickly on the outside but aren’t cooked through, lower the temperature to 375°F and cook a few minutes longer. If they’re not crispy enough, try spraying them with a bit more oil before cooking.
Cooking Tips & Techniques
After making these nuggets more times than I can count (and messing up plenty along the way), I’ve gathered some wisdom that’ll save you time and frustration.
Don’t skip the flour. I know it seems like an extra step, but that thin layer of flour is what helps the egg wash stick to the chicken. Without it, the panko will slide right off during cooking. I learned this the hard way when I tried to save time and ended up with a basket full of naked chicken and a pile of loose breadcrumbs.
Use one hand for dry, one for wet. This is a classic breading technique that keeps your hands from getting covered in a sticky mess. Use your left hand for the flour and panko, and your right hand for the egg wash (or vice versa, whatever feels natural). You’ll still get a little messy, but it’s much more manageable.
Don’t overcrowd the basket. This is the number one mistake people make with air fryers. The hot air needs to circulate around each piece of food to create that crispy exterior. If you pile them in, they’ll steam and you’ll end up with soggy nuggets. Cook in batches if you need to—it’s worth the extra few minutes.
Let the nuggets rest after coating. If you have time, let the coated nuggets sit on the baking sheet for 5-10 minutes before air frying. This helps the coating adhere better during cooking. I don’t always do this when I’m in a rush, but when I do, I notice a definite improvement in how well the coating stays on.
Check the temperature early. Every air fryer runs a little differently. The first time you make these, check the nuggets at 8 minutes and see how they’re doing. You can always cook them longer, but you can’t uncook them. I’ve definitely had batches that went from perfectly golden to slightly overdone in the span of two minutes.
Keep the cooked nuggets warm. If you’re cooking in batches, place the finished nuggets on a wire rack set over a baking sheet in a 200°F oven. This keeps them warm and crispy without steaming them. Don’t put them on a plate or in a covered dish, or they’ll get soggy.
Variations & Adaptations
One of the best things about this recipe is how easy it is to adapt. Here are some of my favorite variations:
Spicy Buffalo Nuggets
Toss the cooked nuggets in your favorite buffalo sauce (I like Frank’s RedHot mixed with a little melted butter) and serve with ranch or blue cheese dressing. This is my go-to for game day and it’s always a hit.
Parmesan Herb Nuggets
Add an extra tablespoon of grated Parmesan and a teaspoon of dried parsley to the panko mixture. The cheese gets wonderfully crispy in the air fryer and adds a savory depth that’s absolutely addictive.
Gluten-Free Nuggets
Use almond flour or a gluten-free all-purpose flour blend instead of regular flour, and use gluten-free panko breadcrumbs (they’re available at most grocery stores now). Everything else stays the same. I’ve tested this version and it works beautifully.
Honey Mustard Glazed Nuggets
In the last 2 minutes of cooking, brush the nuggets with a mixture of equal parts honey and Dijon mustard. Return to the air fryer to let the glaze set. The sweet and tangy combination is incredible.
Chicken Tenders Instead of Nuggets
Cut the chicken breasts into strips instead of cubes and increase the cooking time to 12-15 minutes. The coating method stays exactly the same. This is perfect for when you want something more substantial for a main dish.
I once tried a version with crushed potato chips instead of panko, and while it was interesting, it was also a bit too greasy for my taste. Stick with the panko—it really does give the best texture.
Serving & Storage Suggestions
These nuggets are incredibly versatile when it comes to serving. Here’s how I like to enjoy them:
Serving Temperature: Serve these nuggets hot and fresh from the air fryer for the crispiest texture. They’re still good at room temperature (perfect for parties), but the crunch really shines when they’re warm.
Dipping Sauces: The possibilities are endless. My personal favorites are honey mustard, ranch, barbecue sauce, and a simple mix of ketchup and sriracha. For a healthier option, try Greek yogurt mixed with herbs and a squeeze of lemon.
Side Dishes: These nuggets pair beautifully with a simple green salad, sweet potato fries, roasted vegetables, or a side of coleslaw. For a complete meal, I often serve them with a grain like quinoa or brown rice and a steamed vegetable.
Storage: Leftover nuggets can be stored in an airtight container in the refrigerator for up to 3 days. To reheat, place them back in the air fryer at 375°F for 3-4 minutes until heated through and crispy. The microwave will make them soggy, so avoid it if you can.
Freezing: You can freeze the cooked nuggets for up to 2 months. Place them in a single layer on a baking sheet and freeze until solid, then transfer to a freezer bag. To reheat, cook from frozen in the air fryer at 375°F for 6-8 minutes. You can also freeze the uncooked, breaded nuggets—just arrange them on a baking sheet, freeze until solid, then transfer to a freezer bag. Cook from frozen, adding 2-3 minutes to the cooking time.
The flavors actually develop nicely over time, especially if you’re using the Parmesan herb variation. I’ve found that day-old nuggets make an excellent addition to salads or wraps for lunch the next day.
Nutritional Information & Benefits
Here’s the estimated nutritional breakdown for a serving of about 6-8 nuggets (roughly ⅙ of the recipe):
| Nutrient | Amount per Serving |
|---|---|
| Calories | 280 |
| Protein | 32g |
| Carbohydrates | 18g |
| Fat | 8g |
| Saturated Fat | 2g |
| Fiber | 1g |
| Sodium | 520mg |
These nuggets are a great source of lean protein, which helps keep you full and satisfied. The air frying method significantly reduces the fat content compared to deep frying—you’re using just a fraction of the oil. Chicken breast is rich in B vitamins, particularly niacin and B6, which support energy metabolism and brain health.
If you’re watching your sodium intake, you can reduce the salt in the seasoning or use a salt-free seasoning blend. For a lower-carb option, skip the flour and use almond flour or crushed pork rinds instead of panko. This recipe is naturally nut-free (unless you use almond flour) and can be made dairy-free by omitting the Parmesan cheese.
I love that I can feel good about serving these to my family. They’re getting real, whole food without all the additives and preservatives you find in store-bought nuggets. And honestly, knowing exactly what went into them makes them taste even better.
Conclusion
These Light & Crispy Air Fryer Chicken Nuggets from Scratch have become a staple in my kitchen, and I have a feeling they’ll become one in yours too. They’re proof that you don’t need complicated techniques or fancy equipment to make something truly delicious. With just a few simple ingredients and about 25 minutes, you can create nuggets that are crunchy, juicy, and far better than anything you’d get from a drive-through.
What I love most about this recipe is how forgiving it is. Whether you’re a seasoned cook or someone who’s just learning their way around the kitchen, these nuggets turn out great. Feel free to play with the seasonings, try different dipping sauces, or experiment with the variations I’ve shared. Cooking should be fun, and this recipe gives you plenty of room to make it your own.
I’d love to hear how your nuggets turn out! Drop a comment below and let me know if you tried any variations, what dipping sauce you paired them with, or if you have any questions. Don’t forget to share this recipe with a friend who could use a quick and easy dinner win. Happy cooking, and here’s to many crispy, golden batches ahead!
Frequently Asked Questions
Can I use chicken thighs instead of chicken breasts?
Absolutely! Chicken thighs will give you juicier, more flavorful nuggets. Just make sure to trim any excess fat and cut them into uniform pieces. The cooking time may be slightly longer since thighs are a bit denser.
Why are my nuggets not crispy?
There are a few common culprits. You might be overcrowding the air fryer basket, which prevents proper air circulation. Make sure to leave space between each piece. Also, check that you’re spraying the nuggets with enough oil—the oil helps the panko crisp up. Finally, make sure your air fryer is fully preheated before adding the nuggets.
Can I make these ahead of time for a party?
Yes! You can cook the nuggets up to a day ahead and reheat them in the air fryer at 375°F for 3-4 minutes. They’ll crisp right back up. For best results, reheat them just before serving rather than keeping them warm for an extended period.
Can I use regular breadcrumbs instead of panko?
You can, but the texture will be different. Regular breadcrumbs are finer and denser, so they won’t give you that same light, airy crunch that panko provides. If you only have regular breadcrumbs, try toasting them in a dry pan for a few minutes first to add some extra crunch.
How do I know when the nuggets are fully cooked?
The most reliable way is to use an instant-read thermometer. Chicken is safe to eat at an internal temperature of 165°F. If you don’t have a thermometer, cut into a nugget to check—the meat should be white all the way through with no pink remaining, and the juices should run clear.
Pin This Recipe!
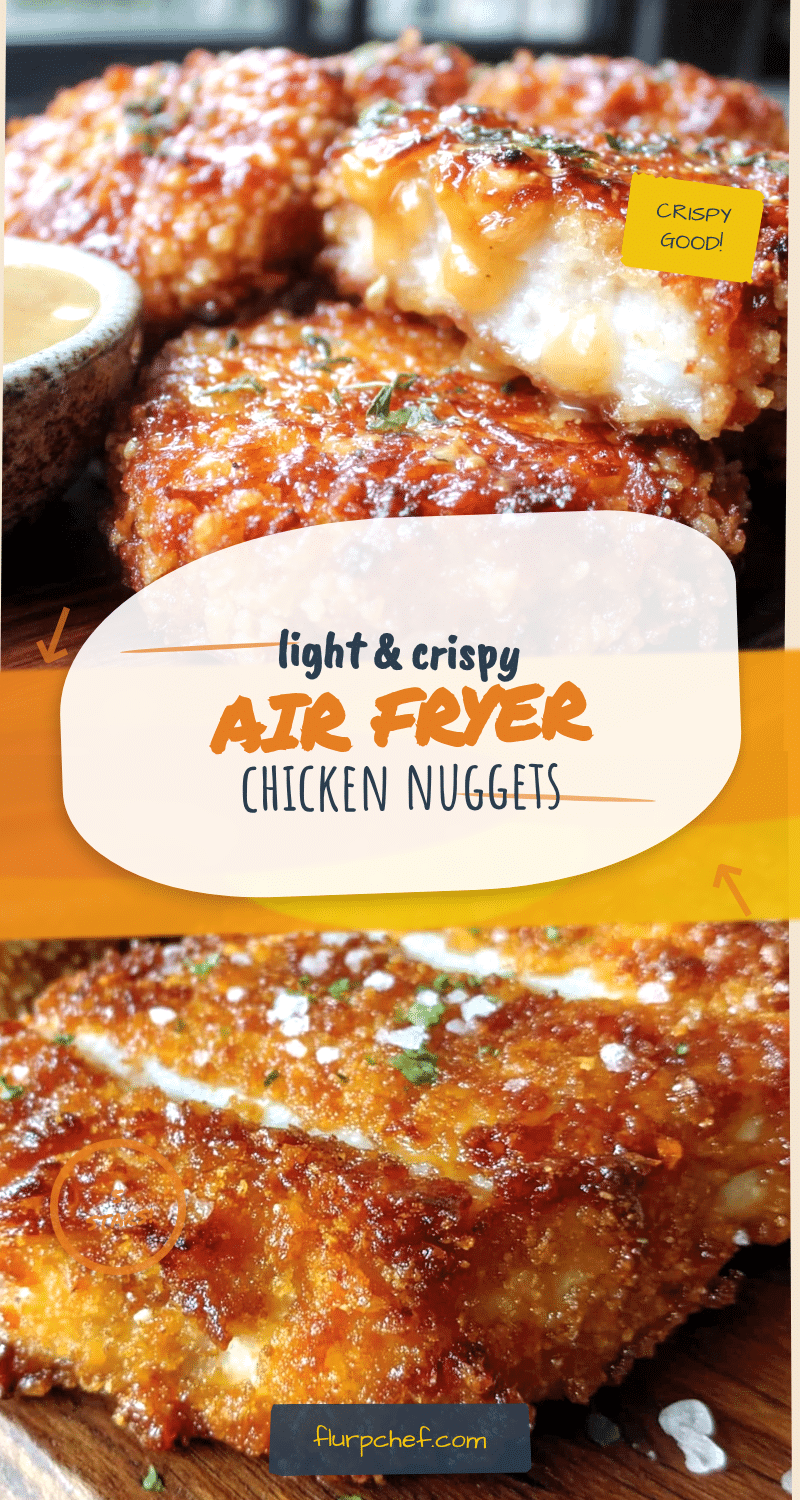
Easy Light & Crispy Air Fryer Chicken Nuggets
These Light & Crispy Air Fryer Chicken Nuggets from Scratch are quick, easy, and made with simple ingredients. Perfect for busy weeknights or last-minute gatherings, they deliver a satisfying crunch without the grease of deep frying.
- Prep Time: 15 minutes
- Cook Time: 12 minutes
- Total Time: 27 minutes
- Yield: 4 servings 1x
- Category: Main Course
- Cuisine: American
Ingredients
- 1 ½ pounds boneless, skinless chicken breasts (about 2–3 breasts)
- 1 teaspoon salt
- ½ teaspoon black pepper
- ½ teaspoon garlic powder
- ½ teaspoon onion powder
- ¼ teaspoon paprika
- ½ cup all-purpose flour
- 2 large eggs
- 1 tablespoon water
- 1 ½ cups panko breadcrumbs
- 2 tablespoons grated Parmesan cheese (optional)
- ½ teaspoon Italian seasoning
- ¼ teaspoon cayenne pepper (optional)
- Avocado oil spray
Instructions
- Preheat your air fryer to 400°F (200°C).
- Pat the chicken breasts dry with paper towels. Cut the chicken into 1-inch cubes. Season the chicken pieces with salt, pepper, garlic powder, onion powder, and paprika. Toss to coat evenly.
- Set up your breading station: In the first shallow bowl, add the all-purpose flour. In the second bowl, whisk together the eggs and water until well combined. In the third bowl, mix the panko breadcrumbs, grated Parmesan cheese (if using), Italian seasoning, and cayenne pepper (if using).
- Working with a few pieces at a time, dredge the chicken in the flour, shaking off any excess. Then dip it into the egg wash, letting any excess drip off. Finally, press it into the panko mixture, making sure it’s fully coated. Place the coated nuggets on a prepared baking sheet or plate. Repeat with the remaining chicken.
- Lightly spray the air fryer basket with avocado oil to prevent sticking. Arrange the nuggets in a single layer in the basket, leaving a little space between each piece for air circulation. Depending on the size of your air fryer, you’ll likely need to cook in 2-3 batches.
- Lightly spray the tops of the nuggets with avocado oil.
- Air fry for 10-12 minutes at 400°F. Cook for 10 minutes, then flip each nugget with tongs and spray the other side lightly with oil. Cook for another 2-4 minutes, or until the nuggets are golden brown and the internal temperature reaches 165°F.
- Let the nuggets rest for 2-3 minutes before serving.
Notes
If you don’t have an air fryer, you can bake the nuggets in a regular oven at 425°F for 12-15 minutes, flipping halfway through. For gluten-free, use almond flour or gluten-free all-purpose flour and gluten-free panko breadcrumbs. For dairy-free, omit the Parmesan cheese.
Nutrition
- Serving Size: 6-8 nuggets
- Calories: 280
- Sodium: 520
- Fat: 8
- Saturated Fat: 2
- Carbohydrates: 18
- Fiber: 1
- Protein: 32
Keywords: air fryer chicken nuggets, crispy chicken nuggets, homemade chicken nuggets, easy chicken nuggets, healthy chicken nuggets


