I was at my local hardware store last October, picking up a new rake—glamorous, I know—when the cashier, a woman named Carol who looked like she hadn’t smiled since the 80s, started talking about baking. She was ringing up my purchase and just said, “You look like you need a good pumpkin cake.” I mean, I wasn’t complaining. I was tired, it was drizzly outside, and honestly, a stranger telling me I needed cake felt like fate.
She scribbled a recipe on the back of a receipt. Her handwriting was tiny, almost illegible, and the instructions were more like suggestions. “Bake until it smells like fall,” she wrote at the bottom. I tucked that greasy slip of paper into my coat pocket and forgot about it for a week. When I finally found it, I was skeptical. But let me tell you, that first batch of mini pumpkin bundt cakes changed my whole outlook on October. They were dense, moist, and had this perfect crust that soaked up the maple glaze like a sponge.
I’ve tweaked Carol’s original recipe a bit—added a pinch more cinnamon, swapped in buttermilk for regular milk—but the soul of it is still hers. Every time I make these, I think about that rainy Tuesday and the grumpy cashier who somehow knew exactly what I needed. Maybe you’ve been there, too. A recipe that finds you when you least expect it, and suddenly, your kitchen smells like comfort.
Why You’ll Love This Recipe
These mini pumpkin bundt cakes aren’t just another pumpkin recipe. They are the result of multiple test bakes in my own kitchen, tweaking the balance of spice and moisture until it was just right. I’ve had my fair share of dry pumpkin cakes, and let me be clear—this is not one of them. This recipe is chef-tested by me, a home cook who has made more mistakes than I care to admit, and it’s family-approved by everyone who has walked through my door in the last month.
- Quick & Easy: From start to finish, you’re looking at about 45 minutes. Perfect for a weekday baking session or when a pumpkin craving hits out of nowhere.
- Simple Ingredients: You probably have most of these in your pantry right now. No weird extracts or hard-to-find flours.
- Perfect for Cozy Evenings: These little cakes were made for cold weather, a cup of coffee, and a blanket. They are pure comfort in a small, glazed package.
- Crowd-Pleaser: I brought a batch to a potluck last week, and they disappeared before the main course. Kids and adults alike couldn’t stop grabbing them.
- Unbelievably Delicious: The texture is what gets you—tender, moist, with a slightly crisp edge that holds the maple glaze perfectly. It’s next-level comfort food.
What makes this recipe different from the dozens of other pumpkin cakes out there? It’s the buttermilk. Adding buttermilk gives the crumb a tenderness that regular milk just can’t match. It also helps the pumpkin flavor shine without being overpowered by spice. This isn’t just another version of a pumpkin cake—it’s my best version, and I’m honestly a little proud of it.
What Ingredients You Will Need
This recipe uses simple, wholesome ingredients to deliver that bold pumpkin flavor and satisfyingly tender texture without any fuss. Most of these are pantry staples, especially if you do a lot of fall baking.
- All-purpose flour, 1 ½ cups (180g): Spoon and level it. Don’t scoop directly from the bag or you’ll end up with dense cakes.
- Granulated sugar, 1 cup (200g): Adds sweetness and helps with that golden brown crust.
- Light brown sugar, packed, ½ cup (100g): For moisture and a hint of molasses. I recommend Domino or C&H.
- Pumpkin puree, 1 cup (245g): Not pumpkin pie filling. Make sure it’s 100% pure pumpkin. Libby’s is my go-to.
- Vegetable oil, ½ cup (120ml): Keeps the cakes moist. You can use melted coconut oil, but the flavor will change slightly.
- Buttermilk, ½ cup (120ml): The secret ingredient for a tender crumb. If you don’t have buttermilk, add 1 tablespoon of lemon juice to regular milk and let it sit for 5 minutes.
- Large eggs, 2: Room temperature. Cold eggs can seize the batter.
- Vanilla extract, 1 teaspoon: Pure, not imitation.
- Baking soda, 1 teaspoon: For lift.
- Baking powder, ½ teaspoon: Extra insurance for a good rise.
- Salt, ½ teaspoon: Balances the sweetness.
- Ground cinnamon, 2 teaspoons: The backbone of the spice blend.
- Ground ginger, 1 teaspoon: Adds warmth.
- Ground nutmeg, ½ teaspoon: Freshly grated is best, but pre-ground works.
- Ground cloves, ¼ teaspoon: Just a pinch. It’s potent.
For the Maple Glaze:
- Powdered sugar, 1 cup (120g): Sifted to avoid lumps.
- Pure maple syrup, 3 tablespoons: Not pancake syrup. Real maple syrup makes a huge difference here.
- Milk, 1-2 tablespoons: To thin the glaze to your preferred consistency.
- Vanilla extract, ½ teaspoon: A little extra flavor.
Equipment Needed
You don’t need a professional bakery setup for these. Here’s what I use every time I make them:
- Mini bundt pan (12-cavity): This is non-negotiable. I have a Nordic Ware one that I’ve used for years. It never sticks if you grease it properly.
- Mixing bowls: One large, one medium.
- Whisk: For combining dry ingredients.
- Rubber spatula: For folding the batter. A wooden spoon works, but a spatula is gentler.
- Measuring cups and spoons: Accurate measurements matter here.
- Cooling rack: Essential for letting the cakes cool evenly before glazing.
- Pastry brush: For greasing the bundt pan. I use a silicone one.
- Small saucepan: If you want to warm the glaze ingredients to make it extra shiny.
If you don’t have a mini bundt pan, you can use a regular 12-cup muffin tin. Just adjust the baking time to about 15-18 minutes. The shape won’t be as pretty, but the taste will be the same.
Preparation Method
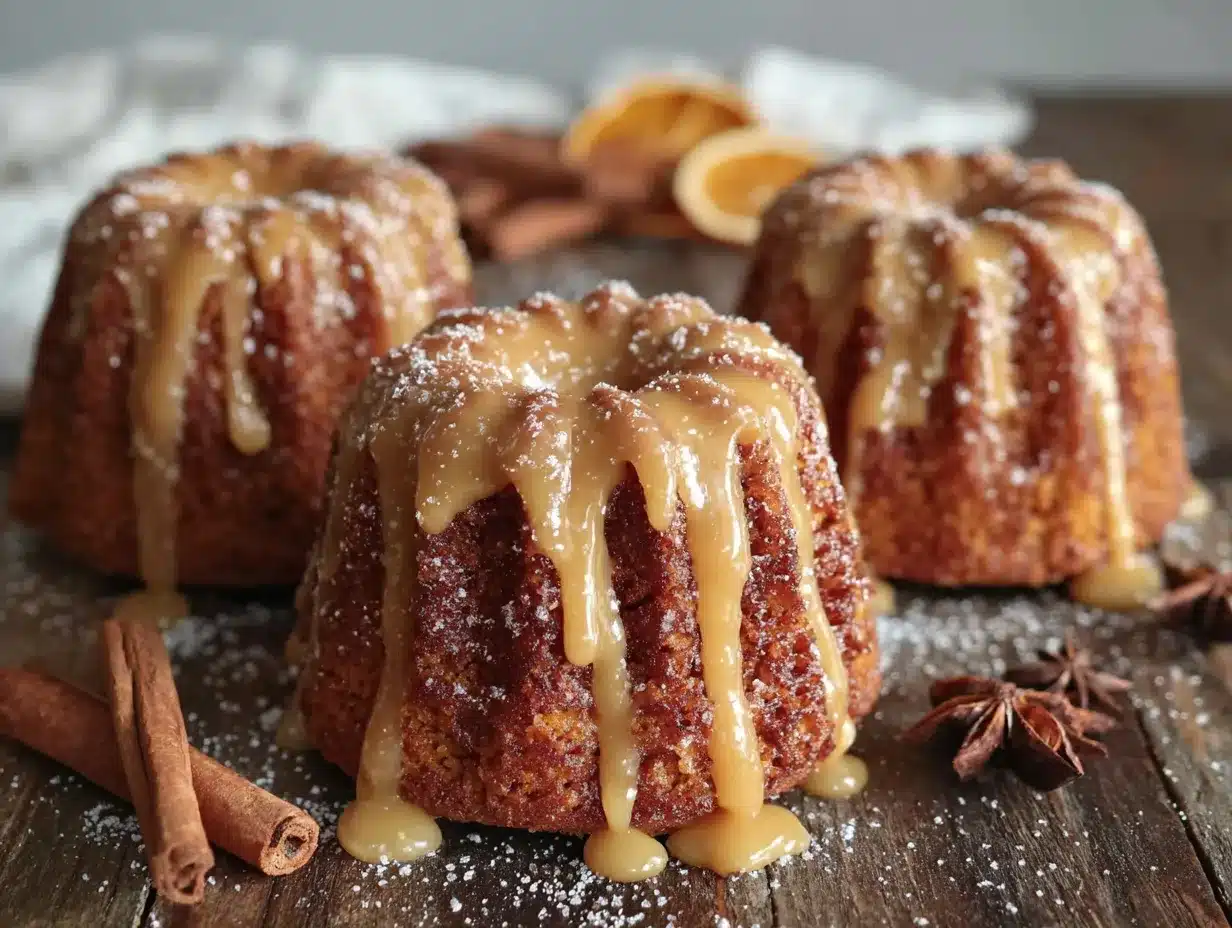
Let’s get baking. Preheat your oven to 350°F (175°C). This is important—don’t skip the preheat or your cakes won’t rise properly.
- Grease the mini bundt pan thoroughly. Use a pastry brush to coat every nook and cranny with softened butter or baking spray. I use Baker’s Joy, and I’ve never had a cake stick. Dust lightly with flour, then tap out the excess. Set aside.
- Whisk the dry ingredients together. In a medium bowl, combine the flour, baking soda, baking powder, salt, cinnamon, ginger, nutmeg, and cloves. Whisk until everything is evenly distributed. This takes about 30 seconds.
- Mix the wet ingredients. In a large bowl, whisk together the granulated sugar, brown sugar, pumpkin puree, vegetable oil, buttermilk, eggs, and vanilla extract. Whisk until smooth and well combined. The mixture should be a deep orange color and smell amazing already.
- Combine wet and dry. Pour the dry ingredients into the wet ingredients. Use a rubber spatula to fold them together gently. Stir only until you no longer see streaks of flour. Overmixing will make the cakes tough. A few small lumps are totally fine.
- Fill the bundt pan. Spoon the batter into the prepared pan, filling each cavity about ¾ full. I use a cookie scoop for this—it’s cleaner and more consistent. Don’t overfill, or the cakes will lose their shape.
- Bake. Place the pan on the middle rack of your preheated oven. Bake for 18-22 minutes, or until a toothpick inserted into the center of a cake comes out clean or with a few moist crumbs. The tops should be golden and spring back when touched lightly.
- Cool in the pan. Let the cakes cool in the pan for exactly 5 minutes. Set a timer. If you wait too long, they’ll stick. If you try to turn them out too soon, they’ll fall apart.
- Turn out onto a cooling rack. Place a cooling rack on top of the pan, then carefully flip it over. Tap the pan gently, and the cakes should release. If any stick, give the pan a gentle shake. Let the cakes cool completely on the rack before glazing.
- Make the glaze. While the cakes cool, make the maple glaze. In a small bowl, whisk together the powdered sugar, maple syrup, and vanilla extract. Add milk, 1 tablespoon at a time, until the glaze is thick but pourable. It should coat the back of a spoon.
- Glaze the cakes. Once the cakes are completely cool, drizzle the glaze over the tops. I use a spoon and let it drip down the sides. Let the glaze set for about 10 minutes before serving.
Cooking Tips & Techniques
I’ve learned a few things the hard way, so let me save you some trouble.
Don’t overmix the batter. I know I said it already, but I mean it. The first time I made these, I beat the batter like I was angry at it. The cakes came out dense and tough. Mix just until the flour disappears, and you’ll get that tender, fluffy crumb.
Grease the pan like your life depends on it. Mini bundt pans are notorious for sticking. I use a pastry brush to get into every little groove. If you’re nervous, use a baking spray that contains flour. It’s a game changer.
Check for doneness early. Ovens vary. Start checking at 18 minutes. A toothpick should come out clean, but if you see a few moist crumbs, that’s perfect. Overbaking dries out pumpkin cakes because of the moisture in the puree.
Let the cakes cool in the pan for exactly 5 minutes. I once forgot about them and left them in for 20 minutes. They were glued to the pan. I had to eat them with a spoon directly from the cavities. Not my finest moment.
Warm the glaze slightly. If you want a shinier, more professional look, warm the maple syrup and milk in a small saucepan before whisking in the powdered sugar. It creates a smoother, glossier glaze that sets beautifully.
Variations & Adaptations
This recipe is flexible. Here are a few ways to make it your own:
- Gluten-Free Version: Swap the all-purpose flour for a 1:1 gluten-free baking flour blend. I’ve used Bob’s Red Mill with great results. The texture will be slightly more crumbly, but the flavor is still spot on.
- Dairy-Free Option: Use almond milk or oat milk mixed with 1 teaspoon of lemon juice instead of buttermilk. Use a dairy-free butter alternative for greasing the pan. The cakes will be a tad less tender, but still delicious.
- Spice It Up: Add a pinch of cayenne pepper or a teaspoon of pumpkin pie spice for extra warmth. I did this once on a whim, and it was surprisingly good—like a chai latte in cake form.
- Add-Ins: Fold in ½ cup of chopped pecans, walnuts, or chocolate chips after combining the wet and dry ingredients. I prefer pecans for the crunch.
- Different Glazes: Skip the maple glaze and use a cream cheese glaze instead. Mix 4 oz of softened cream cheese with 1 cup of powdered sugar, 2 tablespoons of milk, and ½ teaspoon of vanilla. It’s richer and tangier.
Serving & Storage Suggestions
These mini pumpkin bundt cakes are best served slightly warm or at room temperature. The glaze sets into a lovely, crackly shell that contrasts with the soft cake underneath. I like to serve them on a simple white plate with a dusting of cinnamon on top.
They pair beautifully with a hot cup of coffee, chai tea, or a cold glass of milk. If you’re feeling fancy, add a dollop of whipped cream and a drizzle of extra maple syrup. They also make a great addition to a brunch spread alongside scrambled eggs and fresh fruit.
Storage: Store leftover cakes in an airtight container at room temperature for up to 3 days. The glaze may soften slightly, but they’ll still taste great. Do not refrigerate them—it dries them out.
Freezing: You can freeze the unglazed cakes for up to 2 months. Wrap each cake individually in plastic wrap, then place them in a freezer-safe bag. Thaw at room temperature, then glaze just before serving. The flavors actually develop more after freezing, so this is a great make-ahead option.
Reheating: Pop a cake in the microwave for 10-15 seconds to bring back that fresh-from-the-oven warmth. If you’re reheating glazed cakes, do it gently so the glaze doesn’t melt completely.
Nutritional Information & Benefits
Here’s the approximate nutritional breakdown for one mini bundt cake (with glaze):
| Nutrient | Amount |
|---|---|
| Calories | 280 |
| Total Fat | 12g |
| Saturated Fat | 2g |
| Cholesterol | 35mg |
| Sodium | 210mg |
| Total Carbohydrates | 40g |
| Dietary Fiber | 2g |
| Sugars | 28g |
| Protein | 4g |
Pumpkin is packed with vitamin A and fiber, which is great for your immune system and digestion. The buttermilk adds calcium and a little protein. Of course, these are still a treat, but they’re a treat that sneaks in some real nutrition. I feel good about serving them to my family, and honestly, that matters.
If you’re watching your sugar intake, you can reduce the granulated sugar to ¾ cup and use a sugar-free maple syrup for the glaze. The texture will be slightly less tender, but still enjoyable.
Conclusion
These easy mini pumpkin bundt cakes with maple glaze are everything I want in a fall recipe. They’re simple enough for a Tuesday night, special enough for a holiday gathering, and comforting in a way that only pumpkin and maple can be. The recipe came from a grumpy cashier at a hardware store, and every time I make it, I smile at the memory.
I encourage you to make these your own. Add your favorite spices, try a different glaze, or double the batch and freeze half. Baking should be fun, not stressful. And honestly, these cakes are hard to mess up—trust me, I’ve tried.
If you make these, I’d love to hear about it. Leave a comment below and tell me how they turned out. Did you add pecans? Try a cream cheese glaze? Burn them and eat them anyway? Share your story. And don’t forget to pin this recipe for later—you’re going to want it on hand all season long.
Happy baking, friends. Your kitchen is about to smell incredible.
Frequently Asked Questions
Can I use a regular bundt pan instead of mini?
Yes, you can. Grease and flour a standard 10-cup bundt pan and bake at 350°F for 35-40 minutes. Check for doneness with a toothpick. The glaze amount will be enough for the full-size cake, but you might want to double it if you like a thick layer.
Why did my cakes stick to the pan?
This usually happens if you didn’t grease the pan thoroughly or if you let the cakes cool too long in the pan. Use a pastry brush to get into every crevice, and set a timer for exactly 5 minutes of cooling time. Also, make sure your pan is non-stick or well-seasoned.
Can I make these ahead of time?
Absolutely. Bake the cakes, let them cool completely, and store them in an airtight container without the glaze. Make the glaze fresh the day you plan to serve them. You can also freeze the unglazed cakes for up to 2 months.
What if I don’t have buttermilk?
No problem. Make a quick substitute by adding 1 tablespoon of lemon juice or white vinegar to ½ cup of regular milk. Let it sit for 5 minutes until it curdles slightly. It works perfectly in this recipe.
Can I use fresh pumpkin instead of canned?
Yes, but you’ll need to roast and puree it first. Fresh pumpkin has more water content than canned, so you may need to drain it in a cheesecloth for 30 minutes before using. Canned pumpkin is more consistent and easier, so I usually stick with it.
Pin This Recipe!
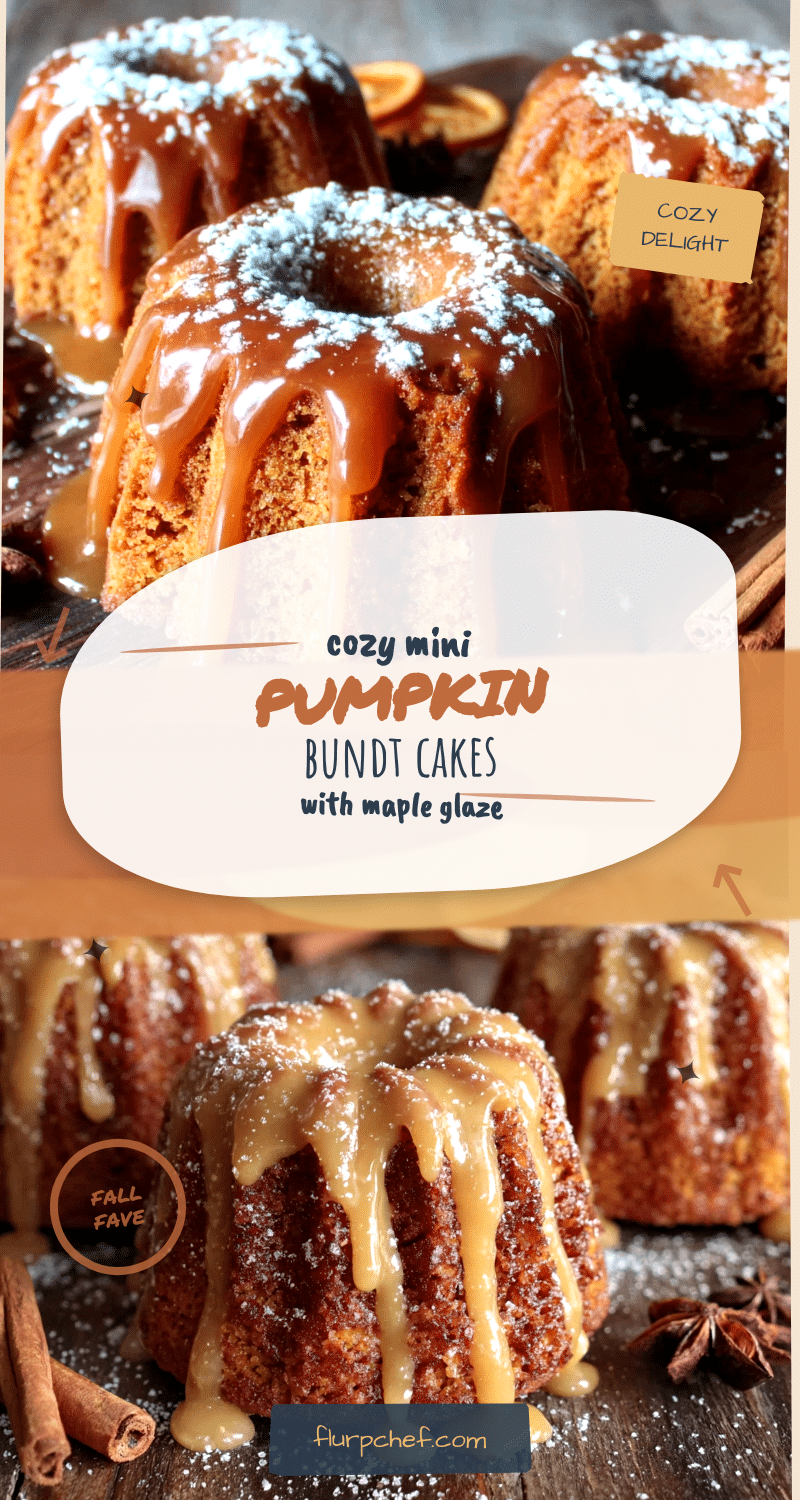
Easy Mini Pumpkin Bundt Cakes with Maple Glaze
These tender, moist mini pumpkin bundt cakes are topped with a glossy maple glaze. They’re quick to make, use simple ingredients, and are perfect for cozy fall evenings or holiday gatherings.
- Prep Time: 15 minutes
- Cook Time: 20 minutes
- Total Time: 45 minutes
- Yield: 12 servings 1x
- Category: Dessert
- Cuisine: American
Ingredients
- 1 ½ cups (180g) all-purpose flour
- 1 cup (200g) granulated sugar
- ½ cup (100g) packed light brown sugar
- 1 cup (245g) pumpkin puree (not pumpkin pie filling)
- ½ cup (120ml) vegetable oil
- ½ cup (120ml) buttermilk
- 2 large eggs, room temperature
- 1 teaspoon vanilla extract
- 1 teaspoon baking soda
- ½ teaspoon baking powder
- ½ teaspoon salt
- 2 teaspoons ground cinnamon
- 1 teaspoon ground ginger
- ½ teaspoon ground nutmeg
- ¼ teaspoon ground cloves
- For the Maple Glaze:
- 1 cup (120g) powdered sugar, sifted
- 3 tablespoons pure maple syrup
- 1–2 tablespoons milk
- ½ teaspoon vanilla extract
Instructions
- Preheat oven to 350°F (175°C). Grease a 12-cavity mini bundt pan thoroughly with butter or baking spray, dust with flour, and tap out excess.
- In a medium bowl, whisk together flour, baking soda, baking powder, salt, cinnamon, ginger, nutmeg, and cloves.
- In a large bowl, whisk together granulated sugar, brown sugar, pumpkin puree, vegetable oil, buttermilk, eggs, and vanilla extract until smooth.
- Pour dry ingredients into wet ingredients. Fold gently with a rubber spatula until just combined (a few lumps are fine). Do not overmix.
- Spoon batter into prepared pan, filling each cavity about ¾ full.
- Bake for 18-22 minutes, or until a toothpick inserted into the center comes out clean or with a few moist crumbs.
- Let cakes cool in pan for exactly 5 minutes. Place a cooling rack on top, flip pan over, and tap gently to release. Cool completely on rack.
- While cakes cool, make glaze: In a small bowl, whisk together powdered sugar, maple syrup, and vanilla. Add milk 1 tablespoon at a time until thick but pourable.
- Once cakes are completely cool, drizzle glaze over tops. Let set for about 10 minutes before serving.
Notes
For a dairy-free option, use almond or oat milk mixed with 1 teaspoon lemon juice instead of buttermilk. For a gluten-free version, use a 1:1 gluten-free flour blend. To prevent sticking, grease the pan thoroughly and cool for exactly 5 minutes. For a shinier glaze, warm the maple syrup and milk before whisking in powdered sugar.
Nutrition
- Serving Size: 1 mini bundt cake
- Calories: 280
- Sugar: 28
- Sodium: 210
- Fat: 12
- Saturated Fat: 2
- Carbohydrates: 40
- Fiber: 2
- Protein: 4
Keywords: mini pumpkin bundt cakes, maple glaze, pumpkin dessert, fall baking, easy pumpkin recipe


