It was late on a Tuesday night, the kind where the house has finally gone quiet and the only light comes from the stove hood. I had a single square of dark chocolate left in the pantry and a vague, stubborn craving for something that felt like an occasion. Not a whole cake, not a batch of cookies that would sit on the counter taunting me for days. Just one perfect, personal little indulgence. That’s when I started pulling out ramekins, and the idea for these perfect molten lava cakes for two was born. Sometimes the best recipes come from the quietest moments.
I remember standing there, melting butter in a small saucepan, thinking about how most lava cake recipes are designed for a crowd. They assume you have a dinner party or a special anniversary. But what about a random Wednesday? What about a night when you just want to share something warm and chocolatey with one other person—or honestly, keep both for yourself? No judgment here. This recipe is scaled down, simplified, and made for exactly that kind of moment.
The first time I made it, I pulled the cakes out of the oven a little too early. The centers were more liquid than lava—more of a chocolate puddle situation. But the flavor was there. That deep, rich, slightly bitter chocolate taste that makes you close your eyes. I tweaked the timing, adjusted the flour just a touch, and landed on a version that works every single time. It is ridiculously easy, but it feels like you did something fancy. That is the kind of recipe I love most.
Why You’ll Love This Recipe
This isn’t just another dessert recipe. After testing this at least a dozen times—and eating the evidence more times than I’d like to admit—I can tell you this is the one. It has that perfect balance of a delicate, cake-like exterior and a gooey, molten center that flows out the moment you break through with a spoon. Here is why it deserves a spot in your regular rotation:
- Quick & Easy: From start to finish, these are ready in under 20 minutes. No complicated techniques, no stand mixer needed. Just a bowl, a whisk, and a ramekin.
- Simple Ingredients: You probably have most of these in your kitchen right now. No need for a special trip to the store for exotic extracts or hard-to-find chocolate.
- Perfect for Date Night: Whether it’s Valentine’s Day, an anniversary, or just a quiet Tuesday, this dessert feels special without the stress. It is impressive but effortless.
- No Leftovers: It makes exactly two servings. No half-eaten cake sitting in the fridge for a week. You eat it, you enjoy it, and it is gone.
- Unbelievably Decadent: The texture is everything. The outside is just firm enough to hold its shape, and the inside is a warm, silky chocolate river. It is pure comfort in a ramekin.
What makes this version different from the dozens of other lava cake recipes out there? It is the precise ratio of butter to chocolate and the slight resting time before baking. That little pause lets the batter settle, which creates a more reliable molten center. I have tried shortcuts, and they just don’t work the same. This method, tested and tweaked by me, is the one you can trust. It is the kind of dessert that makes you feel like a pastry chef, even if you are just someone who really loves chocolate.
What Ingredients You Will Need
This recipe uses simple, high-quality ingredients to deliver that signature molten center and rich chocolate flavor. Because there are so few components, each one really matters. Here is what you need and why it works:
- Semi-sweet chocolate (4 oz / 113g), chopped: This is the star of the show. I prefer a good quality bar, around 60% cacao. Chocolate chips work in a pinch, but a chopped bar melts more evenly and gives a smoother texture. (I like Ghirardelli or Guittard for consistent results.)
- Unsalted butter (½ cup / 113g / 1 stick), cut into pieces: Butter adds richness and helps create that tender crumb. Using unsalted lets you control the salt level. Do not substitute margarine or spreads—the water content is different and will affect the texture.
- Powdered sugar (1 cup / 120g): This is a little trick I learned from a pastry chef friend. Powdered sugar dissolves more easily than granulated sugar, giving the batter a smoother, more velvety consistency. It also contains a tiny bit of cornstarch, which helps stabilize the cakes.
- Large eggs (2 whole): Eggs provide structure and richness. They are essential for creating that slightly puffed exterior and the soft, custard-like center. Make sure they are at room temperature for best results—just set them out 15 minutes before you start.
- Egg yolk (1 large): The extra yolk adds more fat and richness, which makes the center extra creamy. Do not skip this—it is the secret to that perfect lava flow.
- Vanilla extract (1 teaspoon): Vanilla enhances the chocolate flavor and rounds out the bitterness. Use pure vanilla extract if you have it, but imitation will work in a pinch.
- All-purpose flour (¼ cup / 30g): Just a small amount gives the cakes enough structure to hold their shape. Too much flour and you will end up with a solid chocolate muffin. Too little, and it will collapse into a puddle. This measurement is precise for a reason.
- Pinch of salt: A tiny pinch of flaky sea salt (like Maldon) in the batter or sprinkled on top after baking balances the sweetness and makes the chocolate taste more chocolatey. Do not skip it.
- Optional: Butter and cocoa powder for greasing ramekins: This is not just for non-stick. The cocoa powder adds a thin, dark crust to the outside of the cake that looks beautiful and adds a tiny bit of texture.
Substitution Notes: If you need a dairy-free option, you can use a high-quality vegan butter stick (like Miyoko’s) and a dairy-free dark chocolate that is at least 60% cacao. For a gluten-free version, swap the all-purpose flour with a good 1-to-1 gluten-free baking blend. The texture will be slightly more delicate, but the molten center will still work beautifully.
Equipment Needed
You do not need a fancy kitchen to pull this off. Here is what you will need:
- Two 6-ounce (180ml) ramekins: This is the standard size for individual lava cakes. If you only have 4-ounce ramekins, the baking time will be shorter—start checking at 9 minutes. If using 8-ounce ramekins, the cakes will be thinner and bake faster.
- Medium microwave-safe bowl or a small saucepan: For melting the chocolate and butter together. A double boiler works too, but honestly, the microwave is faster and easier if you do it in 30-second bursts.
- Whisk: For combining the eggs and sugar until frothy. A hand whisk works perfectly; no electric mixer needed.
- Rubber spatula: For folding the flour into the batter gently. A spatula helps you scrape every last bit of batter into the ramekins.
- Baking sheet: Place the ramekins on a baking sheet before putting them in the oven. This catches any potential overflow and makes it easier to handle them.
Budget-Friendly Tip: You can find inexpensive ramekins at most home goods stores or online for a few dollars. If you do not have ramekins at all, you can use a standard muffin tin—just grease the cups well and reduce the baking time by a minute or two. The shape will be a little different, but the taste will be the same.
Preparation Method
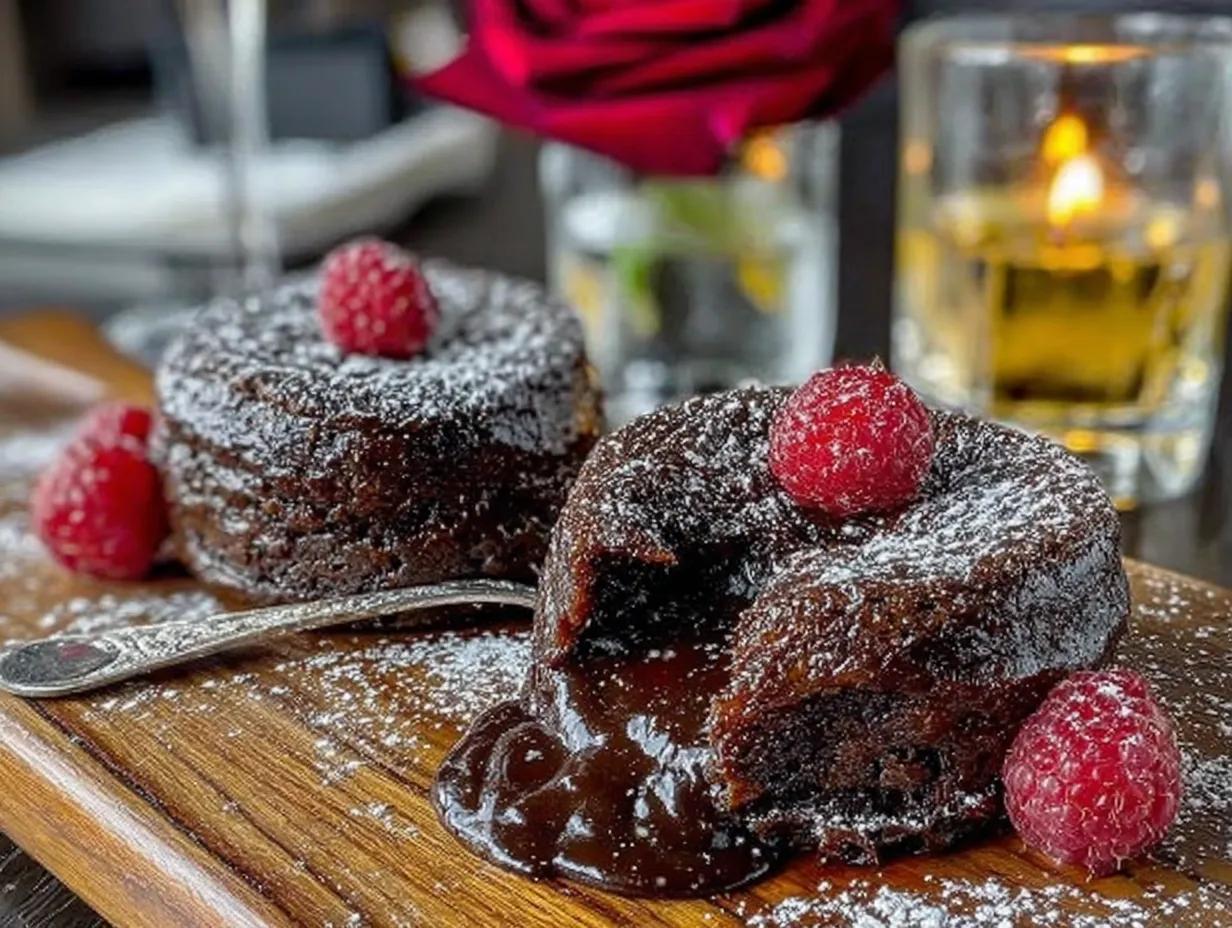
Follow these steps carefully, and you will have two perfect molten lava cakes. The timing is everything here, so set a timer and trust the process.
- Preheat your oven to 425°F (220°C). Place a rack in the center of the oven. While it heats, prepare your ramekins. Generously butter the inside of each ramekin, making sure to get the sides and bottom. Then, add a teaspoon of cocoa powder and tilt the ramekin to coat the buttered surface. Tap out any excess. This creates a dark, non-stick coating that looks beautiful.
- Melt the chocolate and butter. Place the chopped semi-sweet chocolate and the cubed unsalted butter in a medium microwave-safe bowl. Microwave in 30-second intervals, stirring well after each interval, until the mixture is completely smooth and glossy. This usually takes about 1 to 1.5 minutes total. Be careful not to overheat it—if the chocolate seizes, it will become grainy and unusable. Set the bowl aside to cool slightly while you prepare the eggs.
- Whisk the eggs and sugar. In a separate medium bowl, combine the 2 whole eggs, 1 egg yolk, and the vanilla extract. Add the powdered sugar. Whisk vigorously for about 1 to 2 minutes, until the mixture is pale, thick, and slightly frothy. You are looking for a texture similar to a thin pancake batter. This step is important because it incorporates air, which helps the cakes rise slightly.
- Combine the mixtures. Pour the slightly cooled chocolate-butter mixture into the egg mixture. Use a rubber spatula to gently fold them together until just combined. Do not overmix—you want a uniform, dark brown batter without streaks of egg. The batter will be thick and glossy.
- Add the dry ingredients. Sift the all-purpose flour and the pinch of salt directly over the batter. Fold gently with the spatula until the flour disappears. Again, do not overmix. A few small lumps are fine. Overmixing at this stage can make the cakes tough.
- Fill the ramekins. Divide the batter evenly between the two prepared ramekins. The batter should fill them about three-quarters full. Smooth the tops with the back of a spoon if needed. Place the ramekins on a small baking sheet.
- Rest and bake. Let the filled ramekins sit at room temperature for 5 minutes. This short rest allows the batter to settle and helps create a more reliable molten center. Then, place the baking sheet in the preheated oven. Bake for exactly 12 to 14 minutes. The cakes are done when the edges are set and look firm, but the center jiggles slightly when you gently shake the ramekin. The top should be puffed and slightly cracked. Do not overbake—the center should still look soft and underdone.
- Cool and unmold. Remove the baking sheet from the oven and let the ramekins cool on a wire rack for exactly 1 minute. This is crucial. If you try to unmold them too soon, they will collapse. If you wait too long, the center will continue to cook and you will lose the lava effect. After 1 minute, run a thin knife around the edge of each ramekin to loosen the cake. Place a small dessert plate upside down on top of the ramekin. In one quick, confident motion, invert the ramekin onto the plate. Lift the ramekin carefully. The cake should release cleanly, revealing the dark, puffed exterior.
Sensory Cue: When you tap the side of the ramekin after baking, the cake should feel set on the outside but have a slight, soft wobble in the center. The aroma should be deeply chocolatey, with a hint of toasted butter.
Cooking Tips & Techniques
I have made these cakes more times than I can count, and I have definitely learned a few things the hard way. Here are my best tips for getting it right every time:
- Do not overbake. This is the single most important tip. The difference between a perfect lava cake and a chocolate muffin is about 90 seconds. Start checking at the 11-minute mark if your oven runs hot. The center should jiggle like a soft custard, not be completely firm.
- Use good chocolate. Since chocolate is the main flavor, use something you actually enjoy eating. A cheap chocolate bar will give you a cheap-tasting cake. Splurge a little—it is worth it for that deep, complex flavor.
- Room temperature eggs matter. Cold eggs can cause the chocolate-butter mixture to seize or become lumpy. If you forgot to take them out ahead of time, place the whole eggs (in their shells) in a bowl of warm water for 5 minutes before cracking them.
- Let the batter rest. Do not skip the 5-minute rest before baking. This allows the gluten in the flour to relax and the batter to hydrate evenly. I have tested it side-by-side, and the rested batter produces a more consistent, reliable molten center.
- Make ahead option. You can prepare the batter, fill the greased ramekins, cover them with plastic wrap, and refrigerate for up to 24 hours. When you are ready to bake, let them sit at room temperature for 20 minutes, then bake as directed, adding 1 to 2 minutes to the baking time.
One time, I was rushing and forgot to grease one of the ramekins properly. The cake stuck to the side and tore when I tried to unmold it. It still tasted amazing, but it looked like a chocolate disaster. So, take the extra 30 seconds to grease and dust those ramekins. Trust me.
Variations & Adaptations
This base recipe is perfect as-is, but it is also a great starting point for creativity. Here are a few variations I have tried and loved:
- Peanut Butter Lava Cake: After filling the ramekins with batter, drop a teaspoon of creamy peanut butter into the center of each one. Gently push it down so it is submerged. The peanut butter melts into the chocolate center, creating a salty-sweet surprise. It is incredible.
- Mocha Lava Cake: Add 1 teaspoon of instant espresso powder to the dry flour mixture before folding it in. The coffee does not make the cake taste like coffee—it just deepens and intensifies the chocolate flavor. It adds a subtle, grown-up complexity.
- White Chocolate Raspberry: Swap the semi-sweet chocolate for good-quality white chocolate. After filling the ramekins, drop 3 or 4 fresh or frozen raspberries into the center of each cake. The tart raspberries cut through the sweetness of the white chocolate beautifully.
- Gluten-Free Adaptation: As mentioned, swap the all-purpose flour with a 1-to-1 gluten-free baking blend. I have used King Arthur’s Measure for Measure blend with great success. The texture is slightly more delicate, so be gentle when unmolding.
- Vegan Adaptation: Use a high-quality vegan butter stick and dairy-free dark chocolate. For the eggs, use a flax egg (1 tablespoon ground flaxseed mixed with 3 tablespoons water per egg) and an extra tablespoon of water for the yolk. The texture will be less fluffy, but the molten center still works surprisingly well.
My personal favorite variation is the peanut butter one. I stumbled on it by accident when I was making a batch and realized I had a jar of peanut butter sitting on the counter. It felt like a stroke of genius, and now it is my go-to when I want something a little extra.
Serving & Storage Suggestions
These lava cakes are best served warm, straight from the oven. The contrast between the warm, gooey center and a cold scoop of ice cream is pure magic. Here is how to serve and store them:
- Serving Temperature: Serve immediately after unmolding. The cake should still be warm, and the center should flow when you break into it with a spoon.
- Presentation: Dust the top with a light sprinkle of powdered sugar or a tiny pinch of flaky sea salt. Add a small scoop of vanilla bean ice cream or a dollop of lightly sweetened whipped cream on the side. A few fresh raspberries or a sprig of mint add a nice pop of color.
- Pairings: These cakes pair beautifully with a strong cup of black coffee or an espresso. For a special occasion, a small glass of dessert wine like a late-harvest Riesling or a ruby port is a lovely match. If you are feeling indulgent, serve them alongside a batch of brown butter banana bread for a dessert spread.
- Storage: These cakes are really best eaten fresh. However, if you have leftovers (unlikely, but possible), let the baked cakes cool completely in the ramekins. Cover them tightly with plastic wrap and refrigerate for up to 2 days. To reheat, remove the plastic wrap and microwave a single ramekin for about 20 to 30 seconds, until the center is warm and gooey again. The texture will be slightly different, but the flavor is still there.
- Freezing: You can freeze the unbaked batter in the greased ramekins. Wrap each ramekin tightly in plastic wrap and then in foil. Freeze for up to 1 month. To bake from frozen, remove the foil and plastic wrap, let the ramekins sit at room temperature for 30 minutes, and bake as directed, adding 3 to 5 minutes to the baking time.
Nutritional Information & Benefits
Let’s be honest—this is a dessert, not a health food. But knowing what is in it helps you enjoy it mindfully. Here is the estimated nutritional breakdown for one lava cake (based on the recipe as written):
| Nutrient | Amount per Serving |
|---|---|
| Calories | ~480 |
| Total Fat | 34g |
| Saturated Fat | 20g |
| Cholesterol | 230mg |
| Sodium | 150mg |
| Total Carbohydrates | 40g |
| Dietary Fiber | 3g |
| Sugars | 32g |
| Protein | 8g |
Health Benefits: Dark chocolate is a source of antioxidants, specifically flavonoids, which can support heart health. The eggs provide high-quality protein and essential nutrients like choline. While this is an indulgent treat, using good-quality dark chocolate means you are getting more than just empty calories. It is the kind of dessert that satisfies a deep craving with a small, perfectly portioned serving—no need for a whole cake.
Dietary Considerations: This recipe contains dairy, eggs, and gluten. It can be adapted for gluten-free and vegan diets (see variations above). It is not suitable for a low-fat or low-sugar diet, but it is a wonderful occasional indulgence.
Conclusion
These perfect molten lava cakes for two are more than just a dessert. They are a little moment of joy, a way to say “I care” without needing a special occasion. They are proof that you do not need a complicated recipe or a pantry full of obscure ingredients to create something truly memorable. Just a few simple things, a little bit of patience, and a willingness to let the chocolate do its thing.
I love this recipe because it reminds me that the best things in life are often the simplest. It is forgiving enough for a beginner, but impressive enough to serve to guests. It is the dessert I turn to when I want to feel like I have my act together, even on a chaotic Tuesday. I hope you make it for someone you love—or just for yourself on a quiet night when you deserve something wonderful.
If you try this recipe, I would love to hear about it. Leave a comment below and tell me how it turned out. Did you try a variation? Did you eat both cakes by yourself? No judgment here. Share your photos and tag me, too. Let’s keep the chocolate love going. And if you are looking for another cozy dessert to try, you might enjoy these cozy pumpkin banana bread bars for a different kind of comfort.
Frequently Asked Questions
Can I make these lava cakes in a microwave?
Technically, yes, but the texture will be different. You can microwave the batter in a greased mug for about 60 to 90 seconds on high power. The cake will be spongier and less refined, but it works in a pinch. For the best results, the oven method is still the way to go.
Why did my lava cake not have a molten center?
This is almost always a result of overbaking. The center should still look slightly underdone and jiggly when you take it out of the oven. It will continue to cook slightly from the residual heat after you remove it. If you bake it until the center is firm, you will end up with a solid chocolate cake.
Can I use milk chocolate instead of semi-sweet?
You can, but the cake will be significantly sweeter and less rich. Milk chocolate has more sugar and less cocoa butter, which can make the center too runny and the overall flavor one-dimensional. If you only have milk chocolate, reduce the powdered sugar by about 2 tablespoons to balance the sweetness.
How do I prevent the cakes from sticking to the ramekins?
Generously butter the ramekins, making sure to get every nook and cranny. Then, dust them with cocoa powder (not flour, which can leave white streaks). The cocoa powder creates a dark, non-stick coating. Let the cakes cool for exactly 1 minute after baking before running a knife around the edge and inverting them.
Can I double this recipe?
Absolutely. This recipe scales up perfectly. Just double all the ingredients and use a larger bowl for mixing. You can bake 4 ramekins at once on the same baking sheet. The baking time should remain about the same, but check for doneness at the 11-minute mark just in case.
Pin This Recipe!
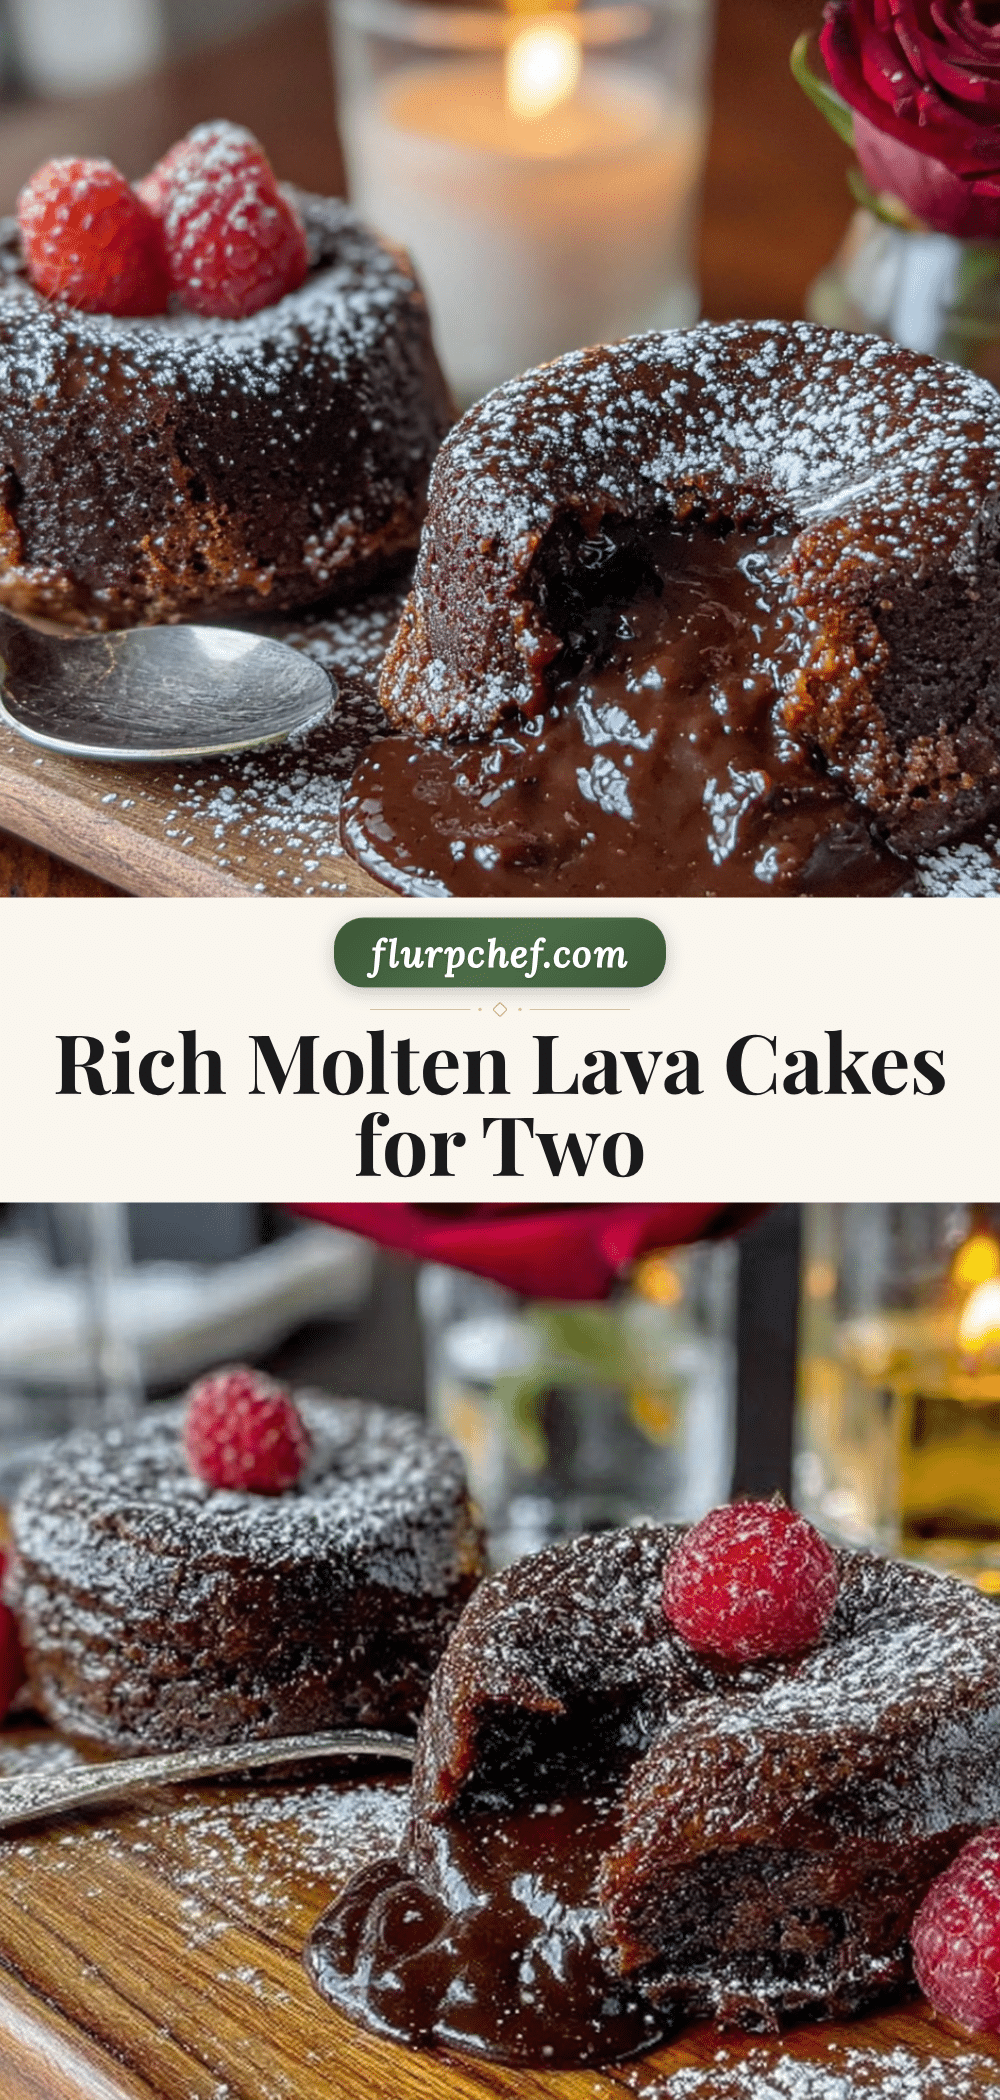
Easy Molten Lava Cakes for Two – Best Recipe
These perfect molten lava cakes for two are a quick and easy dessert, ready in under 20 minutes. With a delicate, cake-like exterior and a gooey, molten center, they are the ultimate indulgence for a date night or a quiet evening.
- Prep Time: 10 minutes
- Cook Time: 12-14 minutes
- Total Time: 22-24 minutes
- Yield: 2 servings 1x
- Category: Dessert
- Cuisine: American
Ingredients
- 4 oz (113g) semi-sweet chocolate, chopped
- ½ cup (113g / 1 stick) unsalted butter, cut into pieces
- 1 cup (120g) powdered sugar
- 2 large eggs, at room temperature
- 1 large egg yolk, at room temperature
- 1 teaspoon vanilla extract
- ¼ cup (30g) all-purpose flour
- Pinch of salt
- Butter and cocoa powder for greasing ramekins (optional)
Instructions
- Preheat your oven to 425°F (220°C). Generously butter the inside of two 6-ounce (180ml) ramekins, then add a teaspoon of cocoa powder and tilt to coat. Tap out any excess.
- Place the chopped semi-sweet chocolate and cubed unsalted butter in a medium microwave-safe bowl. Microwave in 30-second intervals, stirring well after each, until completely smooth and glossy (about 1 to 1.5 minutes). Set aside to cool slightly.
- In a separate medium bowl, combine the 2 whole eggs, 1 egg yolk, vanilla extract, and powdered sugar. Whisk vigorously for 1 to 2 minutes until pale, thick, and slightly frothy.
- Pour the slightly cooled chocolate-butter mixture into the egg mixture. Gently fold with a rubber spatula until just combined.
- Sift the all-purpose flour and pinch of salt over the batter. Fold gently until the flour disappears. Do not overmix.
- Divide the batter evenly between the two prepared ramekins, filling them about three-quarters full. Place the ramekins on a small baking sheet.
- Let the filled ramekins rest at room temperature for 5 minutes.
- Bake for exactly 12 to 14 minutes. The cakes are done when the edges are set and firm, but the center jiggles slightly when shaken.
- Remove from the oven and let cool on a wire rack for exactly 1 minute. Run a thin knife around the edge of each ramekin, place a dessert plate upside down on top, and invert the ramekin onto the plate. Lift the ramekin carefully to release the cake.
Notes
Do not overbake; the center should jiggle. Use good quality semi-sweet chocolate (around 60% cacao) for best flavor. Room temperature eggs are important to prevent the chocolate from seizing. Let the batter rest for 5 minutes before baking for a more reliable molten center. For make-ahead, fill greased ramekins, cover, and refrigerate for up to 24 hours; let sit at room temperature for 20 minutes before baking, adding 1-2 minutes to baking time.
Nutrition
- Serving Size: 1 lava cake
- Calories: 480
- Sugar: 32
- Sodium: 150
- Fat: 34
- Saturated Fat: 20
- Carbohydrates: 40
- Fiber: 3
- Protein: 8
Keywords: molten lava cake, chocolate lava cake, lava cake for two, easy dessert, quick dessert, date night dessert, chocolate dessert


