This was supposed to be a batch of savory roasted pumpkin seeds. I had the pumpkin carved, the seeds rinsed, and my mind set on that classic salty, toasty snack you munch on while the jack-o’-lantern flickers. But somewhere between grabbing the cinnamon from the spice rack and the sugar from the pantry, my brain took a wrong turn. I dumped a generous spoonful of cinnamon sugar into the bowl before I realized I had bypassed the salt entirely. My first thought was panic. My second thought was, “Well, this is a wasted batch.” I almost scraped the whole thing into the trash.
Honestly, I was already running late for a friend’s bonfire, and the last thing I needed was to start over. So I just tossed the seeds in the cinnamon sugar mixture anyway, drizzled a little extra melted butter on top, and threw them in the oven with zero expectations. I figured I’d eat the evidence myself and no one would be the wiser. When I pulled them out, the kitchen smelled less like fall and more like a bakery had a baby with a pumpkin patch. The seeds were golden, crispy, and covered in a thin, crackly shell of cinnamon sweetness. I tentatively tried one, then another, and by the time I got to the bonfire, the bag was half empty. My friends devoured the rest in about five minutes flat, asking for the recipe before I could even explain it was a mistake.
That happy accident turned into my most-requested snack, and I’ve never gone back to the savory version. There’s something about the combination of crunchy, nutty pumpkin seeds with that warm, sweet coating that just works. It’s unexpected but completely addictive. Maybe you’ve had that moment where you accidentally created something better than what you planned. This is that recipe for me, and I think it might become one for you too.
Why You’ll Love This Recipe
Let me tell you why these Light & Crispy Cinnamon Sugar Pumpkin Seeds have earned a permanent spot in my snack rotation. After dozens of batches—some burned, some soggy, some just okay—I finally nailed the method that gives you that perfect crunch every single time. This isn’t just another pumpkin seed recipe; it’s the one that finally works.
- Quick & Easy: From start to finish, you’re looking at about 25 minutes. No complicated steps, no fancy equipment. It’s the kind of recipe you can whip up while the pumpkin guts are still on your counter.
- Simple Ingredients: You probably already have everything in your pantry. Pumpkin seeds, butter, cinnamon, sugar, and a pinch of salt. That’s it. No trips to a specialty store required.
- Perfect for Fall Gatherings: Whether it’s a Halloween party, a Thanksgiving appetizer, or just a cozy movie night, these seeds disappear fast. They’re the snack people gravitate toward without realizing how much they’re eating.
- Crowd-Pleaser: I’ve served these to kids, adults, and even picky eaters who swore they didn’t like pumpkin seeds. Every single person has asked for more. It’s almost embarrassing how proud I am of that.
- Unbelievably Delicious: The texture is what gets me. Light, crispy, with a thin layer of caramelized cinnamon sugar that shatters when you bite down. It’s not heavy or sticky—just perfectly crunchy and sweet.
What makes this recipe different from the dozens of others out there is the boiling step. I know, it sounds extra, but trust me on this. Boiling the seeds before roasting them changes everything. It helps the coating stick better and gives you that light, airy crunch instead of a dense, chewy texture. I tested it side by side one year—boiled versus raw—and the boiled seeds won by a landslide. They were crispier, more flavorful, and stayed fresh longer.
This recipe is comfort food reimagined. It takes a humble, often-overlooked ingredient and turns it into something you’ll crave long after pumpkin season is over. It’s the kind of snack that makes you close your eyes after the first bite, and honestly, that’s exactly what a good recipe should do.
What Ingredients You Will Need
This recipe uses simple, wholesome ingredients that come together to create something surprisingly special. Most of these are pantry staples, which makes it easy to whip up a batch whenever the craving hits. Here’s what you’ll need and why each ingredient matters.
For the Seeds:
- 1 cup fresh pumpkin seeds (pepitas), cleaned and rinsed – Fresh seeds straight from a carving pumpkin work best, but you can also use store-bought raw pepitas. Look for seeds that are plump and free of pumpkin strings. I’ve found that sugar pumpkins or carving pumpkins both work well, though sugar pumpkins tend to have slightly smaller, more tender seeds.
- 2 cups water – This is for the boiling step. It might seem unnecessary, but it’s the secret to that light, crispy texture. The boiling water helps soften the seed’s outer shell just enough so the coating adheres better and the inside stays tender while the outside gets crunchy.
- 1 teaspoon salt – A little salt in the boiling water seasons the seeds from the inside out. It balances the sweetness of the cinnamon sugar and prevents the snack from tasting one-dimensional. I use fine sea salt here.
For the Coating:
- 2 tablespoons unsalted butter, melted – Butter adds richness and helps the cinnamon sugar stick to the seeds. I prefer unsalted so I can control the salt level, but salted butter works in a pinch—just reduce the added salt slightly. For a dairy-free version, coconut oil or vegan butter works beautifully.
- 3 tablespoons granulated sugar – Regular white sugar gives the seeds that crackly, caramelized coating. You can use coconut sugar for a less refined option, but the texture will be slightly different and not as crunchy. I’ve tried both, and granulated sugar wins for that signature crispiness.
- 1 teaspoon ground cinnamon – The star of the show. Use a good-quality cinnamon for the best flavor. I prefer Ceylon cinnamon for its mild, sweet warmth, but Cassia cinnamon works too and has a stronger, more pungent flavor. Fresh cinnamon makes a noticeable difference here.
- Pinch of salt – Just a tiny pinch to enhance the sweetness and bring out the cinnamon’s warmth. Don’t skip it—it’s the difference between flat and flavorful.
Optional Add-Ins:
- 1/4 teaspoon vanilla extract – Add this to the melted butter for a subtle warmth that complements the cinnamon. It’s not necessary but adds a lovely depth.
- 1/8 teaspoon nutmeg – A tiny pinch of freshly grated nutmeg takes the flavor into full-on fall territory. Use it sparingly; it can overpower quickly.
When selecting pumpkin seeds, look for ones that are clean and free of dark spots. If you’re using seeds from a fresh pumpkin, rinse them thoroughly in a colander to remove any stringy pulp. Pat them dry with a clean kitchen towel—they don’t need to be bone dry since they’ll be boiled anyway, but getting rid of excess moisture helps them roast more evenly.
Equipment Needed
You don’t need a fancy kitchen to make these Light & Crispy Cinnamon Sugar Pumpkin Seeds. Most of this equipment you probably already have. Here’s what you’ll need:
- Medium saucepan – For boiling the seeds. Any standard 2-quart saucepan works fine. I use my old stainless steel one that’s seen better days, and it does the job perfectly.
- Colander – For rinsing the seeds after boiling. A fine-mesh strainer works even better to catch those smaller seeds.
- Mixing bowl – A medium bowl for tossing the seeds with the butter and cinnamon sugar. Glass or stainless steel is fine; avoid plastic if you can, as the butter residue can be tricky to clean.
- Baking sheet – A rimmed baking sheet is ideal to prevent seeds from rolling off. I use a standard half-sheet pan. Line it with parchment paper for easy cleanup—trust me on this one.
- Parchment paper – Not strictly necessary, but it makes cleanup a breeze and prevents the sugar from sticking to the pan. I’ve forgotten it before and spent 20 minutes scrubbing caramelized sugar off my baking sheet. Learn from my mistake.
- Paper towels or clean kitchen towel – For patting the seeds dry after boiling. You want them damp but not soaking wet.
- Spatula or wooden spoon – For stirring the seeds on the baking sheet halfway through roasting. A silicone spatula works well and won’t scratch your pan.
If you don’t have parchment paper, you can use a silicone baking mat instead. It’s reusable and works just as well. And if you’re really in a pinch, you can grease the baking sheet lightly with butter or cooking spray, but be warned—the sugar may still stick a little.
Preparation Method
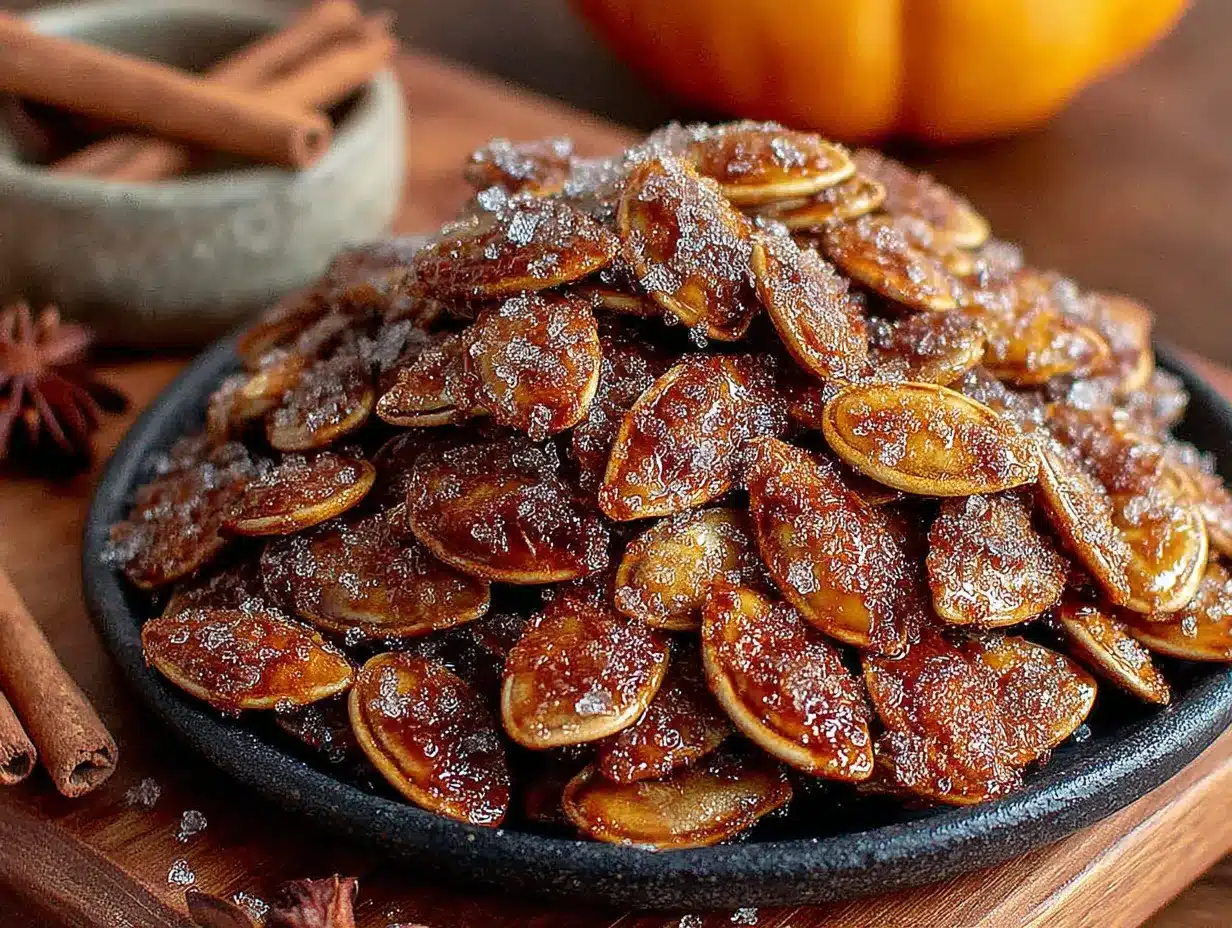
Making these Light & Crispy Cinnamon Sugar Pumpkin Seeds is straightforward, but there are a few key steps that make all the difference. Follow these closely, and you’ll get perfect results every time.
- Preheat your oven to 350°F (175°C). Getting the oven hot before you start ensures even roasting. Line a rimmed baking sheet with parchment paper and set it aside.
- Clean the pumpkin seeds. If you’re using seeds from a fresh pumpkin, separate them from the pulp and strings. Place them in a colander and rinse under cold running water, using your fingers to rub off any remaining pumpkin guts. It’s okay if a few small bits of pulp remain—they’ll come off during boiling. Pick out any broken or discolored seeds.
- Boil the seeds. In a medium saucepan, bring 2 cups of water and 1 teaspoon of salt to a rolling boil. Add the cleaned pumpkin seeds and let them boil for exactly 10 minutes. Don’t skip this step—it’s what gives the seeds that light, airy crunch. The boiling water softens the seed’s outer layer, allowing the coating to adhere better and the inside to cook through without burning the outside.
- Drain and dry the seeds. After 10 minutes, pour the seeds into a colander and drain well. Spread them out on a clean kitchen towel or paper towels and pat them gently to remove excess moisture. They should be damp but not dripping. Let them sit for about 5 minutes to air-dry slightly.
- Make the coating. In a medium mixing bowl, combine 3 tablespoons granulated sugar, 1 teaspoon ground cinnamon, and a pinch of salt. Stir with a fork to break up any clumps. In a separate small bowl, melt 2 tablespoons of unsalted butter. If you’re using vanilla extract, stir it into the melted butter now.
- Coat the seeds. Add the dried pumpkin seeds to the bowl with the melted butter. Toss well with a spatula until every seed is coated. Then sprinkle the cinnamon sugar mixture over the seeds and toss again until evenly distributed. Make sure there are no bare spots—every seed should have a little sparkle of sugar.
- Spread on baking sheet. Pour the coated seeds onto the prepared baking sheet. Spread them into a single, even layer. Try not to overlap them too much, or they’ll steam instead of roasting. If some are clustered together, that’s okay—they’ll separate as they cook.
- Roast for 12-15 minutes. Place the baking sheet in the preheated oven. Roast for 6 minutes, then remove the sheet and stir the seeds with a spatula. This ensures even browning. Return to the oven and roast for another 6-9 minutes, watching closely toward the end. The seeds are done when they’re golden brown and smell fragrant and toasty. The sugar will be bubbly and caramelized—that’s a good sign.
- Cool completely. Remove the baking sheet from the oven and let the seeds cool on the pan for at least 10 minutes. They’ll continue to crisp up as they cool. Don’t skip this step—eating them warm is tempting, but they won’t have their full crunch yet. Resist the urge.
- Break apart and enjoy. Once cooled, break apart any clusters that formed during roasting. The seeds should separate easily. Transfer to a bowl and serve, or store in an airtight container.
A few things to watch for: If your seeds smell burnt before the time is up, pull them out immediately. Every oven runs differently, and smaller seeds may cook faster. Also, don’t overcrowd the baking sheet. If you’re doubling the recipe, use two sheets and rotate them halfway through.
Cooking Tips & Techniques
After making these Light & Crispy Cinnamon Sugar Pumpkin Seeds more times than I can count, I’ve picked up a few tricks that make the process smoother and the results more consistent. Here are the things I wish someone had told me when I started.
Don’t skip the boil. I know it adds an extra step, but it’s non-negotiable. The first time I made these, I was impatient and skipped the boiling step. The seeds came out chewy and the coating slid right off. Boiling softens the seed’s outer membrane just enough so the butter and sugar can really grab hold. It also helps the seeds roast evenly instead of burning on the outside while staying raw inside.
Dry the seeds thoroughly after boiling. This was a lesson I learned the hard way. The first few batches I made were soggy because I didn’t pat the seeds dry enough. Wet seeds create steam in the oven, which prevents that crispy texture you’re after. Give them a good pat-down with paper towels and let them sit for a few minutes before adding the butter. Damp is fine; dripping is not.
Watch the oven like a hawk. The line between perfectly toasted and burnt is thin, especially with sugar involved. Sugar caramelizes quickly and can go from golden to black in under a minute. I usually start checking at the 10-minute mark and keep a close eye on them after that. If your oven runs hot, reduce the temperature to 325°F (160°C) and extend the cooking time slightly.
Stir halfway through. This ensures even browning and prevents the seeds on the edges from burning while the ones in the middle stay pale. I use a thin spatula to flip and redistribute them. Don’t skip this step—it makes a noticeable difference.
Let them cool completely. I know it’s hard to wait, but eating them warm is a mistake. They’ll be soft and the sugar will be sticky. As they cool, the sugar hardens into that crackly shell and the seeds become light and crunchy. Give them at least 10-15 minutes. Trust the process.
One more thing: If you’re making a big batch for a party, double the recipe but don’t overcrowd the pan. Use two baking sheets instead of one. Crowding traps steam and leads to soggy seeds. Your patience will be rewarded.
Variations & Adaptations
One of the best things about this recipe is how easy it is to tweak. Once you have the basic method down, you can play with flavors and make it your own. Here are some variations I’ve tried and loved.
Spiced Chai Variation: Add 1/4 teaspoon ground cardamom, 1/4 teaspoon ground ginger, and a pinch of cloves to the cinnamon sugar mixture. This gives the seeds a warm, chai-inspired flavor that’s perfect for holiday gatherings. I made this version for a Christmas party last year, and it was gone within the first hour.
Maple Brown Sugar: Swap the granulated sugar for 3 tablespoons of packed brown sugar and add 1 tablespoon of maple syrup to the melted butter. The brown sugar adds a deeper, molasses-like sweetness, and the maple syrup gives it a subtle woodsy note. This version is a little stickier, so be extra careful not to let it burn.
Savory-Sweet Combo: Reduce the sugar to 1 tablespoon and add 1/2 teaspoon of smoked paprika and 1/4 teaspoon of cayenne pepper to the cinnamon. The result is a sweet-heat combination that’s surprisingly addictive. I like to serve these with a cold beer or alongside a cheese board.
Dairy-Free Option: Substitute the butter with coconut oil or a high-quality vegan butter. Coconut oil gives the seeds a subtle tropical flavor that pairs nicely with the cinnamon. Just make sure to use refined coconut oil if you don’t want a coconut taste.
Air Fryer Method: If you’re short on time, you can make these in an air fryer. Follow the recipe through step 6, then cook the seeds in the air fryer at 300°F (150°C) for 8-10 minutes, shaking the basket halfway through. Keep a close eye on them—air fryers cook faster than ovens, and sugar burns quickly. The texture is just as crispy, if not more so.
Feel free to experiment with different spice combinations. Pumpkin seeds are a blank canvas, and the boiling method works with just about any coating. I’ve even tried a cocoa-cinnamon version that tasted like a healthier chocolate treat. Don’t be afraid to get creative.
Serving & Storage Suggestions
These Light & Crispy Cinnamon Sugar Pumpkin Seeds are incredibly versatile. Here’s how to serve them and keep them fresh.
Serving Temperature: These are best served at room temperature after they’ve cooled completely. The sugar coating is at its crispiest when fully cooled. If you’re serving them at a party, I recommend making them a few hours ahead so they have time to set.
Presentation Ideas: I like to serve them in a simple wooden bowl or a clear glass jar so the golden color shows through. For a Halloween party, I’ve arranged them in small paper cones tied with twine—it looks festive and makes for easy grab-and-go snacking. You can also sprinkle them over a bowl of vanilla ice cream for a crunchy, sweet topping that’s absolutely divine.
Complementary Dishes: These seeds pair beautifully with a warm apple cider or a spiced chai latte. They also work well alongside a cheese board—the sweetness balances sharp cheddar or creamy brie. For a fun fall snack board, arrange them with dried apple chips, dark chocolate chunks, and roasted almonds.
Storage Instructions: Store the seeds in an airtight container at room temperature. They’ll stay fresh and crispy for up to 2 weeks. I use a mason jar with a tight-fitting lid, and they’ve never gone stale on me before I finish them. If you live in a humid climate, you can add a silica gel packet (the kind you find in beef jerky bags) to the container to absorb excess moisture.
Reheating Tips: If the seeds lose their crunch after a few days, spread them on a baking sheet and reheat them in a 300°F (150°C) oven for 3-5 minutes. Let them cool completely before eating. This restores the crispiness without burning the sugar.
Flavor Development: Interestingly, these seeds actually taste better the next day. The cinnamon flavor mellows and melds with the sugar, creating a more rounded sweetness. I’ve found that the texture is also at its peak 12-24 hours after roasting. So don’t worry if you make them a day ahead—they’ll be even better.
Nutritional Information & Benefits
While these Light & Crispy Cinnamon Sugar Pumpkin Seeds are definitely a treat, they also offer some surprising nutritional benefits. Here’s the breakdown per 1/4 cup serving (approximately 30 grams).
| Nutrient | Amount per Serving |
|---|---|
| Calories | 180 |
| Total Fat | 12g |
| Saturated Fat | 4g |
| Carbohydrates | 14g |
| Sugar | 9g |
| Fiber | 2g |
| Protein | 7g |
| Iron | 10% DV |
| Magnesium | 20% DV |
| Zinc | 15% DV |
Pumpkin seeds are a fantastic source of magnesium, which supports muscle function and sleep quality. They’re also rich in zinc, an important mineral for immune health and skin repair. The fiber content helps keep you full and supports digestion, while the protein makes this snack more satisfying than your average sugary treat.
From a dietary perspective, these seeds are naturally gluten-free and can be made dairy-free with a simple butter swap. They’re also suitable for vegetarian and vegan diets (using coconut oil). The sugar content is moderate, and you can reduce it slightly if you prefer a less sweet version—just don’t go below 2 tablespoons, or the coating won’t caramelize properly.
I love that this snack feels indulgent but has a nutritional backbone. It’s the kind of treat I feel good about serving to my family and eating myself. After all, life is about balance, and sometimes balance looks like a handful of cinnamon-sugar seeds.
Conclusion
These Light & Crispy Cinnamon Sugar Pumpkin Seeds started as a mistake, but they’ve become one of my most treasured recipes. There’s something special about a dish that was born from a moment of distraction—it reminds me that perfection isn’t always the goal. Sometimes the best things come from letting go and seeing what happens.
I hope you give this recipe a try, whether you’re carving pumpkins with your kids, looking for a healthier snack option, or just wanting to impress your friends at a fall gathering. Feel free to play with the spices and make it your own. That’s the beauty of cooking—there’s always room for your personal touch.
If you make these, I’d love to hear how they turned out. Drop a comment below and let me know if you tried any variations or if they became a hit at your house. And if you’re looking for more easy snack ideas, check out my cinnamon roasted almonds or maple candied pecans—they use a similar method and are just as addictive. Happy snacking!
Frequently Asked Questions
Can I use store-bought raw pumpkin seeds instead of fresh ones?
Absolutely. Store-bought raw pepitas work perfectly in this recipe. Just skip the step where you clean the seeds and start with the boiling process. Make sure they’re raw and unsalted for the best results.
Why did my pumpkin seeds turn out chewy instead of crispy?
Chewy seeds usually mean they weren’t dried well enough after boiling, or they were overcrowded on the baking sheet. Make sure to pat them dry thoroughly and spread them in a single layer. If they’re still chewy, try roasting them for an additional 2-3 minutes next time.
Can I make these without boiling the seeds first?
You can, but I don’t recommend it. The boiling step is what gives the seeds their light, crispy texture. Without it, the seeds tend to be denser and the coating doesn’t stick as well. It’s an extra 10 minutes that makes a huge difference.
How do I prevent the sugar from burning?
Watch the seeds closely during the last few minutes of roasting. Sugar can go from golden to burnt very quickly. If your oven runs hot, reduce the temperature to 325°F (160°C) and extend the cooking time slightly. Stirring halfway through also helps prevent burning.
Can I double this recipe?
Yes, but don’t overcrowd the baking sheet. Use two separate sheets and rotate them halfway through roasting. If you try to fit everything on one pan, the seeds will steam instead of roast, and you’ll lose that crispy texture.
Pin This Recipe!
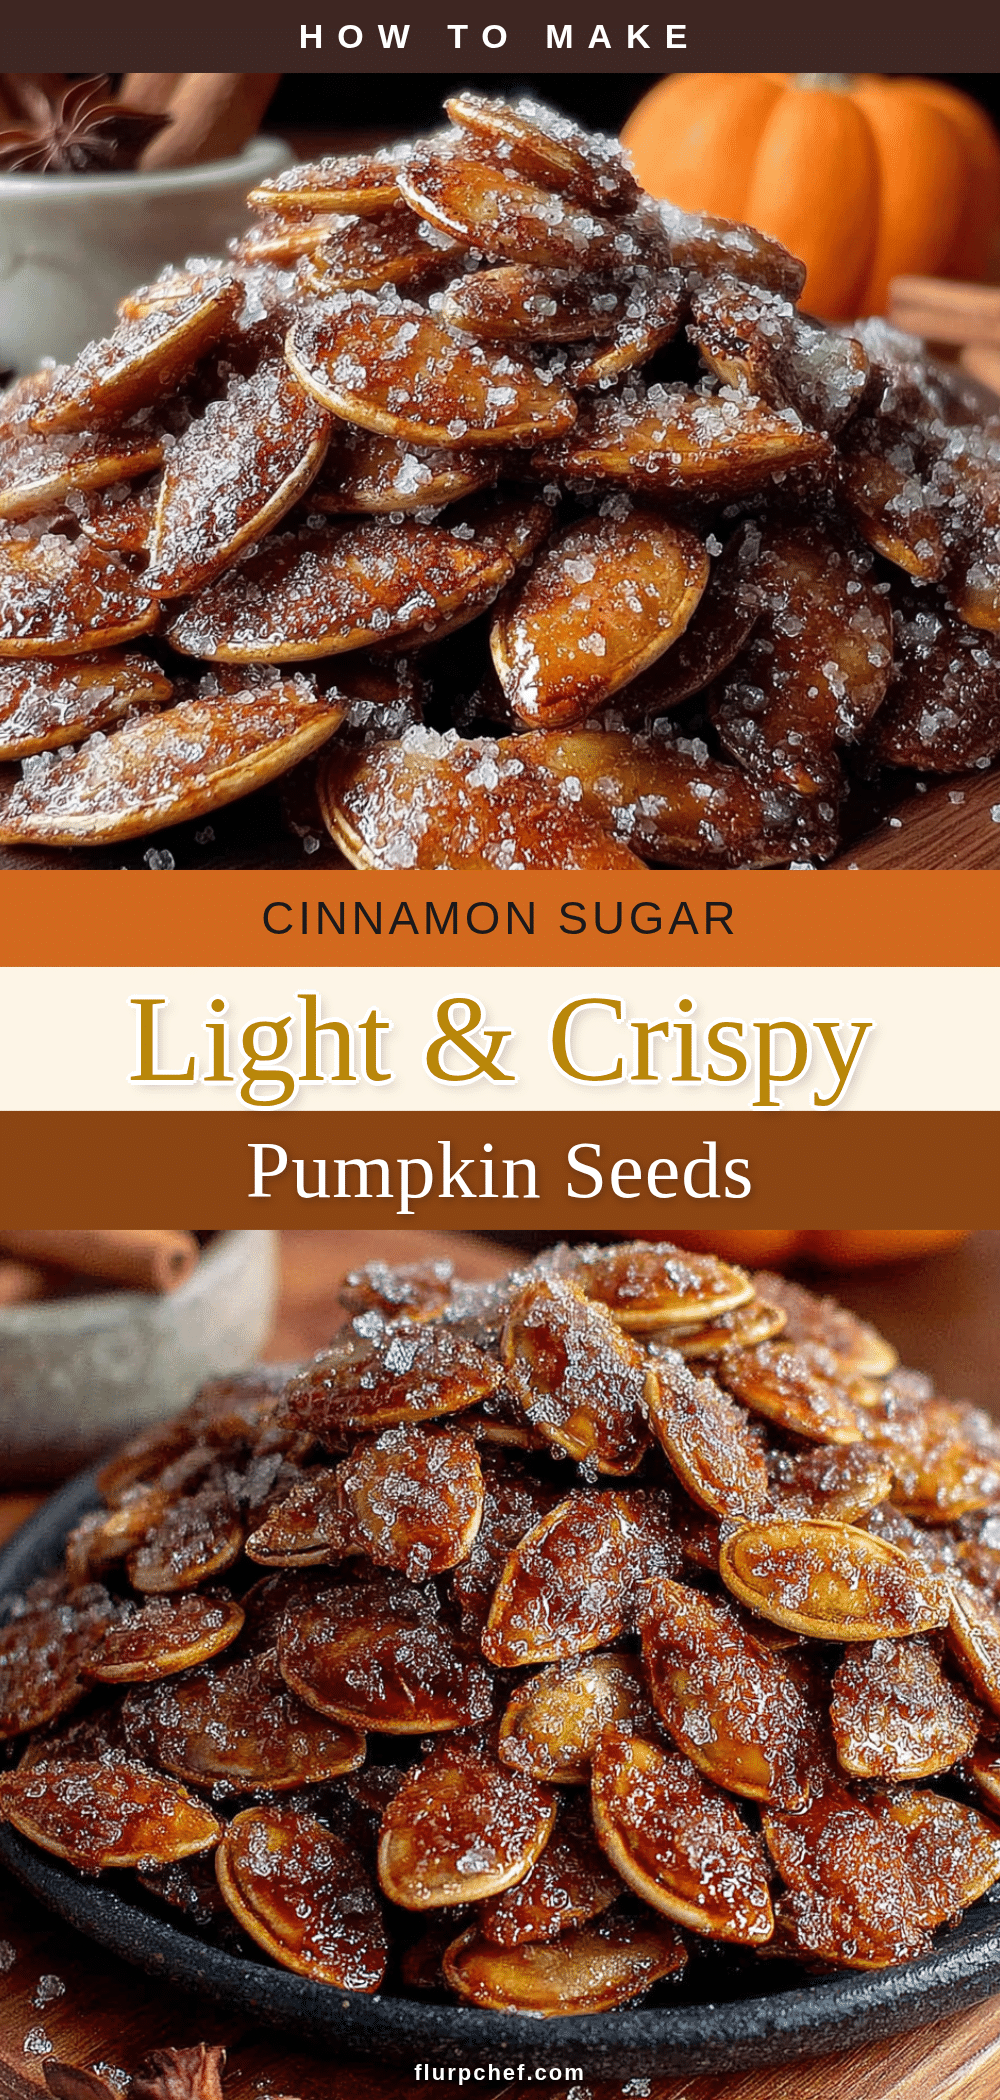
Light & Crispy Cinnamon Sugar Pumpkin Seeds – Easy Homemade Snack
These Light & Crispy Cinnamon Sugar Pumpkin Seeds are a sweet, crunchy snack that started as a happy accident. Boiled before roasting for the perfect texture, they’re coated in butter, cinnamon, and sugar for an addictive treat that’s perfect for fall gatherings.
- Prep Time: 15 minutes
- Cook Time: 12-15 minutes
- Total Time: 25-30 minutes
- Yield: 4 servings 1x
- Category: Snack
- Cuisine: American
Ingredients
- 1 cup fresh pumpkin seeds (pepitas), cleaned and rinsed
- 2 cups water
- 1 teaspoon salt
- 2 tablespoons unsalted butter, melted
- 3 tablespoons granulated sugar
- 1 teaspoon ground cinnamon
- Pinch of salt
- 1/4 teaspoon vanilla extract (optional)
- 1/8 teaspoon nutmeg (optional)
Instructions
- Preheat your oven to 350°F (175°C). Line a rimmed baking sheet with parchment paper and set aside.
- Clean the pumpkin seeds: separate from pulp and strings, rinse under cold water, and pick out any broken or discolored seeds.
- In a medium saucepan, bring 2 cups of water and 1 teaspoon of salt to a rolling boil. Add the cleaned pumpkin seeds and boil for exactly 10 minutes.
- Drain the seeds in a colander. Spread them on a clean kitchen towel or paper towels and pat gently to remove excess moisture. Let them sit for about 5 minutes to air-dry slightly.
- In a medium mixing bowl, combine 3 tablespoons granulated sugar, 1 teaspoon ground cinnamon, and a pinch of salt. Stir with a fork to break up clumps. In a separate small bowl, melt 2 tablespoons unsalted butter. If using vanilla extract, stir it into the melted butter now.
- Add the dried pumpkin seeds to the bowl with the melted butter. Toss well with a spatula until every seed is coated. Sprinkle the cinnamon sugar mixture over the seeds and toss again until evenly distributed.
- Pour the coated seeds onto the prepared baking sheet and spread into a single, even layer.
- Roast for 12-15 minutes: roast for 6 minutes, then stir the seeds with a spatula. Return to the oven and roast for another 6-9 minutes, watching closely toward the end. The seeds are done when golden brown and fragrant.
- Remove the baking sheet from the oven and let the seeds cool on the pan for at least 10 minutes. They will continue to crisp up as they cool.
- Once cooled, break apart any clusters. Transfer to a bowl and serve, or store in an airtight container.
Notes
Don’t skip the boiling step—it ensures a light, crispy texture. Dry seeds thoroughly after boiling to avoid sogginess. Watch the oven closely as sugar can burn quickly. Let seeds cool completely before eating for maximum crunch. Store in an airtight container at room temperature for up to 2 weeks. For dairy-free, substitute butter with coconut oil or vegan butter.
Nutrition
- Serving Size: 1/4 cup (approximate
- Calories: 180
- Sugar: 9
- Sodium: 150
- Fat: 12
- Saturated Fat: 4
- Carbohydrates: 14
- Fiber: 2
- Protein: 7
Keywords: cinnamon sugar pumpkin seeds, roasted pumpkin seeds, pumpkin seed recipe, fall snack, Halloween snack, easy snack, crispy pumpkin seeds


