The turkey came out of the oven and my brother-in-law, who has never complimented a single thing I’ve cooked in ten years, just stopped talking mid-sentence. He stared at it, then looked at me, and said, “Did you actually make that?” I wasn’t even offended. That bird was a thing of beauty — golden brown, crispy skin, steam rising like a scene from a holiday movie. I had spent years being intimidated by the idea of roasting a whole turkey. I figured it was something you needed to be taught by a grandmother or a professional chef. Turns out, all I really needed was a good butter, some garlic, and the patience to let the oven do its thing.
This Perfect Garlic Herb Butter Roasted Turkey for Beginners is the recipe I wish I had five years ago. It’s forgiving, it’s flavorful, and honestly? It looks way more impressive than it actually is to make. The garlic herb butter does all the heavy lifting — keeping the meat moist, the skin crackling, and the whole kitchen smelling like a dream. I didn’t grow up hosting Thanksgiving. My family was more of a “let’s order Chinese food and watch movies” kind of crew. So when I finally decided to host my first holiday dinner, I was terrified. I read every article, watched every video, and tested this method three times before I felt confident enough to serve it to anyone. And now? It’s the only turkey recipe I trust.
There’s something about pulling a perfectly roasted turkey out of the oven that makes you feel like you’ve got this whole adulting thing figured out. And I promise you, with this recipe, you’ll feel the exact same way.
Why You’ll Love This Recipe
This isn’t just another turkey recipe. It’s the one that takes the stress out of the holidays and puts the flavor front and center. Here’s why it works so well:
- Beginner-Friendly: No brining, no basting every 20 minutes, no complicated techniques. If you can spread butter, you can make this turkey.
- Incredibly Moist: The garlic herb butter gets rubbed under the skin, which keeps the breast meat from drying out. It’s basically insurance against a dry turkey.
- Crispy, Golden Skin: A high-heat start and a butter bath give you that crackling, beautiful skin everyone fights over.
- Simple Ingredients: You don’t need a specialty store. Butter, garlic, fresh herbs, salt, and pepper — that’s it.
- Perfect for Any Occasion: Thanksgiving, Christmas, Easter, or a Sunday dinner that feels fancy without the fuss.
- Crowd-Pleaser: I’ve served this to picky eaters, health-conscious friends, and people who “don’t like turkey.” Every single one of them asked for seconds.
What makes this recipe different is the technique. Most recipes tell you to just rub butter on the outside. But sliding that herb butter under the skin? That’s the game-changer. It seasons the meat from the inside out and keeps everything juicy. Plus, the garlic roasts into something sweet and mellow — no harsh raw garlic taste here.
This is the kind of turkey that makes you close your eyes after the first bite. It’s comfort food at its finest, and it’s a whole lot easier than you think.
What Ingredients You Will Need
This recipe uses simple, everyday ingredients to create something truly special. Most of these are probably already in your kitchen, which is exactly how I like to cook.
For the Garlic Herb Butter
- 1 cup (2 sticks) unsalted butter, softened — Make sure it’s at room temperature so it spreads easily. I prefer unsalted so I can control the salt level.
- 6-8 cloves garlic, minced — Fresh garlic is non-negotiable here. The pre-minced stuff in a jar just doesn’t have the same punch.
- 2 tablespoons fresh rosemary, finely chopped — Rosemary and turkey are a classic pair. Dried works in a pinch, but fresh is noticeably better.
- 2 tablespoons fresh thyme leaves — Thyme adds an earthy, slightly floral note that balances the richness of the butter.
- 1 tablespoon fresh sage, chopped — Sage gives that warm, savory flavor we all associate with holiday cooking.
- 1 teaspoon salt — I use kosher salt for its clean taste and easy pinchability.
- 1/2 teaspoon black pepper, freshly ground — Freshly ground pepper makes a difference. It’s more aromatic and less dusty-tasting.
- 1 teaspoon lemon zest (optional) — This brightens everything up. I add it when I want a little freshness cutting through the richness.
For the Turkey
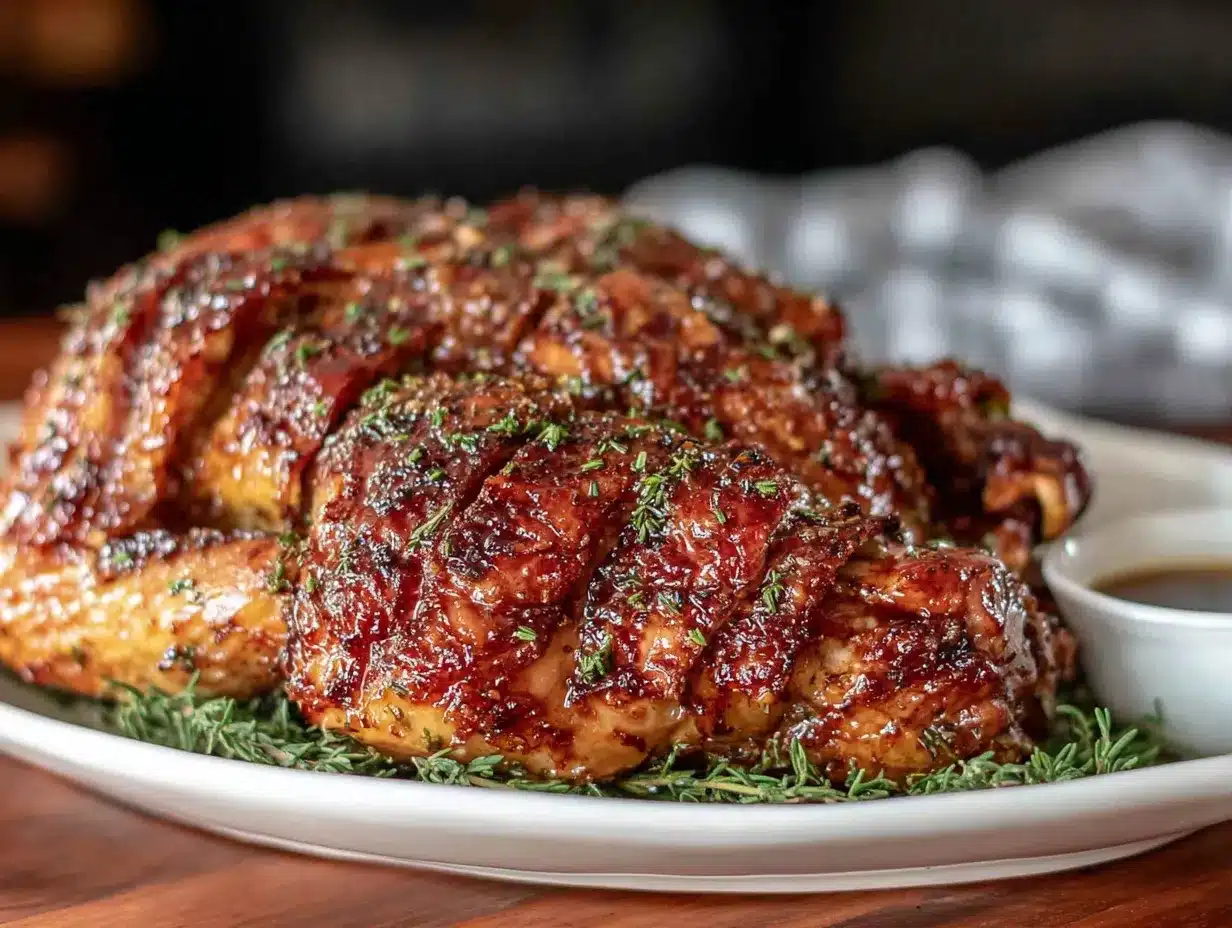
- 1 whole turkey (12-14 pounds), thawed — If your turkey is frozen, give it 3-4 days in the fridge to thaw. Don’t rush this step.
- 1 onion, quartered — For stuffing the cavity. It adds moisture and a subtle sweetness from the inside.
- 1 lemon, halved — Another cavity stuffer. The steam from the lemon keeps things moist and adds a hint of brightness.
- 4-5 sprigs fresh rosemary, thyme, and sage — These go inside the cavity too. Think of it as aromatherapy for your turkey.
- 2 cups low-sodium chicken or turkey broth — Poured into the roasting pan. This keeps the drippings from burning and makes the best gravy.
- Additional salt and pepper for seasoning the outside — Don’t skip this. The skin needs direct seasoning to get that golden, crispy finish.
Equipment Needed
You don’t need a professional kitchen to pull this off. Here’s what you’ll want to have on hand:
- Roasting Pan with a Rack — The rack lifts the turkey so heat circulates evenly. No rack? No problem. You can use crumpled aluminum foil balls to elevate the bird. I’ve done it, and it works.
- Meat Thermometer — This is your best friend. Don’t guess the temperature. A digital instant-read thermometer takes the guesswork out and guarantees a perfectly cooked turkey. I use a ThermoPro, and it’s never let me down.
- Kitchen Twine — For tying the legs together. It helps the turkey cook evenly and look nice. If you don’t have twine, tucking the legs under the skin flap works in a pinch.
- Mixing Bowl — For making the herb butter. Nothing fancy needed.
- Basting Brush (optional) — You can use a spoon if you don’t have one. I usually just spoon the pan juices over the turkey.
- Aluminum Foil — For tenting the turkey if the skin browns too quickly. It happens sometimes, and foil is your emergency brake.
- Carving Knife and Cutting Board — A sharp knife makes all the difference when it’s time to serve. Dull knives tear the meat and make you work harder than you need to.
Preparation Method
Let’s get to the good part. Follow these steps, and you’ll have a turkey that looks like it belongs on a magazine cover.
- Prep the Turkey (Day Before or Morning Of): Remove the turkey from its packaging. Take out the giblets and neck from the cavities — they’re usually in a little bag inside. Pat the turkey completely dry with paper towels. This is crucial. Wet skin won’t get crispy. Let it sit uncovered in the fridge for a few hours or overnight if you can. This dries out the skin even more, which is the secret to that crackling finish.
- Make the Garlic Herb Butter: In a mixing bowl, combine the softened butter, minced garlic, chopped rosemary, thyme, sage, salt, pepper, and lemon zest if using. Mix until everything is evenly distributed. Taste a tiny bit (yes, raw butter — live a little) and adjust the salt if needed. Set it aside at room temperature so it stays spreadable.
- Loosen the Skin: Using your fingers, gently work your way under the skin of the turkey breast. Start at the neck end and slide your hand between the skin and the meat. Be careful not to tear the skin. You want to create a pocket for the butter. This step feels weird the first time, but it’s not as gross as you think. Just go slow.
- Apply the Butter: Take about two-thirds of the herb butter and spread it evenly under the skin, directly onto the breast meat. Use your hands to massage it around so it covers as much surface area as possible. Then, rub the remaining butter all over the outside of the turkey — the legs, the thighs, the wings, everywhere. Don’t forget the backside. Season the outside with a little extra salt and pepper.
- Stuff the Cavity: Stuff the cavity with the quartered onion, halved lemon, and the fresh herb sprigs. Don’t pack it too tight. You just want those aromatics hanging out inside, adding flavor and moisture as the turkey roasts.
- Truss the Turkey: Tie the legs together with kitchen twine. Tuck the wing tips under the body. This isn’t just for looks — it helps the turkey cook evenly and prevents the wing tips from burning. If you’ve never trussed before, there are a million quick videos online. It’s easier than it sounds.
- Preheat the Oven: Set your oven to 425°F (220°C). A hot oven at the start gives you that beautiful golden-brown skin.
- Prepare the Roasting Pan: Place the turkey on the rack in your roasting pan. Pour the 2 cups of broth into the bottom of the pan. This keeps the drippings from scorching and makes the best gravy later.
- Roast at High Heat: Put the turkey in the oven and roast at 425°F for 30 minutes. This initial blast of heat seals the skin and starts the browning process. Don’t open the oven door during this time — let the heat do its thing.
- Reduce the Heat: After 30 minutes, reduce the oven temperature to 350°F (175°C). Continue roasting, uncovered, for about 2 to 2.5 hours for a 12-14 pound turkey. The total cook time is roughly 13-15 minutes per pound. Start checking the temperature about 30 minutes before you think it’ll be done.
- Check the Temperature: Insert your meat thermometer into the thickest part of the thigh, avoiding the bone. You’re looking for 165°F (74°C). Also check the breast — it should be around 160°F (71°C), but it’ll rise a bit while resting. If the skin is getting too dark before the turkey is fully cooked, loosely tent it with aluminum foil.
- Rest the Turkey: This is the hardest part, I know. Once the turkey hits 165°F, remove it from the oven and transfer it to a cutting board. Let it rest, uncovered, for at least 30-40 minutes. Resting allows the juices to redistribute throughout the meat. If you cut into it too soon, all those beautiful juices will run out onto the board, and you’ll end up with dry meat. Trust me, I learned this the hard way my first time.
- Carve and Serve: After resting, carve the turkey and serve it with the pan drippings turned into gravy. You’ve earned this moment.
Cooking Tips & Techniques
I’ve made every mistake in the book so you don’t have to. Here are the things I wish someone had told me:
- Dry the Skin Really Well: I cannot stress this enough. Moisture is the enemy of crispy skin. Pat the turkey dry with paper towels, then let it sit uncovered in the fridge. Even a few hours makes a huge difference.
- Don’t Skip the Rest: I know the house smells amazing and everyone is hungry, but that resting time is non-negotiable. I once carved a turkey 10 minutes after it came out of the oven, and it was a sad, dry mess. Give it at least 30 minutes.
- Use a Thermometer, Not a Timer: Ovens run differently. A timer is a suggestion; a thermometer is the truth. Don’t rely on those pop-up plastic things that come with some turkeys — they’re notoriously inaccurate.
- Baste Sparingly: Every time you open the oven door, heat escapes and your cooking time gets thrown off. If you want to baste, do it once or twice max. Honestly, with all that butter under the skin, you don’t even need to baste at all.
- Watch the Wings and Drumsticks: These thin parts can overcook and dry out before the rest of the bird is done. If they start looking too dark, cover them with small pieces of foil.
- Make Gravy from the Drippings: After the turkey is out of the pan, pour the drippings through a strainer into a saucepan. Skim off the fat, then whisk in a couple tablespoons of flour. Cook for a minute, then slowly add broth until it’s as thick as you like. That’s the best gravy you’ll ever have.
Variations & Adaptations
This recipe is flexible, and I love that about it. Here are some ways to make it your own:
- Citrus Herb Butter: Add the zest of one orange and one lemon to the herb butter. It gives the turkey a bright, almost sweet flavor that pairs beautifully with the herbs.
- Spicy Kick: Mix in 1 teaspoon of smoked paprika and 1/2 teaspoon of cayenne pepper to the butter. It adds a warm, smoky heat without overpowering the turkey.
- Dairy-Free Version: Use a high-quality vegan butter or olive oil instead of regular butter. The technique is the same, and it still comes out moist and flavorful. I’ve made this for dairy-free guests, and they loved it.
- Herb Swap: Don’t have fresh rosemary? Use dried (about 1 teaspoon per tablespoon of fresh). Or try tarragon or marjoram for a different flavor profile. I’ve used a mix of parsley and dill before, and it was surprisingly good.
- Air Fryer Turkey Breast: If you’re cooking for a smaller crowd, you can adapt this recipe for a bone-in turkey breast in an air fryer. Rub the butter under and over the skin, then cook at 350°F for about 50-60 minutes, or until the internal temp hits 165°F. It’s faster and still incredibly juicy.
Serving & Storage Suggestions
This turkey is the star of the show, but it plays well with others. Here’s how to serve and store it:
- Serving Temperature: Serve the turkey warm, right after it’s rested. If you’re not eating immediately, you can keep it warm by tenting it loosely with foil and placing it in a 200°F oven. Just don’t leave it in there too long or it’ll start to dry out.
- What to Serve With It: This turkey pairs beautifully with classic sides like mashed potatoes, roasted vegetables, and a simple green salad. For a cozy fall meal, try it alongside my cozy pumpkin cream cheese swirl muffins or a batch of savory hatch green chile cornbread muffins for a complete feast. And don’t forget the gravy — it’s the glue that holds everything together.
- Storage: Store leftover turkey in an airtight container in the refrigerator for up to 4 days. The meat stays moist, but the skin will lose its crispiness. That’s normal.
- Freezing: Shred or slice the leftover turkey and freeze it in a freezer-safe bag for up to 3 months. It’s perfect for quick soups, casseroles, or sandwiches later. I always freeze a bag for emergency turkey sandwiches.
- Reheating: To reheat without drying it out, place the turkey in a baking dish with a splash of broth, cover with foil, and warm in a 300°F oven for about 15-20 minutes. You can also reheat it in a skillet with a little butter over medium heat. Avoid the microwave if you can — it tends to make the meat tough.
Nutritional Information & Benefits
Turkey isn’t just delicious — it’s also a lean, healthy protein source. Here’s a rough estimate for a 4-ounce serving of roasted turkey breast (without skin):
- Calories: ~180
- Protein: 34g
- Fat: 4g
- Carbohydrates: 0g
- Sodium: ~70mg (varies with seasoning)
Turkey is packed with B vitamins, selenium, and phosphorus, which support energy metabolism, immune function, and bone health. It’s also a great source of tryptophan — the amino acid that’s often blamed for post-Thanksgiving sleepiness. (Spoiler: it’s actually the carbs and the wine.)
If you’re watching your sodium, you can reduce the salt in the herb butter and use a low-sodium broth. This recipe is naturally gluten-free, low-carb, and keto-friendly if you skip any flour-based gravy. It’s a wholesome, satisfying centerpiece that fits into most dietary patterns without sacrificing flavor.
Conclusion
This Perfect Garlic Herb Butter Roasted Turkey for Beginners is proof that you don’t need to be a professional chef to pull off an impressive holiday meal. It’s forgiving, it’s flavorful, and it’s designed to make you look good in the kitchen. Whether you’re hosting your first Thanksgiving or just want a Sunday dinner that feels special, this recipe delivers every single time.
I love this recipe because it gave me confidence. I used to be terrified of roasting a whole turkey, and now I look forward to it. It’s become my signature dish, and it always gets the same reaction: silence, followed by “Did you actually make that?”
I’d love to hear how yours turns out! Leave a comment below and let me know if you tried any fun variations or if this was your first time roasting a turkey. Share a photo on social media and tag me — I love seeing your creations. Happy roasting, friend. You’ve got this.
Frequently Asked Questions
Do I really need to brine the turkey?
Nope! The garlic herb butter does all the work of keeping the meat moist and flavorful. No brining required. If you want to brine, go for it, but this recipe is designed to be simple and skip that step.
Can I use dried herbs instead of fresh?
Yes, but use about one-third of the amount. Dried herbs are more concentrated. So if the recipe calls for 2 tablespoons of fresh rosemary, use about 2 teaspoons of dried. The flavor won’t be quite as bright, but it’ll still be delicious.
How do I know when the turkey is done without a thermometer?
Honestly, I really recommend using a thermometer. It’s the only reliable way. But if you don’t have one, you can check by piercing the thigh with a knife — the juices should run clear, not pink. The legs should also move easily in their sockets. But seriously, get a thermometer. They’re cheap and save you from a dry turkey.
Can I make the herb butter ahead of time?
Absolutely. You can make it up to 3 days in advance and keep it in the fridge. Just let it come to room temperature before spreading so it’s soft and easy to work with. You can also freeze it for up to 3 months.
What if my turkey is larger or smaller than 12-14 pounds?
Adjust the cooking time accordingly. A good rule of thumb is 13-15 minutes per pound at 350°F after the initial 30-minute high-heat blast. So a 10-pound turkey will take about 2 hours, while a 16-pound turkey might take closer to 3 hours. Always use a thermometer to be sure.
Pin This Recipe!
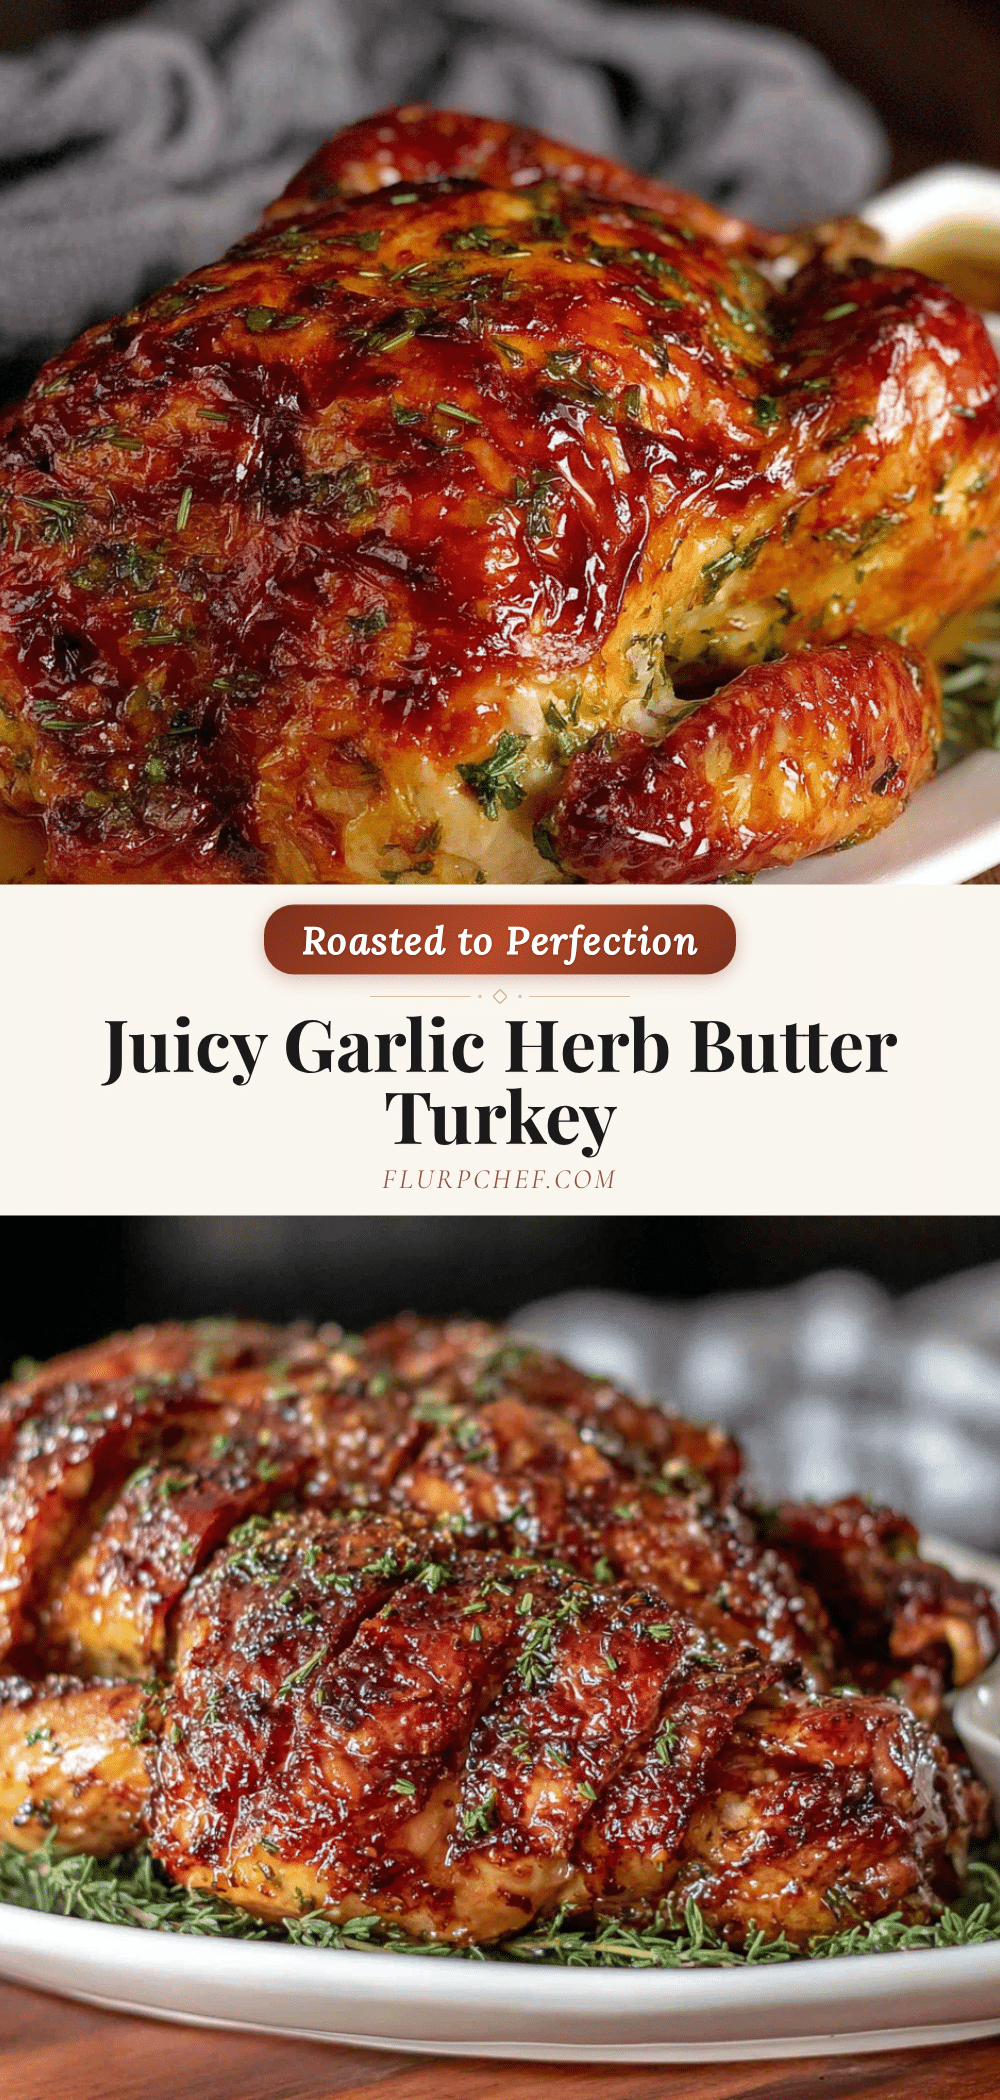
Perfect Garlic Herb Butter Roasted Turkey for Beginners
This beginner-friendly roasted turkey recipe uses a garlic herb butter under the skin for incredibly moist meat and crispy, golden skin. No brining or complicated techniques required—just simple ingredients and a foolproof method for a show-stopping holiday centerpiece.
- Prep Time: 30 minutes
- Cook Time: 2 hours 30 minutes
- Total Time: 3 hours
- Yield: 12 servings 1x
- Category: Main Course
- Cuisine: American
Ingredients
- 1 cup (2 sticks) unsalted butter, softened
- 6–8 cloves garlic, minced
- 2 tablespoons fresh rosemary, finely chopped
- 2 tablespoons fresh thyme leaves
- 1 tablespoon fresh sage, chopped
- 1 teaspoon salt
- 1/2 teaspoon black pepper, freshly ground
- 1 teaspoon lemon zest (optional)
- 1 whole turkey (12–14 pounds), thawed
- 1 onion, quartered
- 1 lemon, halved
- 4–5 sprigs fresh rosemary, thyme, and sage
- 2 cups low-sodium chicken or turkey broth
- Additional salt and pepper for seasoning the outside
Instructions
- Prep the Turkey (Day Before or Morning Of): Remove the turkey from its packaging. Take out the giblets and neck from the cavities. Pat the turkey completely dry with paper towels. Let it sit uncovered in the fridge for a few hours or overnight to dry out the skin.
- Make the Garlic Herb Butter: In a mixing bowl, combine the softened butter, minced garlic, chopped rosemary, thyme, sage, salt, pepper, and lemon zest if using. Mix until evenly distributed. Taste and adjust salt if needed. Set aside at room temperature.
- Loosen the Skin: Using your fingers, gently work your way under the skin of the turkey breast, starting at the neck end. Create a pocket for the butter without tearing the skin.
- Apply the Butter: Take about two-thirds of the herb butter and spread it evenly under the skin, directly onto the breast meat. Rub the remaining butter all over the outside of the turkey. Season the outside with extra salt and pepper.
- Stuff the Cavity: Stuff the cavity with the quartered onion, halved lemon, and fresh herb sprigs. Do not pack too tight.
- Truss the Turkey: Tie the legs together with kitchen twine. Tuck the wing tips under the body.
- Preheat the Oven: Set your oven to 425°F (220°C).
- Prepare the Roasting Pan: Place the turkey on the rack in your roasting pan. Pour the 2 cups of broth into the bottom of the pan.
- Roast at High Heat: Put the turkey in the oven and roast at 425°F for 30 minutes. Do not open the oven door during this time.
- Reduce the Heat: After 30 minutes, reduce the oven temperature to 350°F (175°C). Continue roasting, uncovered, for about 2 to 2.5 hours for a 12-14 pound turkey. Start checking the temperature about 30 minutes before you think it’ll be done.
- Check the Temperature: Insert your meat thermometer into the thickest part of the thigh, avoiding the bone. You’re looking for 165°F (74°C). Also check the breast—it should be around 160°F (71°C). If the skin is getting too dark, loosely tent it with aluminum foil.
- Rest the Turkey: Once the turkey hits 165°F, remove it from the oven and transfer it to a cutting board. Let it rest, uncovered, for at least 30-40 minutes.
- Carve and Serve: After resting, carve the turkey and serve it with the pan drippings turned into gravy.
Notes
Dry the skin really well for crispy skin. Don’t skip the resting time—it allows juices to redistribute. Use a thermometer, not a timer. Baste sparingly to avoid heat loss. Watch the wings and drumsticks—cover with foil if they brown too quickly. Make gravy from the drippings.
Nutrition
- Serving Size: 4 ounces
- Calories: 180
- Sodium: 70
- Fat: 4
- Saturated Fat: 2
- Protein: 34
Keywords: roasted turkey, garlic herb butter turkey, beginner turkey recipe, holiday turkey, Thanksgiving turkey, crispy skin turkey, moist turkey


