The last twist disappeared from the plate while I was pouring myself another cup of coffee. My husband, who had been hovering near the kitchen island for the better part of ten minutes, just shrugged and said, “You might need to make another batch.” That was the moment I knew these cinnamon sugar pumpkin bread twists were something special. Not because they were fancy or complicated, but because they had that rare quality of making everyone in the house stop what they were doing and come to the kitchen.
I had been playing around with pumpkin bread recipes for weeks, trying to find something that felt both familiar and fresh. The thing about fall baking is that everyone expects pumpkin pie or pumpkin muffins, but sometimes you want something a little different. Something you can pick up with your hands and dip into coffee without feeling like you need a plate and fork. These twists started as a happy accident—I had extra pie crust dough in the fridge and a half-can of pumpkin puree staring at me from the shelf. I figured, why not combine them?
The first batch was good. The second batch was better. By the third try, I had the ratio of pumpkin to cinnamon sugar just right, and the texture was exactly what I wanted—crispy on the outside, soft and tender on the inside, with that unmistakable warmth of pumpkin spice in every bite. Honestly, I think the secret is in how the pumpkin keeps the dough moist while the cinnamon sugar creates that crackly crust. It’s one of those recipes that feels like a hug in food form.
These twists have become my go-to for fall mornings, afternoon snacks, and even dessert when I want something sweet but not heavy. They’re the kind of treat that makes you want to sit down with a hot drink and watch the leaves change. And honestly, that’s exactly what fall should taste like.
Why You’ll Love This Recipe
Let me tell you why these cinnamon sugar pumpkin bread twists have earned a permanent spot in my fall baking rotation. I’ve tested this recipe more times than I care to admit, and every single batch has disappeared faster than I expected. That’s not something I say lightly.
- Quick & Easy: From start to finish, these twists come together in about 30 minutes. No yeast, no rising time, no complicated techniques. Perfect for those mornings when you want something special but don’t have two hours to spend in the kitchen.
- Simple Ingredients: You probably already have most of these in your pantry. Pumpkin puree, flour, butter, sugar, and cinnamon—that’s the backbone of this recipe. No special trips to the store required.
- Perfect for Fall Gatherings: Whether it’s a Halloween party, Thanksgiving brunch, or just a cozy weekend at home, these twists fit right in. They’re portable, easy to share, and somehow always the first thing to disappear from the dessert table.
- Crowd-Pleaser: I’ve served these to kids, adults, picky eaters, and people who swear they don’t like pumpkin. Every single person has asked for the recipe. That’s not hyperbole—it’s actually happened.
- Unbelievably Delicious: The combination of tender pumpkin bread and crunchy cinnamon sugar coating is pure magic. The texture is what gets people—crispy edges, soft centers, and that sweet-spicy coating that makes you want to lick your fingers.
What makes this recipe different from the dozens of other pumpkin treats out there is the texture. Most pumpkin breads are dense and cake-like, but these twists have a lightness to them that feels almost pastry-like. The trick is in how you handle the dough and the double coating of cinnamon sugar. Trust me, once you try these, you’ll understand why I can’t stop making them.
This is the kind of recipe that makes you close your eyes after the first bite. It’s comfort food reimagined—faster, simpler, but with the same soul-soothing satisfaction that fall baking should bring. Perfect for impressing guests without breaking a sweat, or turning an ordinary morning into something worth remembering.
What Ingredients You Will Need
This recipe uses simple, wholesome ingredients to deliver that perfect fall flavor without any fuss. Most of these are pantry staples, especially if you do any kind of fall baking. Let me walk you through what you’ll need and why each ingredient matters.
- All-purpose flour, 2 cups (250g): The foundation of the dough. I’ve tested this with bread flour and it works, but all-purpose gives the best balance of tenderness and structure. Spoon and level your flour—don’t scoop straight from the bag or you’ll end up with dry dough.
- Pumpkin puree, ½ cup (120g): Not pumpkin pie filling—make sure you grab 100% pure pumpkin puree. I prefer Libby’s for its consistent texture and flavor. The pumpkin adds moisture, color, and that unmistakable earthy sweetness that makes fall baking so good.
- Unsalted butter, ¼ cup (56g), melted and slightly cooled: I use unsalted so I can control the salt level. If you only have salted butter, just reduce the added salt by a pinch. The butter adds richness and helps create that tender crumb.
- Granulated sugar, ⅓ cup (65g) for the dough: Just enough sweetness to balance the pumpkin without making the dough overly sweet. The real sugar magic happens in the coating.
- Light brown sugar, ¼ cup (50g), packed: Adds depth and a hint of molasses flavor that pairs beautifully with pumpkin. Dark brown sugar would work too if that’s what you have.
- Baking powder, 2 teaspoons: This is what gives the twists their lift. Make sure your baking powder is fresh—if it’s more than six months old, it might not work as well.
- Ground cinnamon, 1 teaspoon for the dough: The warm, spicy backbone of this recipe. I use Saigon cinnamon when I can find it—it has a stronger, more complex flavor than regular cinnamon.
- Pumpkin pie spice, 1 teaspoon: If you don’t have pumpkin pie spice, you can mix ½ teaspoon cinnamon, ¼ teaspoon nutmeg, ¼ teaspoon ginger, and a pinch of cloves. This is where that quintessential fall flavor comes from.
- Salt, ½ teaspoon: Don’t skip this. Salt enhances all the other flavors and prevents the twists from tasting flat.
- Vanilla extract, 1 teaspoon: Adds warmth and rounds out the spices. Pure vanilla extract is worth the splurge here.
- Milk, 2-3 tablespoons (30-45ml): You might need a little more or less depending on your pumpkin puree. The goal is a soft, slightly sticky dough that’s still workable.
For the Cinnamon Sugar Coating:
- Granulated sugar, ½ cup (100g): Creates that crackly, crunchy exterior.
- Ground cinnamon, 2 tablespoons: This might seem like a lot, but trust me—the coating is where the magic happens. The ratio of cinnamon to sugar here is what makes these twists so addictive.
- Melted butter, 3 tablespoons (42g), for brushing: This helps the cinnamon sugar stick and adds even more flavor. Brush it on generously.
Ingredient Tips: For the best texture, make sure your pumpkin puree isn’t too watery. If it looks runny, blot it with a paper towel before using. I’ve tried this with homemade pumpkin puree and it works beautifully, just make sure you drain it well. Also, if you’re dairy-free, you can use melted coconut oil instead of butter and any plant-based milk. The flavor will be slightly different but still delicious.
One more thing—I always recommend using fresh spices for fall baking. Cinnamon and pumpkin pie spice lose their potency over time, and you want that bold, aromatic flavor to shine through. If your spices are more than a year old, it might be time to replace them.
Equipment Needed
You don’t need any fancy equipment for these cinnamon sugar pumpkin bread twists, which is one of the reasons I love this recipe so much. Here’s what you’ll need:
- Large mixing bowl: Any medium-to-large bowl will work. I use a ceramic one because it’s heavy and doesn’t slide around.
- Whisk: For combining the dry ingredients. A fork works in a pinch.
- Rubber spatula or wooden spoon: For mixing the dough. I prefer a spatula because it’s easier to scrape the sides.
- Baking sheet: A standard half-sheet pan is perfect. Line it with parchment paper for easy cleanup.
- Parchment paper: Non-negotiable for me. It prevents sticking and makes cleanup a breeze. You could use a silicone baking mat instead.
- Sharp knife or pizza cutter: For cutting the dough into strips. A pizza cutter makes it much easier and gives cleaner edges.
- Pastry brush: For brushing the melted butter onto the twists. If you don’t have one, you can use a spoon to drizzle the butter.
- Cooling rack: Helps the twists cool evenly and stay crispy. If you don’t have one, you can let them cool on the baking sheet, but they might get a bit soggy on the bottom.
- Measuring cups and spoons: For accuracy. I know some people prefer weighing ingredients, but cups work fine for this recipe.
That’s honestly it. No stand mixer, no food processor, no special pans. I’ve made these in a tiny apartment kitchen and in a full-size home kitchen, and they turn out the same every time. If you have a pizza cutter, great. If not, a regular knife works just fine.
Preparation Method
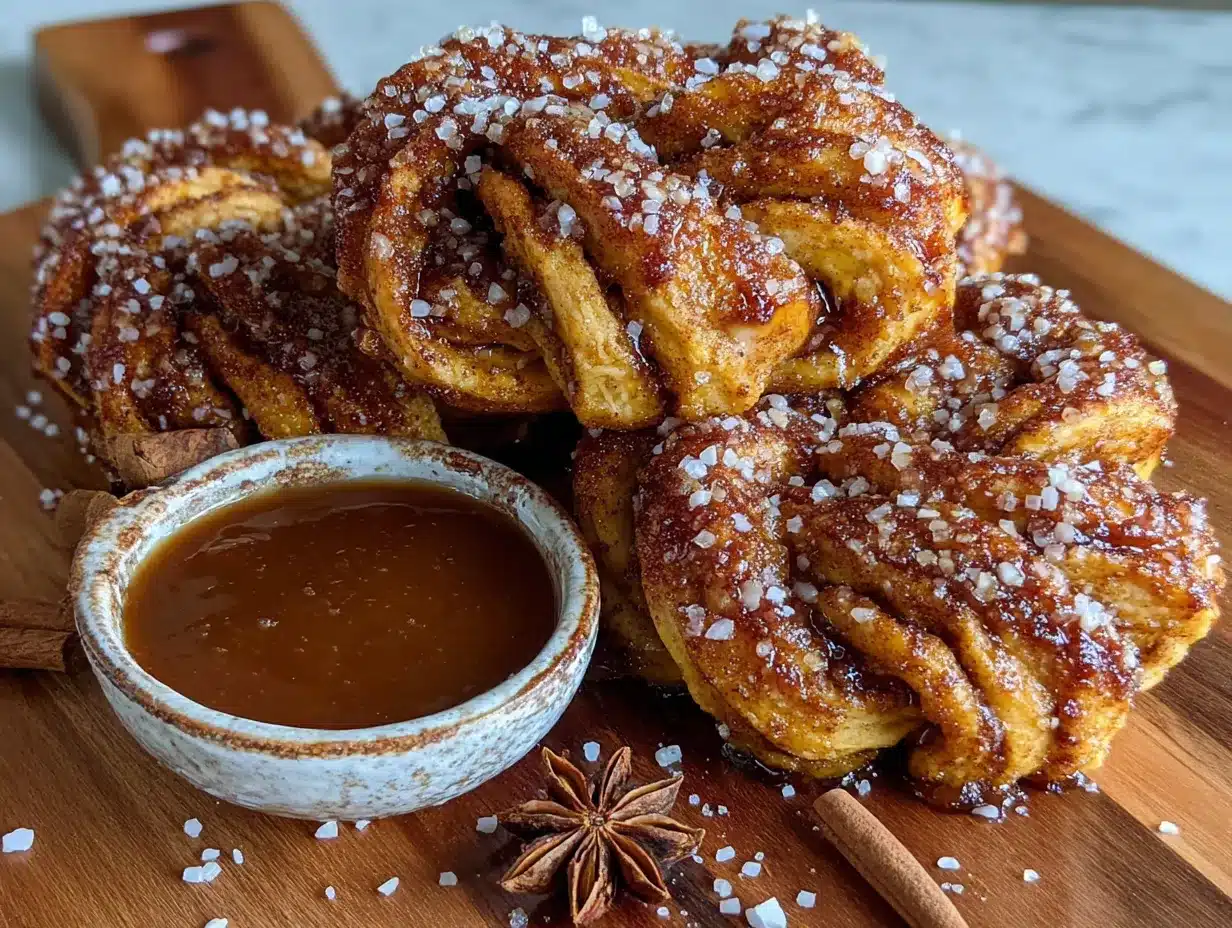
Alright, let’s get to the fun part. I’ll walk you through every step so you get perfect twists every time. Take your time with the dough—it’s forgiving, but a little patience goes a long way.
Step 1: Preheat and Prep
Preheat your oven to 375°F (190°C). Line a baking sheet with parchment paper and set it aside. I like to get this done first so everything’s ready to go when the dough is mixed.
Step 2: Mix the Dry Ingredients
In a large bowl, whisk together 2 cups (250g) all-purpose flour, 2 teaspoons baking powder, 1 teaspoon ground cinnamon, 1 teaspoon pumpkin pie spice, and ½ teaspoon salt. Make sure everything is well combined. I usually whisk for about 15 seconds to make sure there are no lumps of baking powder.
Step 3: Combine the Wet Ingredients
In a separate medium bowl, mix together ½ cup (120g) pumpkin puree, ¼ cup (56g) melted unsalted butter, ⅓ cup (65g) granulated sugar, ¼ cup (50g) packed light brown sugar, and 1 teaspoon vanilla extract. Stir until smooth. The mixture should look like a thick, glossy paste. If your pumpkin puree is very cold, the butter might clump up a bit—that’s okay, just keep stirring.
Step 4: Make the Dough
Pour the wet ingredients into the dry ingredients and stir with a rubber spatula until just combined. The dough will look shaggy and dry at first. Add 2 tablespoons of milk and stir again. If the dough still seems too dry and isn’t coming together, add the third tablespoon of milk. You want a soft, slightly sticky dough that holds together when pressed. Don’t overmix—stop as soon as the flour disappears. Overworking the dough will make the twists tough.
Step 5: Shape the Dough
Turn the dough out onto a lightly floured surface. Gently pat it into a rectangle about ½ inch thick. Don’t use a rolling pin if you can help it—your hands will do a better job of keeping the dough tender. The rectangle should be roughly 8 inches by 6 inches, but don’t stress about exact measurements.
Step 6: Cut the Twists
Using a sharp knife or pizza cutter, cut the dough into strips about 1 inch wide and 6 inches long. You should get about 12 strips. If some are a little uneven, that’s fine—homemade is supposed to look rustic.
Step 7: Twist the Strips
Take each strip and gently twist it a few times. Don’t twist too tightly or the dough will break. You want a loose spiral that holds its shape. Place the twisted strips on the prepared baking sheet, leaving about an inch of space between each one. They don’t spread much, so you can fit all 12 on one sheet.
Step 8: Apply the Coating
In a small bowl, mix together ½ cup (100g) granulated sugar and 2 tablespoons ground cinnamon. Melt 3 tablespoons (42g) of butter. Brush each twist generously with melted butter, then sprinkle the cinnamon sugar mixture over the top. Don’t be shy—coat them well. I usually use about half the cinnamon sugar on top, then flip them over, brush the other side, and coat with the remaining mixture. Yes, both sides get coated. That’s the secret.
Step 9: Bake
Bake at 375°F (190°C) for 14-16 minutes, or until the twists are golden brown and the edges are slightly darker. The cinnamon sugar will look like it’s caramelizing in spots—that’s exactly what you want. Your kitchen will smell incredible at this point.
Step 10: Cool and Enjoy
Let the twists cool on the baking sheet for 5 minutes, then transfer them to a cooling rack. They’ll continue to crisp up as they cool. If you try to move them too soon, they might be fragile. Patience, my friend. Serve warm or at room temperature.
Pro Tip: If you want extra crispy twists, let them cool completely on the baking sheet without moving them. The residual heat will continue to crisp the bottoms. I’ve done this by accident a few times and it works great.
Cooking Tips & Techniques
After making these twists more times than I can count, I’ve picked up a few tricks that make a real difference. Let me share what I’ve learned—including some mistakes I’ve made so you don’t have to.
Don’t Overwork the Dough
This is the number one mistake I see people make. The more you handle the dough, the tougher it gets. Mix until just combined, shape gently, and resist the urge to knead. I learned this the hard way when my first batch came out like hockey pucks. The dough should be soft and tender, not elastic.
Watch Your Pumpkin Puree
Not all pumpkin purees are created equal. Some brands are more watery than others. If your puree looks runny, blot it with a paper towel before using. Too much moisture will make the dough sticky and hard to work with. I’ve had this happen with store-brand puree before, and it’s fixable—just add an extra tablespoon of flour if needed.
Get the Coating Right
The cinnamon sugar coating is what makes these twists special. Brush the butter on generously—don’t skimp. And make sure you coat both sides. I’ve tried just sprinkling the cinnamon sugar on top without brushing butter first, and it doesn’t stick as well. The butter acts like glue for the sugar mixture.
Bake on the Middle Rack
For even browning, bake these on the middle rack of your oven. If they’re too close to the top, the sugar might burn before the dough is cooked through. I learned this after a batch came out with burnt tops and raw centers. Not my finest moment.
Let Them Cool Properly
I know it’s tempting to eat them straight out of the oven, but they really do need a few minutes to set. The texture improves as they cool—the exterior gets crispier and the interior stays soft. If you can wait 10 minutes, you’ll be rewarded with the perfect texture.
Multitasking Tip: While the twists are baking, clean up your workspace and make yourself a cup of coffee or tea. By the time you’re done, they’ll be ready to come out of the oven. Timing is everything in baking, and having a clean kitchen makes the whole experience more enjoyable.
Variations & Adaptations
One of the best things about this recipe is how easy it is to customize. I’ve tried several variations, and here are my favorites:
Gluten-Free Version: Swap the all-purpose flour with a 1:1 gluten-free baking flour blend. I’ve used Bob’s Red Mill with great results. The texture will be slightly different—a bit more delicate—but still delicious. Add an extra tablespoon of milk if the dough seems too dry.
Vegan Adaptation: Use melted coconut oil or vegan butter instead of regular butter, and replace the milk with any plant-based milk like almond or oat. The twists won’t be quite as rich, but they’ll still be tasty. I’ve made these for vegan friends and they disappeared just as fast.
Extra Spicy Version: If you love warm spices like I do, add an extra ½ teaspoon of pumpkin pie spice to the dough and use 3 tablespoons of cinnamon in the coating instead of 2. This version is perfect for those who want a real punch of fall flavor.
Chocolate Drizzle: After the twists have cooled, drizzle them with melted dark chocolate. The combination of pumpkin, cinnamon, and chocolate is surprisingly good. I tried this on a whim one afternoon and it’s become one of my favorite variations.
Mini Twists: Cut the dough into smaller strips—about ½ inch wide and 3 inches long—for bite-sized snacks. Reduce the baking time to 10-12 minutes. These are perfect for parties or lunchboxes.
Savory-Sweet Version: Reduce the sugar in the coating to ¼ cup and add ½ teaspoon of sea salt flakes. The salty-sweet combination is incredible and makes these twists great for brunch alongside eggs or a fresh loaded veggie cream cheese bagel sandwich.
Pumpkin Spice Latte Twist: Add 1 tablespoon of instant espresso powder to the dry ingredients and use 1 teaspoon of vanilla extract in the dough. The coffee flavor complements the pumpkin beautifully and gives these twists a grown-up twist.
Serving & Storage Suggestions
These cinnamon sugar pumpkin bread twists are incredibly versatile when it comes to serving. Here’s how I like to enjoy them:
Serving Temperature: They’re best served warm, about 10 minutes after they come out of the oven. But honestly, they’re delicious at room temperature too. I’ve even eaten them cold straight from the fridge and they were still good.
Presentation: Arrange them on a wooden board or a pretty platter. A dusting of extra cinnamon sugar on top makes them look extra special. If you’re serving them for a party, stack them in a rustic pile—they look beautiful that way.
What to Serve With Them: These twists are perfect with a hot cup of coffee, chai latte, or apple cider. For a dessert spread, serve them alongside a cozy pumpkin cinnamon rolls with brown butter icing for the ultimate fall treat table. They also pair wonderfully with a scoop of vanilla ice cream or a dollop of whipped cream.
Storage: Store leftover twists in an airtight container at room temperature for up to 3 days. They’ll lose some of their crispiness, but they’ll still taste great. If you want to restore some crunch, pop them in a 300°F oven for 3-4 minutes.
Freezer Instructions: These freeze beautifully. Let them cool completely, then place them in a single layer in a freezer-safe bag or container. They’ll keep for up to 2 months. To reheat, bake at 350°F for 5-7 minutes straight from the freezer. No need to thaw first.
Flavor Development: Interestingly, the flavors actually deepen after a day or two. The pumpkin and spices meld together, and the cinnamon sugar coating absorbs into the dough slightly. Some people prefer them on day two for this reason. I’m a day-one person myself, but I understand the appeal.
Nutritional Information & Benefits
Let’s be real—these are a treat, not a health food. But they do have some redeeming qualities, especially compared to other fall desserts.
Estimated Nutritional Values (per twist, based on 12 twists):
| Nutrient | Amount |
|---|---|
| Calories | 185 |
| Total Fat | 8g |
| Saturated Fat | 5g |
| Carbohydrates | 27g |
| Sugar | 15g |
| Protein | 2g |
| Fiber | 1g |
| Sodium | 180mg |
Health Benefits: Pumpkin is rich in vitamin A, which is great for eye health and immune function. It also contains fiber and antioxidants. The cinnamon in the coating has anti-inflammatory properties and can help regulate blood sugar. So while these aren’t exactly health food, they’re not completely devoid of nutritional value either.
Dietary Considerations: This recipe can be made dairy-free and vegan with simple substitutions as noted above. It’s not gluten-free unless you use a gluten-free flour blend. It contains wheat and dairy in its standard form.
Personal Perspective: I believe in balance. These twists are a treat, and there’s nothing wrong with enjoying them in moderation. They’re made with real ingredients—no artificial flavors or preservatives—and they bring genuine joy. That counts for something in my book.
Conclusion
These cinnamon sugar pumpkin bread twists have become my signature fall recipe, and for good reason. They’re simple enough for a weekday morning but special enough for holiday gatherings. The combination of tender pumpkin bread and that crackly cinnamon sugar coating is something I honestly can’t get enough of.
I hope you give these a try and make them your own. Add a drizzle of chocolate, go heavy on the cinnamon, or keep them classic—there’s no wrong way to enjoy these twists. They’re forgiving, foolproof, and guaranteed to make your kitchen smell like autumn.
If you make these, I’d love to hear about it. Leave a comment below and tell me how they turned out, or share your own twist on the recipe. Did you add something unexpected? Did you serve them with something amazing? I want to know. And if you’re looking for more fall baking inspiration, don’t miss my salted caramel apple blondie bars with oat crumble topping or these cozy apple cider donut muffins with cinnamon sugar crust.
Happy baking, friends. May your kitchen be warm and your twists be perfectly crispy.
Frequently Asked Questions
Can I use pumpkin pie filling instead of pumpkin puree?
No, I wouldn’t recommend it. Pumpkin pie filling already has sugar and spices added, which will throw off the balance of this recipe. Stick with 100% pure pumpkin puree for the best results.
Why did my twists come out dry?
This usually happens if you overmix the dough or add too much flour. Make sure you’re spooning and leveling your flour, not scooping it. Also, check that your pumpkin puree isn’t too thick—if it’s very dense, add an extra tablespoon of milk.
Can I make the dough ahead of time?
Yes! You can prepare the dough, shape it into twists, and refrigerate them for up to 24 hours before baking. Just add the cinnamon sugar coating right before baking. You might need to add an extra minute or two to the baking time if they’re cold from the fridge.
How do I make these extra crispy?
For maximum crispiness, brush them with a little extra melted butter before baking and let them cool completely on the baking sheet without moving them. The residual heat will continue to crisp the bottoms. You can also bake them for an extra minute or two if you like them really crunchy.
Can I double this recipe?
Absolutely. This recipe doubles beautifully. Just use two baking sheets and rotate them halfway through baking. Make sure your oven has enough space for air to circulate around both sheets. If your oven runs hot, you might need to reduce the temperature by 25 degrees to prevent burning.
Pin This Recipe!
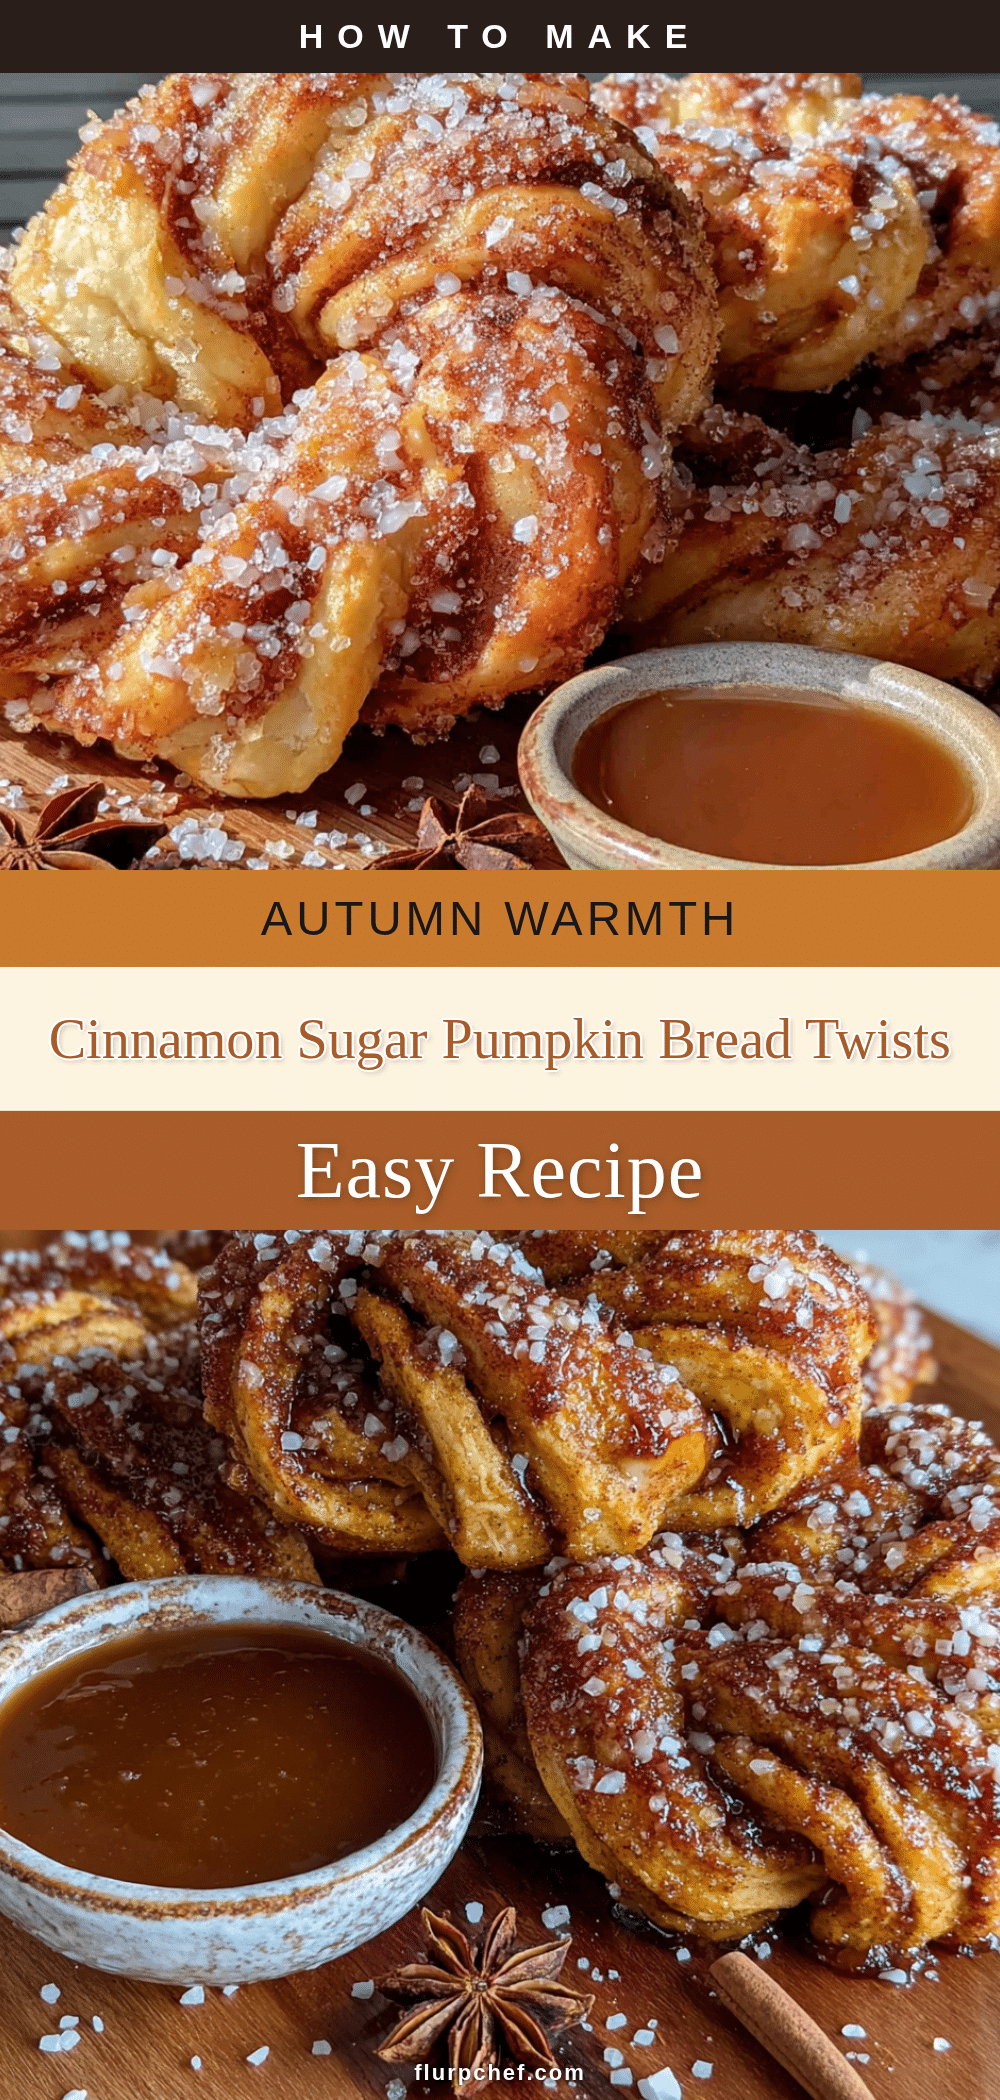
Best Easy Cinnamon Sugar Pumpkin Bread Twists Recipe

These cinnamon sugar pumpkin bread twists are quick, easy, and perfect for fall. They combine tender pumpkin bread with a crackly cinnamon sugar coating for a treat that’s crispy on the outside and soft on the inside.
- Prep Time: 15 minutes
- Cook Time: 16 minutes
- Total Time: 31 minutes
- Yield: 12 twists 1x
- Category: Dessert
- Cuisine: American
Ingredients
- 2 cups (250g) all-purpose flour
- ½ cup (120g) pumpkin puree (not pumpkin pie filling)
- ¼ cup (56g) unsalted butter, melted and slightly cooled
- ⅓ cup (65g) granulated sugar
- ¼ cup (50g) packed light brown sugar
- 2 teaspoons baking powder
- 1 teaspoon ground cinnamon
- 1 teaspoon pumpkin pie spice
- ½ teaspoon salt
- 1 teaspoon vanilla extract
- 2–3 tablespoons (30-45ml) milk
- ½ cup (100g) granulated sugar (for coating)
- 2 tablespoons ground cinnamon (for coating)
- 3 tablespoons (42g) unsalted butter, melted (for brushing)
Instructions
- Preheat oven to 375°F (190°C). Line a baking sheet with parchment paper.
- In a large bowl, whisk together flour, baking powder, cinnamon, pumpkin pie spice, and salt.
- In a separate bowl, mix pumpkin puree, melted butter, granulated sugar, brown sugar, and vanilla extract until smooth.
- Pour wet ingredients into dry ingredients and stir until just combined. Add 2 tablespoons of milk; if dough is too dry, add a third tablespoon. Dough should be soft and slightly sticky.
- Turn dough onto a lightly floured surface and pat into a ½-inch thick rectangle (about 8×6 inches).
- Cut dough into 12 strips, each about 1 inch wide and 6 inches long.
- Gently twist each strip a few times and place on prepared baking sheet, spacing about 1 inch apart.
- In a small bowl, mix ½ cup granulated sugar and 2 tablespoons cinnamon for coating. Brush each twist generously with melted butter, then sprinkle cinnamon sugar mixture on both sides.
- Bake for 14-16 minutes, until golden brown and edges are slightly darker.
- Let cool on baking sheet for 5 minutes, then transfer to a cooling rack. Serve warm or at room temperature.
Notes
For extra crispy twists, let them cool completely on the baking sheet. Use fresh spices for best flavor. If pumpkin puree is watery, blot with a paper towel before using.
Nutrition
- Serving Size: 1 twist
- Calories: 185
- Sugar: 15
- Sodium: 180
- Fat: 8
- Saturated Fat: 5
- Carbohydrates: 27
- Fiber: 1
- Protein: 2
Keywords: pumpkin bread twists, cinnamon sugar, fall baking, easy pumpkin recipe, pumpkin dessert


