That first cold, creamy bite — the way the cookies have softened just enough to feel like fudge, sandwiched between layers of sweet, cloud-like filling — still takes me straight to my aunt’s backyard in July. The grill was smoking, someone was arguing over the corn hole score, and I was sneaking a slice of this no-bake Oreo icebox cake from the cooler before anyone noticed. I wasn’t supposed to. But honestly, that’s what makes it taste so good.
I didn’t grow up in a house that made fancy desserts. We were more of a “what’s in the freezer?” kind of family. So when I first watched my aunt layer whole Oreos and whipped cream in a loaf pan, I thought she was making it up. Turns out, she was. And it worked. That cake became the unofficial signal that summer had officially started.
This isn’t one of those fussy recipes that requires a stand mixer, a double boiler, or any patience at all. It’s the kind of dessert you throw together while the burgers are resting, and somehow it steals the whole show. Every time I bring it to a cookout, someone corners me by the cooler asking for the recipe. And I love telling them — because it’s almost embarrassing how easy it is.
So here it is. My version of that no-bake Oreo icebox cake. It’s simple, it’s nostalgic, and it’s the best thing you’ll eat off a paper plate all summer.
Why You’ll Love This Recipe
Let’s be real — summer cookouts are about keeping things easy without sacrificing flavor. This no-bake Oreo icebox cake checks every box. It’s the kind of dessert that makes people think you spent hours in the kitchen, when really, you just chilled it overnight. And I’m not mad about that secret.
- No Oven Required: It’s summer. The last thing you want is to turn on your oven. This cake sets up in the fridge, leaving you free to enjoy the party.
- Only 5 Ingredients: You probably already have most of them in your pantry. No weird extracts or hard-to-find items here.
- Perfect for a Crowd: This cake feeds a lot of people. It’s the kind of dessert that disappears fast, especially when served chilled on a hot day.
- Make-Ahead Magic: You can assemble this the night before. It actually gets better as it sits, so you can cross dessert off your to-do list well before the guests arrive.
- Crowd-Pleaser: Kids love it. Adults love it. I’ve seen people go back for thirds. It’s just one of those desserts that feels like a treat, no matter your age.
What makes this recipe different from the rest? It’s the texture. The cookies soften into a cake-like crumb, but they still hold their shape just enough to give you that satisfying Oreo crunch. The filling is light but rich — think the best part of a cookies-and-cream milkshake, but in slice form. It’s comfort food, simplified.
What Ingredients You Will Need
This recipe uses simple, everyday ingredients to create something that tastes surprisingly complex. No fancy pastry skills required — just a few staples you can grab at any grocery store.
- Oreo Cookies (2 family-size packages, about 36 cookies): You’ll use the whole cookie — filling and all. Don’t bother separating them. The cream helps bind the layers together. I prefer the classic Oreo, but double-stuf works great too. Just note that the cake will be a little sweeter.
- Heavy Whipping Cream (2 cups): This is what gives the cake its light, airy texture. Make sure it’s cold before you whip it. I’ve tried using Cool Whip in a pinch, and it works — but fresh whipped cream makes a noticeable difference in flavor and texture. It’s worth the extra 2 minutes.
- Powdered Sugar (¼ cup): Just enough to sweeten the cream without making it heavy. You can skip this if you’re using sweetened whipped cream or Cool Whip.
- Vanilla Extract (1 teaspoon): Adds warmth and rounds out the sweetness. Use pure vanilla if you have it — it really does taste better.
- Milk (2 tablespoons): This is optional, but I like to add a splash to the cream mixture to help it soften the cookies just a little faster. Whole milk works best, but any kind will do.
Ingredient Tips: For the best results, use full-fat heavy cream. Low-fat or half-and-half won’t whip up properly and will leave you with a runny filling. If you’re dairy-free, you can substitute with coconut cream — just chill the can overnight and whip the solid part. The flavor will be slightly different, but still delicious.
Equipment Needed
You don’t need a fancy kitchen to make this cake. Here’s what you’ll need:
- 9×5 Loaf Pan or 8×8 Square Dish: A loaf pan gives you those perfect, tall slices. An 8×8 dish works too — just spread the layers evenly and you’ll get a shorter, wider cake. I’ve used both, and honestly, I prefer the loaf pan for presentation.
- Electric Mixer or Whisk: Whipping cream by hand is possible, but it takes a while. A hand mixer or stand mixer makes the job quick and easy. If you’re using a whisk, make sure the cream is very cold and your arm is ready.
- Plastic Wrap or Parchment Paper: You’ll need this to line the pan. It makes lifting the cake out so much easier — trust me on this one.
- Spatula: For spreading the cream evenly. A rubber spatula works best.
- Mixing Bowl: Any medium-to-large bowl will do. Make sure it’s clean and dry — any grease or residue can prevent the cream from whipping.
Budget-Friendly Tip: If you don’t have an electric mixer, you can whip the cream in a jar with a tight lid. Just shake it vigorously for about 5 minutes. It’s a great arm workout, and it works perfectly.
Preparation Method
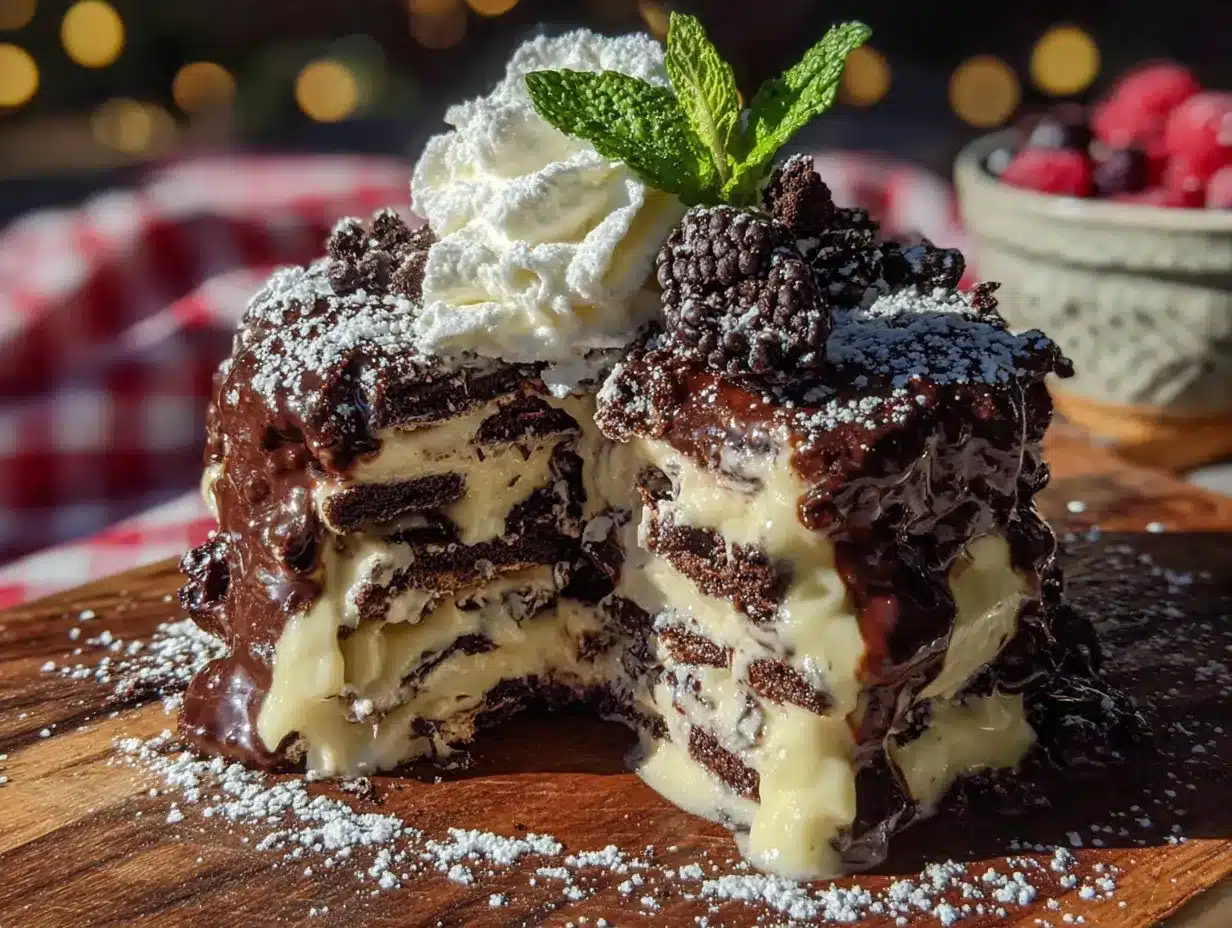
This is where the magic happens. Follow these steps, and you’ll have a show-stopping dessert with almost no effort.
- Whip the cream: In a large mixing bowl, combine the heavy whipping cream, powdered sugar, vanilla extract, and milk (if using). Beat on medium-high speed until stiff peaks form. This should take about 3-4 minutes with an electric mixer. You’ll know it’s ready when you lift the beaters and the cream holds its shape without drooping. Be careful not to over-whip — once it turns into butter, there’s no going back.
- Line your pan: Take your loaf pan and line it with plastic wrap or parchment paper. Leave some overhang on the sides — this will help you lift the cake out later. It’s a small step that saves a lot of frustration.
- First layer of cookies: Arrange a single layer of Oreo cookies on the bottom of the pan. You’ll need about 6-8 cookies, depending on the size of your pan. Place them in a single layer, touching but not overlapping. Don’t worry if there are small gaps — the cream will fill them in.
- First layer of cream: Spread about one-third of the whipped cream over the cookies. Use your spatula to spread it evenly, making sure it reaches the edges. You want a nice, thick layer.
- Repeat layers: Add another layer of cookies, followed by another third of the cream. Repeat one more time, ending with a layer of cream on top. You should have three layers of cookies and three layers of cream. The top layer should be smooth and even.
- Cover and chill: Cover the pan with plastic wrap and refrigerate for at least 6 hours — overnight is even better. The longer it sits, the softer the cookies become. The cake will be sliceable after 6 hours, but 12-24 hours gives you that perfect, fudge-like texture.
- Unmold and serve: When you’re ready to serve, lift the cake out of the pan using the plastic wrap overhang. Place it on a serving plate or cutting board. Peel off the plastic wrap carefully. Slice with a sharp knife, wiping the blade clean between cuts for neat slices.
Pro Tip: For extra stability, you can freeze the cake for 2-3 hours before slicing. It makes the layers easier to cut, especially if you’re serving it at a warm cookout.
Cooking Tips & Techniques
I’ve made this cake more times than I can count, and I’ve definitely learned a few things along the way. Here are my best tips for getting it right every time.
Don’t Over-Whip the Cream: This is the most common mistake. You want stiff peaks, but if you keep mixing past that point, the cream will separate and turn grainy. Stop as soon as the cream holds its shape. If you’re unsure, it’s better to under-whip slightly — it will still set up in the fridge.
Use Cold Cream: Warm cream won’t whip properly. Make sure your heavy cream is straight from the fridge. You can even chill your mixing bowl and beaters for 10 minutes before starting — it makes a big difference on a hot day.
Press the Cookies Gently: When you place the cookies in the pan, don’t press them down hard. You want them to sit in the cream, not sink into it. A gentle touch is all you need.
Let It Rest: This is the hardest part — waiting. But trust me, the cake really does need at least 6 hours to set. If you try to slice it too early, the cookies will be crunchy and the cream will be runny. Give it time. It’s worth it.
Slice with a Wet Knife: For the cleanest slices, run your knife under hot water and dry it off before cutting. Wipe the blade between cuts. This keeps the cream from sticking and gives you beautiful, presentable slices.
Variations & Adaptations
This recipe is endlessly adaptable. Here are some of my favorite twists:
- Mint Chocolate Chip: Swap the vanilla extract for mint extract. Add a drop of green food coloring to the cream if you want it to look festive. Use mint Oreos for an extra punch of flavor.
- Peanut Butter Dream: Spread a thin layer of creamy peanut butter on each cookie before layering. It adds a salty, nutty contrast that’s absolutely irresistible. If you love peanut butter and chocolate, this is your version.
- Berry Bliss: Add a layer of fresh sliced strawberries or raspberries between the cookie and cream layers. The tartness of the berries cuts through the sweetness beautifully. It looks gorgeous too.
- Vegan Version: Use a dairy-free whipped topping (like coconut-based Cool Whip) and vegan chocolate sandwich cookies. The texture will be slightly different, but it’s still delicious.
- Gluten-Free Option: Gluten-free chocolate sandwich cookies work perfectly in this recipe. Just make sure to check the package — some brands are smaller, so you may need a few extra.
I once made a version with crushed peanut butter and strawberry jam swirled into the cream. It was messy, but honestly? One of the best things I’ve ever eaten. Don’t be afraid to experiment.
Serving & Storage Suggestions
This cake is best served cold — straight from the fridge. It’s the perfect ending to a summer cookout, especially when served alongside a scoop of vanilla ice cream or a drizzle of chocolate syrup.
Presentation Tips: For a finished look, top the cake with crushed Oreos, chocolate shavings, or fresh mint leaves before serving. If you’re bringing it to a party, assemble it in a disposable loaf pan — just cover it with foil and chill. No need to transfer it.
Storage: Leftovers (if you have any) should be covered and stored in the refrigerator. The cake will keep for up to 5 days, though the texture will continue to soften over time. I actually prefer it on day 2 — the flavors meld together even more.
Freezing: This cake freezes beautifully. Wrap the entire cake (or individual slices) tightly in plastic wrap and then foil. Freeze for up to 2 months. To serve, thaw in the refrigerator overnight. The texture stays creamy and delicious.
Reheating: You don’t need to reheat this cake — it’s meant to be cold. But if you want a warm dessert, you can microwave a slice for about 10-15 seconds. It will be soft and almost pudding-like. Not traditional, but pretty tasty.
Nutritional Information & Benefits
Let’s be honest — this is a treat, not a health food. But it’s made with real ingredients, and that counts for something. Here’s a rough estimate per slice (based on 8 servings):
- Calories: 420
- Fat: 28g
- Carbohydrates: 38g
- Protein: 4g
- Sugar: 24g
Health Highlights: The heavy cream provides calcium and vitamin A. The cookies? Well, they provide joy. And sometimes that’s exactly what you need.
Dietary Considerations: This recipe contains dairy and gluten. For a dairy-free version, use coconut cream and vegan cookies. For a gluten-free version, use gluten-free sandwich cookies. It’s easy to adapt without losing the essence of the dessert.
Conclusion
This no-bake Oreo icebox cake is the kind of dessert that makes summer cookouts feel special — without making you feel stressed. It’s simple, it’s nostalgic, and it’s absolutely delicious. Every time I make it, I think of my aunt’s backyard, the sound of laughter, and that first perfect bite.
I hope you make this for your next cookout. I hope you share it with people you love. And I hope you don’t stress about the layers being perfect — because honestly, even a messy one tastes incredible.
If you try this recipe, I’d love to hear about it. Leave a comment below, share your photos, or tell me about your favorite cookout memory. And if you’re looking for another easy dessert, you might enjoy these creamy Oreo dirt cup pudding cups — they’re just as easy and perfect for parties.
Happy cooking, friends. And happy summer.
Frequently Asked Questions
Can I use low-fat milk or cream in this recipe?
I don’t recommend it. Low-fat cream won’t whip into stiff peaks, and the cake will be runny. Stick with full-fat heavy cream for the best texture. If you’re looking for a lighter option, you can use a stabilized whipped topping like Cool Whip.
How long does this cake need to chill?
At least 6 hours, but overnight is best. The cookies need time to soften, and the cream needs time to set. If you’re in a hurry, you can freeze it for 3-4 hours — just check the texture before slicing.
Can I make this cake in advance?
Absolutely. This cake is actually better when made a day ahead. Assemble it, cover it, and refrigerate for up to 24 hours before serving. It’s the perfect make-ahead dessert for parties.
Can I use Double Stuf Oreos?
Yes. Double Stuf Oreos work great — they just have a little extra cream filling. The cake will be slightly sweeter, but still delicious. You might need to adjust the number of cookies slightly, since they’re a bit thicker.
How do I get clean slices?
Use a sharp knife and wipe it clean between each cut. For extra clean slices, chill the cake in the freezer for 2 hours before cutting. Run the knife under hot water and dry it off before slicing — this helps the knife glide through the cream.
For another easy, crowd-pleasing dessert, try these salted caramel apple blondie bars — they’re perfect for fall cookouts and potlucks.
Pin This Recipe!
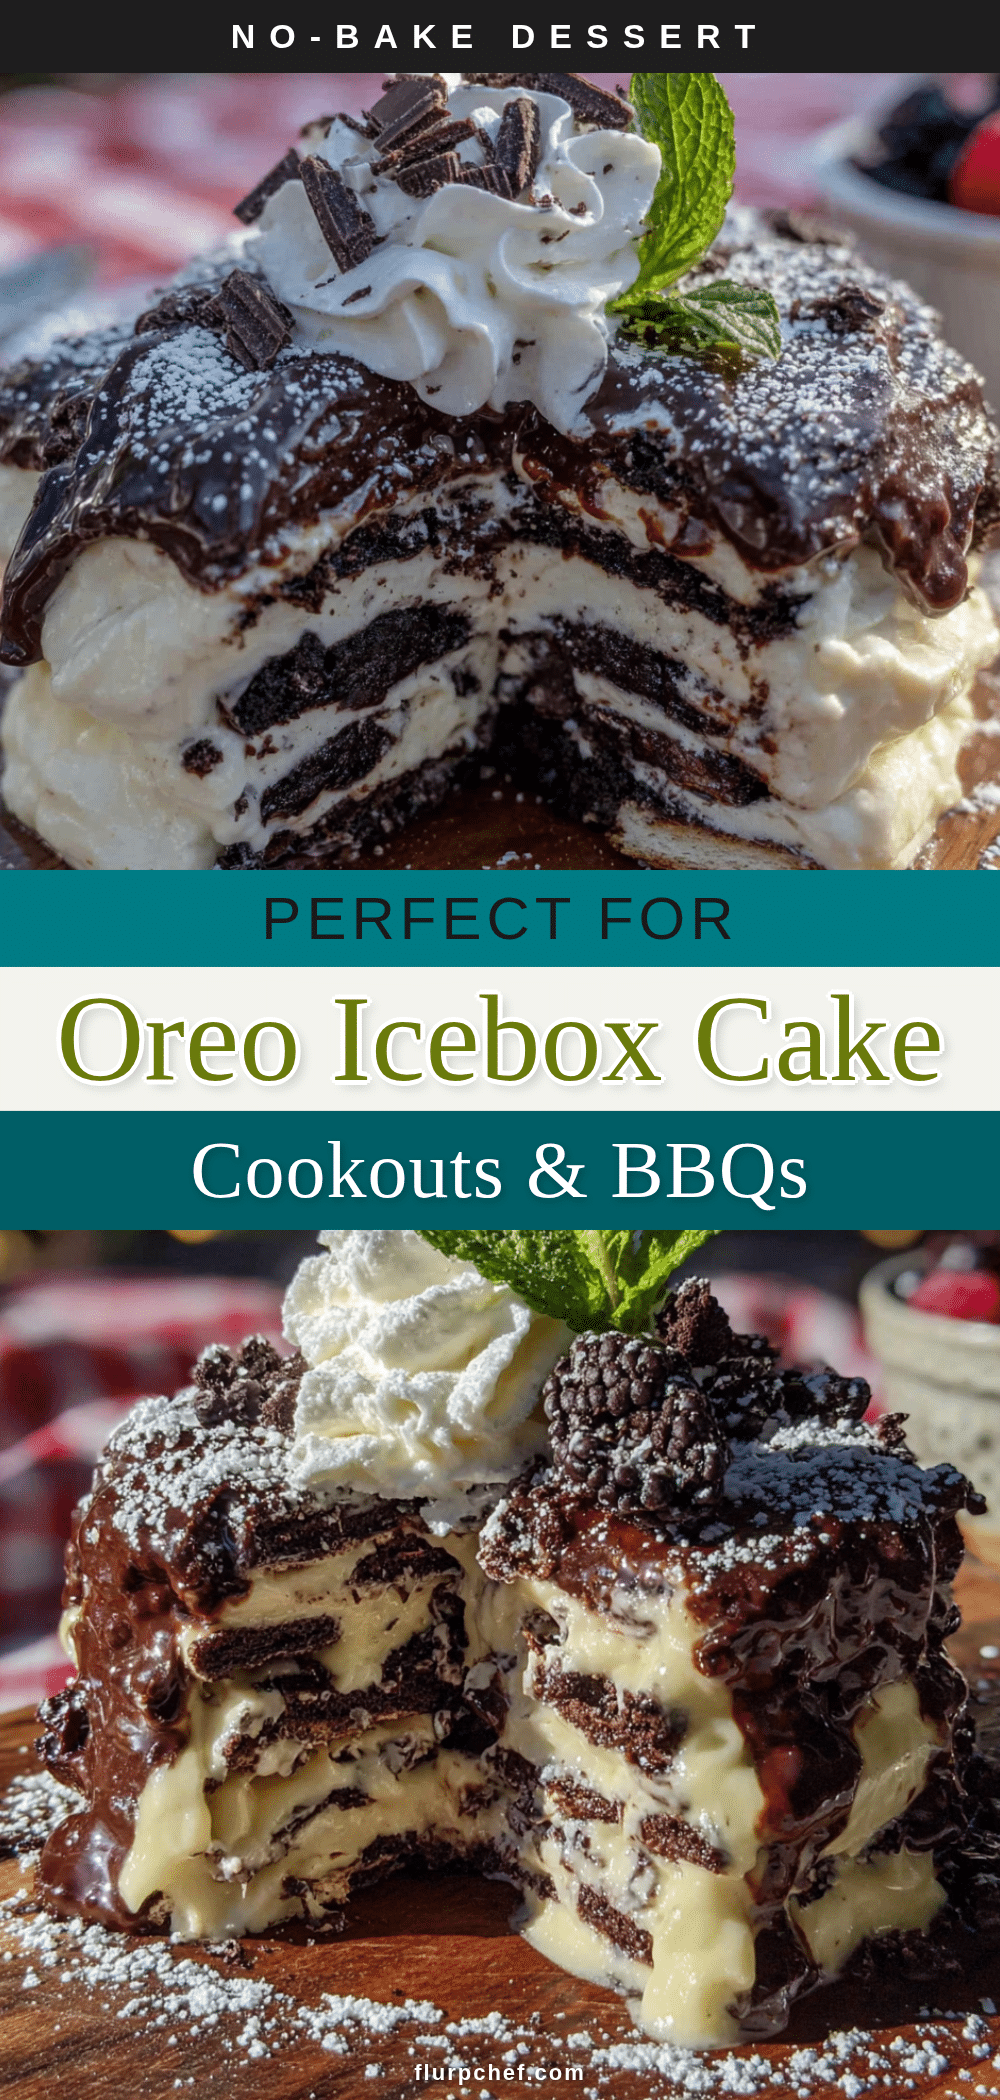
Best No-Bake Oreo Icebox Cake for Cookouts

A simple, no-bake dessert made with layers of Oreo cookies and fresh whipped cream. Perfect for summer cookouts, this cake is easy to make ahead and always a crowd-pleaser.
- Prep Time: 15 minutes
- Cook Time: 0 minutes
- Total Time: 6 hours 15 minutes (includes chilling time)
- Yield: 8 servings 1x
- Category: Dessert
- Cuisine: American
Ingredients
- 2 family-size packages Oreo cookies (about 36 cookies)
- 2 cups heavy whipping cream
- 1/4 cup powdered sugar
- 1 teaspoon vanilla extract
- 2 tablespoons milk (optional)
Instructions
- In a large mixing bowl, combine the heavy whipping cream, powdered sugar, vanilla extract, and milk (if using). Beat on medium-high speed until stiff peaks form, about 3-4 minutes.
- Line a 9×5 loaf pan with plastic wrap or parchment paper, leaving overhang on the sides.
- Arrange a single layer of Oreo cookies on the bottom of the pan (about 6-8 cookies).
- Spread about one-third of the whipped cream over the cookies, spreading evenly to the edges.
- Repeat layers: add another layer of cookies, then another third of the cream. Repeat one more time, ending with a layer of cream on top. You should have three layers of cookies and three layers of cream.
- Cover the pan with plastic wrap and refrigerate for at least 6 hours, preferably overnight.
- When ready to serve, lift the cake out of the pan using the plastic wrap overhang. Place on a serving plate or cutting board, peel off the plastic wrap, and slice with a sharp knife, wiping the blade clean between cuts.
Notes
For best results, use full-fat heavy cream and chill it well before whipping. The cake needs at least 6 hours to set, but overnight is ideal. For clean slices, chill the cake in the freezer for 2 hours before cutting and use a wet knife.
Nutrition
- Serving Size: 1 slice
- Calories: 420
- Sugar: 24
- Sodium: 220
- Fat: 28
- Saturated Fat: 16
- Carbohydrates: 38
- Fiber: 1
- Protein: 4
Keywords: no-bake Oreo icebox cake, Oreo dessert, no-bake dessert, summer dessert, cookout dessert, easy dessert


