I was standing in the baking aisle last October, staring at a bag of black gel food coloring I didn’t need, when a memory hit me so hard I almost laughed out loud. It was the faint smell of vanilla and sugar—someone nearby was testing a sample cookie—and suddenly I was seven years old, sitting cross-legged on my Aunt Rita’s linoleum kitchen floor. She had a piping bag in one hand and a cloud of anxiety around her shoulders. “They’re supposed to look like ghosts,” she’d muttered, squeezing out a blob that looked more like a deflated balloon. I remember thinking how angry she seemed at something so small and sweet. I didn’t understand it then. But last week, when my own first batch of ghost-shaped meringues came out looking like sad little snowmen who’d been in a fight, I finally got it. Honestly, I wanted to throw the whole tray out the window.
But I didn’t. I sat down, took a breath, and figured out what went wrong. And then I made them again. And again. And somewhere around batch number four, I got it right. Those little ghosts came out perfect—crisp, airy, with these tiny peaks that actually looked like they were floating. I mean, let’s face it: meringue can be a diva. But when you know a few simple tricks, it’s one of the easiest, most impressive things you can whip up. And there’s something about making something that looks this cute—this spooky—that just makes you feel like a kitchen wizard, you know? Maybe you’ve been there, staring at a Pinterest fail and wondering where it all went wrong. I promise, this recipe fixes that.
So here’s the thing: these cookies aren’t just for Halloween parties or class treats. They’re for the moment you want to make something that feels a little magical without spending all night in the kitchen. They’re for the memory of a person who tried her best and made a mess, and for the satisfaction of finally getting it right. That’s why I keep making them. Not because they’re perfect—but because they remind me that a little patience and a good recipe can turn almost anything into something worth sharing.
Why You’ll Love This Recipe
I’ve tested this recipe more times than I care to admit—probably eight batches in one weekend, much to my neighbor’s delight (and my sugar bill’s horror). And after all that trial and error, I can tell you exactly why this version works. It’s not just another meringue cookie recipe. It’s the one that finally made me stop yelling at my oven.
- Quick & Easy: From start to finish, you’re looking at about 2 hours total—but only 15 minutes of active work. The oven does the heavy lifting while you binge-watch your favorite show.
- Simple Ingredients: You probably have everything already: egg whites, sugar, vanilla, cream of tartar. No weird extracts or specialty flours. I mean, you might need to buy black piping gel for the faces, but that’s it.
- Perfect for Halloween: These are the star of any spooky spread. Kids love them, adults sneak them, and they look way more impressive than they actually are to make.
- Crowd-Pleaser: They’re naturally gluten-free and low-fat, so pretty much everyone can enjoy them. I’ve brought these to three different parties now, and they disappear every single time.
- Unbelievably Delicious: Light as air, with that perfect snap when you bite into them, and a melt-in-your-mouth texture that’s pure comfort. The vanilla flavor is subtle but just right.
What makes this recipe different? It’s the technique. Most recipes tell you to just whip egg whites and sugar until stiff peaks form. But I’ve learned that the secret is in the temperature—specifically, how you heat the sugar before adding it. This method gives you a stable meringue that holds its shape perfectly, so your ghosts actually look like ghosts and not like sad little blobs. Plus, I’ve tested the baking time and temperature to death to make sure you get that perfect pale white exterior with no browning. Trust me, I’ve learned this the hard way so you don’t have to.
This recipe isn’t just good—it’s the kind that makes you close your eyes after the first bite. It’s comfort food reimagined for a spooky season: lighter, faster, but with the same soul-soothing satisfaction. Perfect for impressing guests without stress, or turning a simple Tuesday night into something a little magical.
What Ingredients You Will Need
This recipe uses simple, pantry-friendly ingredients to create something that looks like it took hours of effort. The magic is all in the technique, not the shopping list. Here’s what you’ll need and why each one matters.
For the Meringue Cookies
- 4 large egg whites, at room temperature (this is important—cold eggs won’t whip up as high. Separate them when cold, then let them sit out for 30 minutes)
- 1 cup (200g) granulated sugar (regular white sugar works best. Don’t use powdered sugar—it contains cornstarch and will change the texture)
- 1/2 teaspoon cream of tartar (this stabilizes the egg whites and helps them hold their shape. You can substitute with 1 teaspoon lemon juice or white vinegar in a pinch)
- 1 teaspoon pure vanilla extract (I prefer McCormick or Nielsen-Massey for the cleanest flavor. Avoid imitation vanilla—it can leave a slightly artificial aftertaste)
- Pinch of salt (just a tiny one—it balances the sweetness and helps the egg whites whip up)
For Decorating
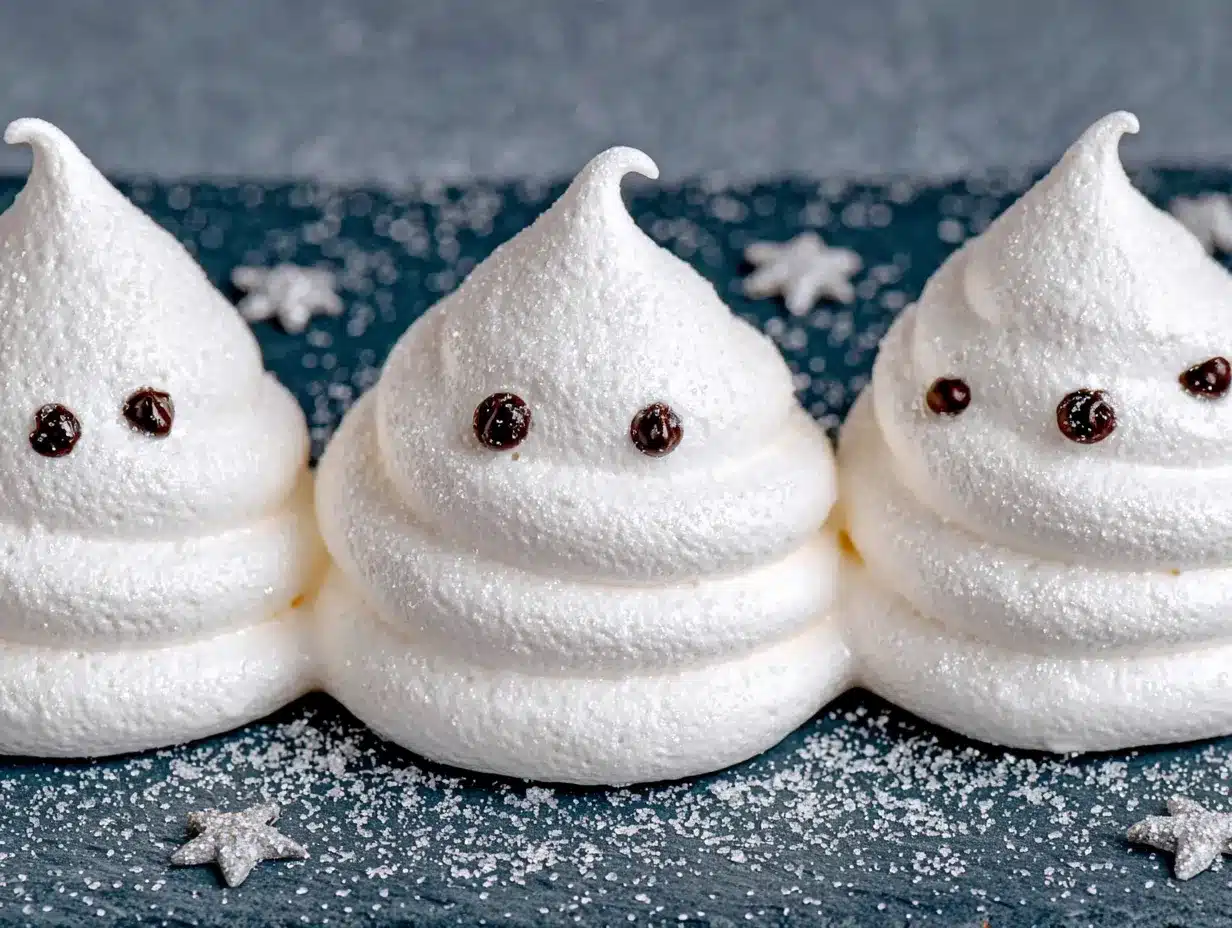
- Black food coloring gel (I recommend Wilton or Americolor. Liquid food coloring is too runny and will bleed into the meringue)
- A small food-safe paintbrush or a toothpick (for painting on the ghost faces)
- Optional: Orange and green gel colors (if you want to make little pumpkin faces or add spooky details)
A few notes on ingredients: Make sure your bowl and whisk are completely clean and grease-free. Even a tiny bit of oil or yolk will prevent your egg whites from whipping up properly. I like to wipe my bowl down with a little lemon juice on a paper towel before starting, just to be safe. And if you’re worried about waste, save your egg yolks for custard or lemon curd—they freeze beautifully.
For the sugar, I’ve tried this with organic cane sugar and it works fine, though the texture is slightly grainier. If you want the smoothest meringue possible, stick with standard granulated sugar. And please, please don’t skip the cream of tartar. I did once, thinking I could get away with it, and ended up with flat, weepy meringue that wouldn’t hold its shape. Learn from my mistakes.
Equipment Needed
You don’t need a professional pastry kit for this, but a few key tools make a world of difference. Here’s what I use and what you can substitute if you’re in a pinch.
- Stand mixer or hand mixer: A stand mixer with the whisk attachment is ideal—it frees up your hands for other tasks. But a hand mixer works perfectly fine; you’ll just need to hold it steady for about 8-10 minutes. I’ve made these with both, and honestly, the hand mixer gives me slightly better control over the texture.
- Large mixing bowl: Glass or metal is best. Avoid plastic bowls—they can retain grease even after washing, which will sabotage your meringue.
- Piping bag with a round tip: I use a Wilton #12 tip for the ghost shapes. If you don’t have a piping bag, a sturdy zip-top bag with the corner snipped off works in a pinch—just be careful not to squeeze too hard or the bag might burst.
- Baking sheets: Two large, rimmed baking sheets lined with parchment paper. Don’t use wax paper—it will stick and ruin your cookies.
- Small paintbrush or toothpick: For painting on the ghost faces. I actually prefer a fine-tipped paintbrush from the craft store—it gives you more control than a toothpick.
- Cooling rack: Not strictly necessary, but it helps the cookies cool evenly without trapping moisture underneath.
Budget-friendly tip: If you don’t have a piping tip, you can use a star tip for a different look, or just snip a small hole in a zip-top bag. And if you don’t have cream of tartar, lemon juice works fine—I’ve done it plenty of times.
Preparation Method
Okay, let’s get into the nitty-gritty. I’ve broken this down into clear steps with all the little details I wish someone had told me the first time. Follow these exactly, and you’ll have perfect ghost-shaped meringues.
- Preheat your oven to 200°F (93°C). Yes, this is low and slow. That’s the secret to meringues that stay white and crisp all the way through. Position the racks in the upper and lower thirds of the oven.
- Prepare your baking sheets. Line two baking sheets with parchment paper. If you want to be extra careful, you can dab a tiny bit of meringue under each corner of the parchment to hold it in place. Set these aside for now.
- Wipe down your mixing bowl and whisk. Take a paper towel, dip it in a little lemon juice or white vinegar, and wipe the inside of your bowl and the whisk attachment. This removes any trace of grease. Let it air dry for a minute—don’t wipe it off with a dry towel, or you’ll just add more oil.
- Separate your eggs. Crack each egg carefully, letting the white fall into a small bowl first (not directly into the mixing bowl). This way, if a yolk breaks, you only lose one egg white, not all four. Transfer each successfully separated white to your mixing bowl. Let them sit at room temperature for 30 minutes if they weren’t already.
- Start whipping on medium speed. Beat the egg whites until they become foamy and bubbly, about 1-2 minutes. You’ll see lots of small bubbles forming—this is good. Add the cream of tartar and salt, then continue beating on medium speed.
- Gradually add the sugar. Here’s the crucial part: with the mixer still running on medium speed, add the sugar one tablespoon at a time, letting each addition incorporate fully before adding the next. This should take about 3-4 minutes total. Don’t rush it—adding the sugar too quickly can deflate your meringue. Trust me, I learned this the hard way.
- Increase speed and add vanilla. Once all the sugar is in, increase the mixer speed to high and add the vanilla extract. Beat until stiff, glossy peaks form. This usually takes 5-7 more minutes. You’ll know it’s ready when you lift the whisk and the meringue stands up in a firm, straight peak that doesn’t droop. Also, rub a tiny bit between your fingers—if it feels smooth and not grainy, the sugar is fully dissolved.
- Test for stability. Here’s a trick I learned from a pastry chef friend: turn the bowl upside down over your head. If the meringue stays put, it’s ready. If it slides or falls, keep beating. (Maybe don’t actually do this over your head—use the sink. I’m speaking from experience, and let’s just say meringue in your hair is not a good look.)
- Transfer to piping bag. Fit your piping bag with the round tip, then fold the top of the bag over your hand to create a cuff. Spoon the meringue into the bag, filling it about halfway. Twist the top to seal, and squeeze a small test dot onto the parchment to make sure everything’s working.
- Pipe the ghosts. Hold the piping bag at a 90-degree angle about 1/2 inch above the parchment. Squeeze gently to create a round base about 1.5 inches wide, then slowly lift the bag while continuing to squeeze to form a tall peak. Release pressure and pull away quickly to create a little pointy ghost head. Leave about 1 inch between each ghost—they don’t spread much, but they need a little breathing room. You should get about 24-30 ghosts depending on size.
- Bake for 90 minutes. Place both baking sheets in the oven. Bake for 90 minutes at 200°F (93°C). After 45 minutes, rotate the pans (swap top and bottom, and turn them front to back) for even baking. The meringues are done when they’re dry to the touch and can be easily lifted off the parchment. They should be pale white with no browning.
- Turn off the oven and let them cool inside. Here’s another pro tip: once the 90 minutes are up, turn off the oven but leave the meringues inside with the door slightly ajar (prop it open with a wooden spoon). Let them cool completely in the oven—this can take 1-2 hours. This step ensures they dry out all the way through and stay crisp.
- Decorate the ghosts. Once the meringues are completely cool, it’s time to add faces. Dip your paintbrush or toothpick into the black gel coloring and carefully paint on two eyes and a little ghost mouth. Don’t worry about perfection—ghosts are supposed to look a little wonky. If you mess up, just let it dry and scrape it off with a clean toothpick. Let the faces dry for about 15 minutes before serving or storing.
Cooking Tips & Techniques
I’ve made every mistake in the book with meringue, so let me save you some trouble. Here are the things I wish I’d known from the start.
Humidity is your enemy. Meringue is basically sugar and egg whites, and sugar loves to absorb moisture from the air. Don’t make these on a rainy or humid day—they’ll end up sticky and chewy instead of crisp. I learned this the hard way when I tried to make them during a thunderstorm and ended up with ghost-shaped marshmallows. Pick a dry day, or run your air conditioner or dehumidifier while they’re baking.
Don’t overbeat. It’s possible to overwhip meringue, which causes it to become grainy and separate. Once you see stiff, glossy peaks, stop. If you beat too long, the meringue will start to look curdled and watery. If this happens, you can try adding one more egg white and gently folding it in, but honestly, it’s usually better to just start over.
Use a thermometer for the sugar. If you want to be extra precise, you can heat your sugar with a little water (about 1/4 cup) to 240°F (115°C) before adding it to the egg whites. This is called an Italian meringue, and it’s even more stable. But for this recipe, the room-temperature method works perfectly—just make sure your sugar is fully dissolved.
Pipe with confidence. I used to be so tentative with my piping, and my ghosts came out looking like sad little blobs. The key is to squeeze firmly and consistently, then pull up quickly at the end. If you hesitate, you’ll get a flat top instead of a nice pointy ghost head. Practice on a piece of parchment first if you’re nervous.
Store them right. Meringues are best eaten within 2-3 days, but they’ll keep for up to a week in an airtight container at room temperature. Don’t refrigerate them—the moisture will make them sticky. And whatever you do, don’t stack them without parchment paper between layers, or they’ll stick together and break.
Variations & Adaptations
One of the best things about this recipe is how easy it is to customize. Here are some of my favorite variations.
Chocolate Ghosts: Sift 2 tablespoons of unsweetened cocoa powder into the sugar before adding it to the egg whites. You’ll get a pale brown ghost that tastes like a chocolate cloud. My kids went absolutely wild for these—they said they looked like “chocolate ghosts from a haunted candy shop.”
Peppermint Ghosts: Replace the vanilla extract with 1/2 teaspoon peppermint extract. These are perfect for Christmas, not just Halloween. I made a batch for a holiday cookie exchange, and they were gone in 10 minutes. You can also crush a candy cane and sprinkle the pieces on top before baking for extra crunch.
Lemon Ghosts: Add 1 tablespoon of lemon zest and replace the vanilla with 1/2 teaspoon lemon extract. The citrus flavor cuts through the sweetness beautifully. I like to paint little yellow faces on these ones instead of black—it makes them look like happy little ghosts.
Vegan Version: Replace the egg whites with aquafaba (the liquid from a can of chickpeas). Use 3 tablespoons of aquafaba per egg white (so 12 tablespoons total). Whip it the same way, but add an extra 1/4 teaspoon of cream of tartar for stability. The texture is slightly different—a bit chewier—but they’re still delicious. I tested this for a friend with egg allergies, and she said they were “spooktacular.”
Different Shapes: You don’t have to make ghosts. Use a star tip to make little meringue kisses, or pipe long strips for meringue bones. You can even make little pumpkins by piping a round base and using a toothpick to draw lines from top to bottom. The possibilities are endless.
Serving & Storage Suggestions
These ghosts are best served at room temperature, straight from the oven (after they’ve cooled, of course). They’re perfect on their own as a light, airy treat, but they also make a fantastic topping for ice cream, hot chocolate, or even a bowl of fresh fruit. I love crumbling one over a scoop of vanilla ice cream for a quick, elegant dessert.
For a Halloween party, arrange them on a platter with some fake spiderwebs and plastic spiders for a spooky presentation. Or thread them onto skewers with black and orange candies for a fun, edible centerpiece. Kids especially love the interactive element—there’s something magical about eating a ghost-shaped cookie.
Storage: Store your meringues in an airtight container at room temperature for up to 1 week. Layer them between sheets of parchment paper to prevent sticking and breakage. Do not refrigerate—the moisture will ruin the texture. If you live in a humid climate, you can add a silica gel packet (the kind that comes in shoe boxes) to the container to absorb excess moisture.
Freezing: You can freeze meringues for up to 3 months. Place them in a single layer in a freezer-safe container with parchment between layers. Thaw at room temperature for about 30 minutes before serving. They won’t be quite as crisp as fresh, but they’re still delicious.
Flavor development: Meringues actually taste best the day after they’re made. The flavors have time to meld, and the texture becomes even more crisp and airy. So if you’re planning a party, make them a day ahead—your future self will thank you.
Nutritional Information & Benefits
Per serving (1 ghost-shaped meringue, based on 30 cookies):
- Calories: 28
- Fat: 0g
- Carbohydrates: 7g
- Sugar: 7g
- Protein: 0.5g
- Sodium: 8mg
These meringues are naturally fat-free, gluten-free, and dairy-free, making them a great option for people with dietary restrictions. They’re also low in calories compared to most cookies, so you can enjoy a few without guilt. The egg whites provide a small amount of protein, and the sugar gives you a quick energy boost—perfect for a pre-workout snack or a mid-afternoon pick-me-up.
That said, they are still a treat, so enjoy them in moderation. I like to think of them as the “healthy-ish” option on a dessert table—they satisfy your sweet tooth without weighing you down. And honestly, there’s something satisfying about knowing exactly what’s in your food. No preservatives, no artificial flavors, just simple, wholesome ingredients.
If you’re watching your sugar intake, you can try reducing the sugar to 3/4 cup, but the texture will be slightly less stable and the cookies won’t be as crisp. I’ve tested this, and honestly, the full amount gives the best results. Sometimes you just have to go all in.
Conclusion
These easy ghost-shaped meringue cookies are more than just a Halloween treat—they’re a reminder that even when things go wrong the first time (or the fourth time), you can always try again and make something beautiful. I’ve had my share of kitchen failures, but this recipe finally gave me the confidence to keep going. And now, every time I make them, I think of Aunt Rita and her deflated blobs, and I smile.
I hope you give these a try, and I hope you make them your own. Maybe you’ll add a little cinnamon, or paint on silly faces, or turn them into pumpkins instead. Whatever you do, have fun with it. That’s what cooking is all about—playing, experimenting, and sharing something delicious with the people you love.
If you make these, I’d love to hear how they turned out! Leave a comment below and let me know if your ghosts looked spooky or silly, or if you came up with your own twist. And if you share them on social media, tag me so I can see your creations. Happy haunting—and happy baking!
Frequently Asked Questions
Can I make these meringues without a piping bag?
Absolutely! If you don’t have a piping bag, you can use a sturdy zip-top bag with a small corner snipped off. Or, you can simply drop spoonfuls of meringue onto the parchment and shape them gently with the back of a spoon. They won’t look as perfectly ghost-shaped, but they’ll still taste amazing.
Why did my meringue turn out sticky and chewy?
This usually happens when there’s too much humidity in the air or the meringues weren’t baked long enough. Make sure you’re baking on a dry day, and leave them in the oven with the door slightly ajar to cool completely. If they’re still sticky, pop them back in the oven at 200°F for another 15-20 minutes.
Can I use liquid food coloring instead of gel?
I don’t recommend it. Liquid food coloring is too watery and will cause the meringue to deflate or bleed into the white surface. Gel coloring is much thicker and gives you better control. If you only have liquid, try using a toothpick to apply it very sparingly, and let it dry completely before serving.
How do I know when the meringue is whipped enough?
You’re looking for stiff, glossy peaks that hold their shape when you lift the whisk. Rub a tiny bit of the meringue between your fingers—if it feels smooth and not grainy, the sugar is fully dissolved. You can also turn the bowl upside down (over the sink!) to test stability. If nothing falls, you’re good to go.
Can I double this recipe?
Yes, but be careful not to overcrowd your mixer. If you’re doubling, make sure your mixer bowl is large enough to accommodate the increased volume. You may also need to bake in batches or use two ovens, since meringues need space to dry out properly. I’d recommend making two separate batches if you’re new to meringue-making.
Pin This Recipe!
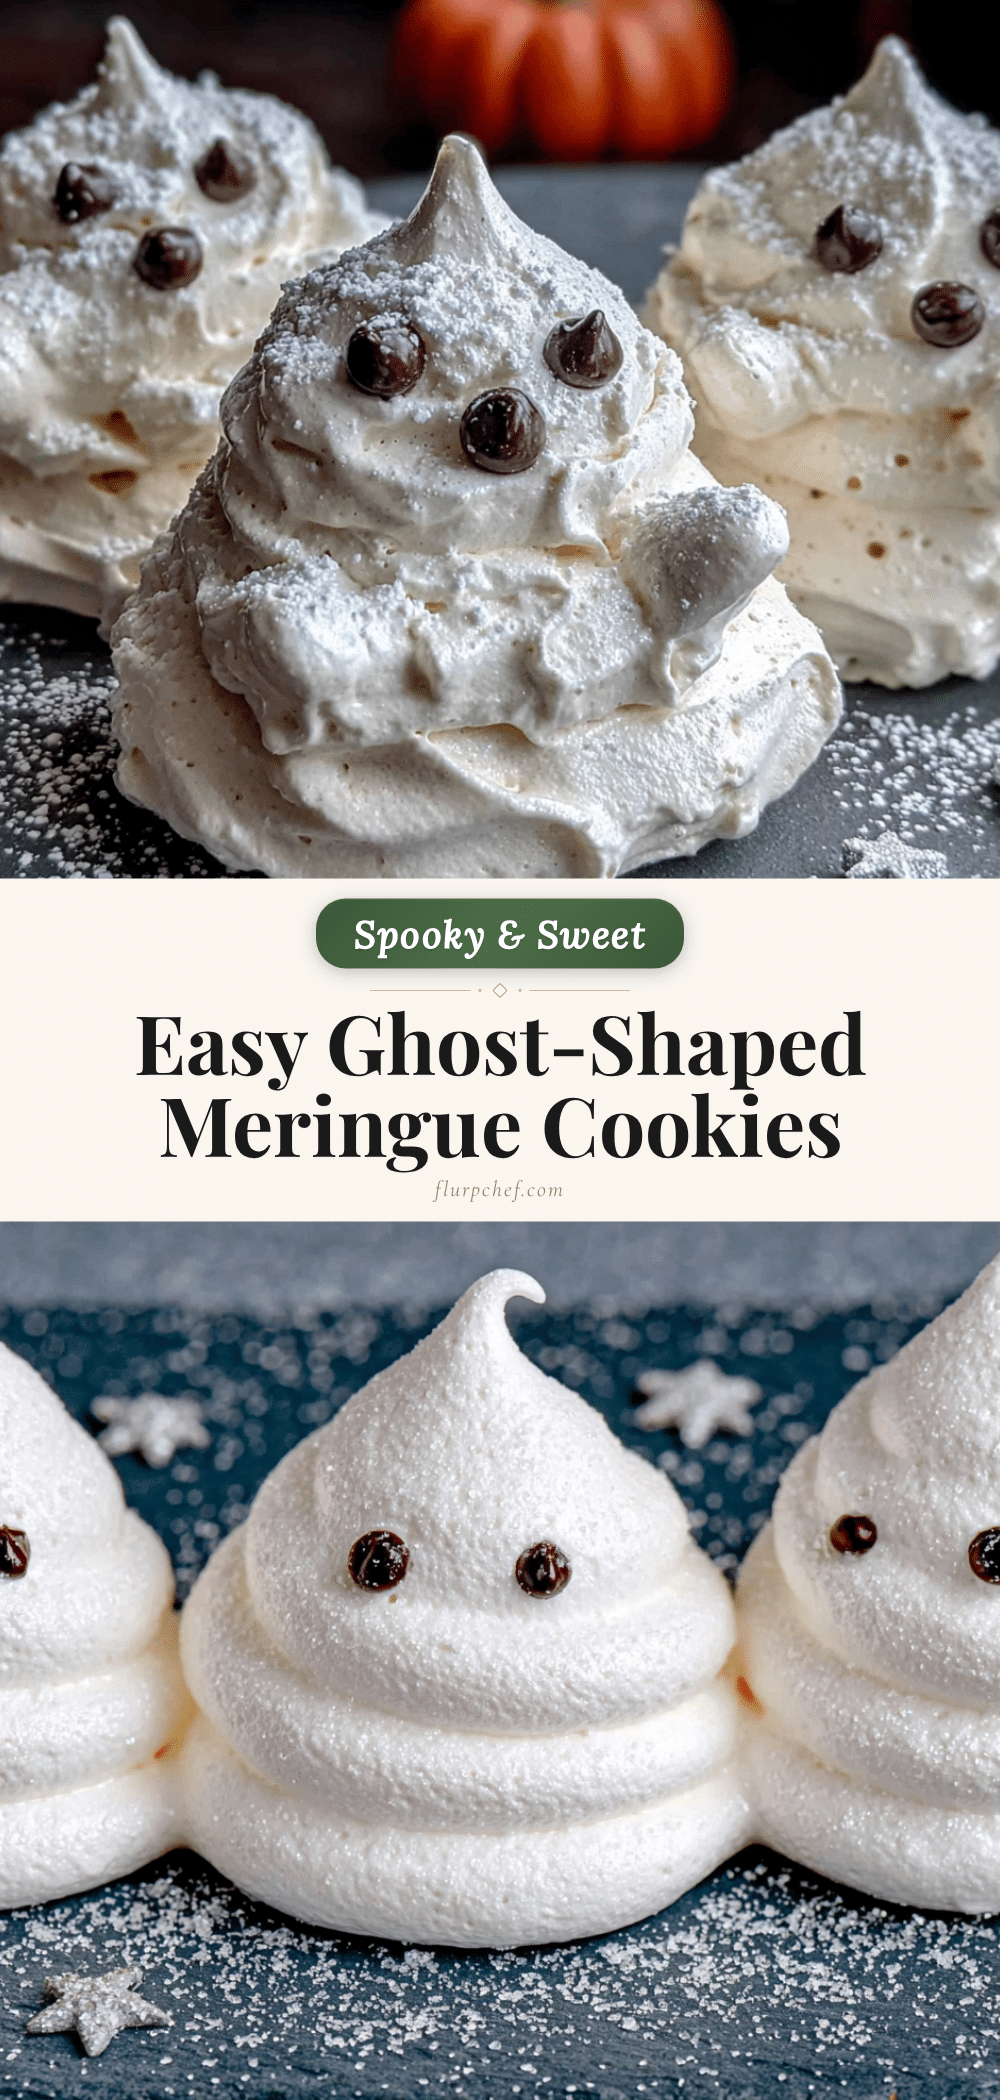
Easy Ghost-Shaped Meringue Cookies: Best Spooky Treat
These light, airy ghost-shaped meringue cookies are the perfect spooky treat for Halloween. With a crisp exterior and melt-in-your-mouth texture, they’re surprisingly easy to make and naturally gluten-free and low-fat.
- Prep Time: 15 minutes
- Cook Time: 90 minutes
- Total Time: 2 hours 45 minutes (including cooling)
- Yield: 24-30 cookies 1x
- Category: Dessert
- Cuisine: American
Ingredients
- 4 large egg whites, at room temperature
- 1 cup (200g) granulated sugar
- 1/2 teaspoon cream of tartar
- 1 teaspoon pure vanilla extract
- Pinch of salt
- Black food coloring gel (for decorating)
- Small food-safe paintbrush or toothpick (for decorating)
- Optional: Orange and green gel colors (for decorating)
Instructions
- Preheat your oven to 200°F (93°C). Position the racks in the upper and lower thirds of the oven.
- Line two baking sheets with parchment paper. Set aside.
- Wipe down your mixing bowl and whisk with a paper towel dipped in lemon juice or white vinegar to remove any grease. Let air dry.
- Separate the eggs, placing each white in a small bowl first before transferring to the mixing bowl. Let the egg whites sit at room temperature for 30 minutes.
- Beat the egg whites on medium speed until foamy and bubbly, about 1-2 minutes. Add the cream of tartar and salt, then continue beating on medium speed.
- With the mixer still running on medium speed, add the sugar one tablespoon at a time, letting each addition incorporate fully before adding the next (about 3-4 minutes total).
- Once all the sugar is in, increase the mixer speed to high and add the vanilla extract. Beat until stiff, glossy peaks form, about 5-7 more minutes. The meringue should stand up in a firm, straight peak and feel smooth between your fingers.
- Test for stability by turning the bowl upside down over the sink—if the meringue stays put, it’s ready.
- Fit a piping bag with a round tip (e.g., Wilton #12). Fold the top of the bag over your hand to create a cuff, spoon the meringue into the bag, filling it about halfway. Twist the top to seal.
- Pipe the ghosts: Hold the piping bag at a 90-degree angle about 1/2 inch above the parchment. Squeeze gently to create a round base about 1.5 inches wide, then slowly lift the bag while continuing to squeeze to form a tall peak. Release pressure and pull away quickly to create a pointy ghost head. Leave about 1 inch between each ghost. You should get about 24-30 ghosts.
- Bake for 90 minutes at 200°F (93°C). After 45 minutes, rotate the pans (swap top and bottom, and turn them front to back) for even baking. The meringues are done when they’re dry to the touch and can be easily lifted off the parchment.
- Turn off the oven and let the meringues cool inside with the door slightly ajar (prop it open with a wooden spoon) for 1-2 hours.
- Once completely cool, decorate the ghosts: Dip a paintbrush or toothpick into the black gel coloring and carefully paint on two eyes and a little ghost mouth. Let the faces dry for about 15 minutes before serving or storing.
Notes
Make these on a dry day—humidity can make meringues sticky. Don’t overbeat the meringue; stop once stiff, glossy peaks form. Store in an airtight container at room temperature for up to 1 week. Do not refrigerate. For best results, make them a day ahead—the flavor and texture improve.
Nutrition
- Serving Size: 1 ghost-shaped merin
- Calories: 28
- Sugar: 7
- Sodium: 8
- Carbohydrates: 7
- Protein: 0.5
Keywords: ghost meringue cookies, Halloween cookies, meringue cookies, easy meringue, gluten-free cookies, low-fat cookies, spooky treats


